OMAX Waterjet User Guide
created by Dawn Wendell, MAS.863 Fa07
pictures
added and content edited/updated by Ryan Castonia, MAS.863, Fa09
content added by Daniel Fourie, MAS.863, Fa10
SAFETY: wear safety glasses and
closed-toe shoes
What can you cut on a waterjet?
What can you make on a waterjet?
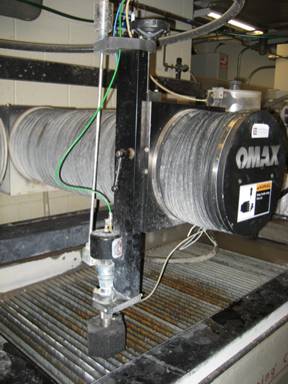
OMAX Layout
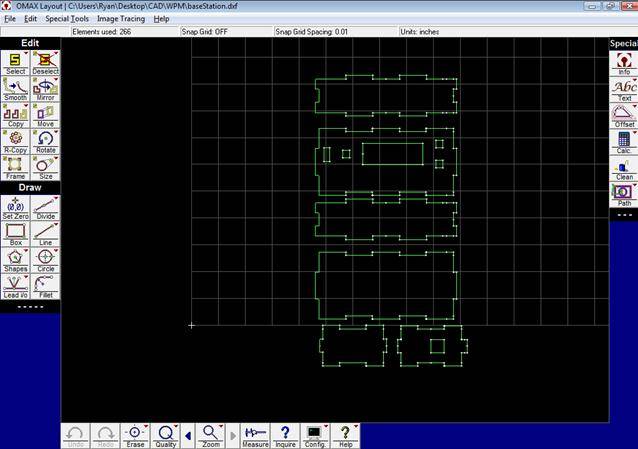
- can import .dxf files from other software
-
squares on the screen are 1"x1"
- note that on the toolbars, the useful functions are often in the right-click
menus
- green lines are traverses
- give your drawing a quality of cut (1=worst but fast, 5=best but slow) by
right-clicking on Quality and following the menus to select as much of your
drawing as you want
- create leadin/leadout by right-clicking on menu, select Autopath(quick)
- on RHS of screen, click Clean
- click Path to generate *.ord file -> click Yes and select a location to
save the file
- click on start of entry traverse
- zoom in to make sure its cutting on the correct side
Expert
tip: keyboard shortcuts make working in
Layout much faster and easier! Here are a few to get you started
L=line
E=endpoint
M=midpoint
S=Select
A=all
W=window
D=Select
A=all
W=window
E=erase
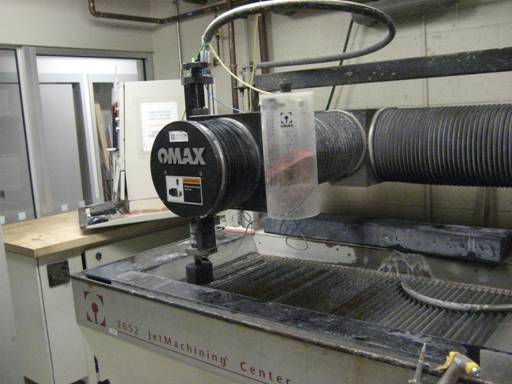
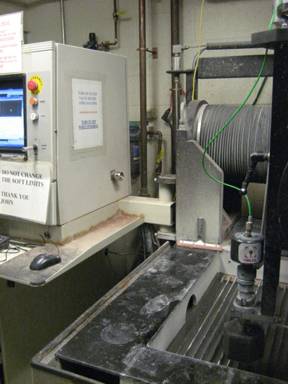
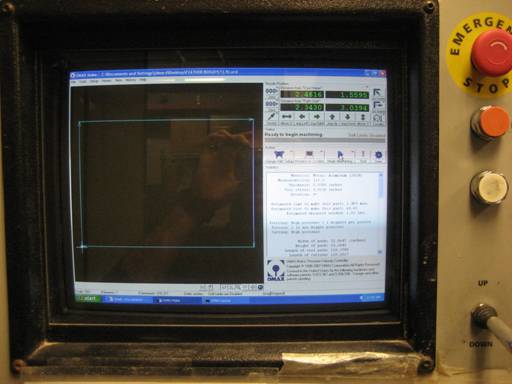
OMAX Make & Machining
-
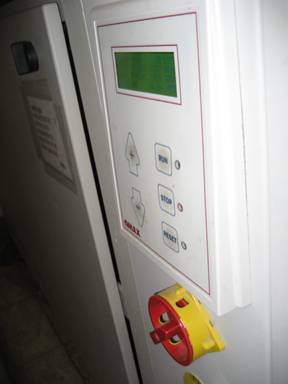
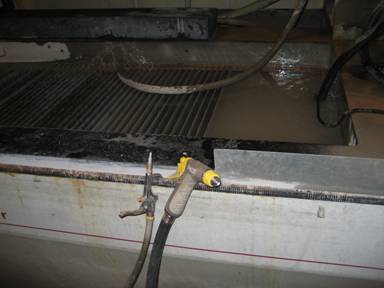
turn on water flow by turning handle to the left (yellow handle)
![]()
-make
sure pump is on
![]()
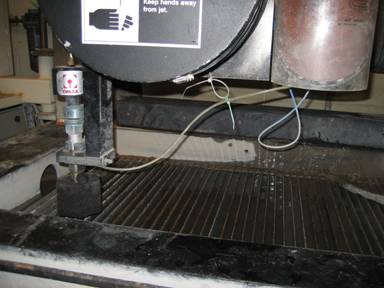
- select your stock and measure its thickness
- put your stock on the bed and hold it down with weights & clamps
- bring up water level (silver handle) slowly so it doesn't spill
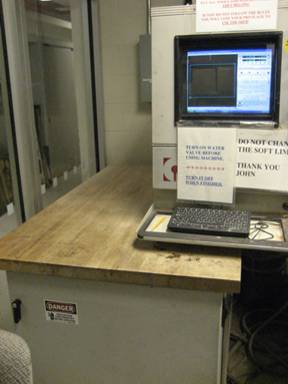
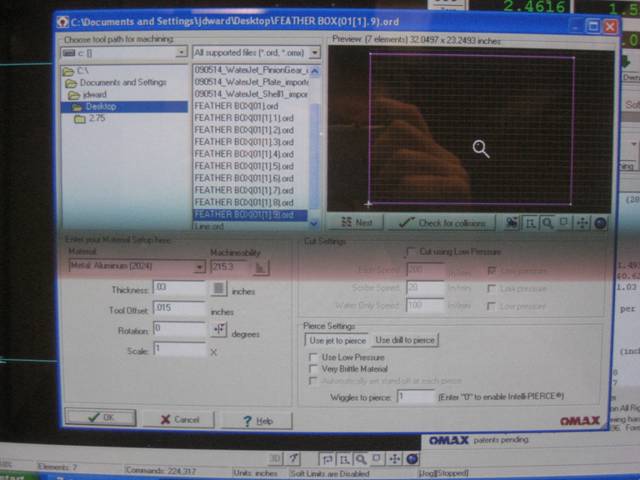
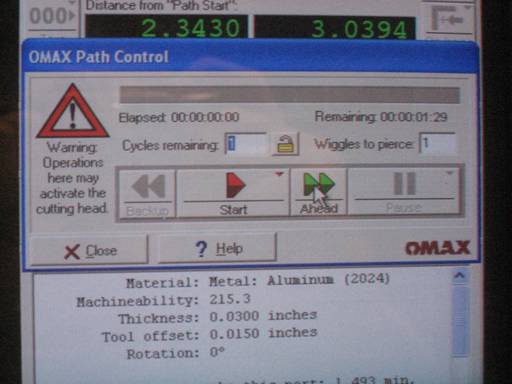
- double-click on your *.ord file and it will automatically open in OMAX Make
-
select correct material and thickness
- don't use too many wiggles (0 for plastic, 1-3 for Al, more for steel)
- click OK
-
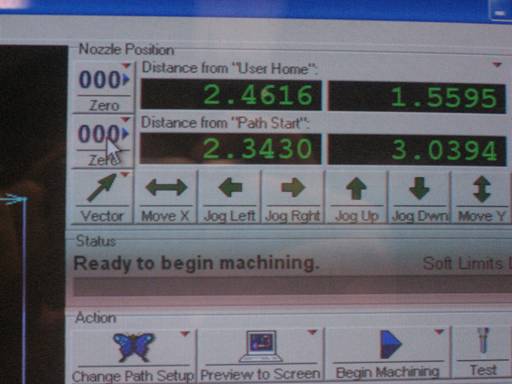
use keyboard keys or buttons on screen to jog head to correct location to
starting point
- SET Z ZERO: lower z head with handle until it just touches, turn handle back
until it starts to pick up the head, then turn back 1/2 turn to set correct
Z-height
- set path start to zero (lower of the 2 numbers on the screen)
-
raise water level until well-submerged (~1" deep over part)
- click BEGIN MACHINING
- press Move Ahead to see the head trace the path to make sure it doesn't crash
into your clamps/weights
-
Close -> Go home
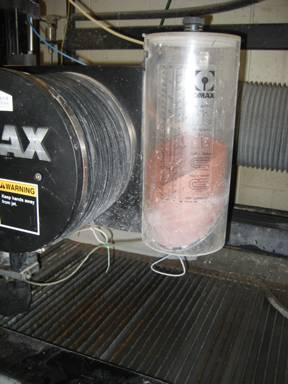
-make
sure the garnet hopper is at least half full and the hose is connected
- click Redbutton to begin machining!
- if you pause in the middle of your job to move weights,
pull out parts, etc. make sure you click and hold “backup” for a second or two
before you start it up again
Clean up
- lift Z
- lower water level
- put away clamps&weights
- remove your stock, clean with water hose and put away
- squeegee any splashes
- TURN OFF WATER VALVE!
Troubleshooting
The water level won’t lower beneath the slats!
---When this happens you have to raise the water level really high (almost to the top, but be careful not to go too high and overflow the tank). There is a hose at the back of the machine with a screen on it that will allow some of the water to drain. After the water stops draining, you should be able to lower the water level back down below the bed. Repeat as necessary.
It won’t cut!
---Double check that you set the correct material and thickness, have the right cut quality, there is garnet in the hopper, the water is on, the pump is on…..then call Jon