|
|||
|---|---|---|---|
| MAS.863.10 | Masoud Akbarzadeh | MArch | SMArchs | Computation | |
| How to Make almost everything | MIT department of Architecture | ||
| Home | | |||
 |
|||
| molding and casting | | |||
THe exercise for this wee was to make a mold and cast into that. I decided to make a mold for part of my final project proposal.
|
|||
 |
|||
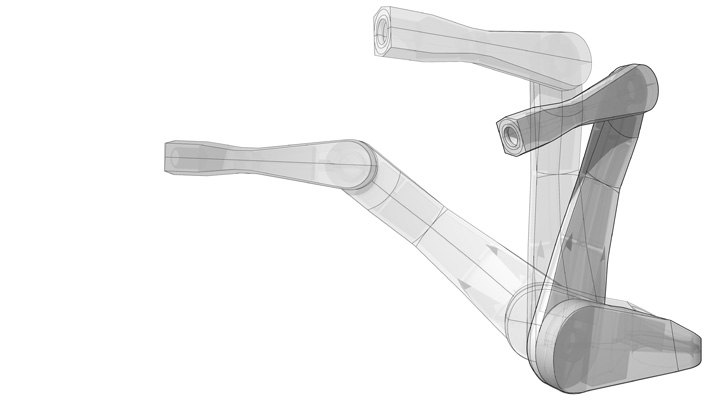
This is the model for the 4 Axis robotic arm which I would like to finish by the end of the semester. For this week I made the model and took the last portion of the arm for manufacturing experience.
|
|||
 |
|||
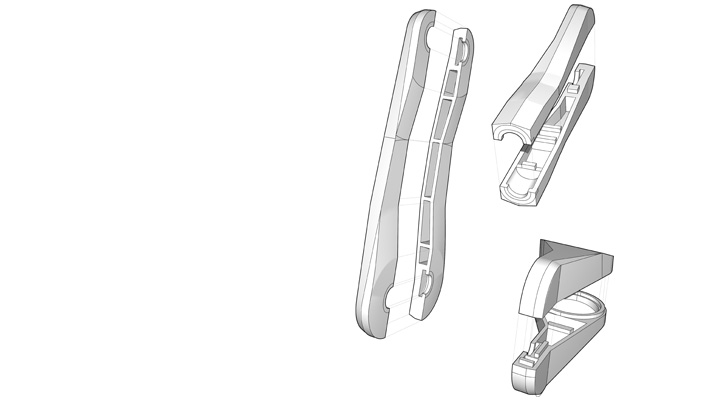
In order to make the assembly of the whole arm feasable, I divided each member into two segments; a male and a female. The male has some tabs which interlocks with the female for assembly process.
|
|||
 |
|||
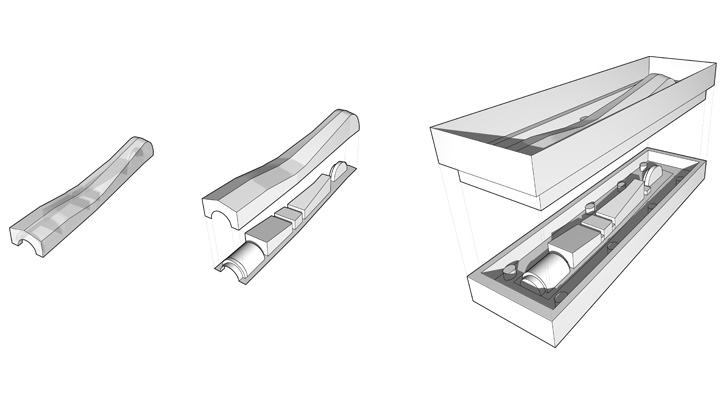
| Each member is divided into two segments and each segment would be divided into exterior and interior. | |||
Making the mold for a halow mamber is a little bit tricky. in order to design the mold, it is important to seperate the whole exterior surface of the model from the interior. Later there should be a mold for exterior and the one for interior.
|
|||
 |
 |
||
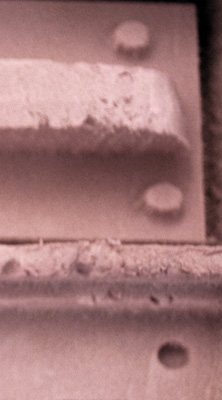
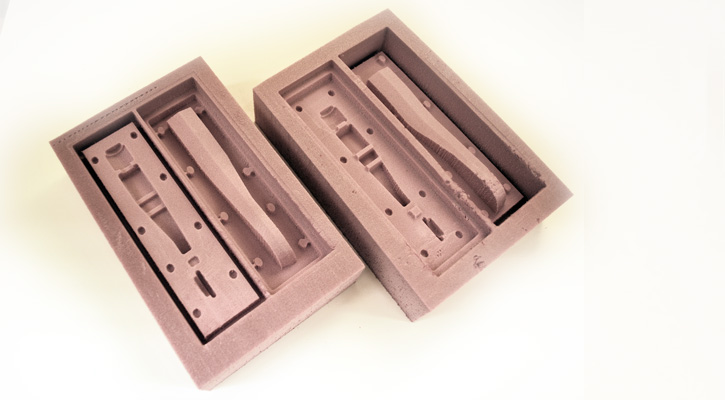
The whole surface looked very clean except some parts which were hit by the plastic sheild of the vacume around the mill. Later I had to take off the plastic sheild for cleaner cuts.
|
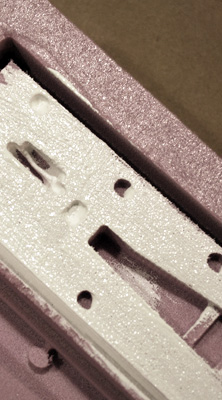
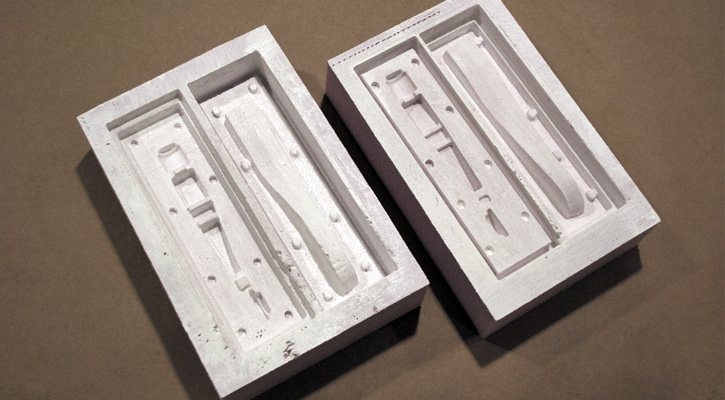
Later I used CNC machine to make the mold for the molds. I used 1/4" end mill (ball end) for Horizontal roughing with 50% step over, and 1/8" end mill (Ball) for the Horizontal Finishing with 10% step over.
|
||
 |
 |
||
Using a large amount of material might fill the some small parts of the mold and change the accuracy of the mold.
|
Before pouring the polyurethane into the molds, the surface of the mold should be covered with a thin layer of Geso. You should be very patiant to use very little material for covering.
|
||
 |
|||
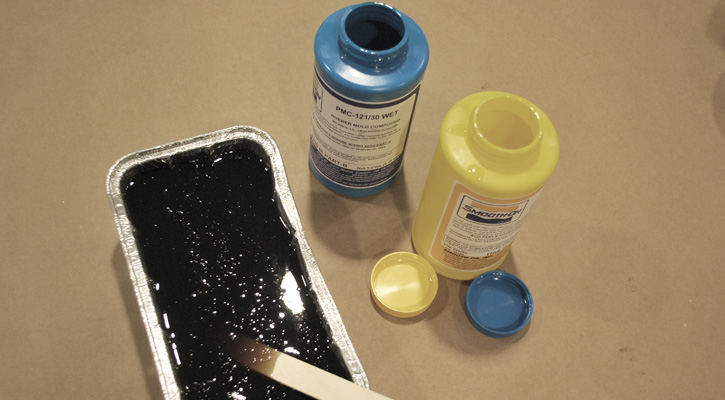
The next step is mixing the polyurethane in a separate dish.
|
|||
 |
 |
||
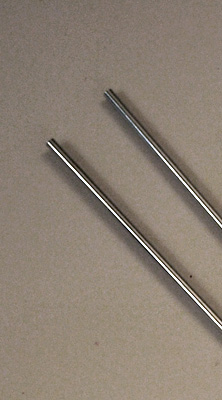
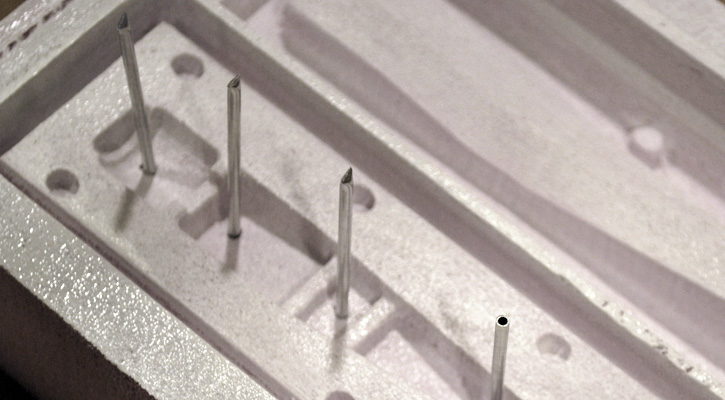
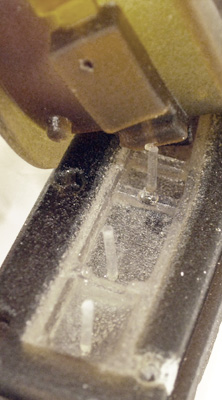
| 1/8" diameter Aluminum bars. | In order to think ahead about the casting part, I need to use some ventilation pipes in the mold itself. I use Aluminum rods for this objective.
|
||
 |
 |
||
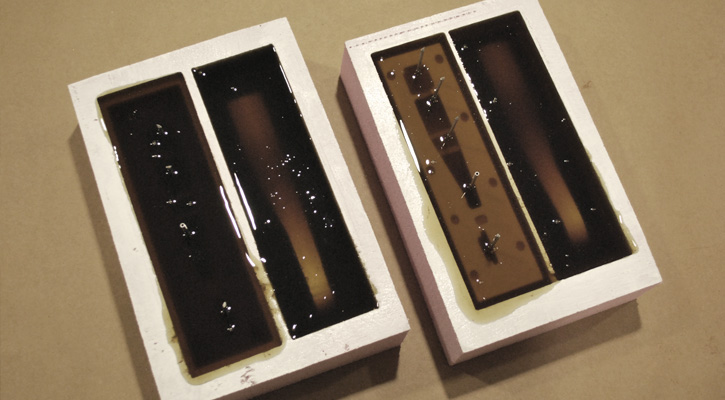
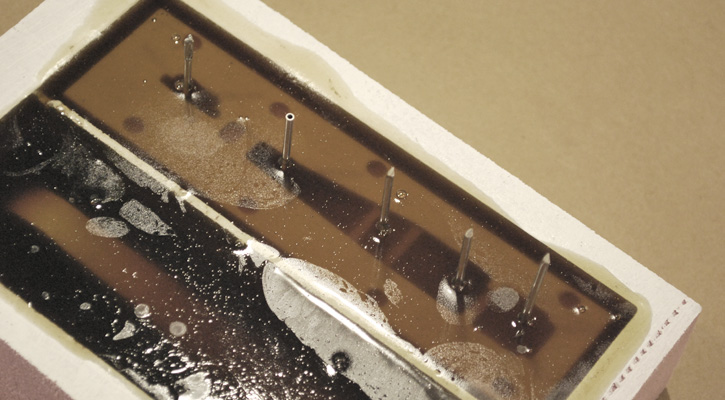
| Th rods are coming out of the liquid. | The molds after pouring polyurethane.
|
||
 |
|||
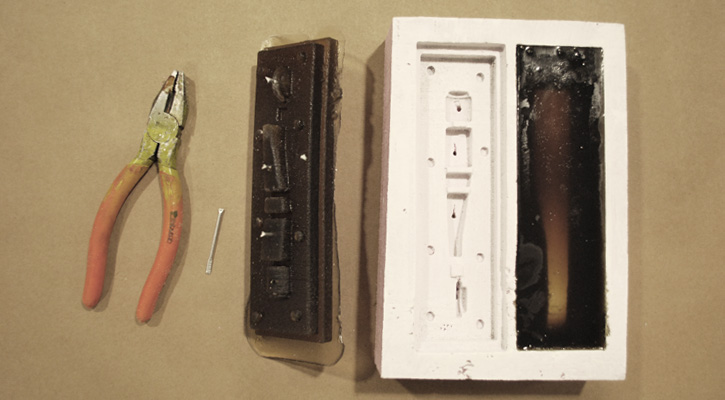
16 hours later the polyurethane cured and flexible
|
|||
 |
|||
 |
|||
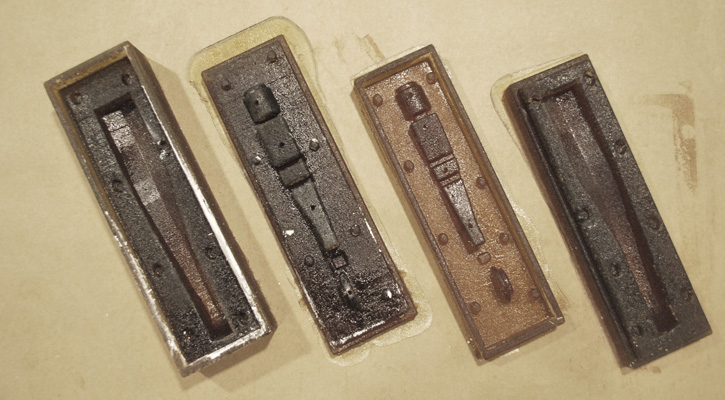
The process of detaching from the foam and Al. rods
|
|||
 |
|||
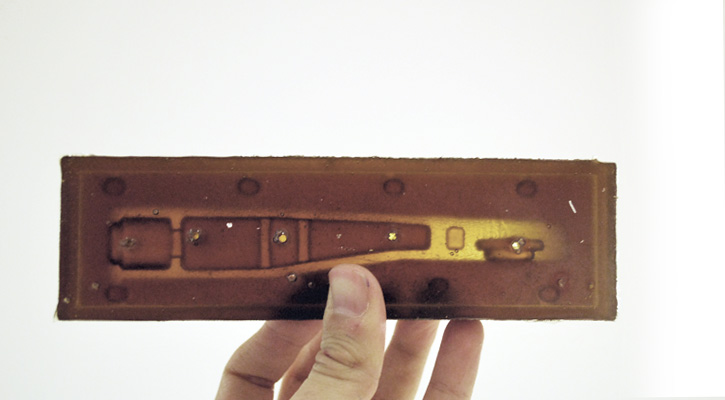
Two molds for one part on top of eachother
|
|||
 |
 |
||
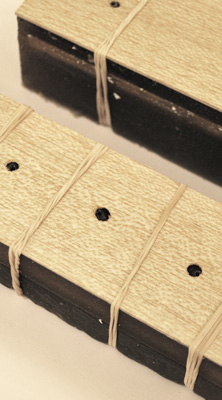
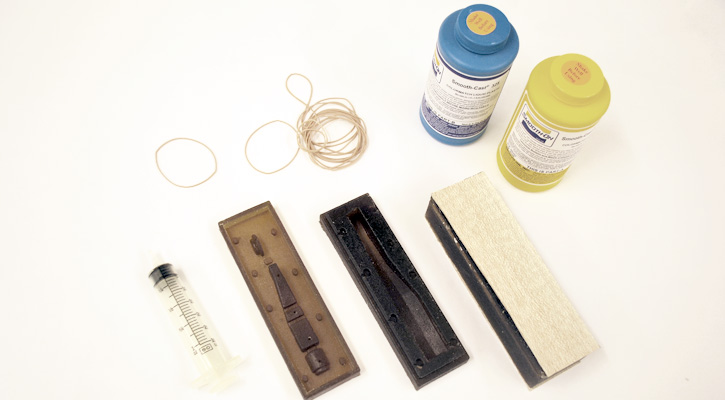
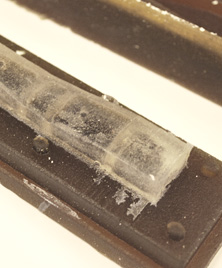
| It is better to put two layer of stiff materials around the molds not let the rubber bands to cut the flexible mold | Now, it is time to cast the Smooth Cast Plastic into the molds. I used syringe to inject the cast into the molds.
|
||
 |
 |
||
 |
 |
||
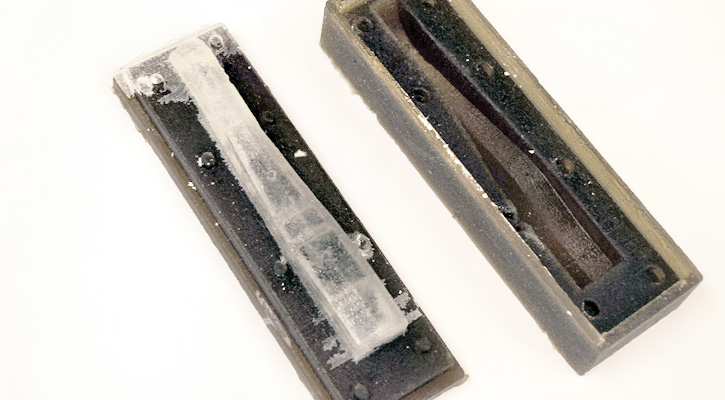
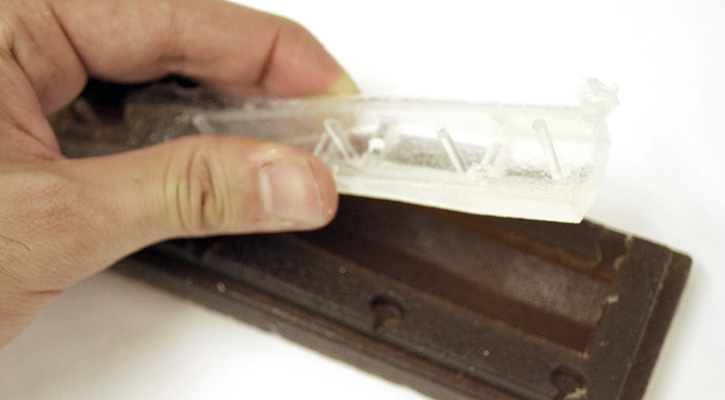
Final Step opening the mold and detaching the part from the mold. there are some problems regarding this part. the Male part didn't have a very good tabs to go inside the female. I guess this needs more experience in how to desig the tabs in a more efficient way. (further investigation of course!!)
|
|||
| All Rights Reserved 2010 | |||