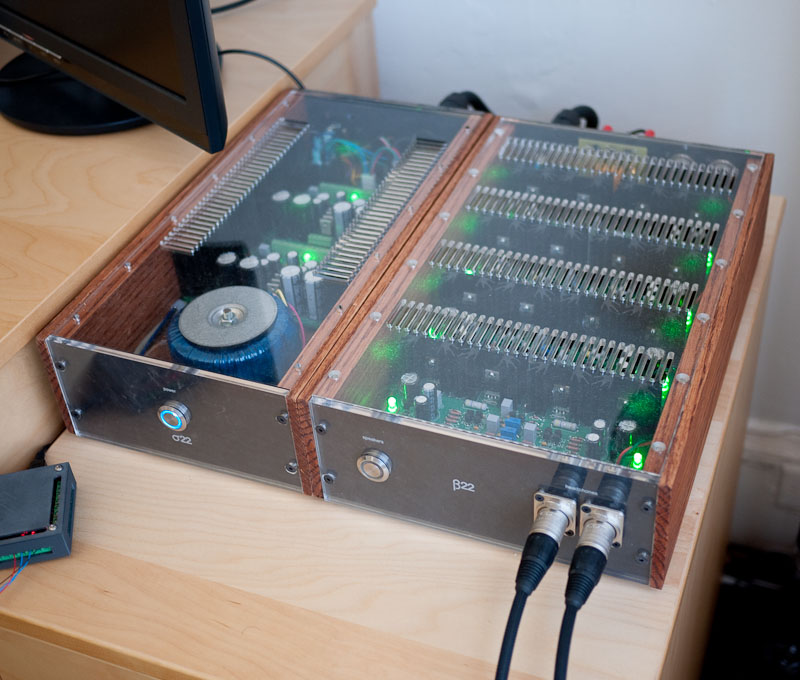
I also wanted to learn how to use the waterjet cutter this week, but didn't want to use too much aluminum making something big. So, I started working on a component for my headphone audio setup that made use of the waterjet cutter. I want to build both a preamplifier with a remote control, so that I can adjust the volume without having to turn the physical knob on my desk, and a digital source selector, so I can change the input source remotely as well. I want the components to aesthetically match the amplifer's case, which I've also built:
but match my DAC (not made by me) in size:
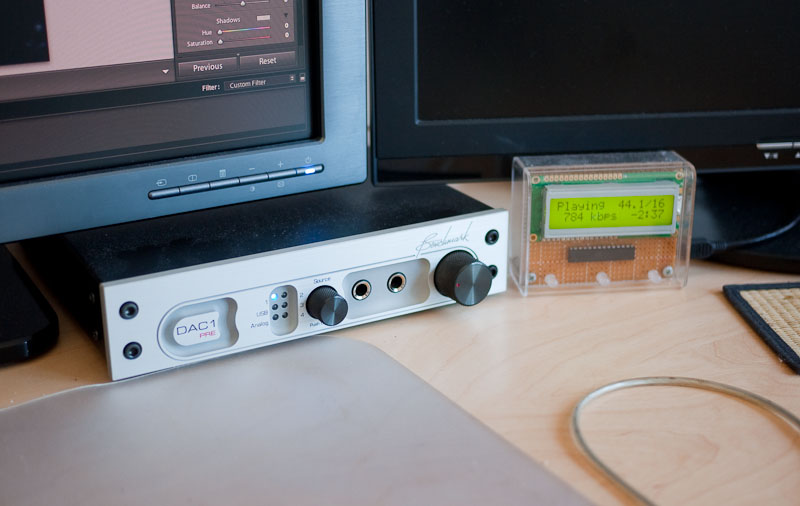
The DAC is 1 rack unit (1.75 inches) tall and half the width of a standard inch rack, so two components of this size could be mounted side-by-side in a 1U rack.
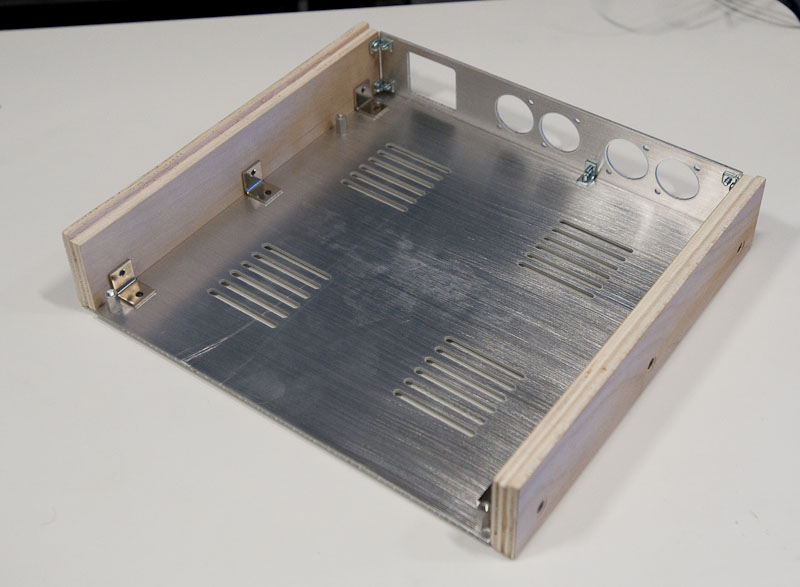
The bottoms of the amplifer and power supply cases are made out of wood; with the overall height of the compnents, the thickness of the wood doesn't matter. However, if I built the preamp components the same way, there wouldn't be enough height left inside for all of the components. So, this was the perfect opportunity to waterjet cut the bottoms for the enclosures from 1/16-inch aluminum.
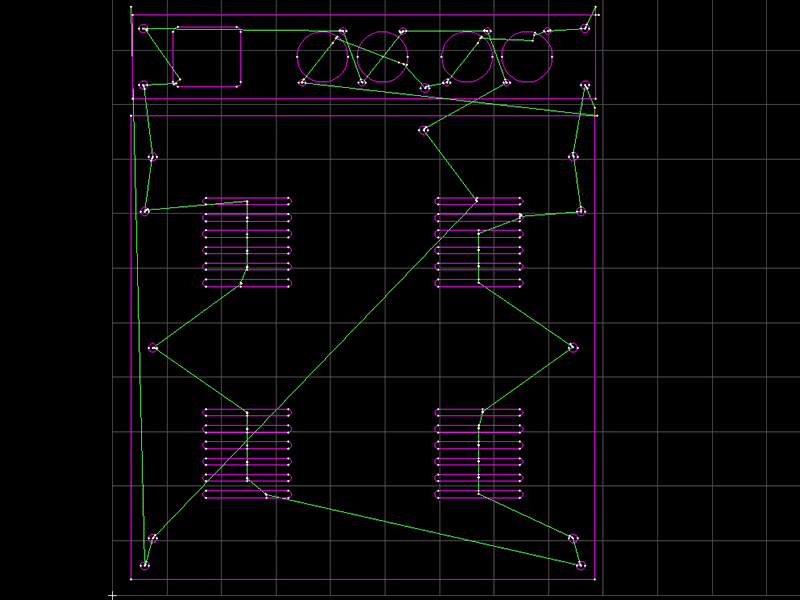
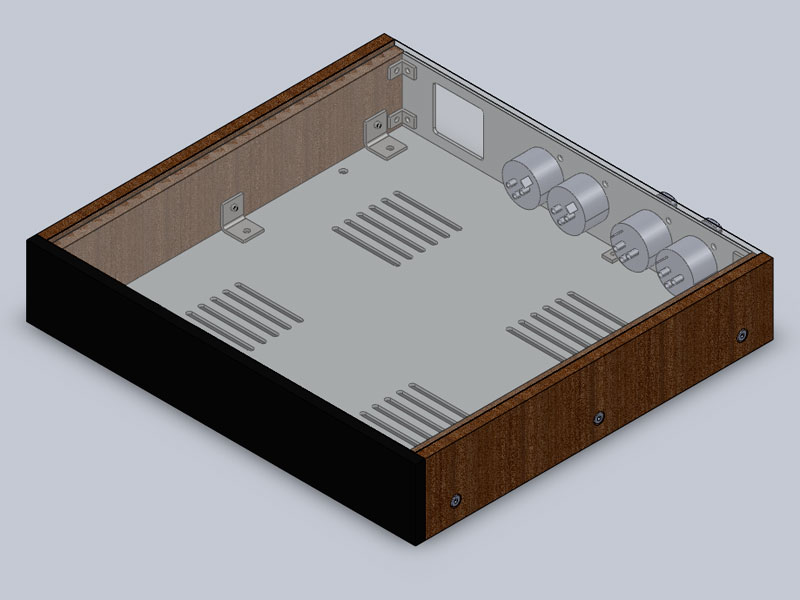
Once again, I designed the parts in SolidWorks so that I could visualize how they all fit together. I saved the drawings as DXF files and imported them into the OMAX Layout software to prepare toolpaths for the waterjet.
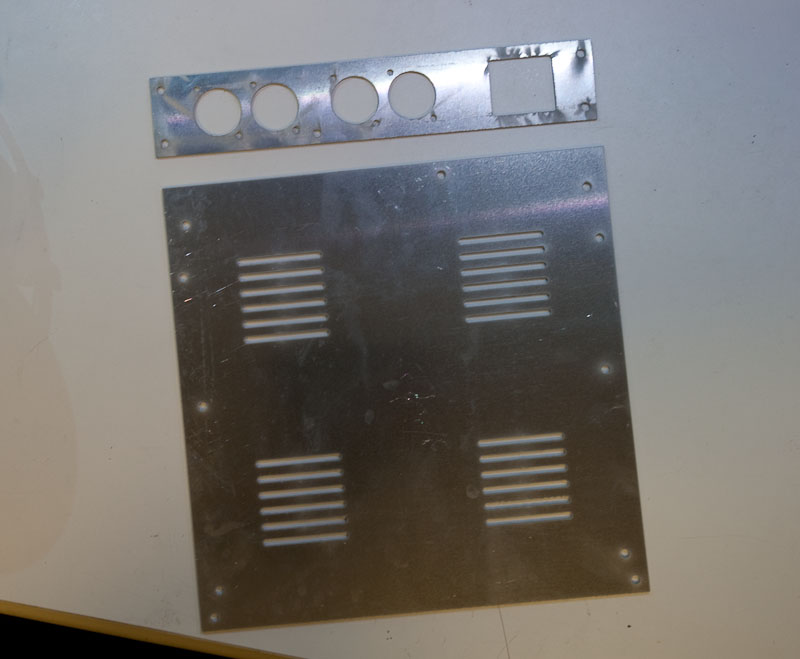
Cutting the parts on the waterjet only took about six minutes. It's really cool to be able to turn 2D drawings into metal parts that quickly.
There were a few places where it looks like the part wasn't held down adequately, or something in the cutter was moving back and forth a bit, or the part oscillated a bit, because there were a few wiggly edges (nothing unusable though):
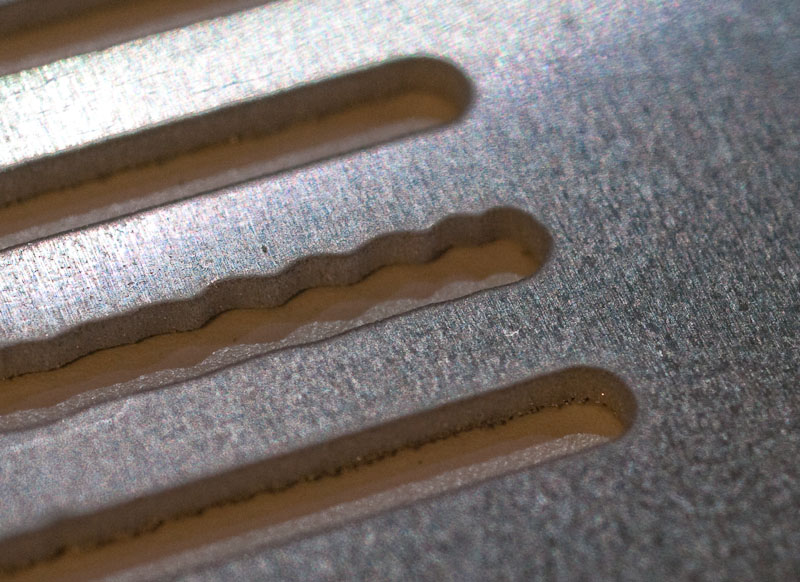
The edges were also a little rough on the bottom side. You can also see where the abrasive sprayed off of the support slats and roughed up the surface of the material on the bottom side:
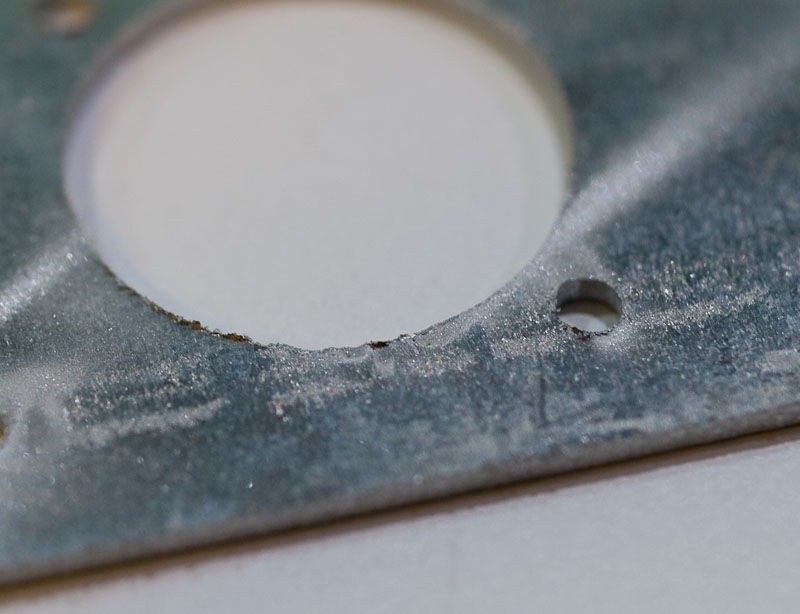
The former cleaned up very nicely with a file and lightly brushing the surface in one direction with fine-grit sandpaper (also giving the piece a brushed finish.) The latter are still visible, but much less pronounced after the brushing.
The side panels were prototyped out of plywood on the ShopBot. They have a lip cut out of them on the top, to accomodate an acrylic top panel. Generally I'd have cut these with a mitre saw and routed them on a table router, but I wanted to see how the ShopBot would work. I first cut a pocket for the lip, ad then cut the outline of the pieces. It turned out very well! The only problem was that the pieces are 1/16-inch shorter in length than the drawings. I'd probably also use solid wood rather than plywood for the final device.