Mission: scan an object + print an object.
Scanning an object
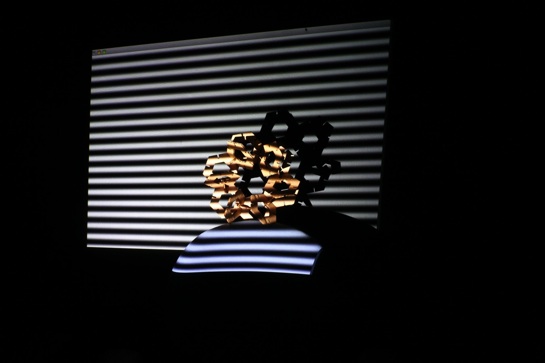
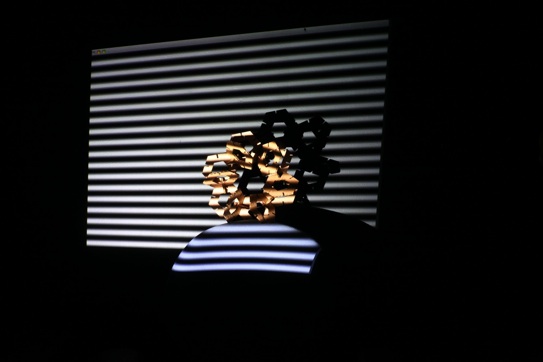
Here we attempt to reconstruct a challenging object using a structured light approach demonstrated by David. After attending his session, I was left with these photos:
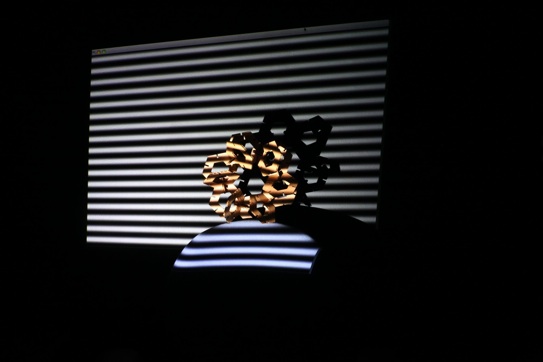
Most people chose to scan a face. However, I figured that face scanning already worked, and I wanted to explore new possibilities.
Resources:
Procedure:
-
1.Install Processing
-
2.Install Peasy and run an example
-
3.Install ControlP5 and run an example
-
4.Copy the above 3 pictures into Three Phase’s img folder
-
5.Run threephase.pde
-
6.Adjust the sliders until you see roughly what you think you captured.
-
7.Export PLY (it will be in the same folder as threephase.pde)
-
8.Load the PLY into Meshlab
Here’s a video of the results in Three Phase:
This is the result in Meshlab.
Well, that didn’t turn out great, but at least the pipeline works.
Printing an object
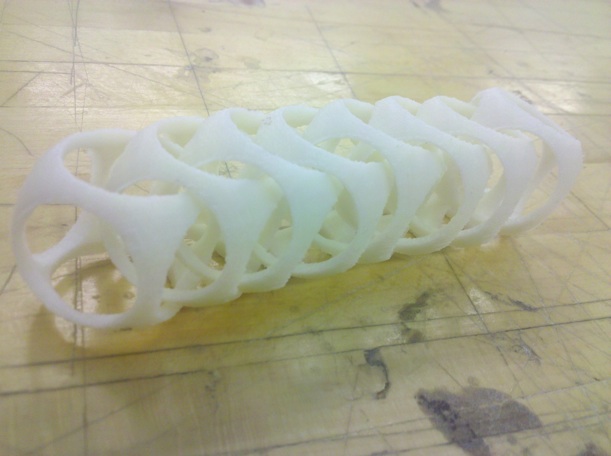
For designing the STL file to be printed, I used OpenSCAD again.
The first example in OpenSCAD shows you how to make the OpenSCAD Logo.
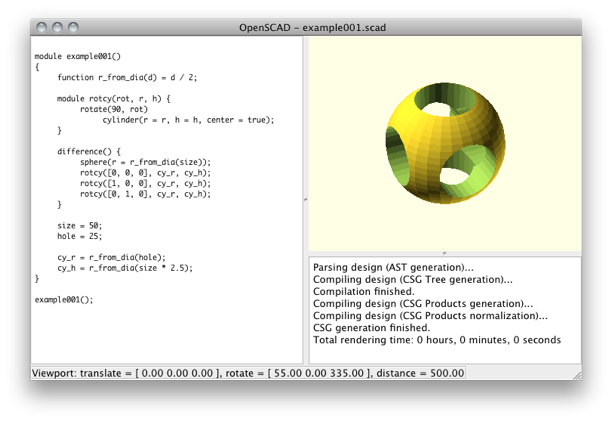
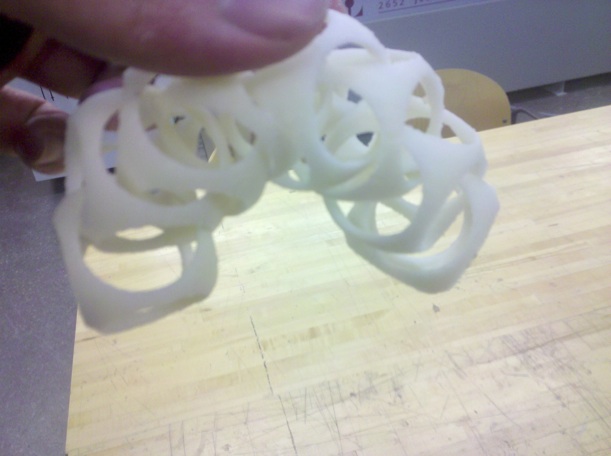
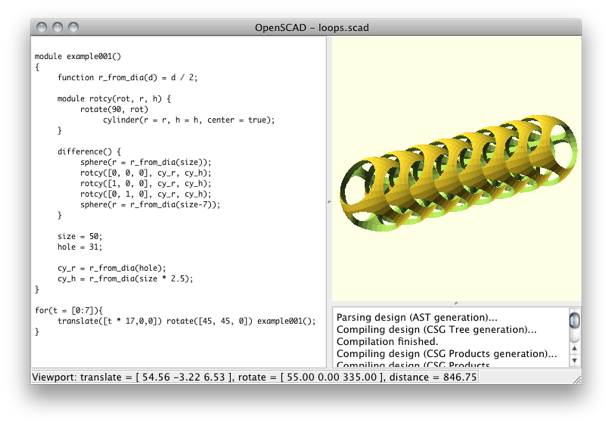
In order to create something worthy of being 3D printed, I added 3 lines of code and modified the existing parameters to create a nested chain of interlocking mesh spheres, carefully checking to make sure that the spheres weren’t intersecting each other.
The new code rotates the sphere 45 degrees in x and y, thins the original sphere from the inside with another sphere to preserve material, and repeats the new sphere in the x direction at a distance that allows a sphere to link four adjacent spheres without any intersections.
I also scanned my office key in the CT scanner, but I probably won’t post that...