MOLDING AND CASTING: A *SPECIAL* CONCRETE MASONRY UNIT
The Design:
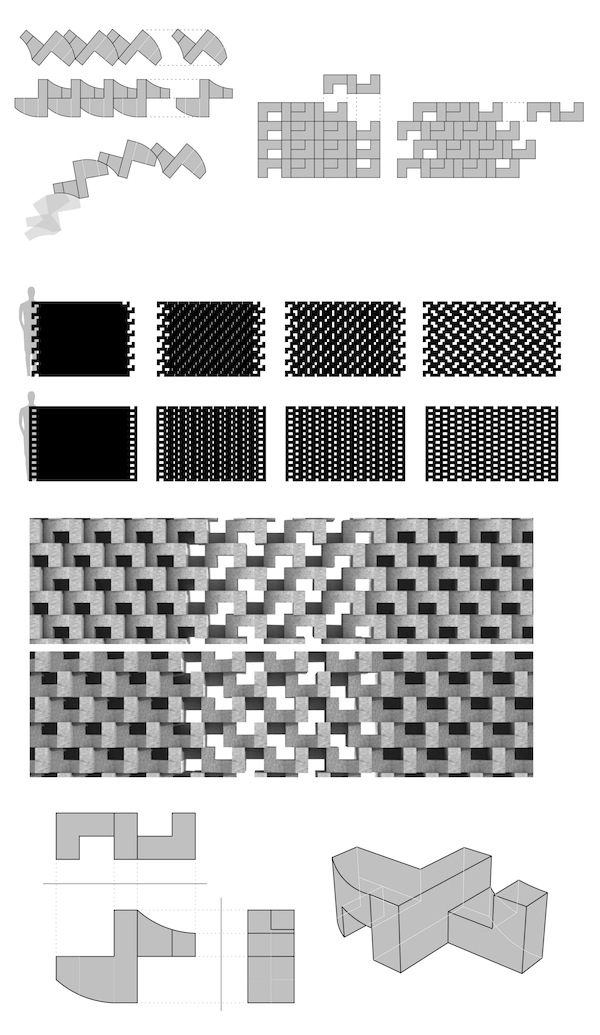
I chose to create a mold for a concrete masonry unit I designed a couple years ago. At the time of its conception, I was unable to fabricate a reusable mold that would allow me to make many duplicates with ease. So, I decided to do that with this project. Below you can see how the design of the CMU allows for variation in aggregation (diagonal, straight, and curved walls), construction (running and stacked bond), transparency, and spatial experience (concave vs convex).

Milling the Wax:
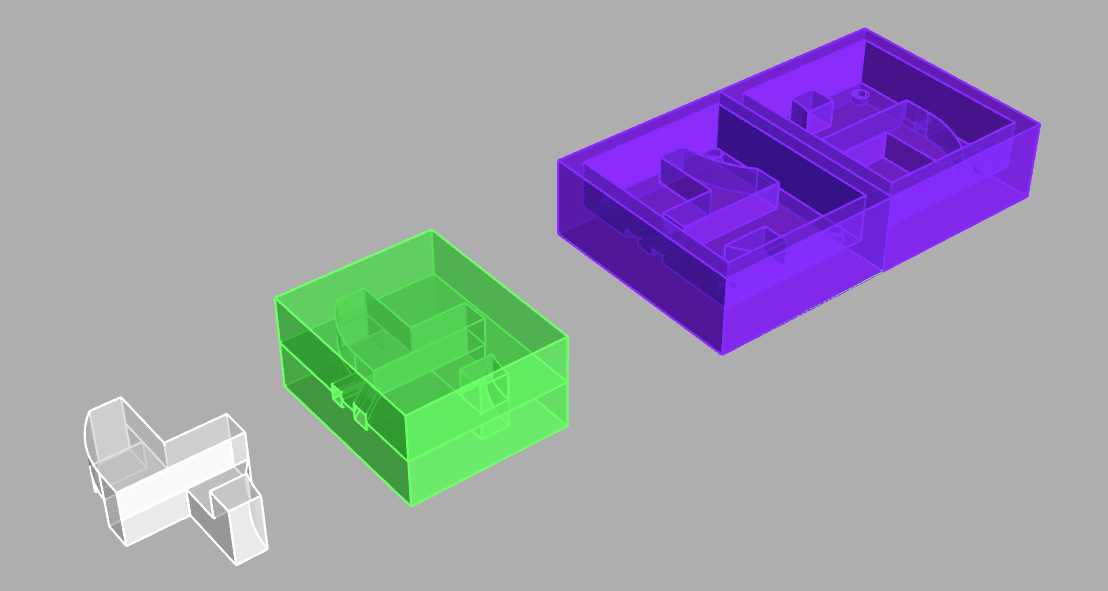
I set up the stl file in Rhino by using the command BooleanDifference to subtract the CMU geometry from the virtual silicon box. Then I split the silicon block down the middle and separated the two pieces. I used the BooleanDifference command to once again subtract the silicon geometry from the virtual wax block. I then exported the wax geometry to two stl files (one for each half of the mold).
I then ran the fab module. First I selected the option to convert stl files to png. This allowed me to make two separate pngs for each stl file. Then I ran the other option to convert png to Modela (rml) files.
My first problem occurred here: basically the fab module wouldn't read the png file had just created. I realized after a bit of research on the 'Tools' section of the website that the module can't read files with a space in the name. So I renamed the file and it worked fine (a simple problem that cost me 45 minutes).
I did the rough cut for both halves and then the finish cut for both halves. I don't know why but it seemed like my finishing cut took an extremely long time (+1 hour for just one side of the mold). Eventually, I got it all done and moved onto casting the mold and then casting the final product.

Molding and Casting:
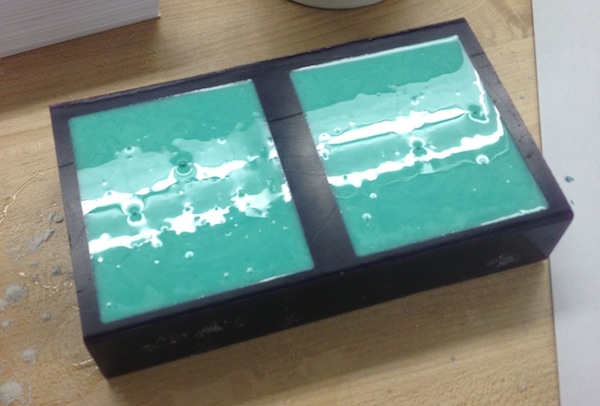
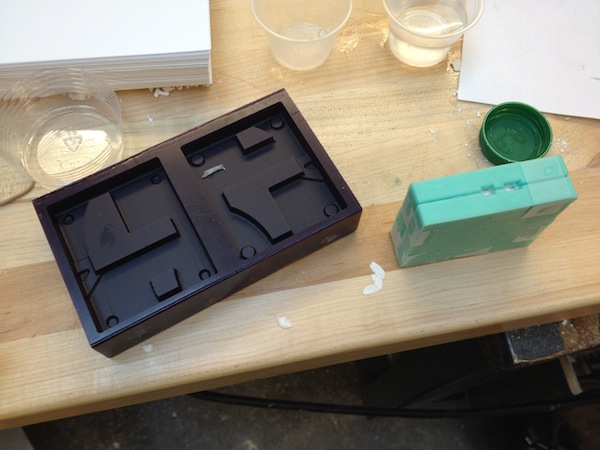
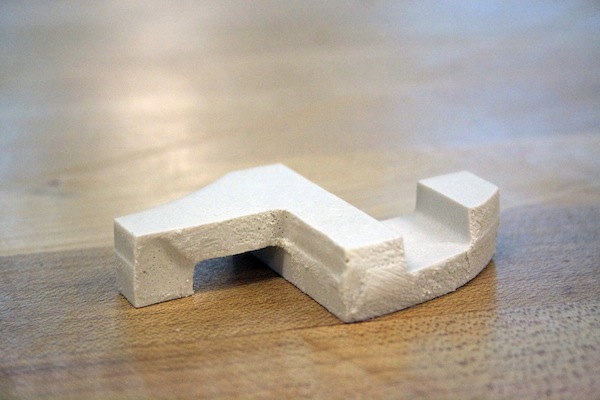
I realized, as I was about the cast that the mold I had made on the Modela was much thinner than the original geometry. I don't know why this depth scaling happened but I didn't have the time or the material unfortunately to try it again. In any case, I then mixed equal parts of the 'slow' setting rubber. I went to sleep for 4 hours and came back, removed the rubber molds and noticed another problem: the edges were all filleted. Once again, there wasn't any material to retry with and I was short on time so I kept going. I mixed the Drystone (with more than the specified amount of water) and poured it into my mold. After 30-45 minutes, I extracted the object. Aside from the scaling and the defects from the rounded egdes (which I sanded down), it was perfect!