press fit construction kit
I spent a lot of time this week trying out different software. Unfortunately, I had lots of issues getting most of them to work my newer version of Mac OSX. I ended up usig Adobe Illustrator to design my pieces, which is something I already had installed on my computer. Illustrator was pretty frustrating because I couldn't find a way to clone the shapes so I could adjust the size of all the slots with one control. Also, I kept getting 1px lines showing up when I drew white shapes over the black ones to create the slots (even with snap to grid on). I know these lines would have confused the laser cutter, so I had to carefully draw over all of them with larger white shapes. In retrospect, I should have just drawn all these shapes from point using the pen tool so I didn't have to use white shapes at all. Because I couldn't link the size of all the shapes together, I am lucky that the dimensions I chose for the slots worked perfectly on the first try. I think the next thing I will try to install is Rhino or SketchUp, which will most likely work on my computers.
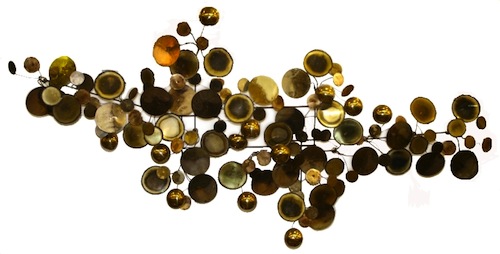
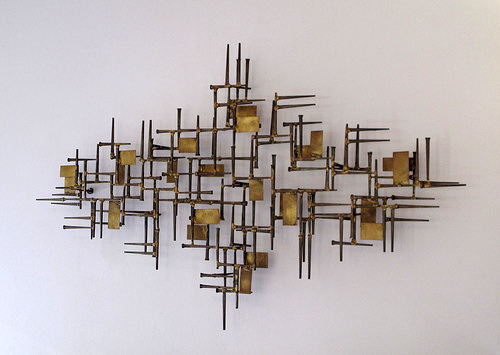
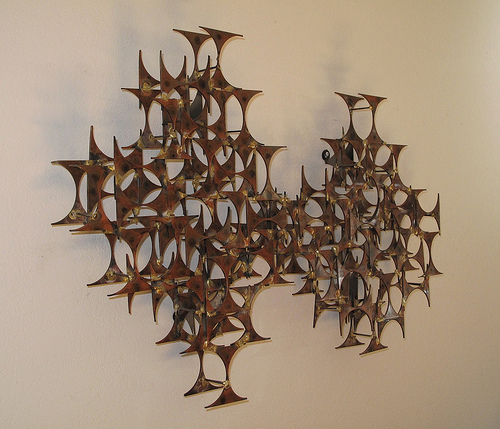
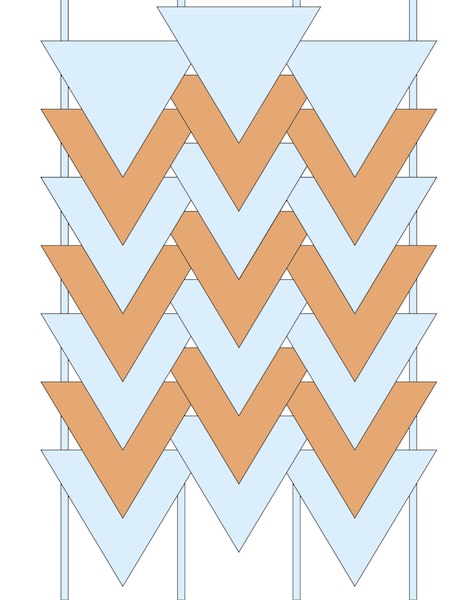
For my kit, I was inspired by mid century wall sculptures, which are usually are composed of simple shapes like rectangles or circles. I thought something like this would work well as a kit because it would be useful to have a piece of art that can be customized to the amount of wall space you have.
Inspiration images:
My first concept sketch:
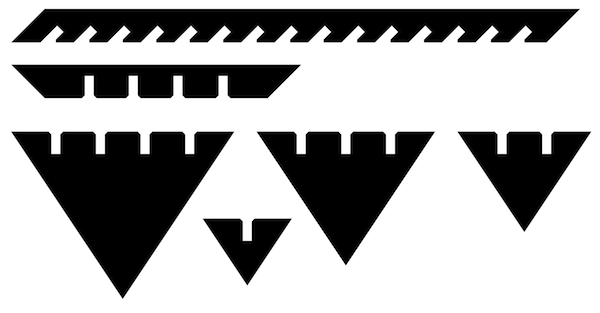
My kit is made up of long vertical pieces and shorter horizontal pieces and four sizes of slotted triangles.
Though Illustrator can save vector files, because of the way I drew white shapes over black ones, I had to convert my files to png and use the fab modules to create paths for the laser cutter. This worked without any issues.
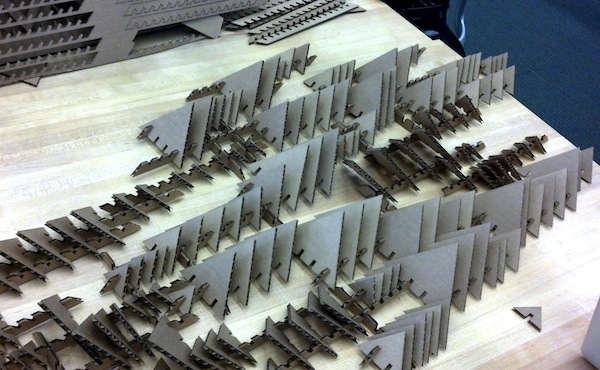
Cutting the pieces went smoothly, but I had a bit of trouble getting the long skinny pieces to pop out.
I noticed that I had to pay attention to the power settings because the laser would cut through completely on half of my cardboard but in other areas it wouldn't make it all the way through. Maybe this is because the cardboard is not perfectly flat.
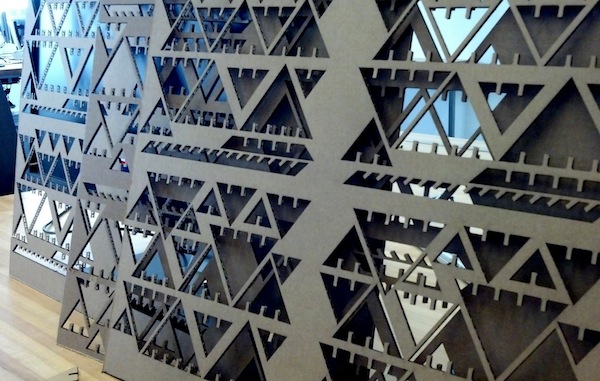
Putting this kit together felt really relaxing and creative, which is what I hoped for. I think it pretty much will look good no matter how you do it.
I didn't completely think through the short horizontal pieces. I should have made different lengths of these, and I should have designed the kit so that these would fit in with other slots on the vertical pieces. All the connections that had two slots put together were really snug, but, in the case where I was just putting a piece of cardboard in one slot, it wasn't very secure. Because of this, my sculpture is not as sturdy as I'd like, but it could still be hung on wall.
My first attempt at putting the pieces together:

If I could do this again, I would use a material that has a nicer edge than corrugated cardboard so I can paint it all (or encrust it with glitter!). I might also vary the angles of the slots to create more visual interest from the side.
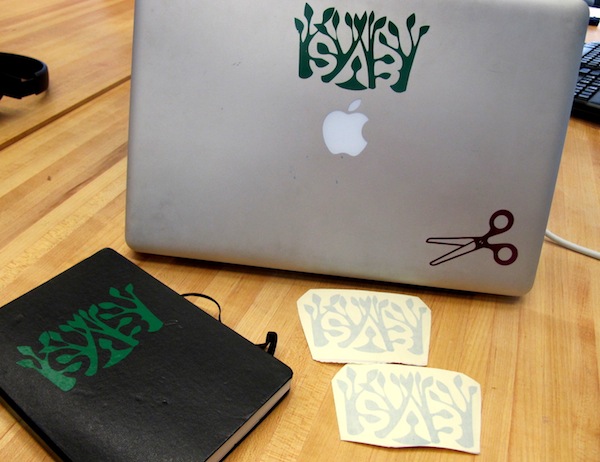
As a bonus, I also made stickers with the vinyl cutter! Super easy and fun! I had a small png file with a design containing my initials, SAB. I tried to use fab modules to convert to paths, but I think the image was too small. The paths it computed were very jaggy. I then tried Roland CutStudio, which is the software that comes with the machine. It did a much better job of computing the paths, and my stickers turned out great!