molding & casting
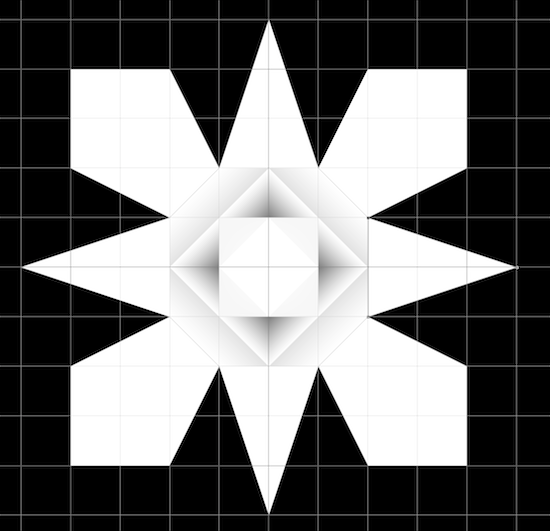
I wanted to experiment with using a black and white png to create my mold. In fab modules, white is mapped to the highest point and black is mapped to zero. In Photoshop, I turned on the grid and the snapping feature. I then drew shapes using the pen tool.
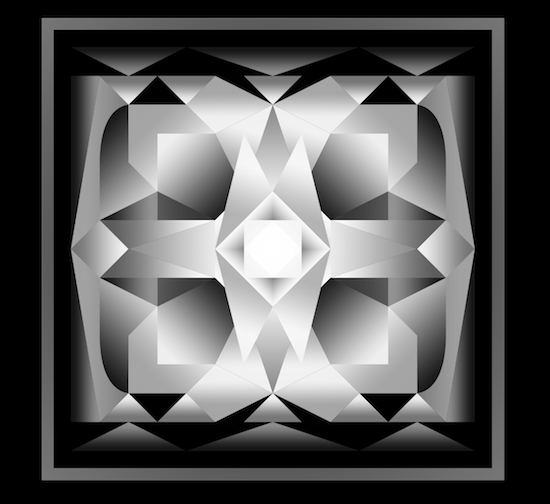
I applied gradients to the various shapes to create facets.

I applied one transparent radial gradient over the entire design so that it would be highest in the center and lowest on the edges.
I had some problems with the fab modules code when I went to actually mill this design on the Modela. When I tried to compute the tool path from the png, I was getting bad results or crashing the program. It turned out that using the 1/8" end mill in the calculations was causing something in the program to fail. I decided to use a smaller tool (1/16"), which fab modules was able to calculate. I made my piece a little bit smaller hoping it wouldn't take eternity, but it did end up taking a very long time (fab modules doesn't estimate the milling time like the Windows software does).
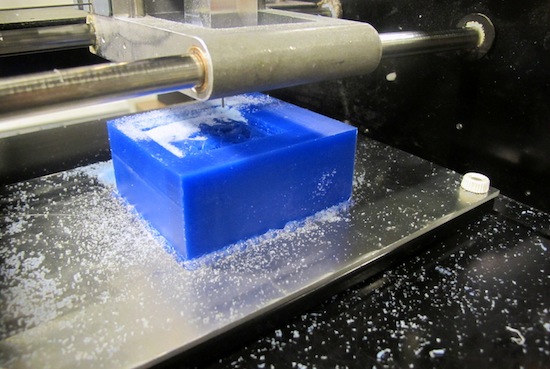
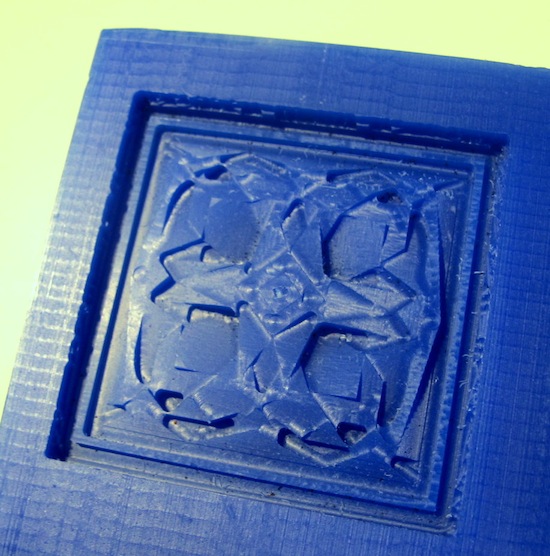
The rough cut only took about 15-20 minutes, but it did not go deep enough the first time. I changed the cutting depth in the 3D settings and then did it again, and it worked. The finishing cut took hours! Overall, I think it took almost 5 hours to mill, but luckily I don't think I blocked anyone else! The walls of the outer square are for some reason not completely smooth, but I can live with it. I'm very happy with how the rest of the small details turned out.
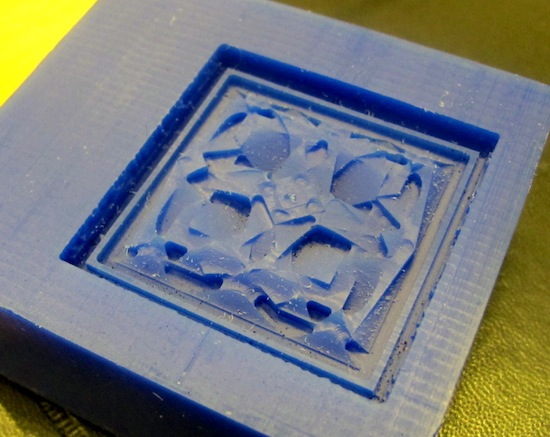
Many of the sharp points ended up being rounded because of the diameter of the mill, but I actually really like the way that looks too.
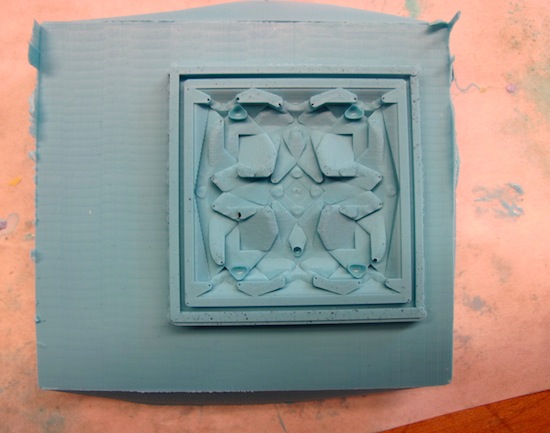
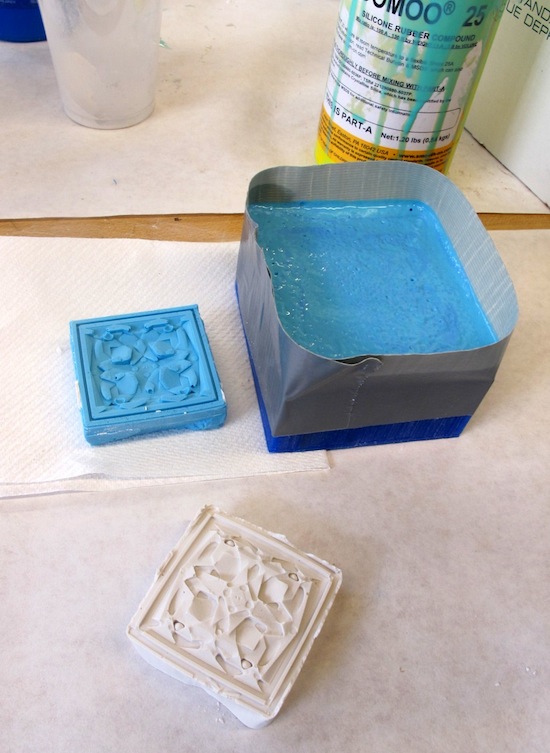
Looks like I ended up with some air bubbles in my silicon, but they aren't too bad. I decided to try casting the dry stone anyways while making a second silicon mold.
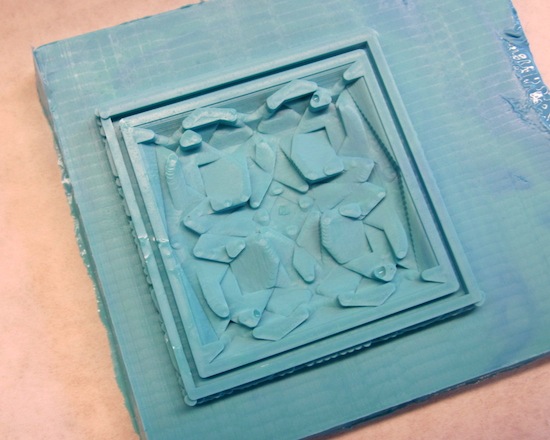
The strange edges actually look pretty interesting! I guess if you want fab modules to cut clean edges, you have to incorporate it into your design or else it will do something like this.
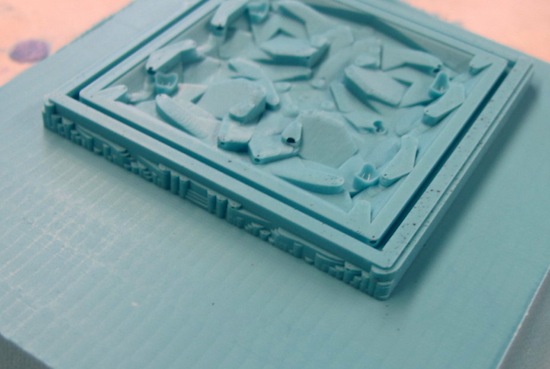
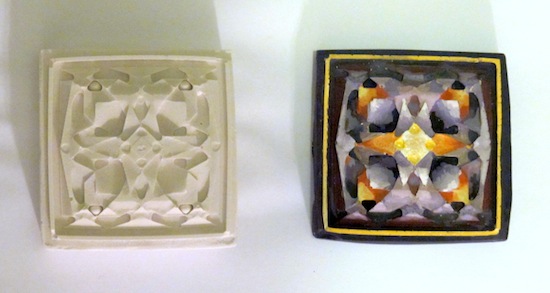
Despite the air bubbles, I like how the dry stone piece came out!
I smoothed down some of the edges using a metal spatula and then sanded it.

I made another mold using the vacuum chamber, which had much fewer bubbles.
However, after two more tries casting in dry stone, I had lots of bubbles. I suspect this might be from the vacuum chamber, but I'm not sure! The best outcome was my first one, but I tried hand-painting one of the later ones which had fewer bubbles with gouache.