Welcome to Mohit's first dig at making REAL stuff
Week 5: Designing and printing a PCB!
For the fifth week, we had to re-draw a certain board and also add a button and a an LED to it
We had been given a board to re-create ("echo hello-world board"). This was different from the first PCB
project since we had to design our own board this time. The board we had to re-create is given below:

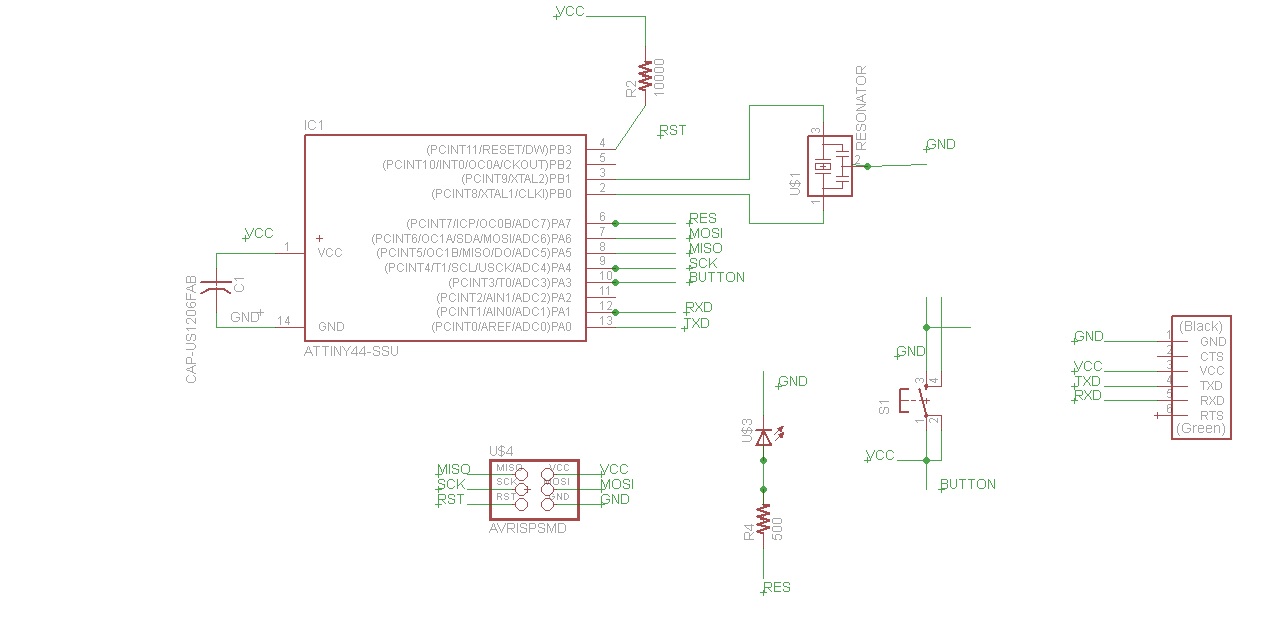
I used Eagle to make the schematic of the board and it was not easy! I'm glad there were TAs were kind enough to
organize tutorials to help us run through the basics of Eagle. One of the best tricks that NovySan told us was to
name each wire and instead of making many connections just give wires the right names. This made the circuits very
clean and easy to read.
My schematic on eagle looked like this

After a few tries of connecting the wrong wire in the wrong place, I got it right!

TIP: Go to View/Grid and change size to 0.0125" or somethin of that order to prevent circuit lines from snapping together when you dont want them to!
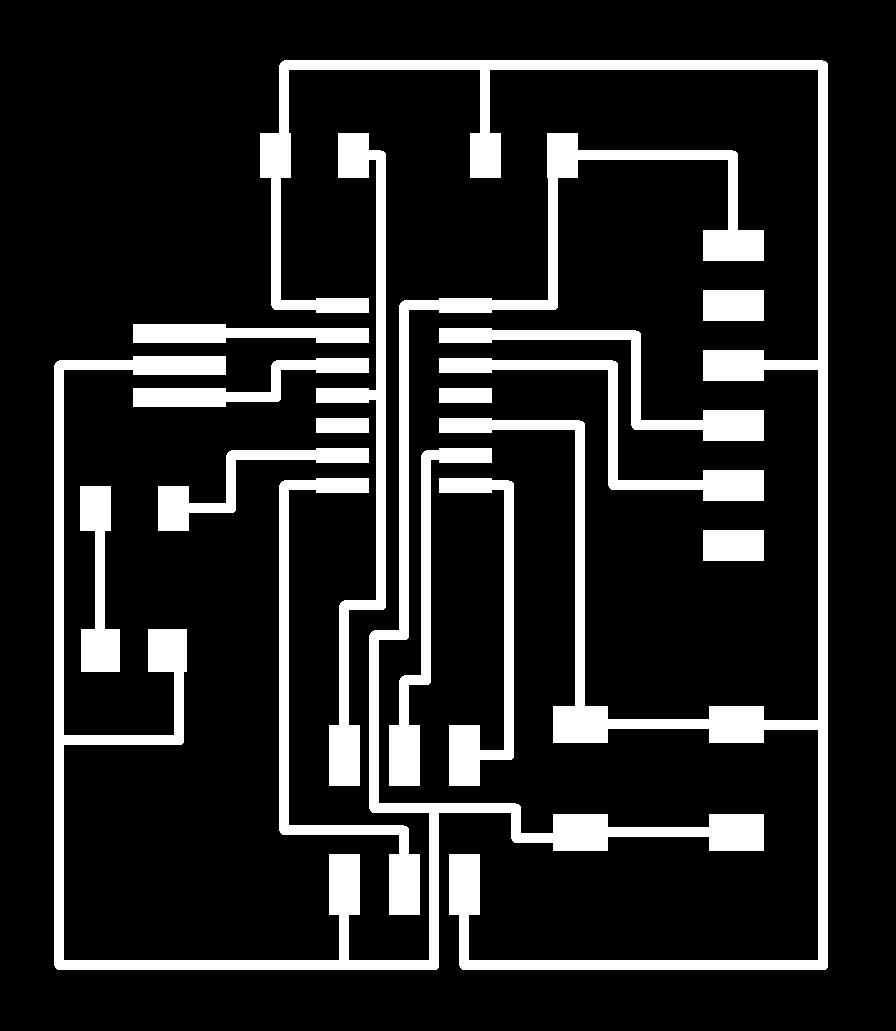
Before milling I had to redesign my board as it wast too big for the material size I had. I removed all the extra space around my board in the schematic and tried again.
I finally started milling and from then it was smooth sailing for a while.


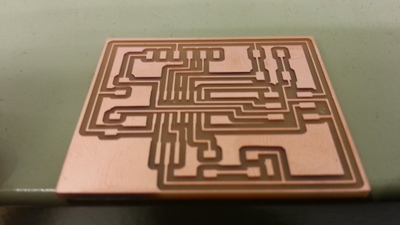
My final cut out board looked like this:

Next I started sautering components on my board. I got everything but I was missing a resonator in the lab.
I tried to use a crystal instead but since I had chosen a resonator in Eagle, the outside edges of teh resonator that were milled
were too close to fit a crystal on it.
This is what my board looked like without the Resonator/Crystal

I am going to find a resonator in Arch lab get this piece finished soon!


