Project 06
Molding and Casting
About 10 years ago, I had the chance to work at Gentle Giant Studios and mold and cast prototypes for collectable figures. Given that, the idea of casting a cube seemed like a simple problem, and so I thought I should perhaps attempt something else, but then I thought, a perfect cube… now that is a challenge! And it was!
- Modeling
- Milling
- Casting (a mold)
- Casting
- Finishing
Modeling
While the die itself was quite easy to model, thinking about how to make a mold that will be best to pour was not an easy problem.
- I wanted to make sure only a single corner is at the top for air to rise to a single position
- The sprue should be in a position that doesn’t compromise the sharpness of the edges
- There cannot be any overhangs when milling with a 3 axis shopbot
- There CANNOT be any overhangs when milling with a 3 axis shopbot
- Create a nice key/registration mechanism to ensure the cube stays aligned


Milling
Notes on some settings coming. I accidentally milled one side with a tolerance of .05mm and another with .001mm. This actually caused a difference in the fidelity of the two molds. Not critical, but not ideal either.

Casting (a mold)
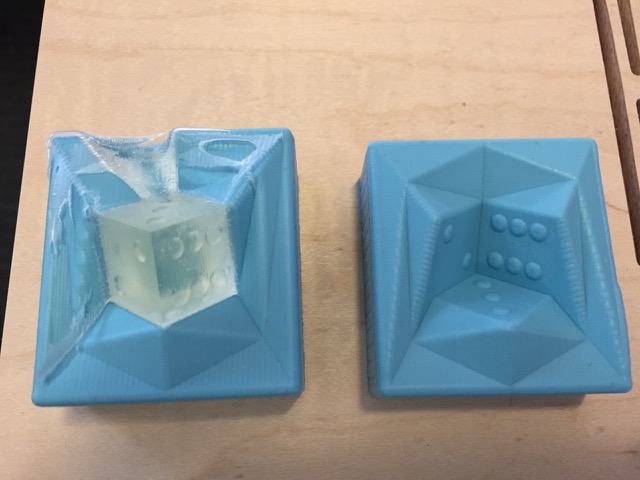
Oomoo – 1 part A to 1 part B (very easy to mix, pour, cure). Takes about 1.5 hrs to cure (I left mine over night to be cautious)


Casting
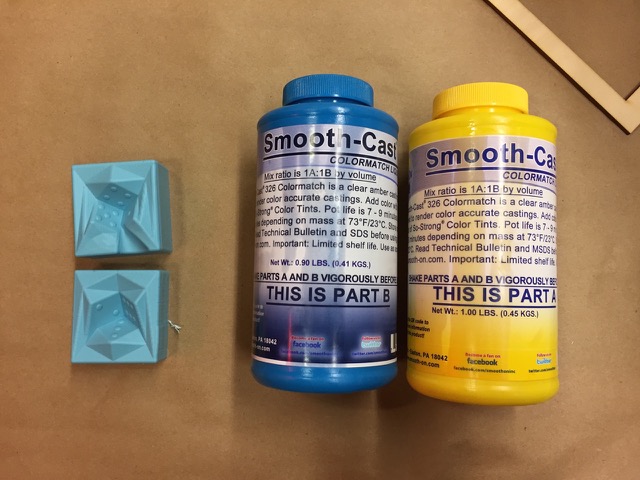
Clear Resin – 1 part A to 1 part B, this is quite easy to measure. Note: let the bubbles settle, the vacuum chamber complicates things… More below :)
Poured Drystone – 20 parts water to 100 parts Drystone (basically just mix it to pancake batter consistency)


Finishing
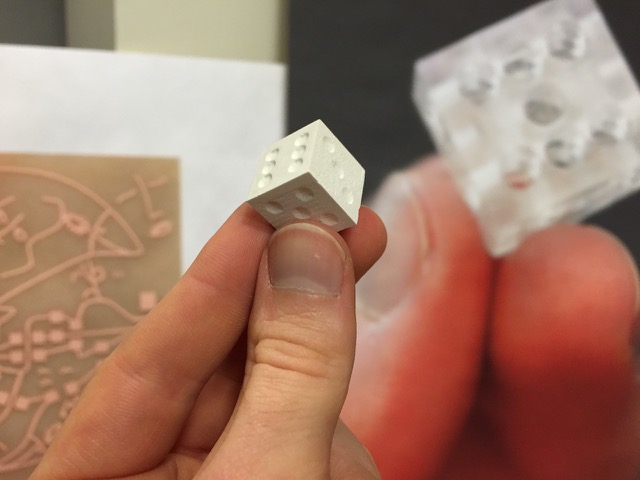
After casting carefully, the sprue and excess need to be removed and I did that first my hand, then a bit of sanding, careful to keep the sharp edges.


Vacuuming the Resin
The resin bottles said shake vigorously before use, but I believe I shook too hard/didn’t wait long enough for it to settle. I decided to vacuum the resin to get rid of the bubbles, which seemed to work well, initially. While vacuuming the resin, the vacuum is supposed to reach around -29Hg and it was only reaching -27 or -28. Because of this, the bubbles took a while to settle, and I left the resin in the vacuum chamber too long. Just before I was going to pull the resin out of the chamber, I noticed that the cup was melting slightly, and then instantaneously, it seemed the resin had cured, creating some beautiful bubbles locked inside. Here is an image for the resulting cup.
