Embedded Programming: Simple Button + LED program
This week I programmed my board such that when the button is pushed, the LED turns on, and when it is
released, the button turns off.
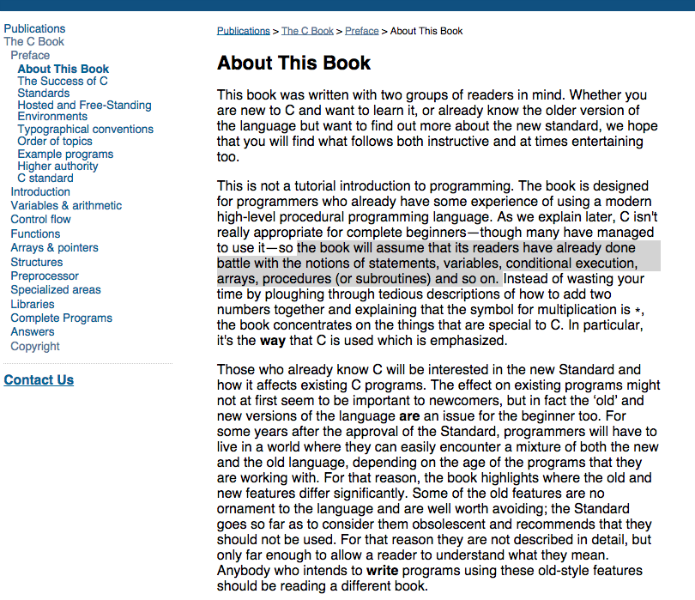
Initially I wanted to start as basic as possible and try writing the program in C, however when I began to read
"The C Book", the preface clarified that the book would not be useful for novice programmers and that if one was
not already familiar with "statements, variables, conditional execution, arrays, procedures (or subroutines)",
etc, it was not an appropriate book to read.
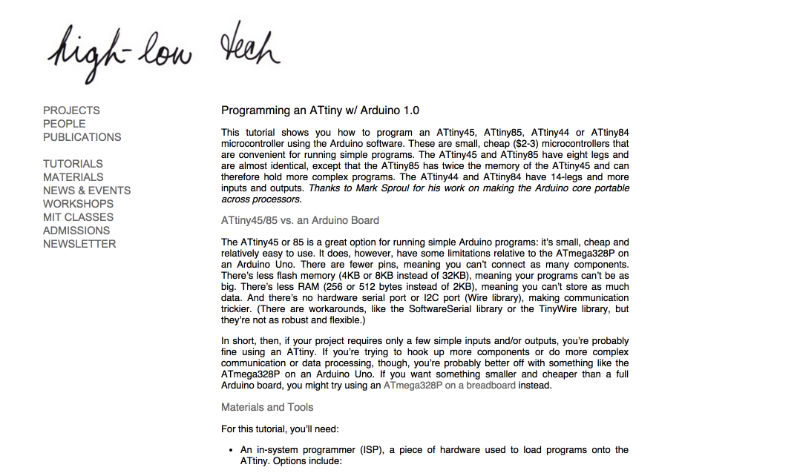
Luckily, I had some stellar help from classmates and from the following
website: http://highlowtech.org/?p=1695
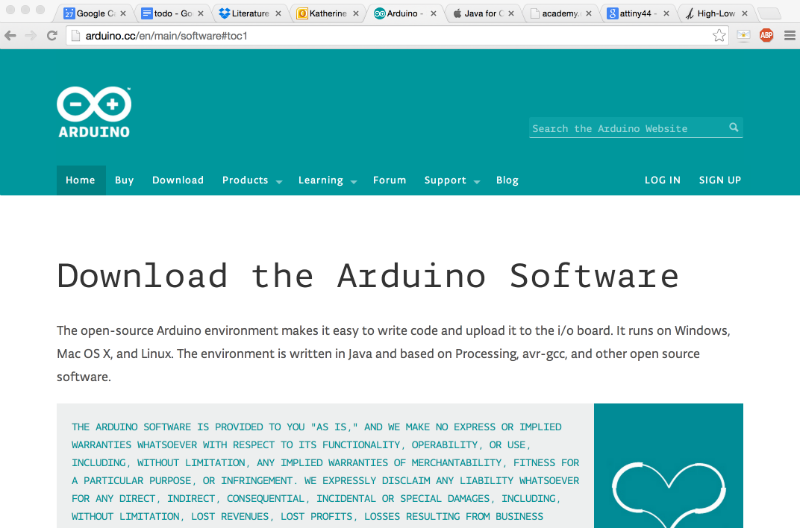
 Following the instructions on this website, I downloaded the Arduino programming environment software.
 I then imported the attiny library into the Arduino "Board" tool, and set the board to ATtiny 44 20MHz.
I also set the Programmer to "USBtinyISP" under "Tools".
Next I opened up the "Blink" example under "Basic" examples under "File". This is the Blink example.
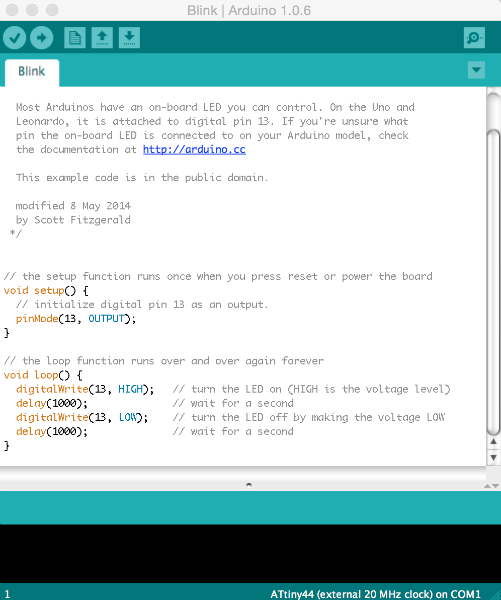 The Blink example wasn't working, so I tried switching the direction of my 2x3 pin connector cable, and
then I checked my pin number for the LED connector turned out it was different than the pin number used in the
example. Once I changed that, the board blinked. One thing to note is that the blinks were really long, probably
10 seconds. Apparently since we use our fab ISP, the time on "delay" is off by a factor of 10. Now it was time
to edit the code to make it take the button push as an input and not to blink, but just to turn on, which I did
as you can see below.
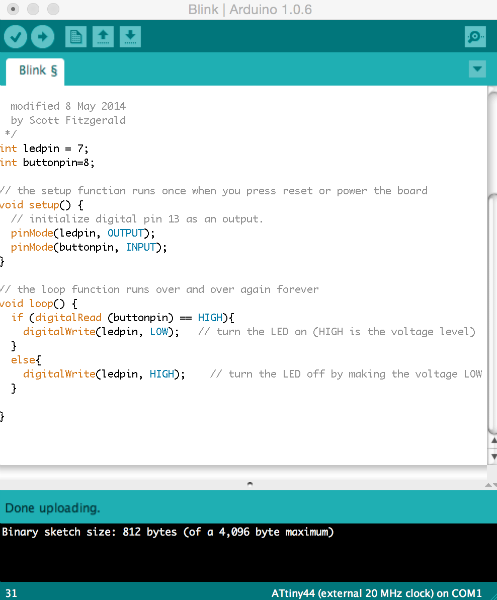 One thing to note is the for loop, the other is the global variables, which I've heard are a fine habit in
the Arduino Programming environment.
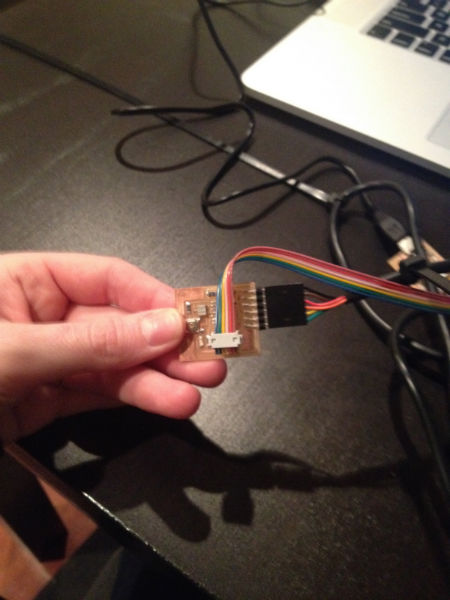
And... here I am not pressing the button. No push = no light.
 And... here I am pressing the button. Push = Light.
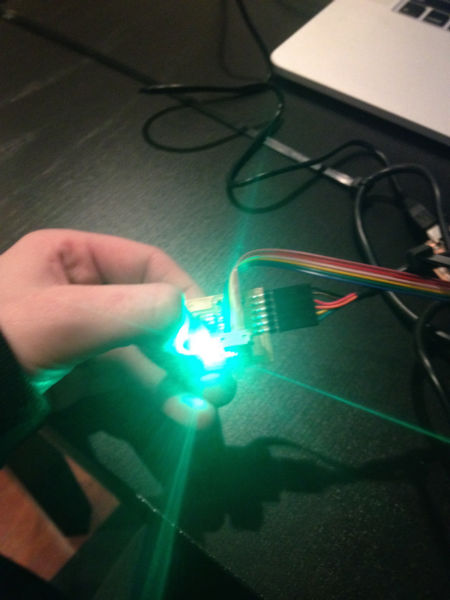 Success!!


