Ball Bearing Printing Step1: Designing Ball Bearing
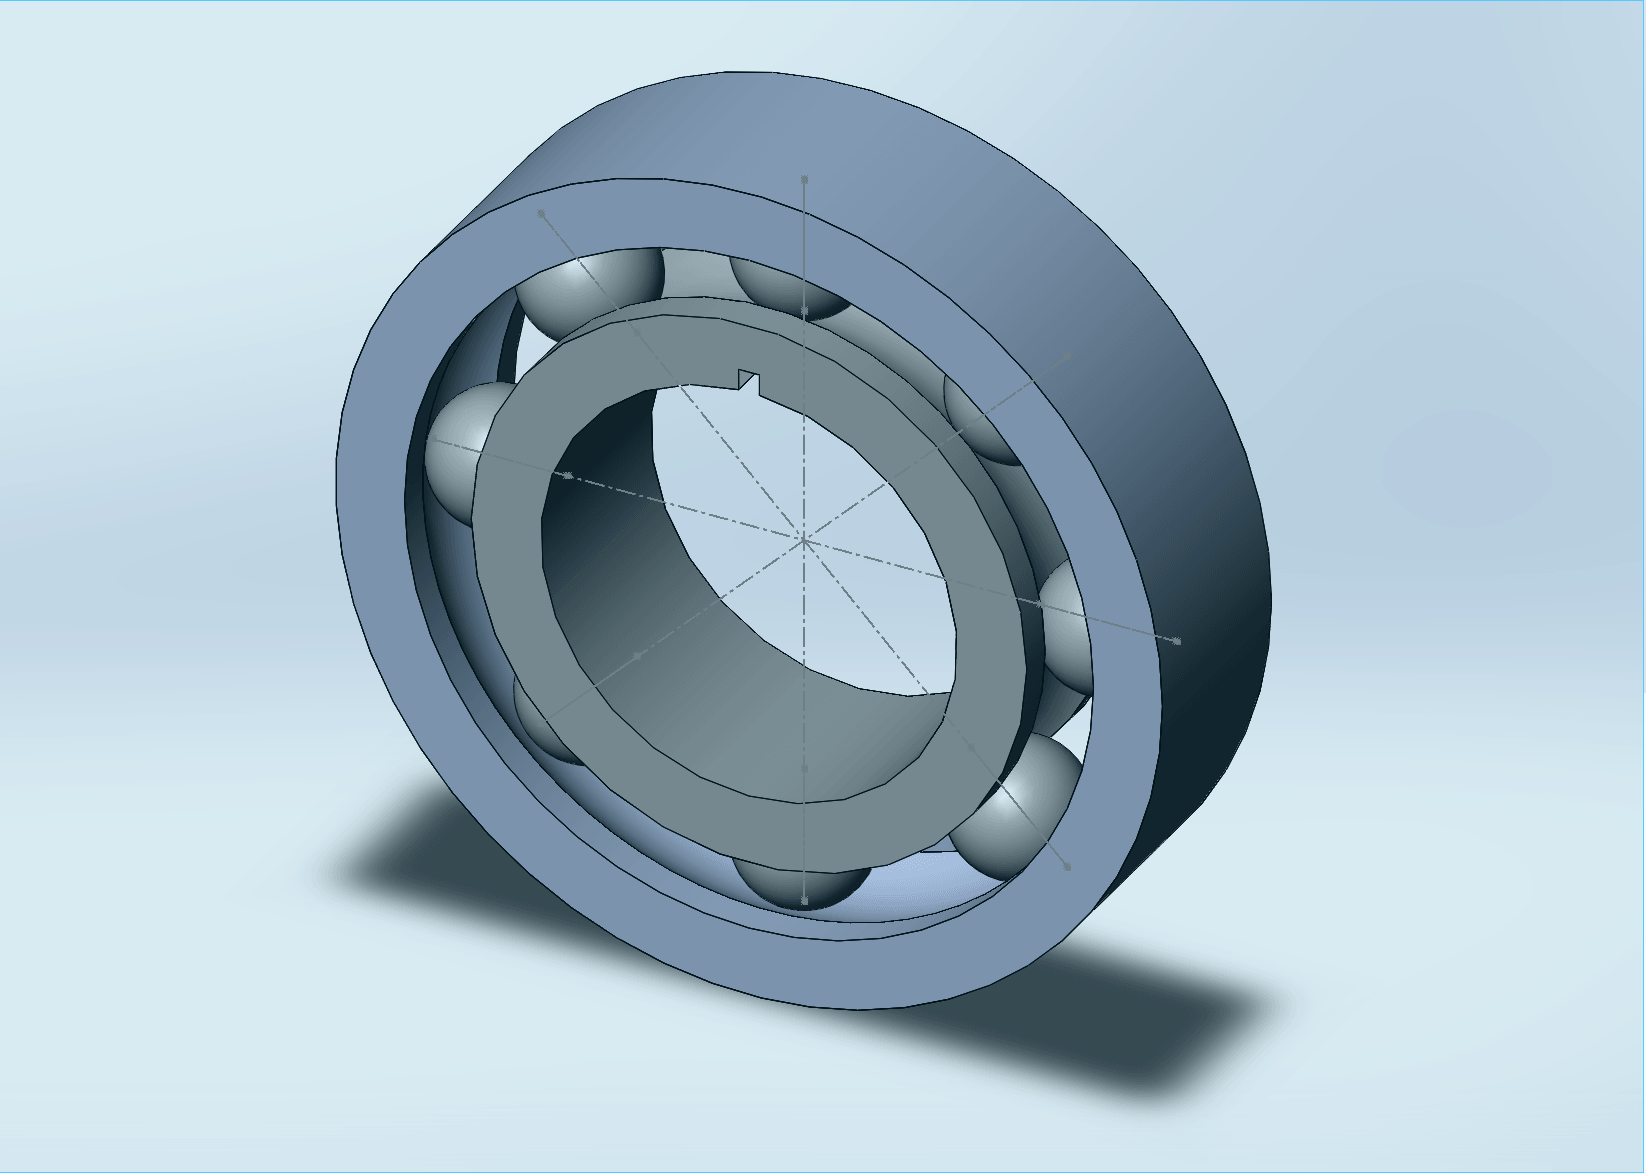
I designed ball bearing with three components - Outer housing, Inner housing, and balls. I designed outer housing and inner housing using "Revolved" feature after sketching cross-section of them. I refered several tutorials available online to learn how to design it. To mate balls and housings, I put points and center lines to both components. Also I made the ball smaller than my paper-written sketch to create 0.25mm gap between each parts allowing 3D printing at the same time adding support material.
Ball Bearing Printing Step:2 3D printing
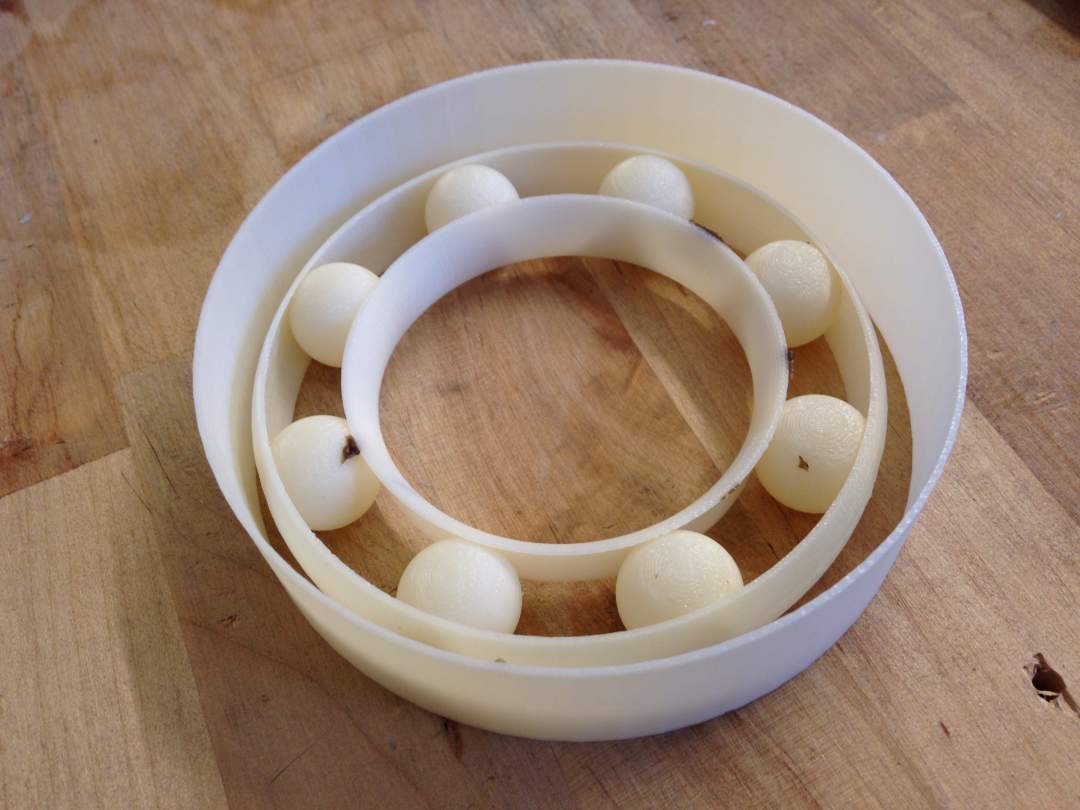
When I arrived at IDC lab, I couldn't find any ball bearing, but uncompleted ball bearing! Sign...I think open surface is the cause of this problem. I made cad model using "revolved" function, sketching cross-section of outer and inner housing. I thought the cross-section is closed but it could be open. I will check it later.
Pikachu 3D printing Step 1: Importing stl file to SD card
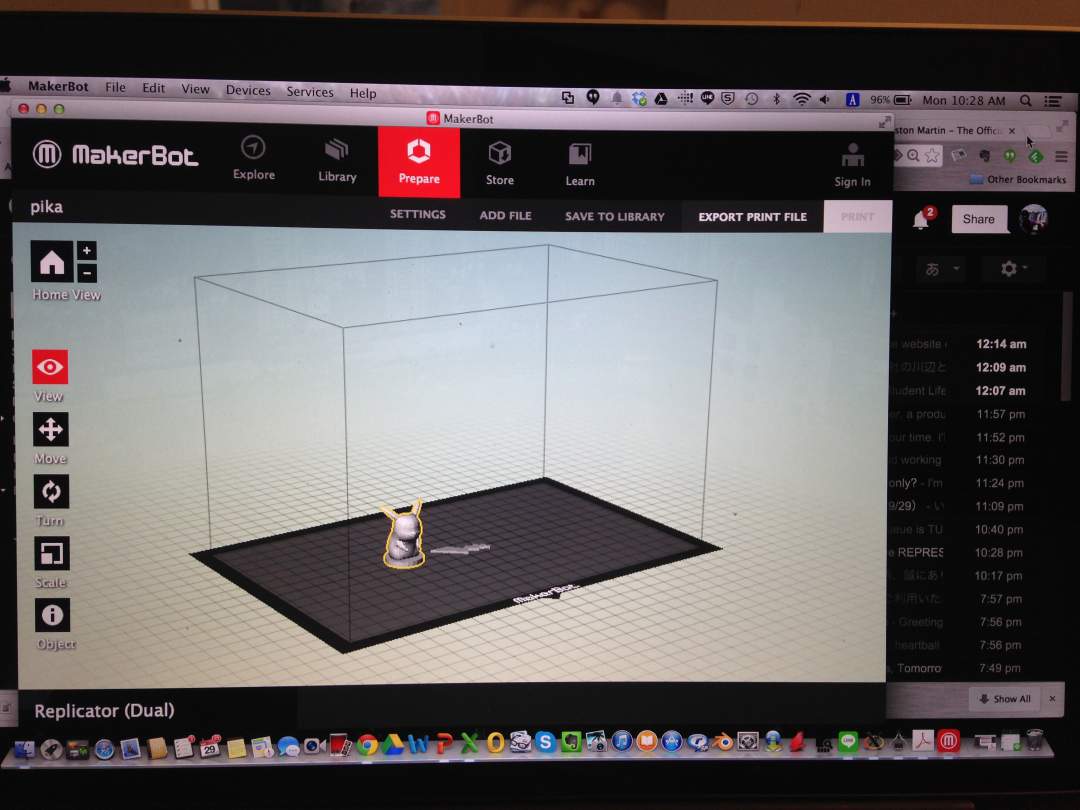
As I didn't know the password to login a PC at fablab, I installed makerware to my PC to translate stl file. I set the configuration choosing PRA as material and using support.
Pikachu 3D printing Step 2: 3D printing
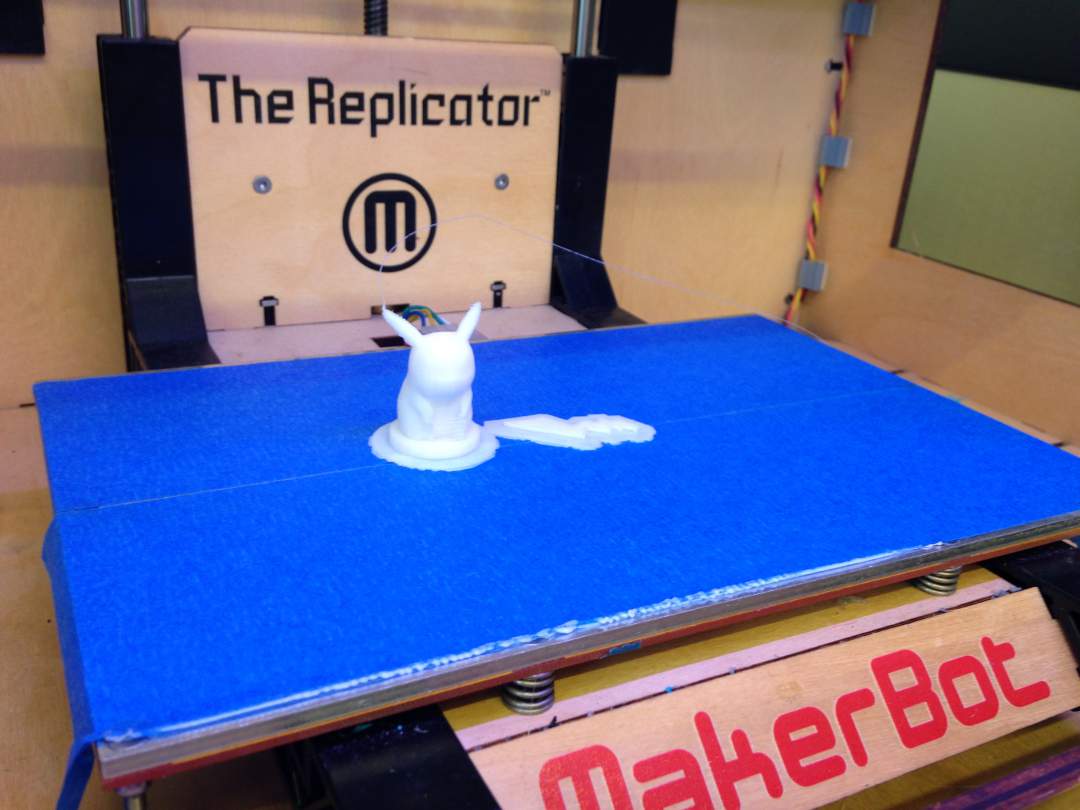
The height of the model was apploximately 25mm, but it took 30 minutes. If I would make double-sized model, it would take close to 2 hours.

Pikachu 3D printing Step 3: Assembly
The parts I needed was printed on a base, so I needed to take out needed parts from it. It was little bit hard and dangerous process, so keep watching the direction of scraper goes is extremely important for safety purpose. Finally I assmbled tail and body using hot glue.
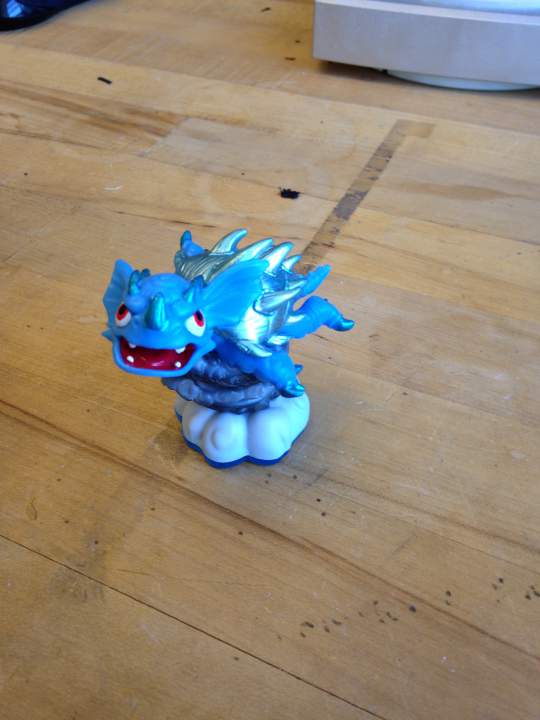
3D scanning Step 1: scanning small complex object
Initially I wanted to scan above toy, but it was extremely difficult with Sense. First, if the object is small Sense can easily miss tracking. Also, you need to move scanner alot to scan complicated 3D structure, and it cause miss tracking again. Finally I gave up to scan this, and moved to scanning Another one, car model.
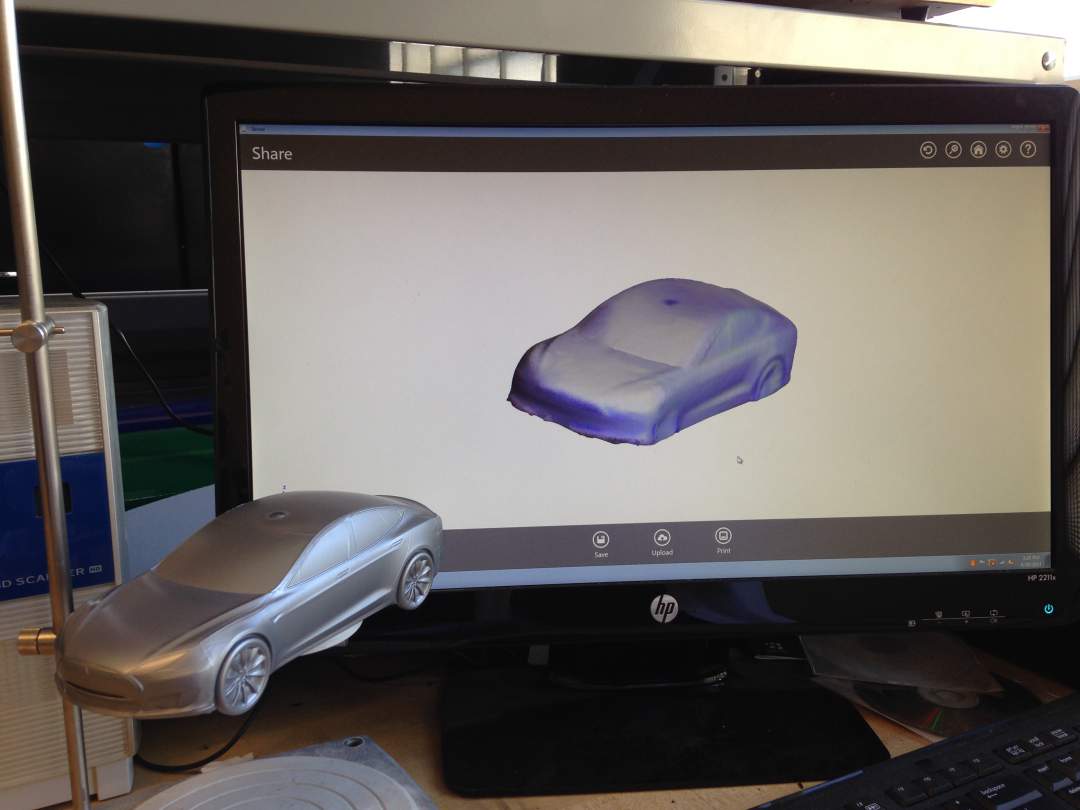
3D scanning Step 2: scanning small simple object
Scanning process of a car went smoothly. Still I had some issues about miss tracking, but it was okay compared with previous attempt. Finally I got look-like-actual-model scanning data! However, scanning process using Sense can contain so much human errors. Esecially the way to move the scanner is totally unreliable process. I feel using more robust scanning process is better, like MakerBot's 3D scanner with rotating table.