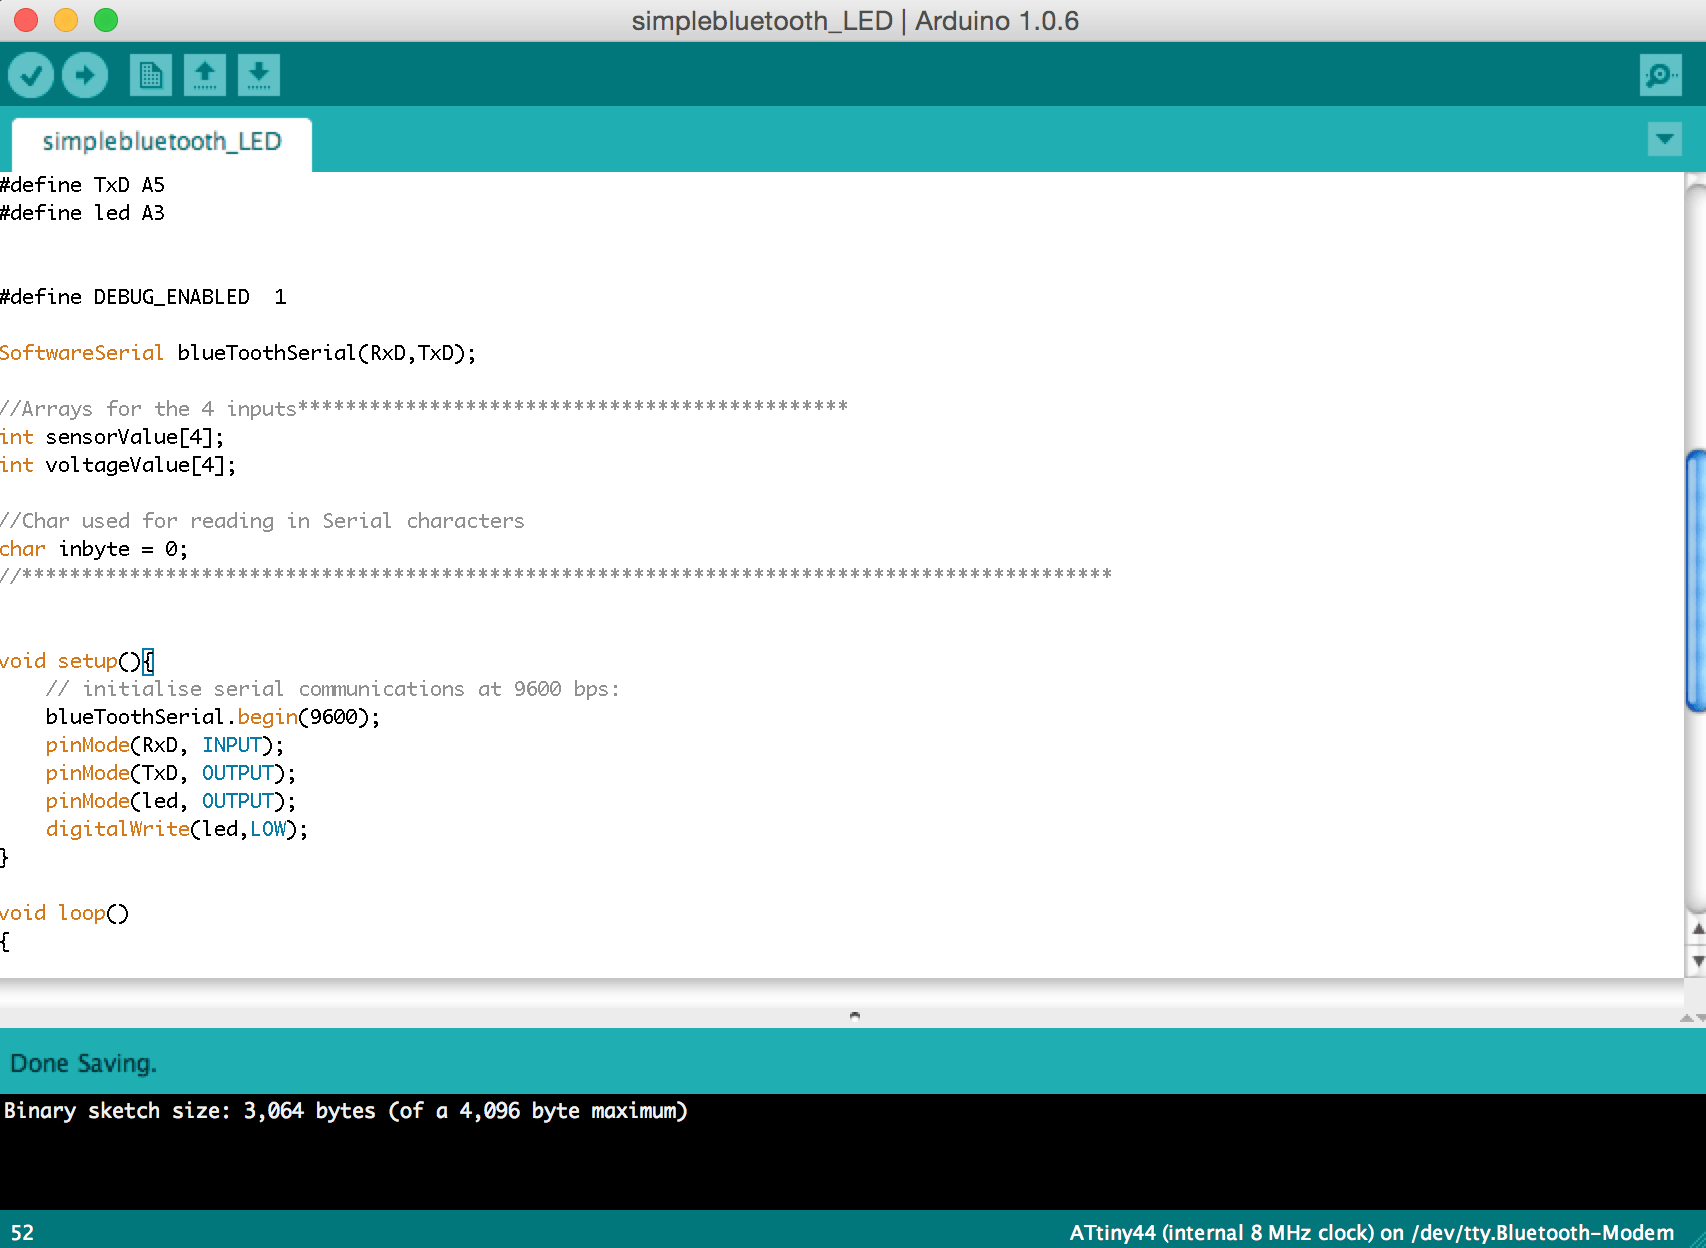
Step 1: Programming Attiny 44 with Ardino IDE
The App's function is sending signals from Android phone to turn LED light ON and OFF. What I need to do in microcontoller side are 1) setting up bluetooth serial communication and 2) defining input and output pins assignment.
Here is my source code
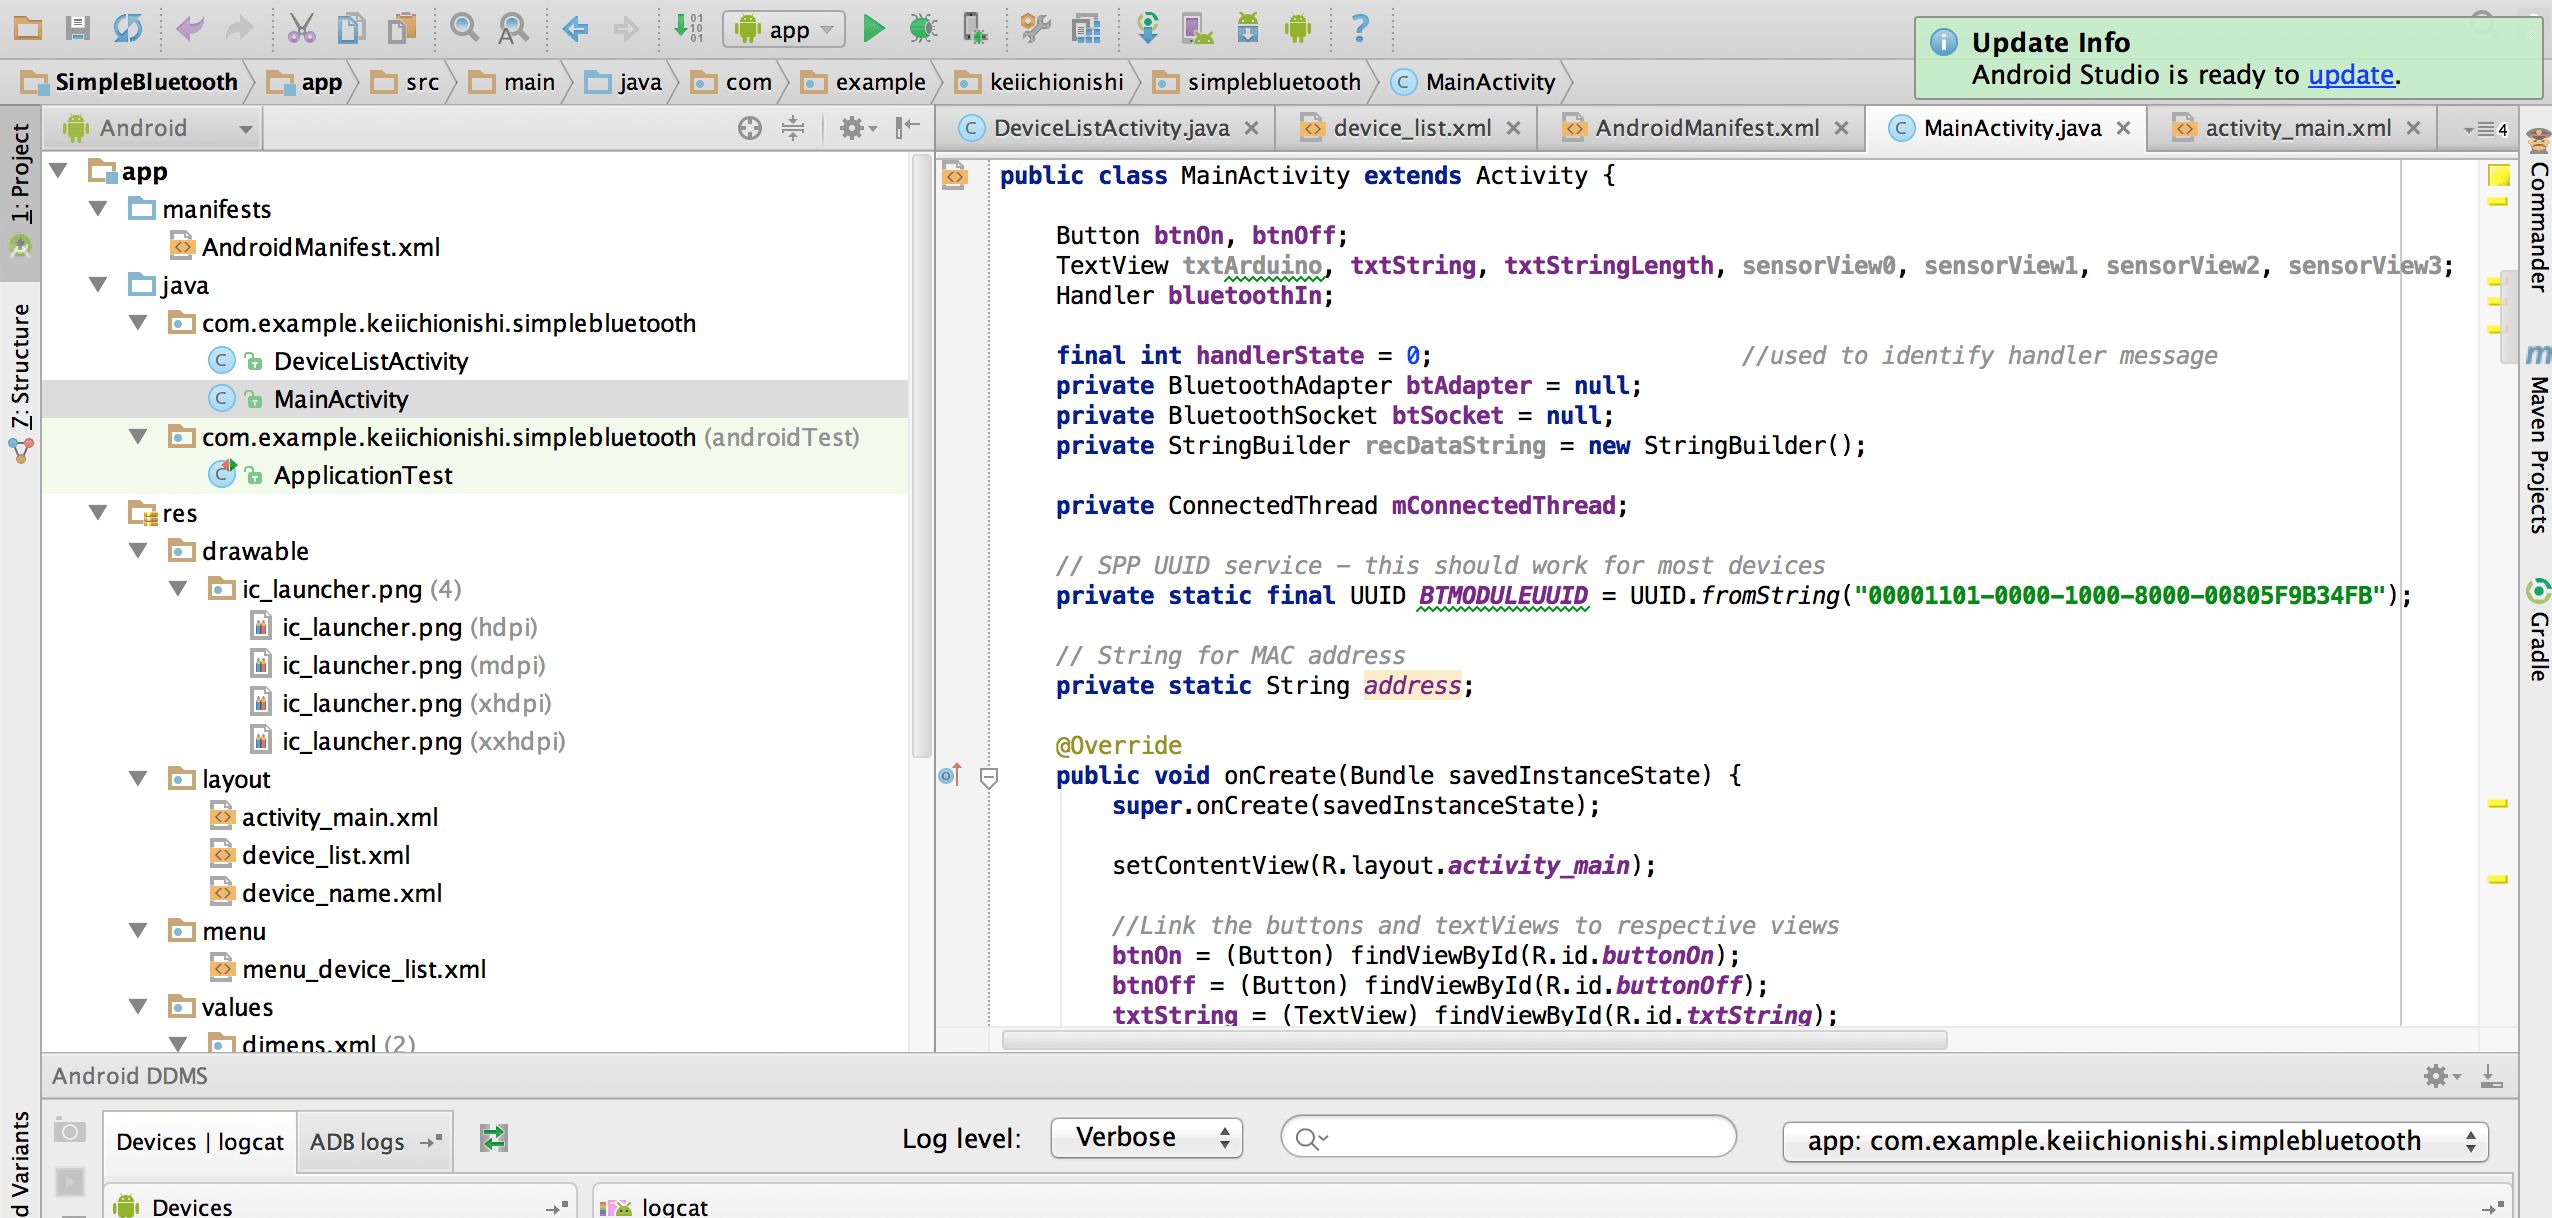
Step 2: Programming Android App: SimpleBluetooth
Here is an exciting part, Android App development! First, you download and install Android Studio following instruction. The process is pretty straightforward if you follow the instruction. It's currently in beta but will be the official Android IDE once it's ready. As the ADT plugin for Eclipse is no longer in active development, using Android Studio would be better option if you are new to Android development. As for bluetooth communication, this tutorial provided by Google is quite useful. You can refer some sample codes on the website as well.
Here is my source code
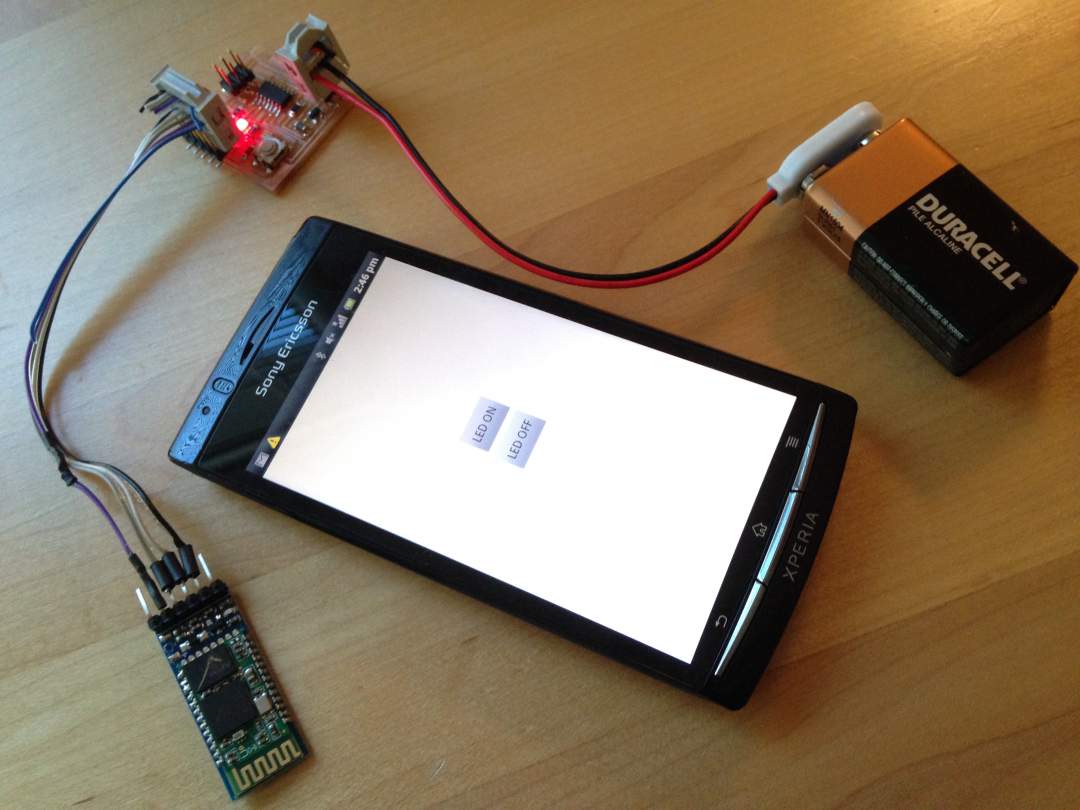
Step 3: Final product
After struggling debugging both Arduino and Android, I successufuly controlled LED on my circuit board from my phone.