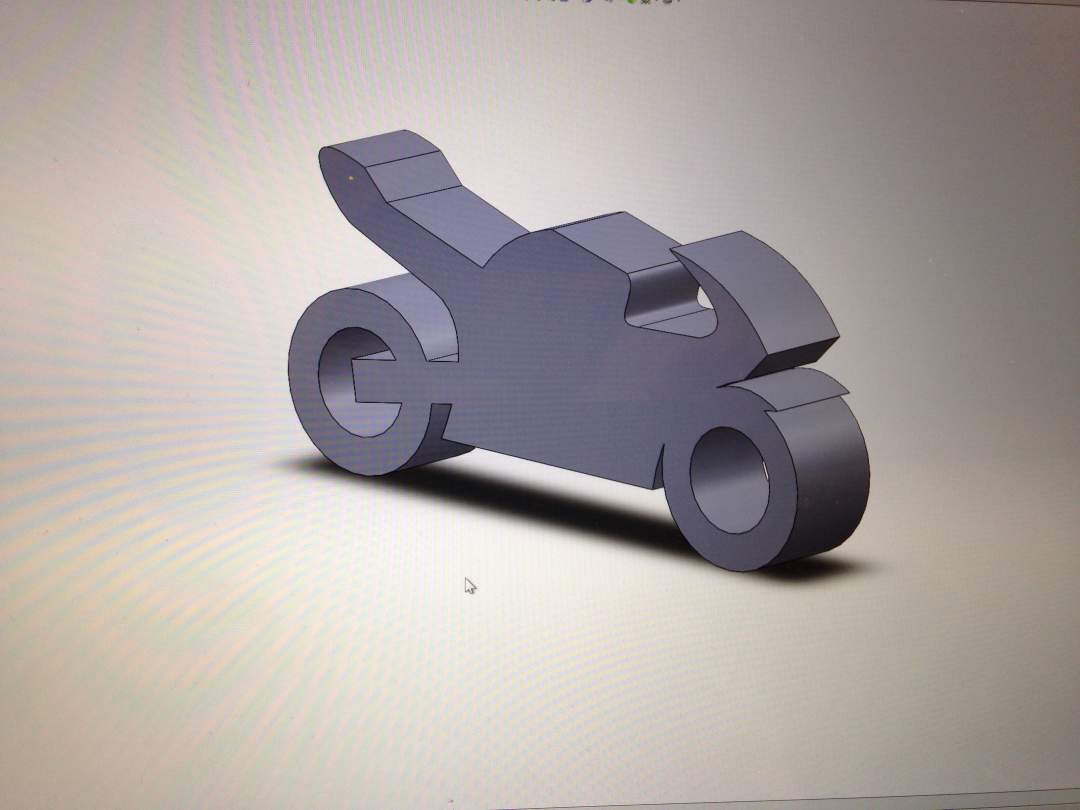
Step 1: Designing positive mold with SolidWorks
I designed positive mold using SolidWorks. To minimize machining time, I set the gap between surface of wax and the top surface of positive mold. I saved STL file to translate it into png file.
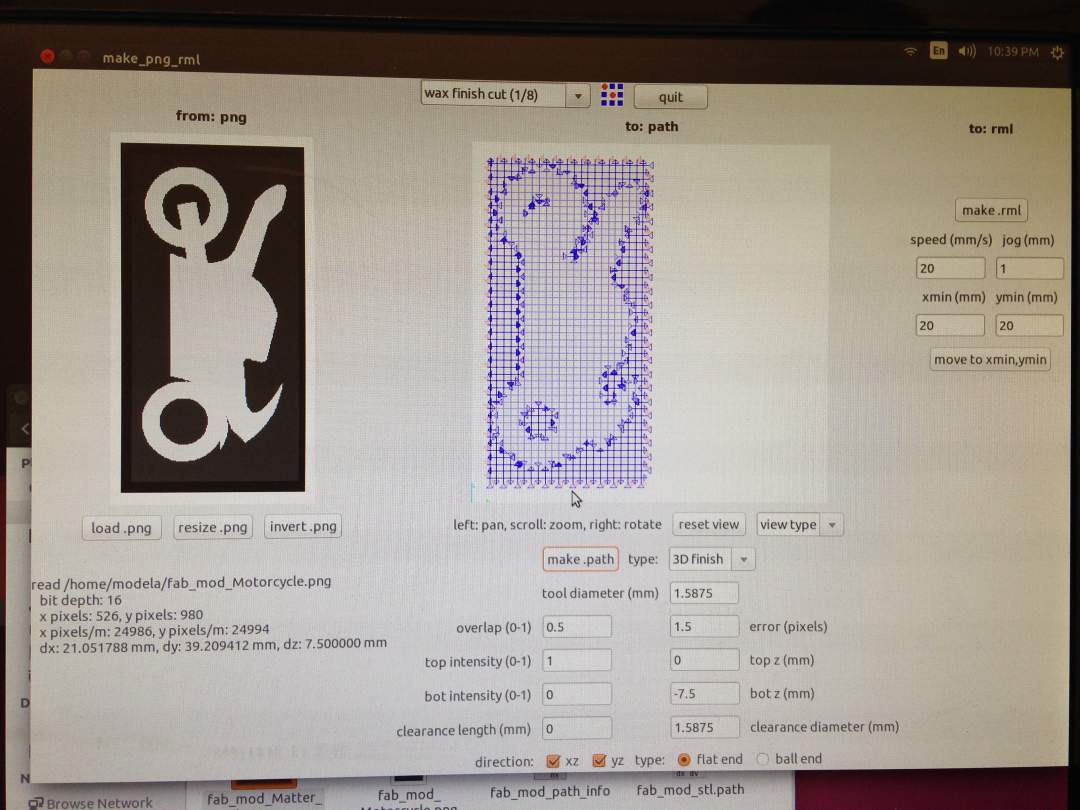
Step 2: Translating STL file to png, and getting tool path
I loaded STL file and generated png file which is readable for fab.module, then got tool path. I cut wax two times: rough cut and fine cut. I needed to load png file and get tool path twice. Here is a caviar: fab module and modela is not smart enough to understand which portion of wax has been removed. You should make sure tool path in appropriate and tool you use have enough cutter length before you run modela. You also need to make sure your tool diamter parameter is as the same as actual tool diameter.
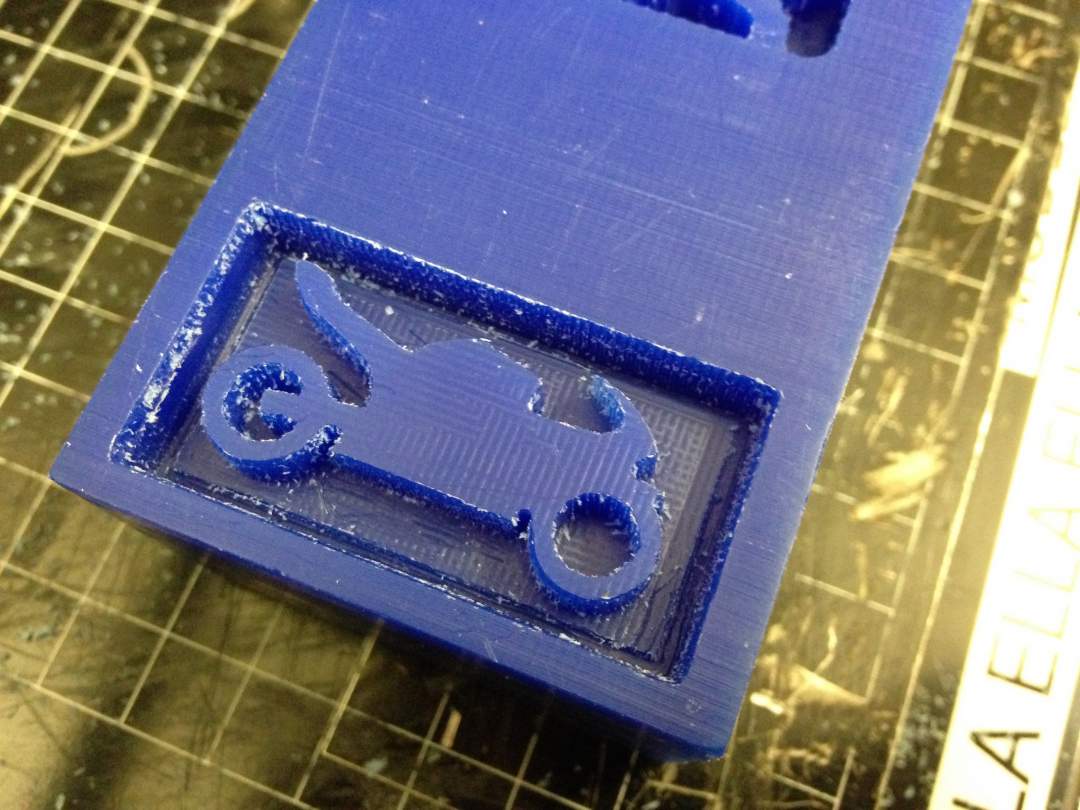
Step 3: Machining WAX
After zeroing tool height, I cut the wax two times, rough and fine cutting. Positive mold looks ok, but actually cutter length was slightly shorter for my design so that shoulder of cutting tool hit to some portion.
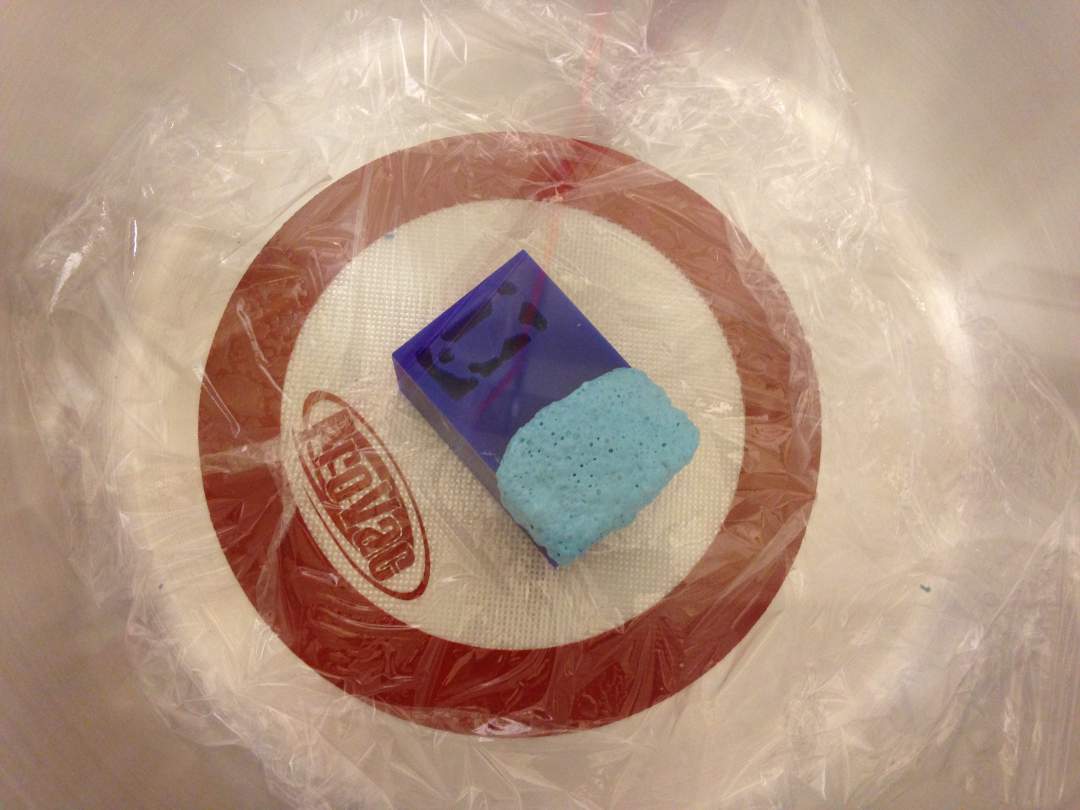
Step 4: Pouring material for negative mold and vacuuming
I poured OOMOO-25 to wax and leave it for one night after vacuuming air in vacuum chamber. To make sure there is no air pocket, I arranged the order of process a bit. First step is filling 70% of cavity in volume with silicon rubber, then vacuuming before I filled rest of cavity. Finally I vacuumed the mold again until I didn't see any bubbles coming up. I left it for one night to cure the rubber.
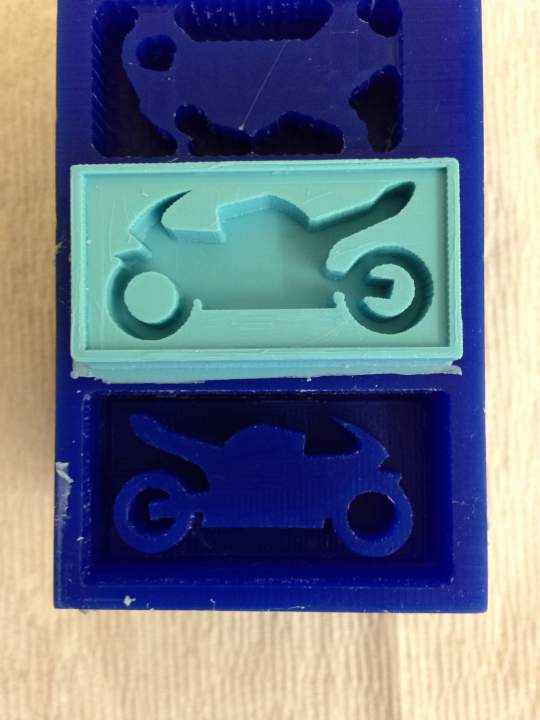
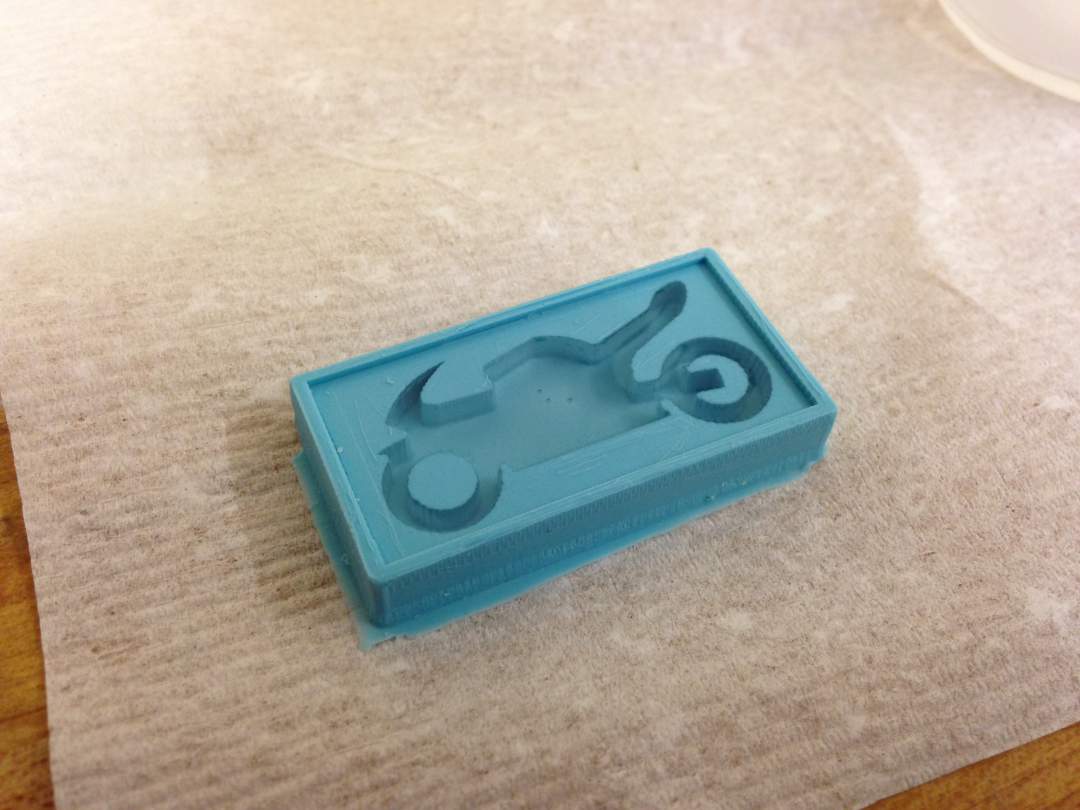
Step 5: Taking out negative mold
I could easily take out the mold because my mold height was just 8mm. If it were 30-40mm, I would have put draft. I didn't see any bubbles inside the mold!
Step 6: Casting product
I poured Smooth-Cast 305. The color of the plastic is transparent initially, and it turned into white finally.
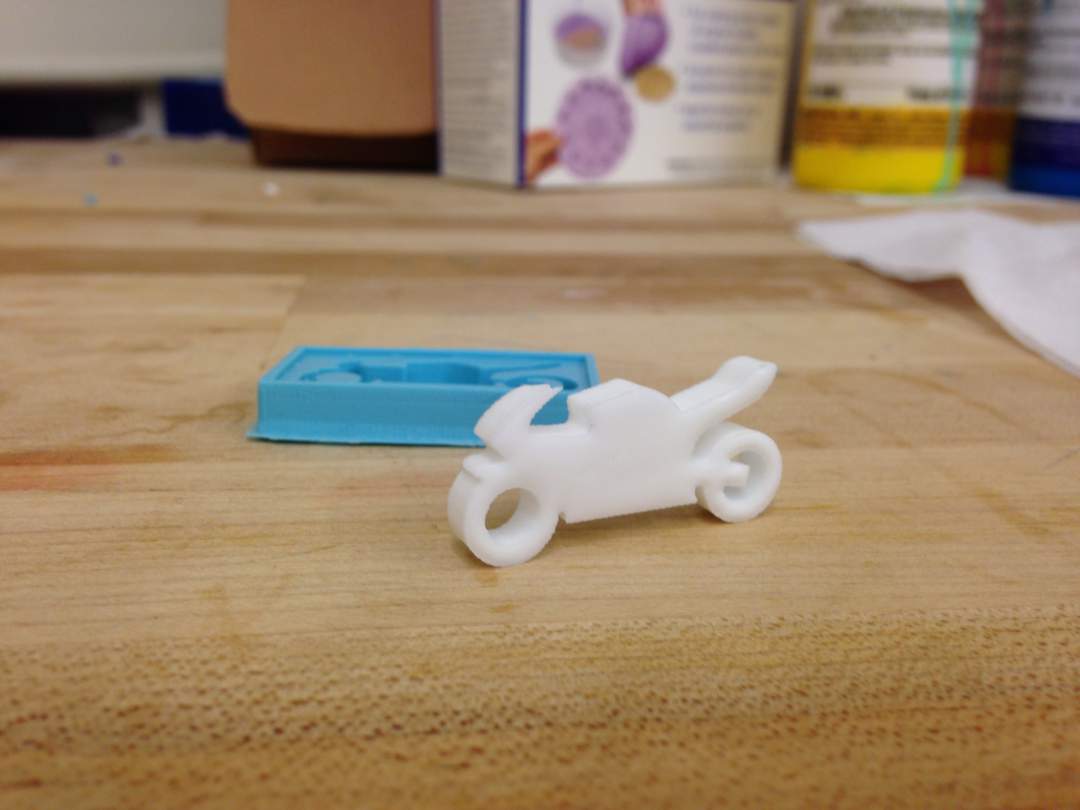
Step 7: Taking out final product
I could easily take out the mold without breaking mold and parts. Using soft material for mold allowed me to do that.