Step 1: Design PCBs -master and slave-
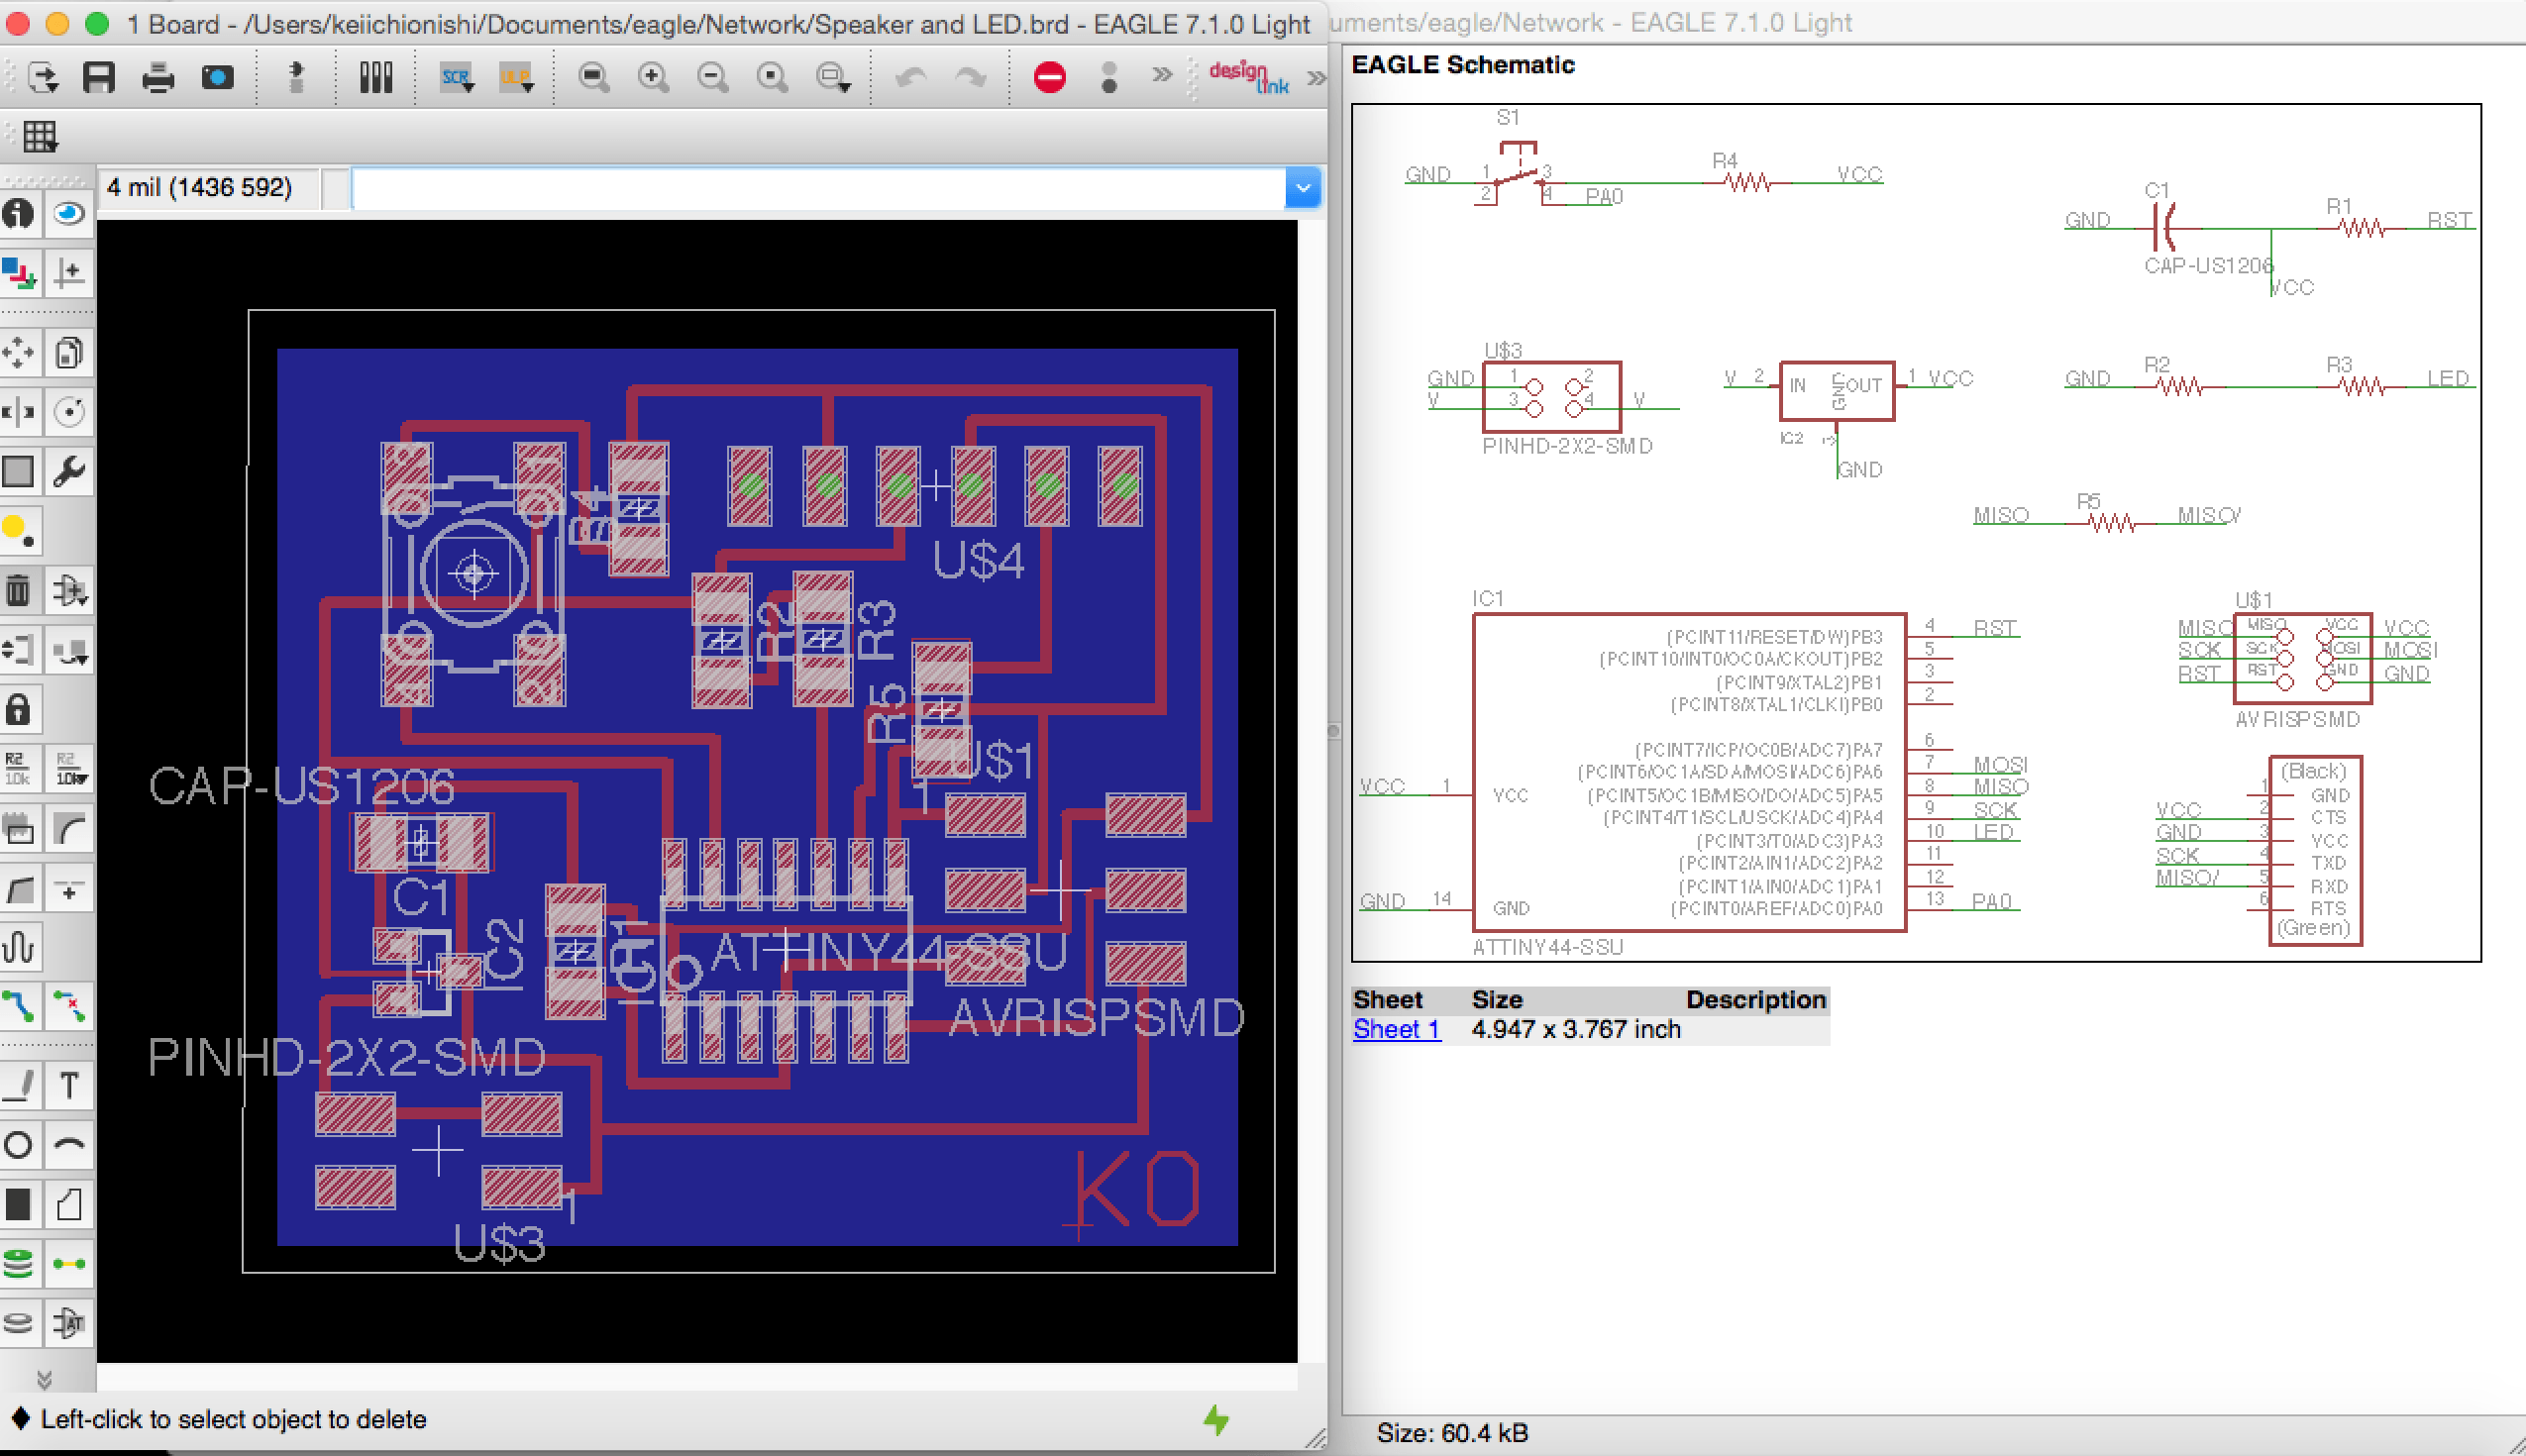
I modified my speaker_LED board I designed last week, using Attiny44. I was intended to use the one as a master of bluetooth communication. Important part of design is 1) connecting RX of HC-05 bluetooth module to TX of Attiny44, 2) connecting TX of HC-05 bluetooth module to RX of Attiny44, and 3) assign the two pins of Attiny44 as TX and RX. You use only four pins of HC-05, which are VCC, GND, RX, and TX. HC-05 module is operated at 3.3V so don't forget to put 3.3V regulator on your board.
Also I designed another board as a slave. The slave circuit board doesn't switch because I was planning to turn LED on by signal from master when I push switch on the master.
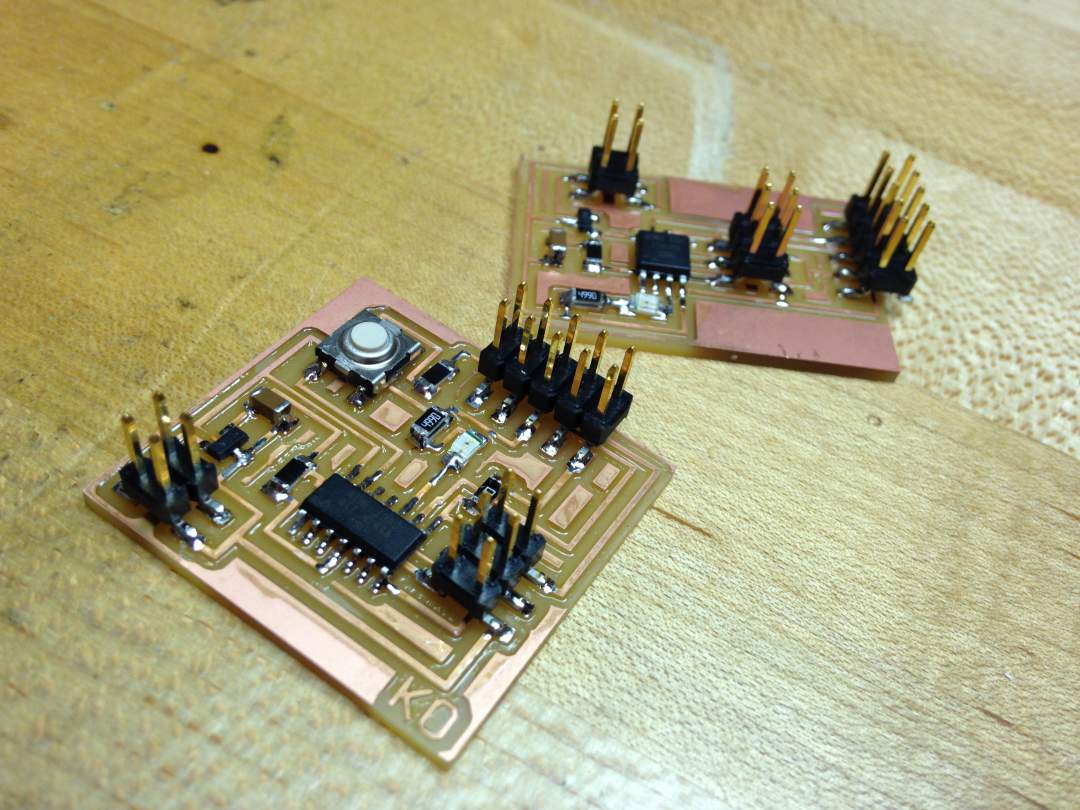
Step 2: Soldering PCBs
I soldered PCBs. I didn't encounter any issues.
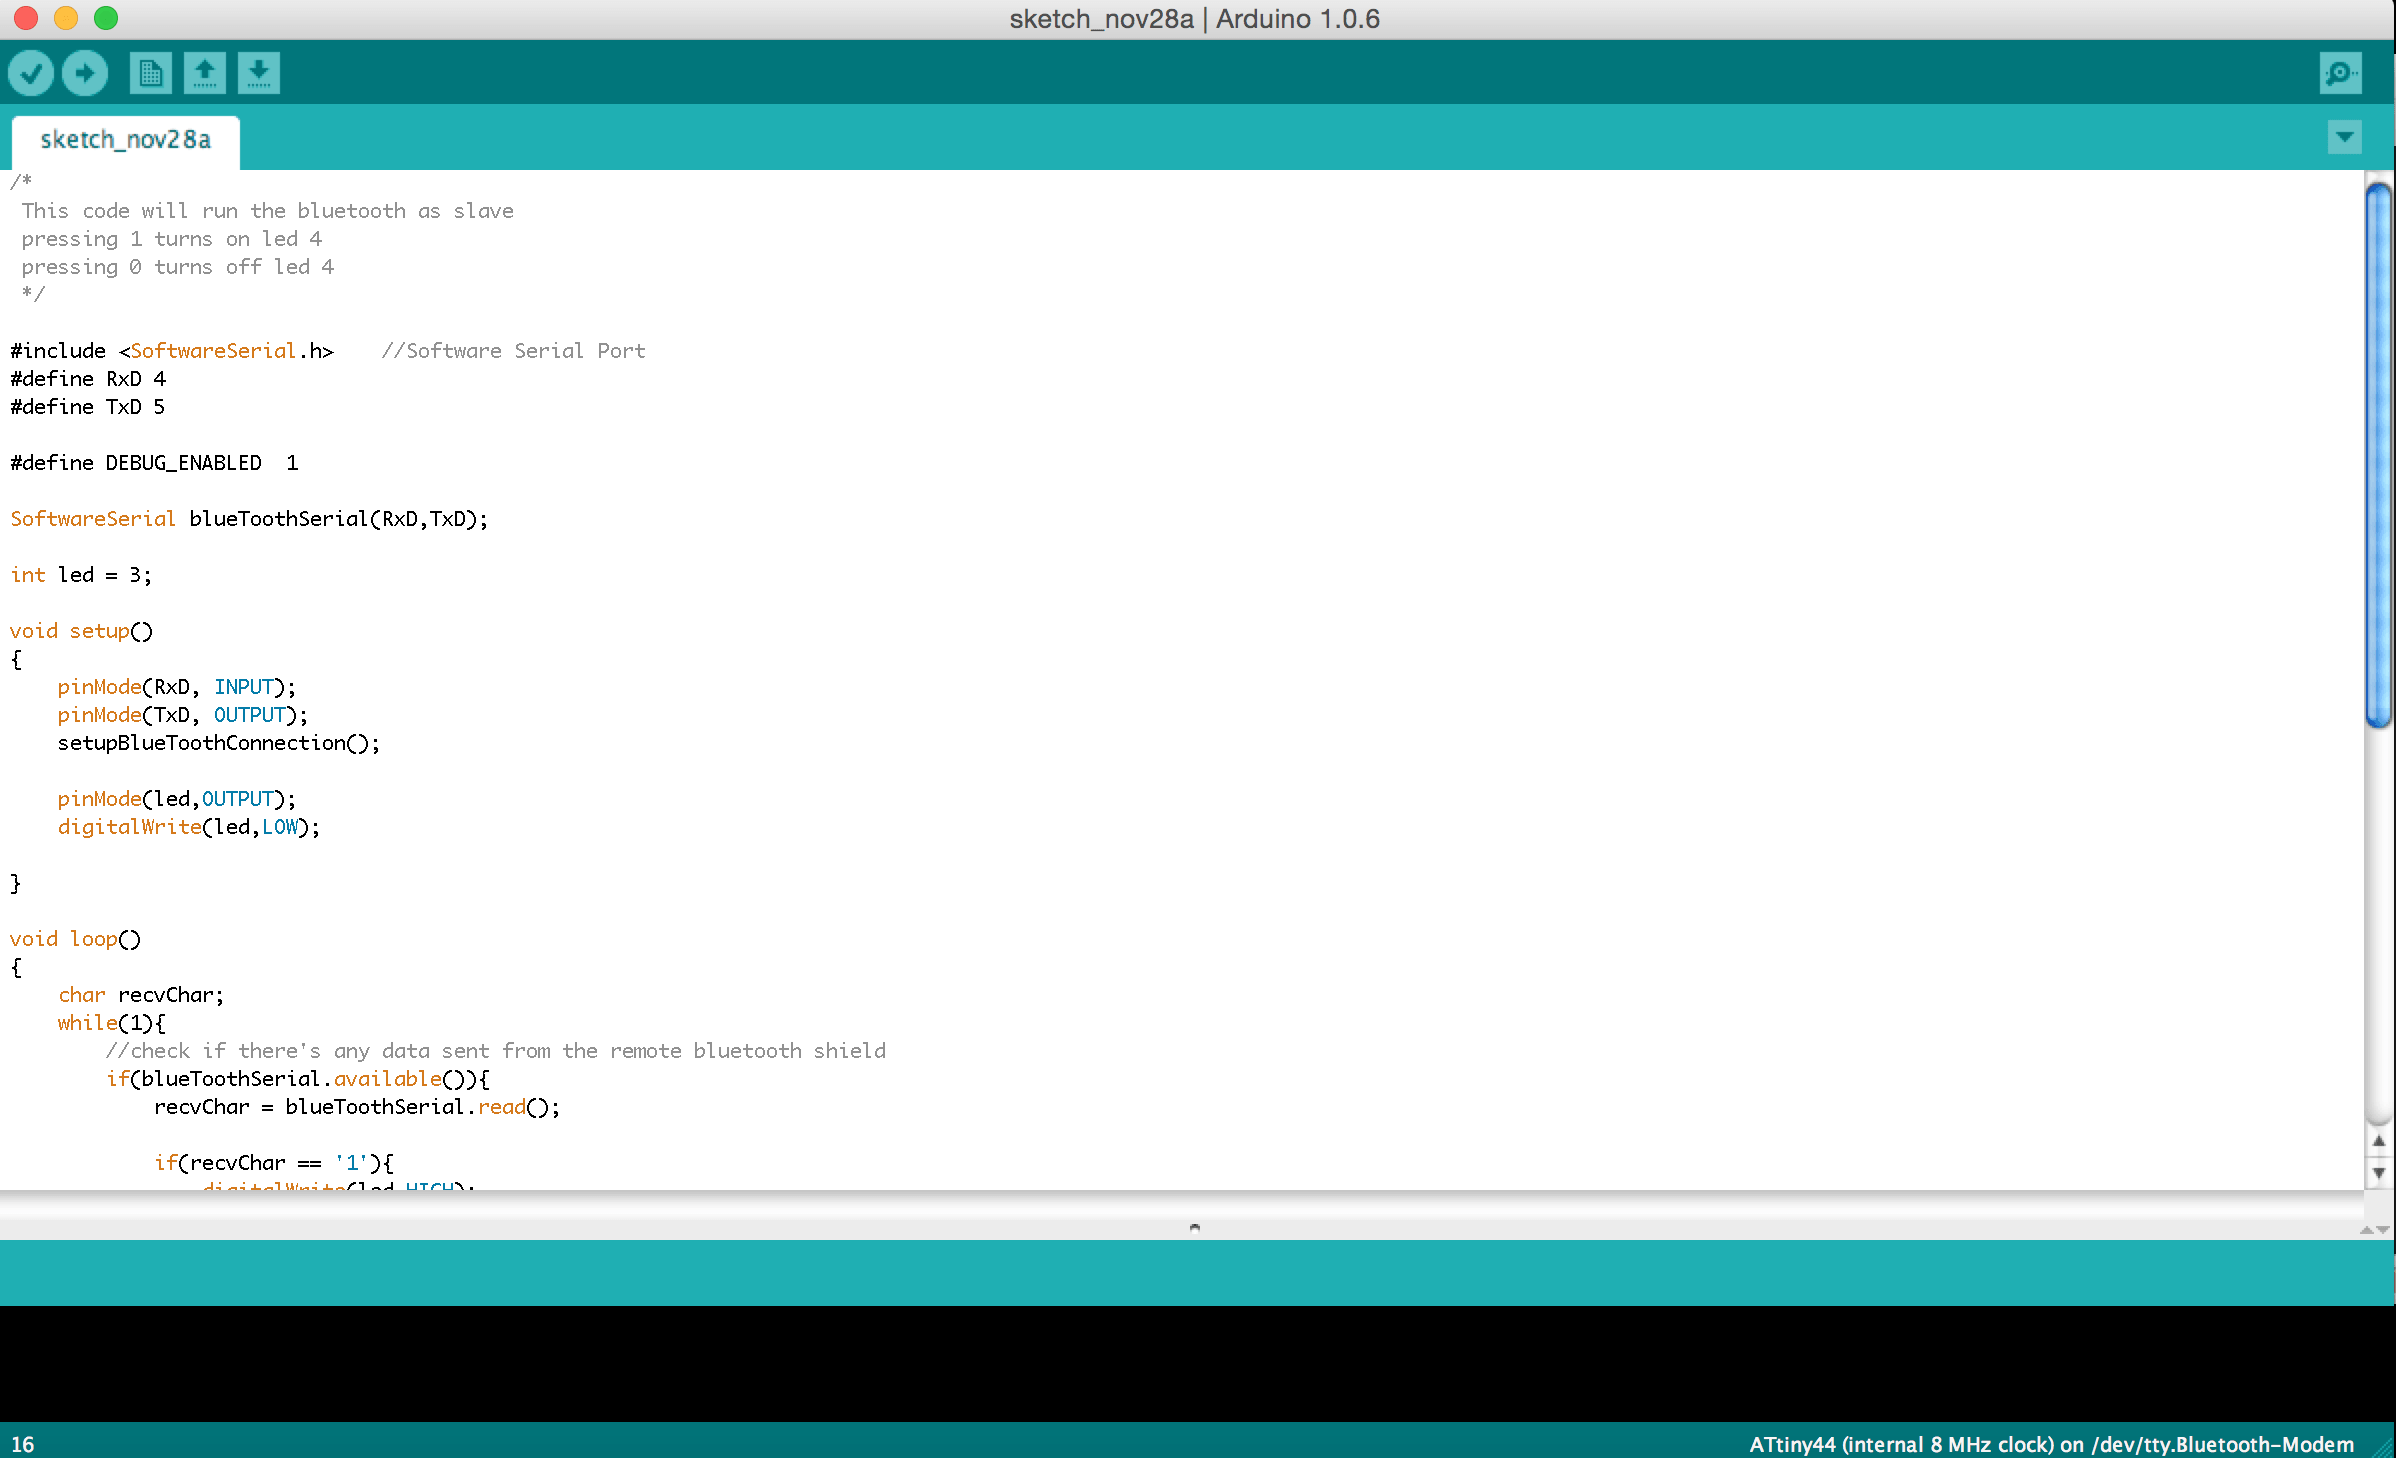
Step 3: Programming Attiny44 using Arduino IDE
I connected everything and programmed IC using Arduino IDE for the first time. The program would allow you to turn LED on master board by typing "1," and turn LED off by typing "0." I was trying to find tutorials without using arduino, but couldn't do it. I finally decided to use Arduino IDE for the first time following a turorial for setting up Arduino IDE development environment, and this HC-05 bluetooth module usage example . As Neil mentioned in a class, you don't need to make Fabduino to program attiny or use Arduino IDE.
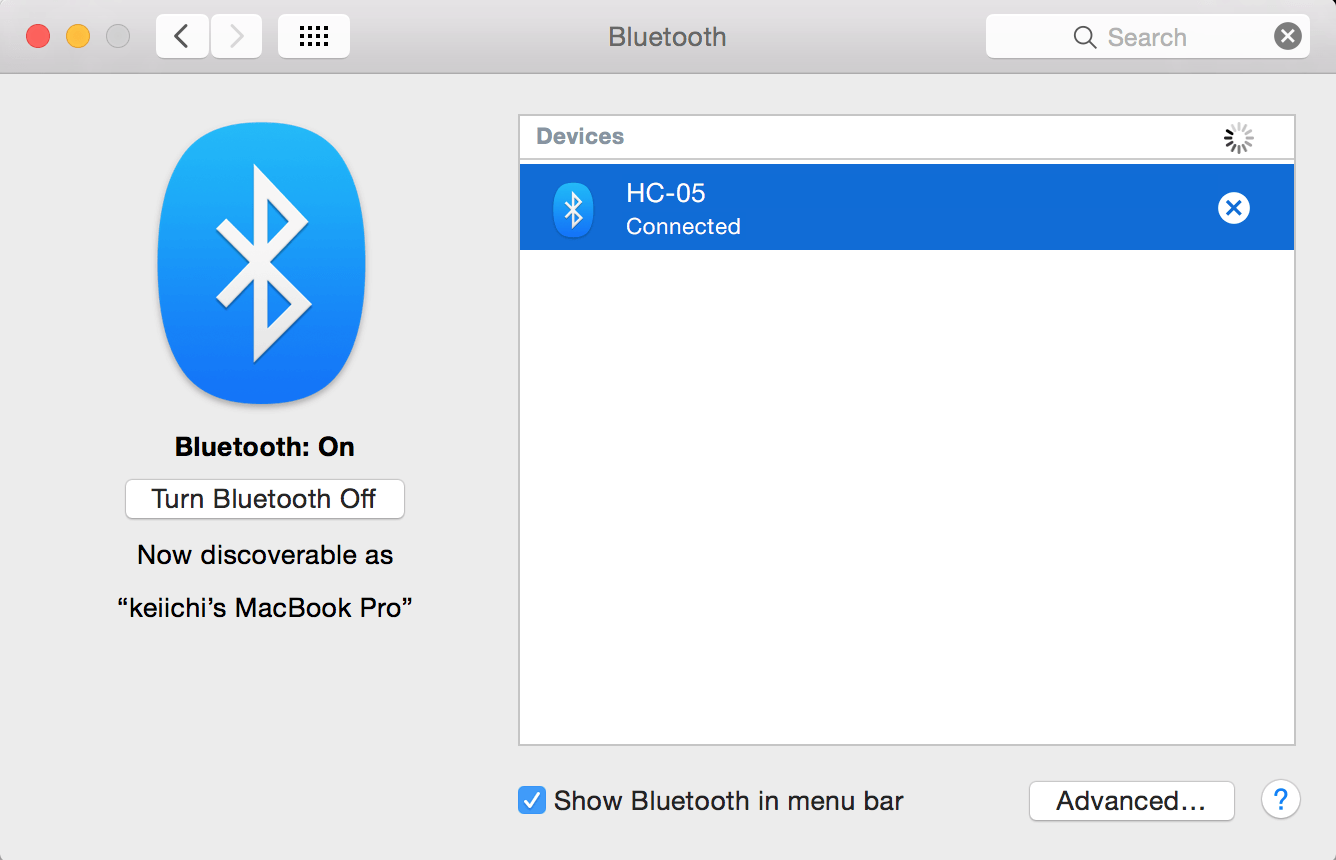
Step 4: Connecting bluetooth device to my laptop
I paired the bluetooth device to my laptop using default pairing password of "1234." You can change connection speed, device name, and pairing password by code in Arduino sketch. You can refer how to do it in tutorials I mentioned in Step 3. This was pretty strightforward process.
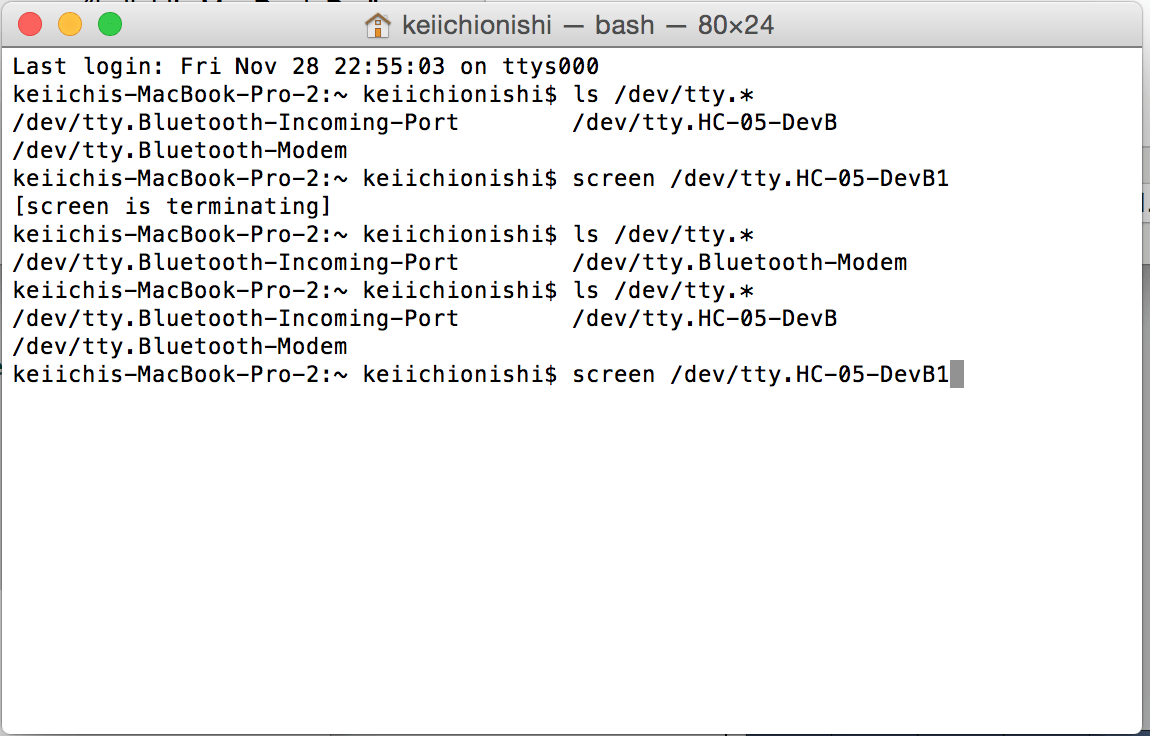
Step 5: Opening terminal window to send command
To do serial communication using Mac, you need to open terminal window and type several commands.
1. ls /dev/tty.* You can review bluetooth devices connacted to your Mac. You will see response like "/dev/tty.HC-05-DevB."
2. screen /dev/tty.(your device name) Then you type like this. In my case, that was "screen /dev/tty.HC-05-DevB." New window pops up and now you can send command to the bluetooth module to turn on/off LED on your circuit board.
