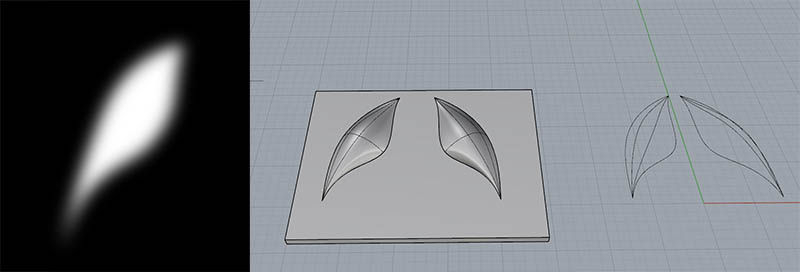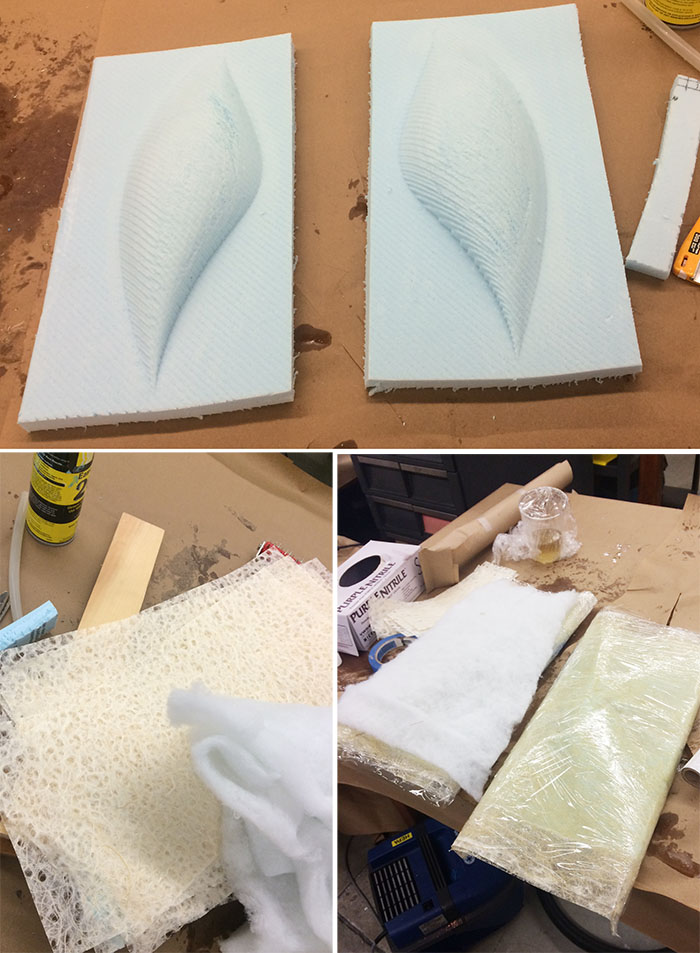
This week I want to make an illuminate seed which could become a wall lamp in my room. I started the shape sketch in photoshop, and then create curves in Rhino to loft the surfaces I need. Then bring the stl file to shopbot to mill the mold. I used ¼” cutting tool to mill the blue form board.

For people who use ShopBot PartWorks3D, it is helpful to select the” fit to material” function. It would save you almost half of default milling time.
To create the diagonally milling pattern, I shift the fine cutting angle to 45 degree.
After finishing the mold milling, those materials below have to be prepared for composite processes.
• Fibers ( or any possible material )
• Gloved
• Epoxy
• Stretch Film
• Cotton
• Bleeder
• Breather
• Vacuum bag
• Mold Release
• Vacuum pump
• Cutting tool

(You can buy them from Blick art supply )
Step1. Cut the material bigger than the mold
Step2. Mix the Epoxy (read the data sheet first)
Step3. Spread the Epoxy on the layers of the materials
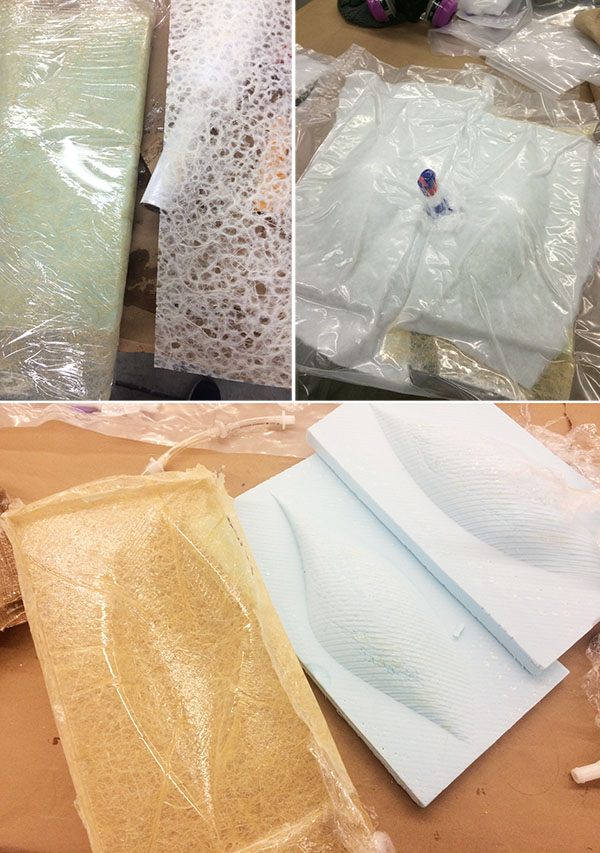
Step4. Locate them with the diagram below, and then suck whole thing with vacuum machine.
