Week Six: Molding and Casting
I lost my keys the other day. Luckily, I had decided to write my contact information on the key fob just a few days before, and a kind person found them and told me where they were.

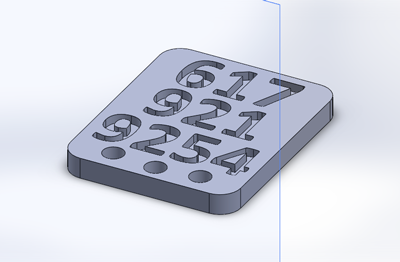
As you can see, the Sharpie is smudging a lot, so I need a better solution. I'm going to try and make a key fob with my phone number on it. Here's my model in Solidworks, which I then exported to STL:
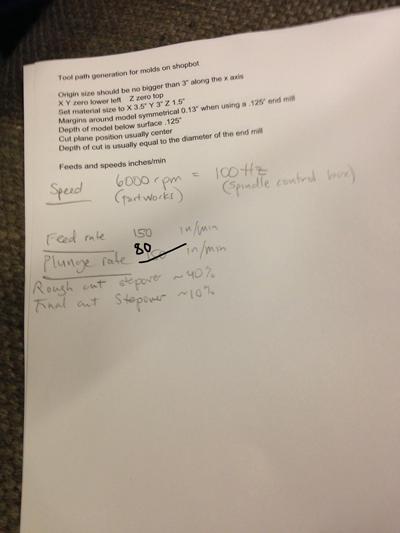
To mill this I was going to use was the small ShopBot in the CBA shop. Here are the suggested settings for creatign a toolpath in PartWorks 3D:
The 1/8" end mill was too large to cut the numbers. We had a smaller size, but its diameter increased a short distance above the cutting end, so it wasn't going to be able to cut the grooves around the edges. So John helped me do this in two steps, milling the outline of the fob with the larger end mill and the numbers with the smaller one.

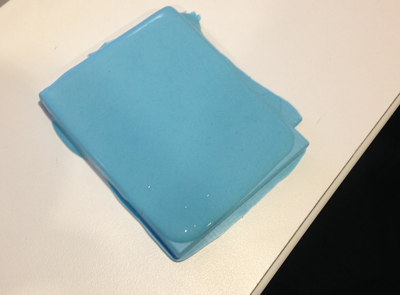
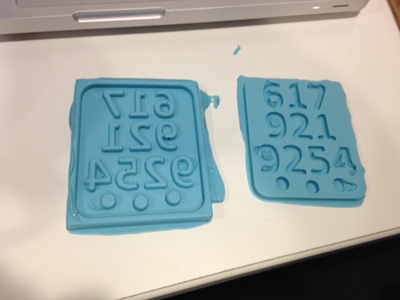
I made the negative with Oomoo. I tried to stir gently and tap bubbles out, but I think I created some air holes in the numbers by pouring too quickly. A funnel might have worked better than a plastic cup for this.

Filling the silicone with silicone. It would have been faster to make the negative in wax and only cast once, but I got twice the practice this way.
I thought I'd sprayed on plenty of Ease Release, but the positive still stuck to the negative a bit, which caused some damage.
This could be made a lot nicer: keychain holes farther from the edge (the silicone isn't very strong and I'm worried it might tear), fewer air bubbles, more interesting shape. But next time I lose my keys, whoever finds them will definitely know who to text!
