3D Printing
3D printing is a very easy process for the user, they just import and stl or obj file and push print. The hard part is designing in CAD the solid model that you want to print. There is a website called Thingiverse which has a ton of crazy CAD models for free. Yay open source! I use SolidWorks because I have a student license, and a lot of people in the class use Rhino, but there are also open source tools available. One version I've seen is called Tinkercad, which is used to teach kids CAD and is actually online so you don't need to download any software to your computer. It wouldn't be good for any complex design, but for an intro to CADing it's pretty cool.
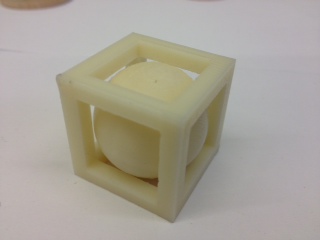
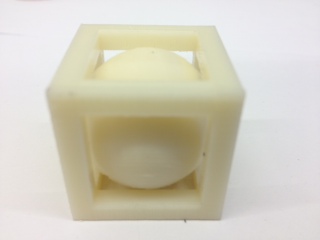
I started this week trying to make some of the sweet planetary gear systems I've seen on Thingiverse and that other people have printed, but didn't want to just copy what someone else has done and I had a hard time modeling it. I started using the SolidWorks Design library to the Toolbox (I had to download this toolbox, but it was super fast) then there are all these parts you can just import into you part file. My problem was building the frame to hold all the gears after I decided which gear formation to make and not being able to sketch and build parts in an assembly in SolidWorks, which I thought I need to do to build the frame. On Monday though, Matt Carney showed us how to build everything in SolidWorks in one part, and then export bodies to the assembly. As it turns out Assemblies are completely unnecessary for 3D printing because everything needs to be in one part anyway to save it as one STL file, otherwise it saves each part in the assembly as a separate STL file and the printing software will not know how they nest or interconnect. So I could have just drawn all the parts in a SolidWorks part file anyways. Oh well... I gave in and drew something simpler: a sphere inside of a cube.

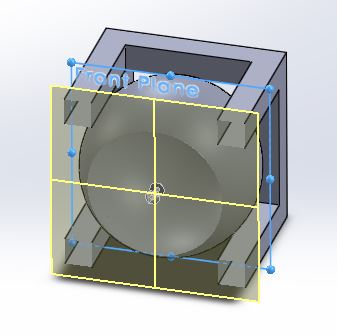
I used a feature in SolidWorks called Section View to make sure that the ball inside the cube would not touch any of the ribs of the cube. This feature allows you to cut off part of the model and see the surface you've cut along, when features overlap it highlights it in a different color.
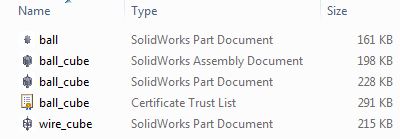
From here you just Save As and make an STL file which you open in the 3D printers software. Initially, I drew the sphere and then drew the cube and put them both in an assembly and mated them and Saved As STL and two STL files appeared on my desktop. As I explained above this is a problem, so I Saved As again, but this time as a Part, then Saved As again and Saved that part with both the sphere and the cube as an STL. Finally what I wanted, one STL file to load into the printer. Now I have 5 files for this derpy little sphere in a cube saved on my computer though when I really only needed 2; a SolidWorks part file where I drew both the sphere and the cube, and an STL file of this part to load into the 3D printing software. Depending on which printer you use the software will be a little different, currently each printer actually come with its own software, this will probably change in a few years.

There are many different methods of additive manufacturing, or 3D printing, the two most common being, fused deposition modeling (FDM) and Stereolithography (SLA). The MakerBot, Up and Dimension are examples of FDM printing, which is where a cord of material is pushed through an extruding head on the printer, which melts the material and moves in the X-Y plane to build the piece layer by layer. When one layer is finished the head moves up in the Z direction and the next layer is built. SLA is another additive manufacturing process which uses a pool of UV curing resin and a laser to cure one layer at a time and build a piece. Some printers create supporting frames of the same material as the piece, which just snaps off, like the Up, MakerBot and FormLabs. Other Printer have a separate material that needs to be bathed in chemicals to melt it off or a wax that melts off with heat, like the Dimension and the Objet. Because my part has many overhangs with a nested part I sent it to the Dimension printer, which has a separate feed for a different support material so I don't destroy the it trying to chip off chunks of fused support.
3D Scanning
In the lab be have two 3D scanners: the Sense and a Next Engine 3D Scanner. I also downloaded and tried the 123D Catch app on my iPhone, but my captures kept failing. The Next Engine took a very long time to scan +3 hours, and my image didn't turn out that well, probably because I didn't line the stand up with the camera well.

The Sense was a lot easier to play with, though holding it still and moving slowly enough so that it didn't get loss was a challenge, the scanning only took a few minutes so I could re-scan over and over.
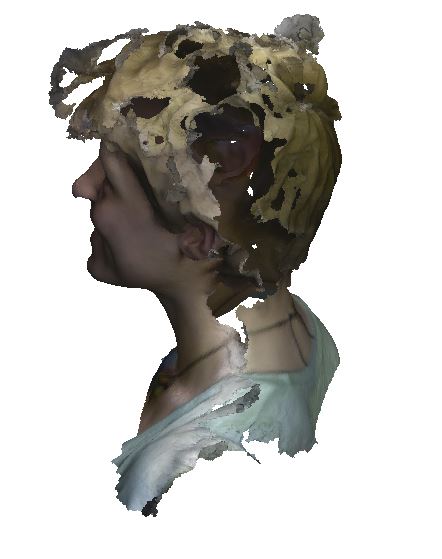
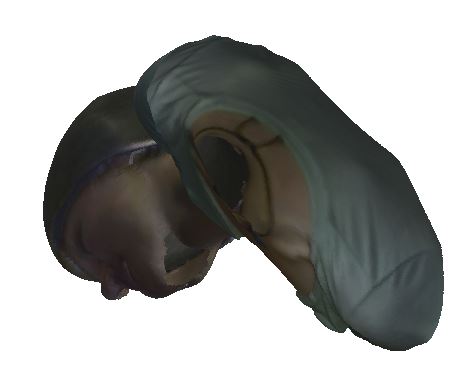
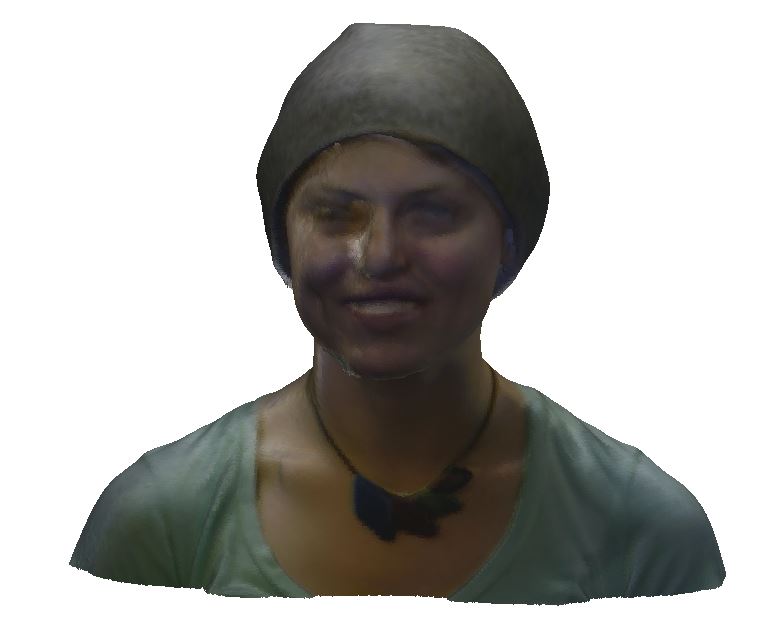
The first few scans were not too good. My friend Rachel, who modeled for this project, then started spinning herself very slowly on a swivel chair. This meant I only had to move the scanner up and down to capture all of her, which made it a lot easier and the scans turned out much better.
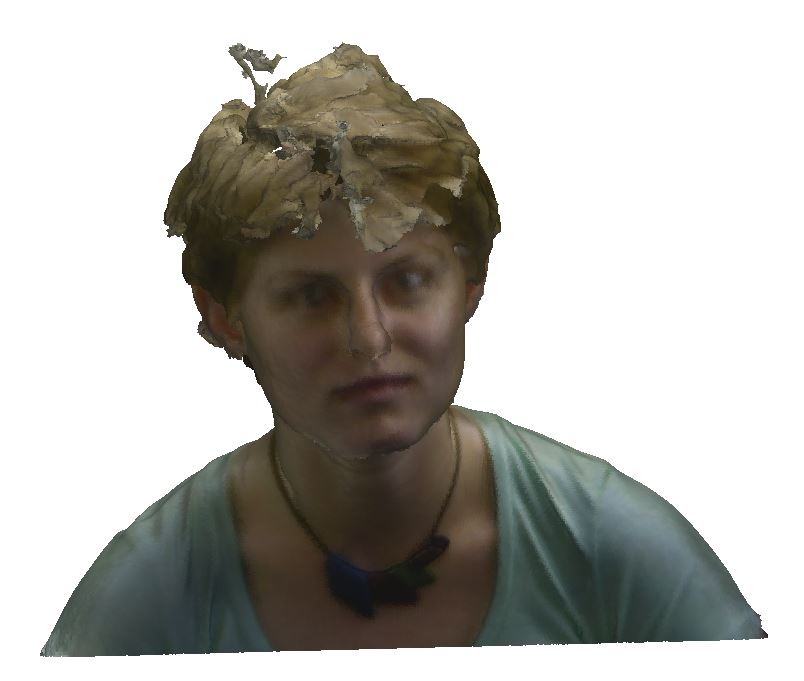
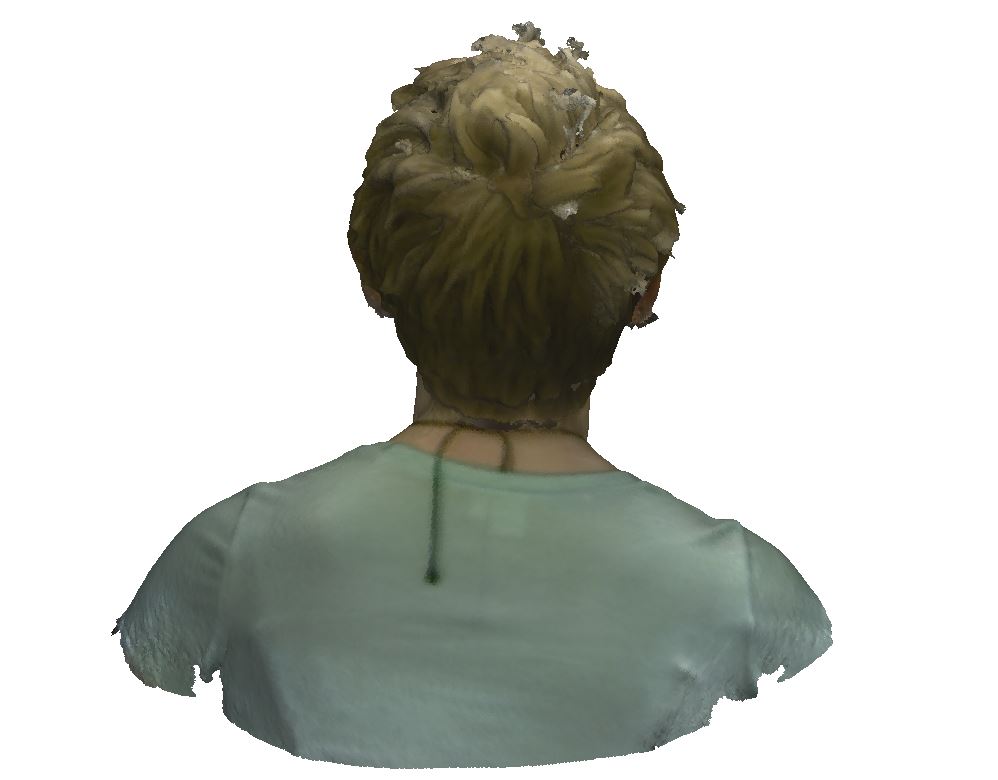
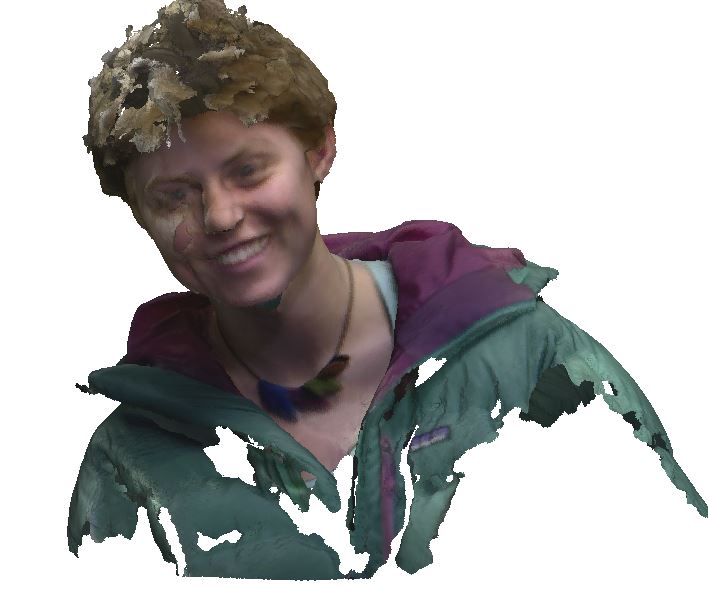
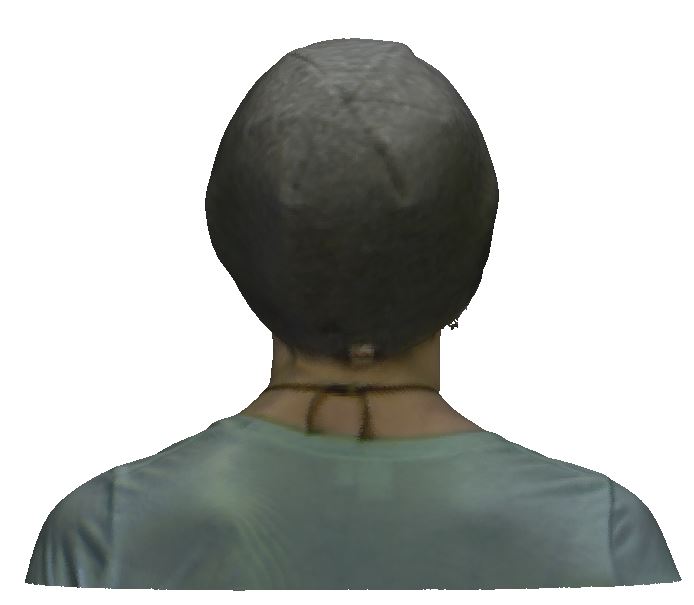
Because the scanner kept loosing track on her hair, which kinda sticks out in every direction, she put on a hat. This smoothed out the scan. It was hit or miss trying to get her face to look correct though.
From the inside...