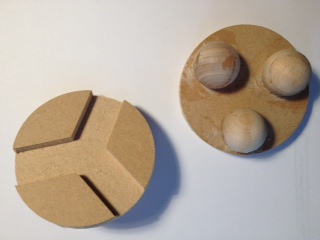
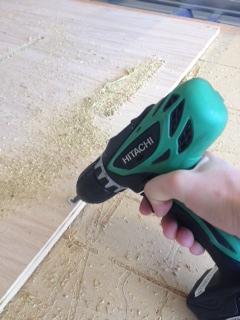
The project this week was "make something BIG" or CNC machining. For another class I had to make a Kinematic coupling, so I spent some time this weekend with the ShopBot learning how things go and made this little guy. This knowledge then helped me on Wednesday when I raced the clock to finsh my sled and bring it into class.
I designed my sled using the master modeling technique taught in the tutorial last week. Master modeling is where you draw all the key sketches first and extrude from there. It worked really well and made building the model much faster.
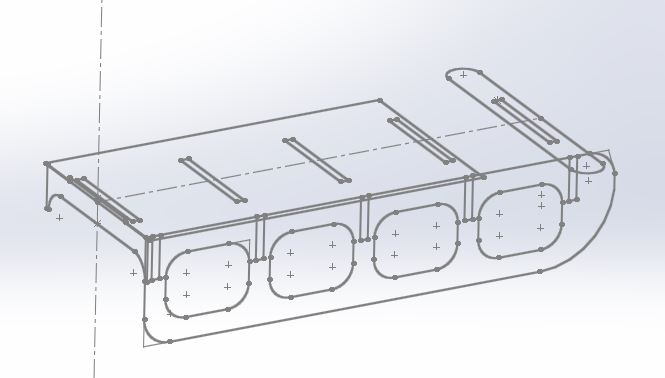
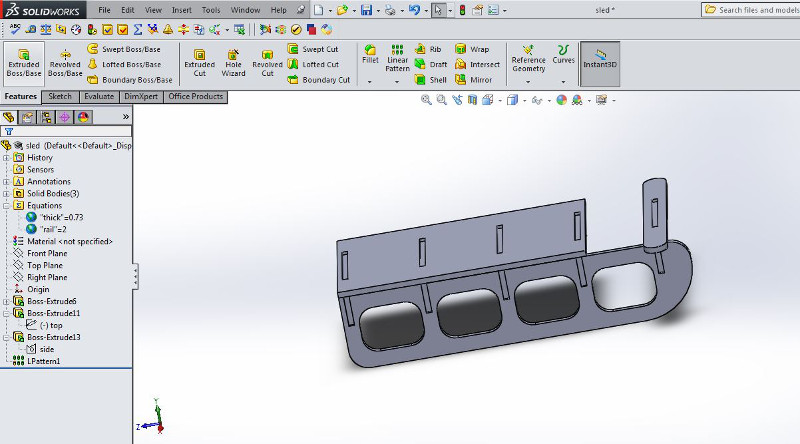
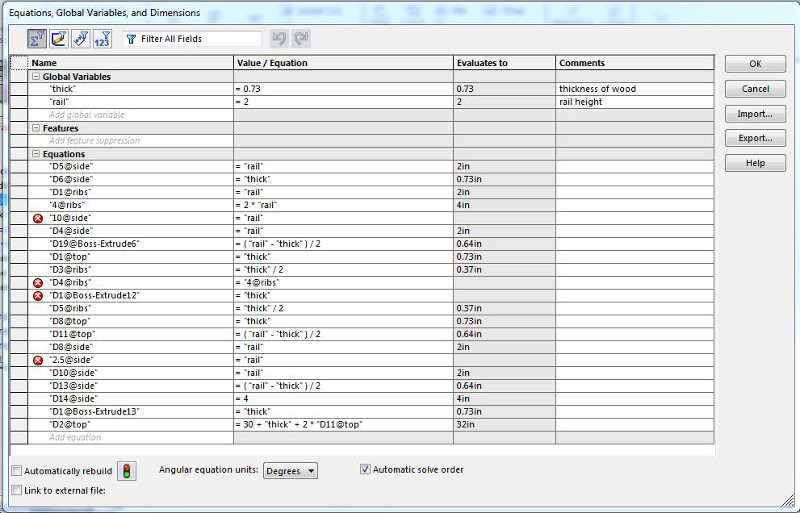
One problem I had was managing linked variables and equations. I'm not sure why, but they got kinda funky. While I was working out this issue, someone from SolidWorks actually called me on my cell and invited me to cocktails in Anchorage, Alaska. I told them I was at school in Boston, and they didn't help me fix my equations at all...
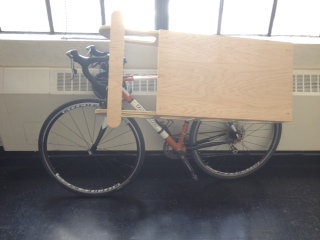
Once my design was made, I went to sign up for a time slot on the ShopBot and all the times were taken! I went in a few times thoughout the week to try and squeeze in, but no cigar. This time did let me forage for some nice wood though, so I shrunk my sled down to fit on the sheets of nice scrap I found. Instead of 84" it became 45", a design change I really appreciated when I had to carry the sled from N52 to class at 12:55, trying not to dribble into class late.
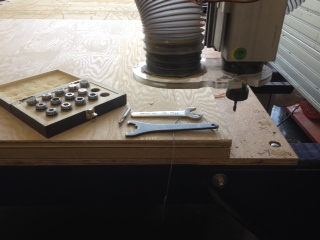
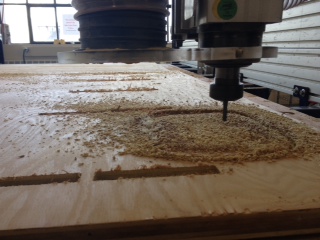
To use the ShopBot you basically load an end mill bit into a collet like you would on any mill, but what is different, from say a BridgePort, is that you have this "sacrificial layer" which you are intended to mill through as well as your piece. You actually drill through your piece and into the sacrificial layer to hold down your part while you are cutting it.
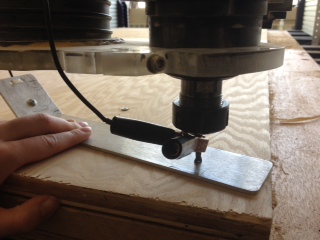
The CAMing program I used was VCarve. It was pretty similar to other CAMing software I've used before, Heeks and MasterCam. You insert your DXFs, plan out your cuts, export an sbp file which is what the ShopBot reads. Here is a tutorial which seems pretty comprehensive. One thing about the ShopBot which is really cool is the way the ShotBot zeros in the Z direction. It has a wired plate, which you put on the top of your piece, and a clip which you clip onto the spindle head. Then the spindle head lowers and it uses resistive measuring to tell when the plate and the spindle head are touching. This is such a cool way to zeros the Z!
When I started machining, there were a tone of chips. Note: remember to turn on the vacuum! It's also really important to include tabs in your part, otherwise as you cut the pieces out they'll be loose and get in the way of the tool and get cut up, which happened to one of my pieces. Next time I will also draw the holes with the Hole Wizard tool in SolidWorks and use the ShopBot to drill the holes for the screws.
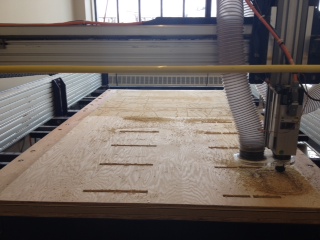
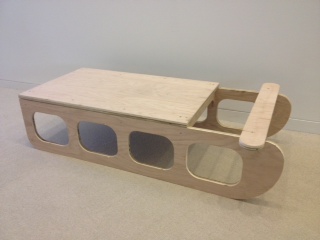
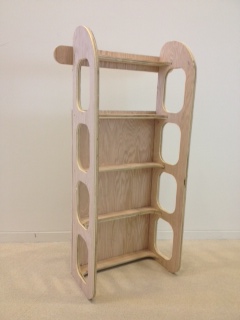
But in the end I had a happy sled! The cut out and the bar in the front is to place your feet on. Note that you can't see the ribs from the top of the sled. I programmed the ShopBot to cut out the slots only half way through the wood, allowing the pieces to slide together. Because the tool is round though you need to add T-bone or dog-bone fillets to the corners of your square slots, which can easily be added by a click in V carve, otherwise the pieces won't actually fit.