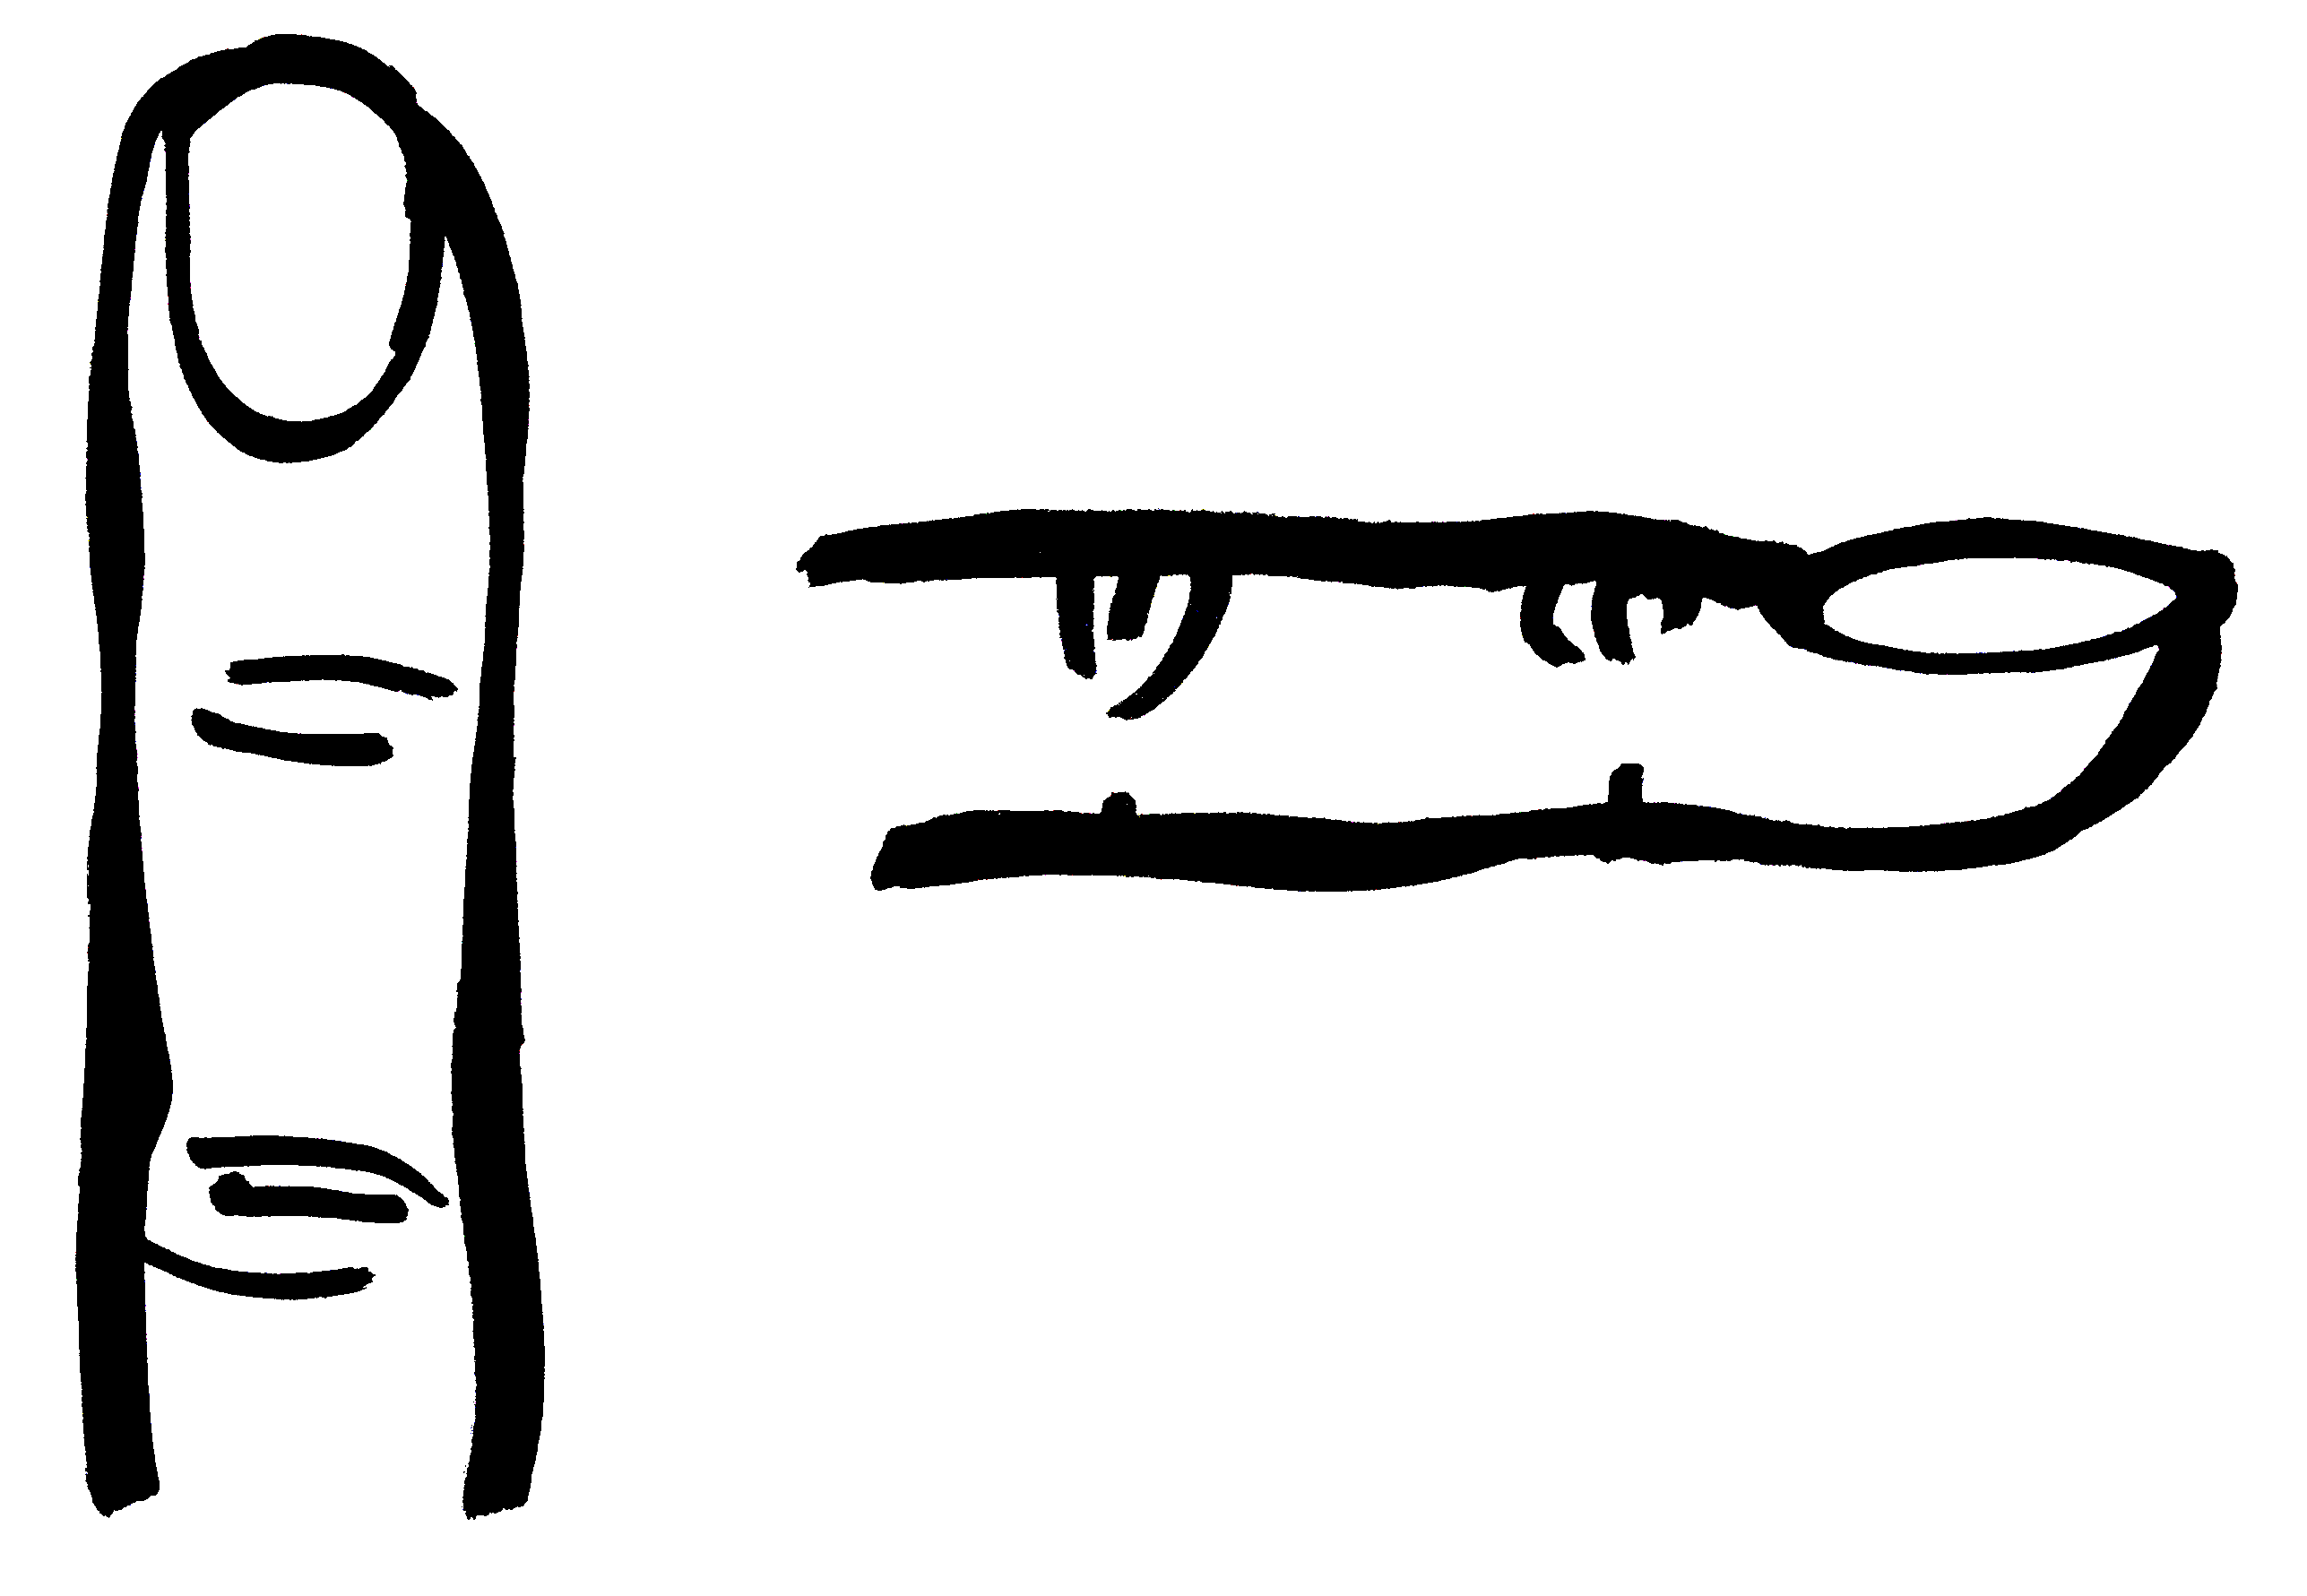
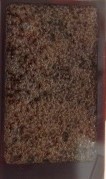
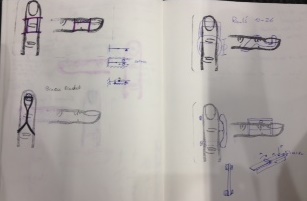
For my senior capstone project I'm taking a course in medical device design and am on a team to design an unobtrusive finger splint. For this project we need to draw a lot of fingers, which is time consuming and don't always come out looking well. I decided to make a finger stamp for each member of my team, so instead of drawing out the fingers we could just stamp it. I was also pretty excited to take in an image I drew by hand and make a tool path from it, because this means kids can draw things and machine from their drawings, that's awesome! Below is the image I drew with a permanent marker on a white sheet of printer paper and is the image I wanted the stamps to print.
Mold Making
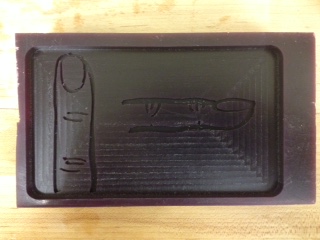
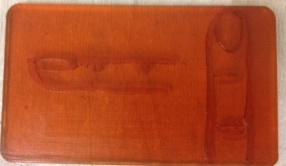
I imported the png of this image into the fab modules and converted it into a vector file. You can do this on your own computer by going to mod.cba.mit.edu I then loaded the vector file in VCarve to use the ShopBot to cut the mold out of machining wax. Here is a great tutorial I found for reference when using the ShopBot. To make my mold I drew and cut a pocket with a 1/4" end mill, then put in a 1/32" to cut out the second level finger outlines. Since I want my final product, the stamp face, to be flexible rubber I did not need to make a second mold out of a soft, flexible material, I could just use this machining wax to mold my part. If I wanted to mold something hard, like plastic or plaster I would need to make another mold out of somethings flexible so I could get the final product out of the mold.
Casting
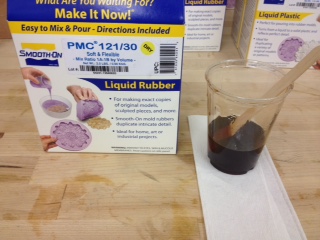
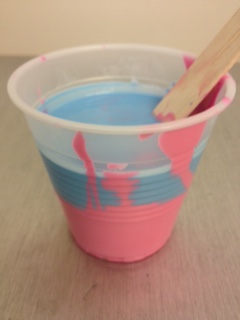
I sprayed my mold with some mold release, then mixed up the following liquid rubber and poured it into my mold.
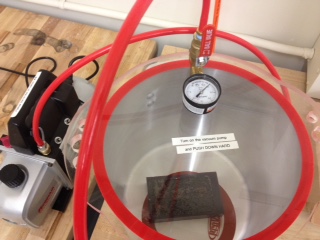
I put it into the vacuum right away to get rid of any trapped air bubbles that may have gotten in there. It's good I did, because a lot of bubbles came bubbling out. I later learned that you can vacuum the silicone after you have completely stirred it and before you pour it into the mold to get rid of even more bubbles.
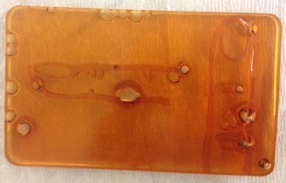
Once the silicone rubber set I pulled it out of the mold and it looked great!
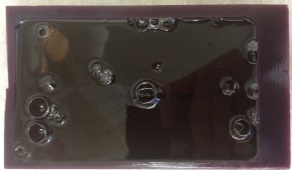
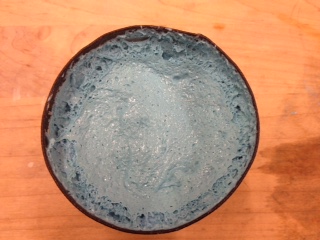
Since I'm making 6 of these stamps I repeated this process 6 times. Some of the parts came out better than others. Below are some pictures of one that turned out really poorly with a lot of bubbles still in the cured part. For this piece I left it to cure overnight in the vacuum. For the others above I pulled the vacuum, let the bubbles come out, then removed them from the vacuum for the remainder of the curing process. Apparently this lack of pressure cause the few remaining bubbles to just grow with time and form huge wholes in my part. Lesson learned. Remove the air bubbles and let cure at ambient pressure.
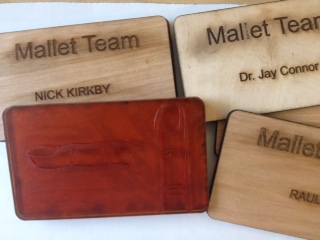
I laser cut some back plates to keep the stamp applying even pressure and gave one to each of the 5 members of my finger splint making team so we were all able to stamp fingers into our lab notebooks and draw our finger splint designs faster.
Metal Casting
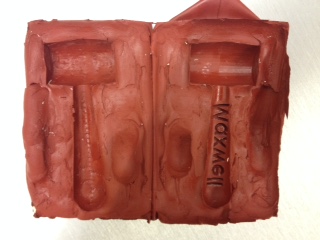
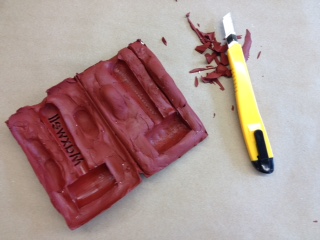
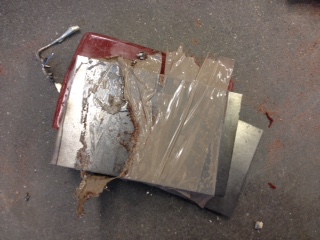
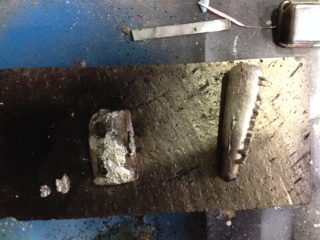
After seeing the demonstration for metal casting I really wanted to metal cast something myself, so I decided to make Maxwell's Silver Hammer. Using SolidWorks I designed the positive of the hammer, put the stl into PartWorks 3D and cut out the negative space from a piece of machine wax. I used a 1/8" tool for roughing and a 1/32" for the finish cut. I left in a funnel coming out of the hammers handle to pour the melted babit into, and a runner along one side for air to escape from. I then poured on the Smooth-On Mold Max 60 Higher Heat Resistant Silicone to make the molds. Unfortunately, as my mold was drying the shop got cleaned and they it got thrown out. Sad, but, this did give me a chance to improve the process.

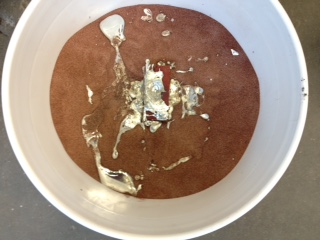
For the second go around I really did not want to machine it again, because it took over an hour on the shopBot, and even with a 1/32" bit the wax molds still were not that smooth, so I decided to 3D print the positive and push it into clay to space to mold the negative mold from the Mold Max 60. After the first side cured I took it out, removed the clay, covered it in mold release and put it put it back in the box and poured more Mold Max on to make the other side. As you can see Mold Max didn't look too nice after I pulled a vacuum on it, I might have gotten the ratios wrong, but the second mold came out much nicer.
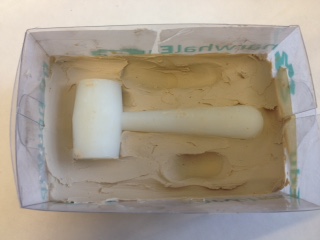
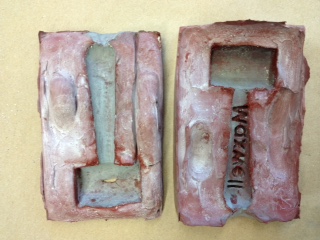
Once the second side cured I opened up the mold and removed the 3D printed piece. I cut a funnel and a runner and tried to even out the back of the first mold I poured with came out uneven (though I accidentally over-cut and made a through hole into the hammer cavity). Now I have two heat resistant molds I can use with the melted babit.
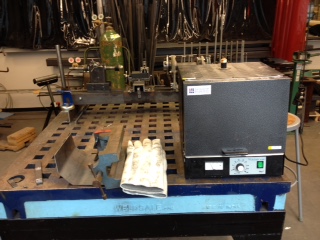
I melted the babit nuggets in a crucible in the oven shown below. I used those big white heat resistant gloves and some long tongs to pick the crucible out of the furnace and pour the melted babit into the molds. Before closing the molds up though I coated the inside with baby powder to prevent the metal from sticking.
I sandwiched the molds with two plates of steel to try to provide even pressure. I also I hoped the steel plates would help with that small hole I cut into the hammer. I then wrapped the whole thing in rubber bands for the first try. The rubber bands melted, so the second time I wrapped it with tape, which as you can see also melted, but still held. I could have used a belt or a gently clamp, but they were not conveniently near by. I also wanted to be careful not to apply too much pressure otherwise the flexible molds would warp the part. I submerged these wrapped up molds in sand and then poured in the liquid babit.
So here's how it turned out.
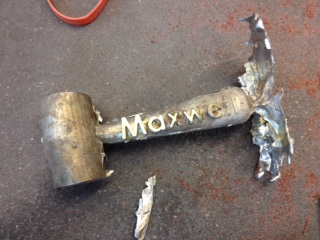
The letters did not quite come through all the way, so after the second casting I cut holes in each to vent them individually. The mold was also starting to fall apart even though Mold Max 60 is supposed to be heat resistant.
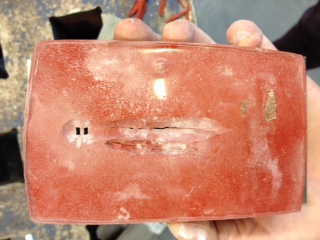
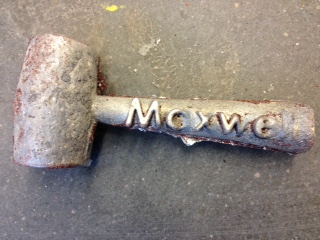
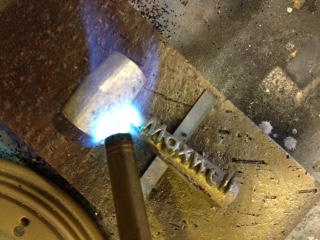
On last and final casting I did with these molds the letters really came through clearly, however the head of the hammer fell off. Since babit melts at such a low temperature I tried to torch it to connect the two again, but more melted than I had hoped. I ended up leaving the last cast to be remelted and re-used and sanded and sandblasted the two above to provide a nicer surface finish. For the other two I sandblasted one to smooth it out and sanded down the other.
Finger Splint Manufacturing
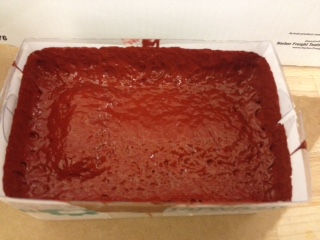
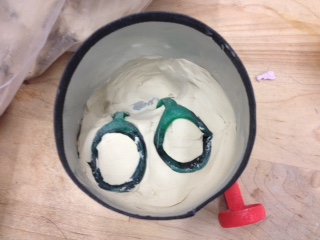
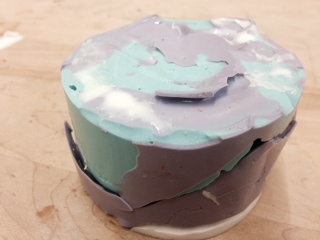
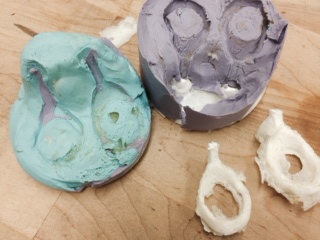
For "Finger Splint Making Team" I also need to make a lot of finger splint, so I figured it was perfect for a molding project. I had some 3D printed finger splints, which I pushed into clay again to make the negative molds from Oomoo. The bottom left picture shows the Oomoo after it has been poured and vacuumed. There are a lot of holes in the top surface and it looks kinda funky. It's not supposed to. It should be smooth, i.e smooth-on. I might have got the proportions wrong again somehow? The second mold came out much better.

For the top mold, the blue, I used Oomoo 25 and for the bottom mold, the purple, I used Oomoo 30 which I observed to be much more viscous. As seen above I molded one from the splints half submerged in the clay, let it cure, then used that mold with the splints half submerged in it to mold the second negative mold. To prevent the two molds from binding I tried smearing Vaseline over them, but I think mold release is just fine. Vaseline can leave clumps which will get molded.
This didn't really produce the quality of splints I was hoping for, so next round I'll machine out the molds to make them a little more precise.