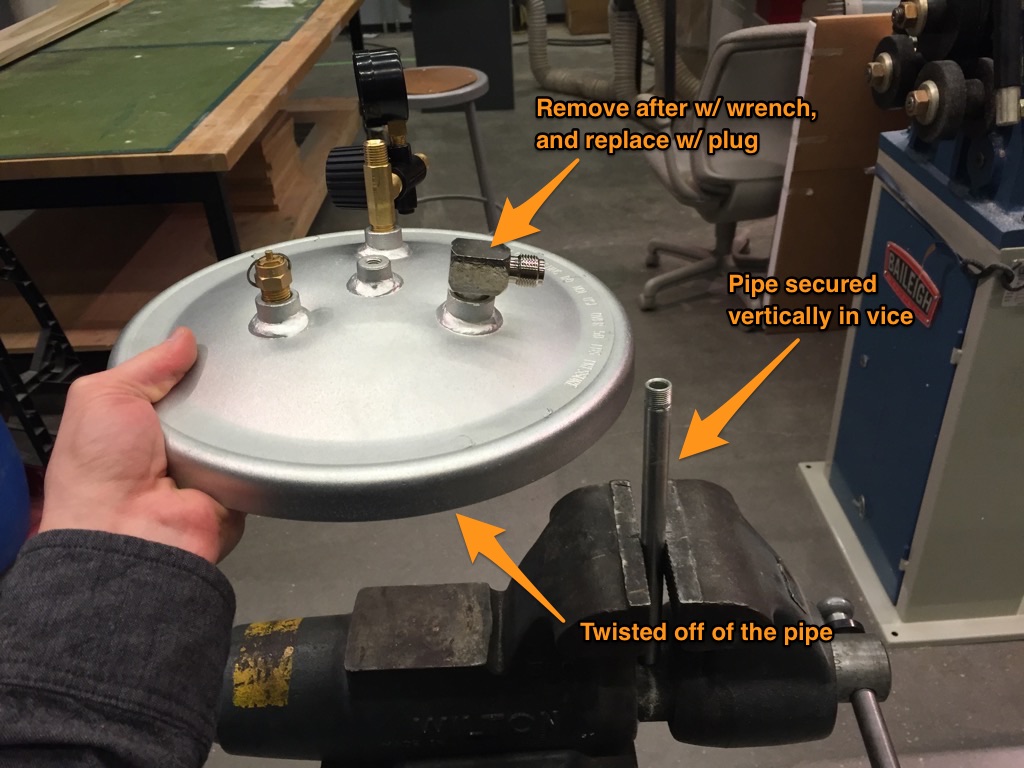
Remove the pipe from the lid, which is meant as a sort of straw for paint when used in its originally intended purpose. Since this pipe is glued in, it is very difficult to remove. However, we do this simply by locking the pipe into a vice, and using the lid to twist off and apply a large amount of torque. Once removed, used the plug to fill the hole (alsways use tape to ensure a tight seal.
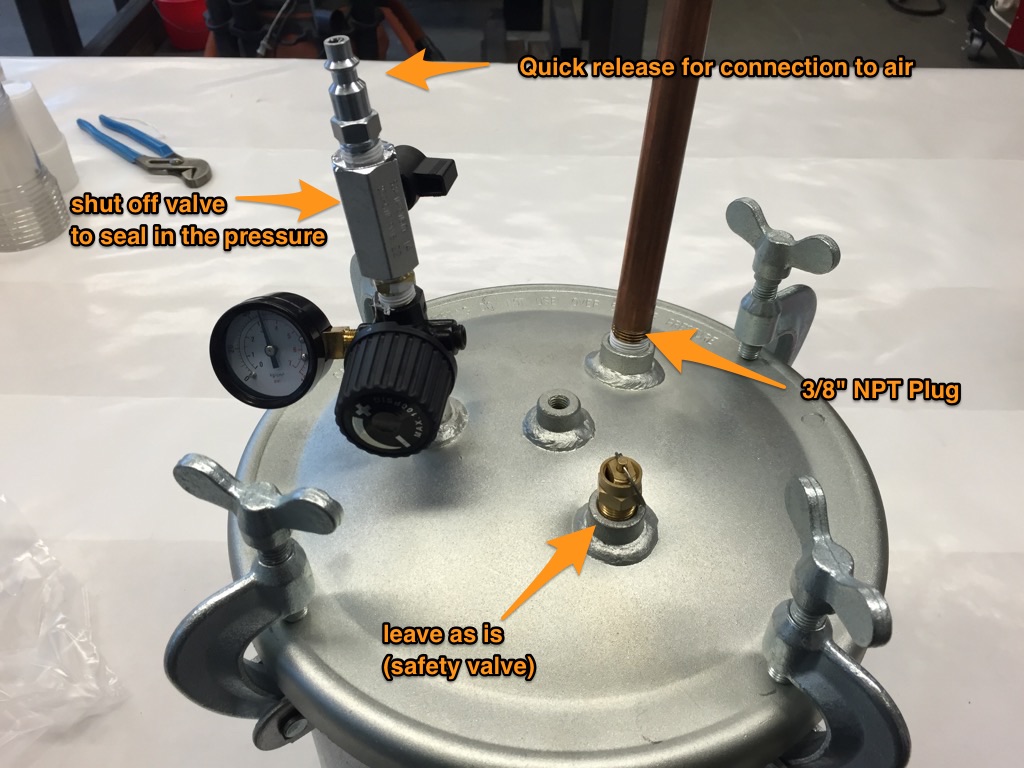
Assemble the pressure limiter and release valve. Make sure that the arrow for flow is flowing into the pressure pot, this ensures that the compressed air only allows a maximum of 50psi into the pot. Note: set the limiter to the smallest amount first to be safe, and then bring it up to 50psi.
In the following image, instead of an NPT Plug, we used a pipe w/ shutoff valve, which is simply left closed... but a plug is a simpler solution
 =
=
Best for casting transparent plastics and detailed molds to avoid bubbles in difficult to reach places.
Mix and pour as usual for casting a material. SmoothCast 300, 320, or 325 series plastics seem to behave nicely. Place inside of pressure pot as quickly as possible and seal lid by tightening each clamp a little at a time, and tighten in an 'x' pattern. This method ensures that all 4 clamps close with relatively equal pressure, lessening the chance for leaks. Once you feel confident you can not tighten the clamps anymore, open the top valve and attach the air hose to the quick connect. Watch the meter rise to 50psi (hopefully no more, if so, lower it, cause it is dangerous). Once at 50psi, if you are not hearing any leaking or feeling any (I like to run my fingers around the seal of the lid to feel for leaks) you can then close the valve and remove the air hose. It is important to leave your material under compression for the entire cure time (i.e. for SmoothCast 326 I would allow 1 hour).
REMEMBER TO RELEASE AIR PRESSURE BEFORE UNDOING CLAMPS. When done, release the air pressure and remove your mold from the pressure pot. You should have a relatively bubble free cast.
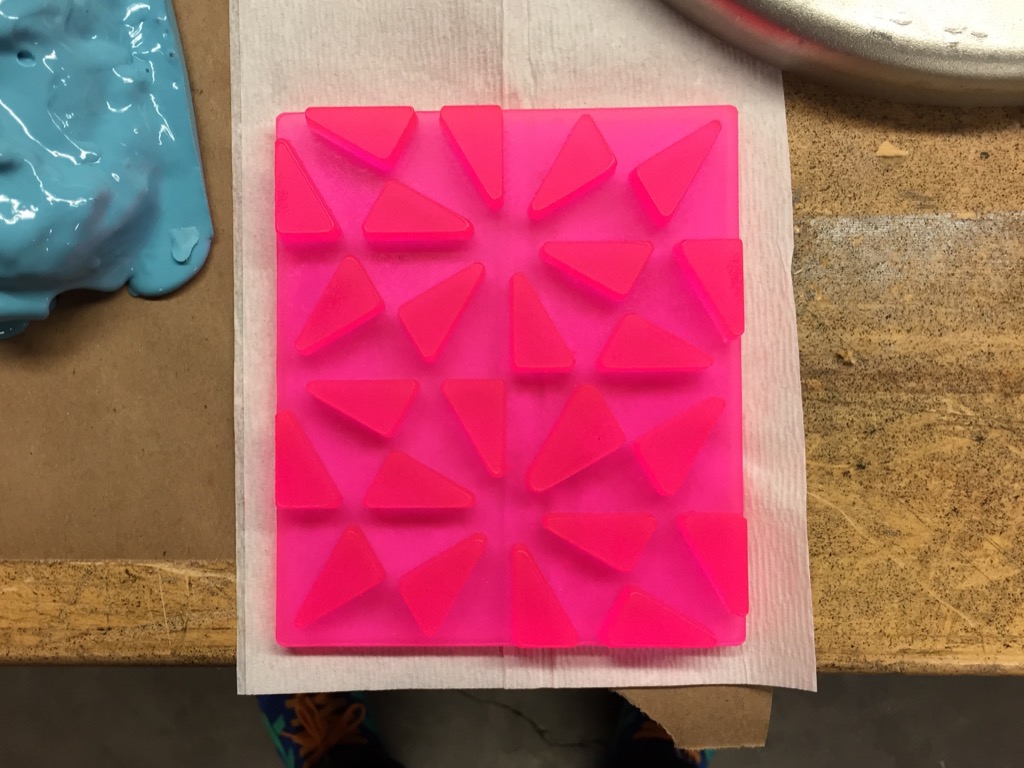
Translucent flourescent pink plastic
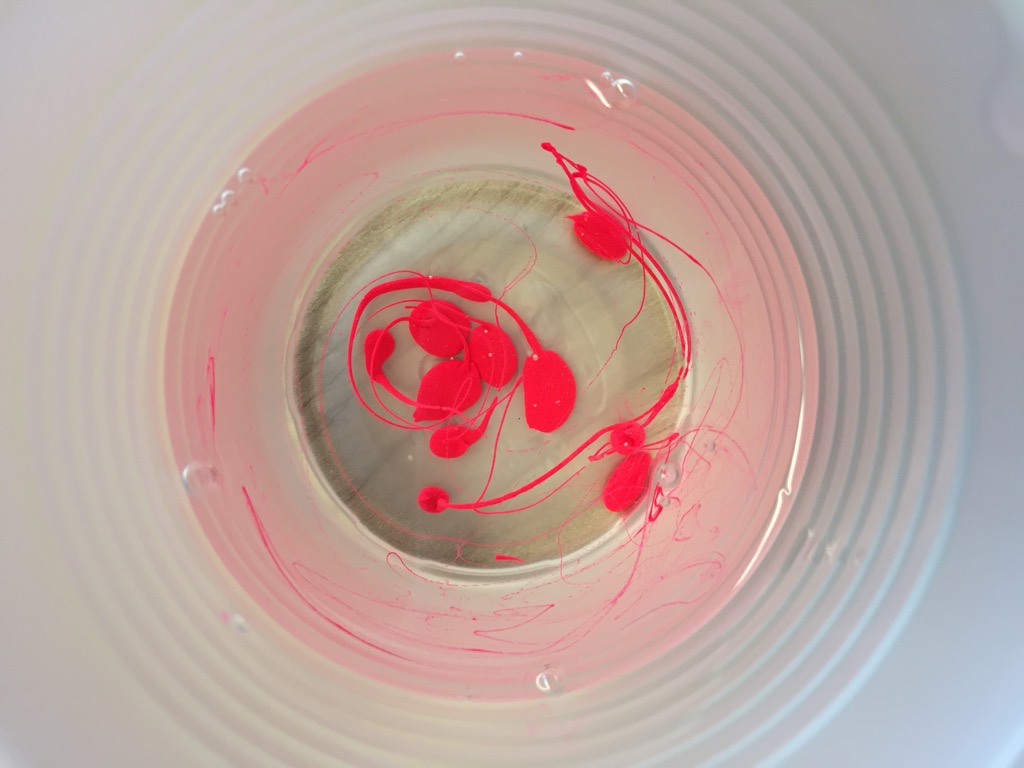
Mixing in flourescent pink pigment for plastic (less means more translucency)