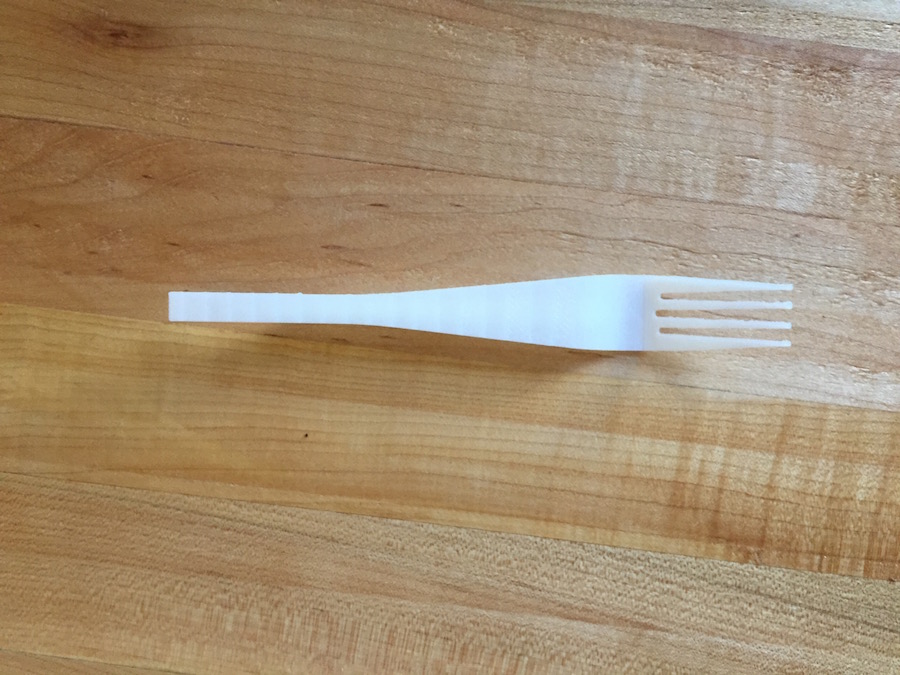
This is a ripoff of NADAAA's Num Num fork. I've gone ahead and replicated some of the other utensiles from this collection as well.
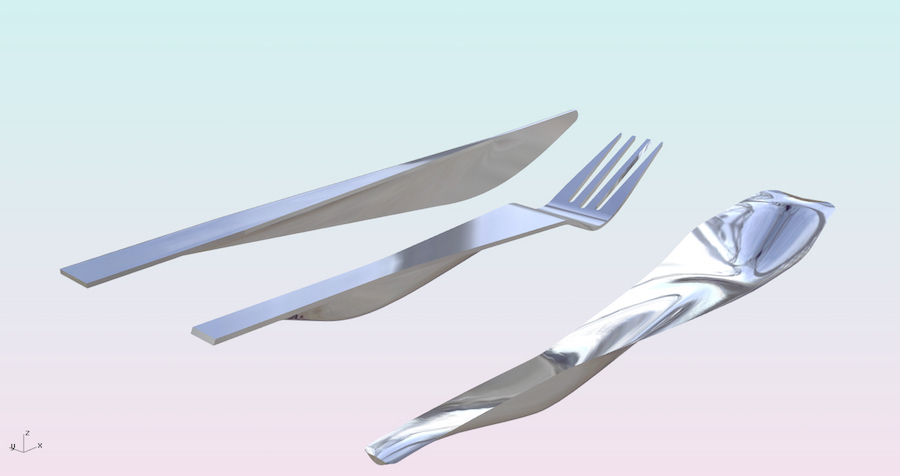
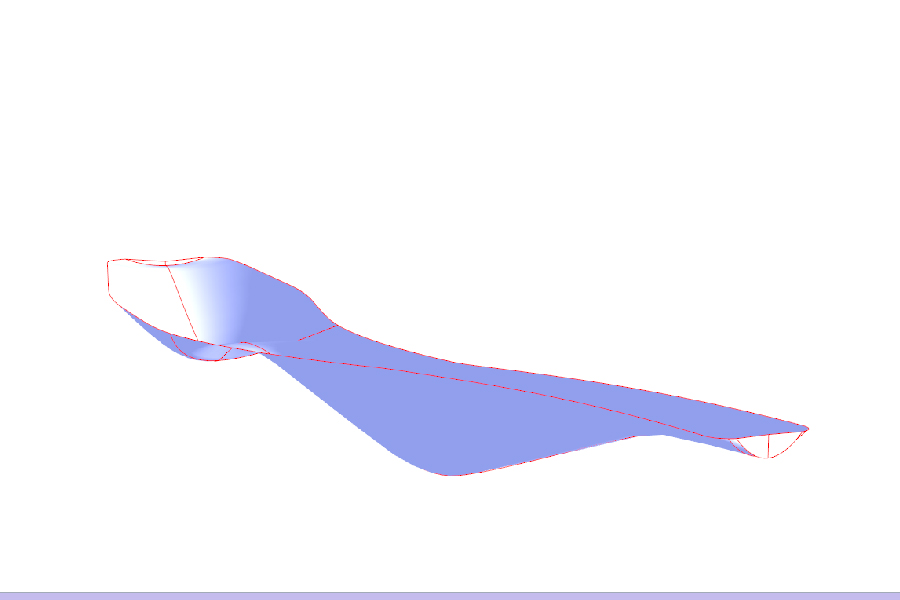
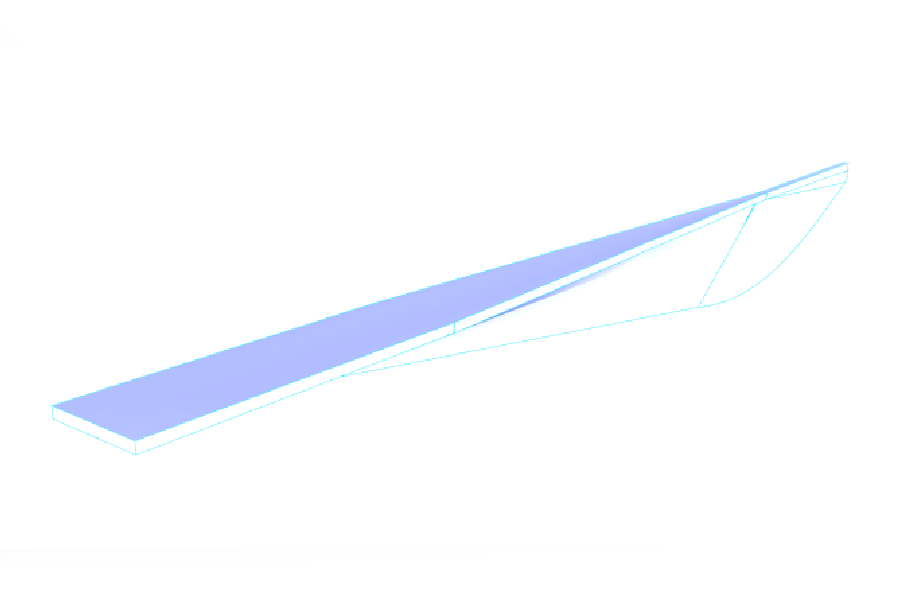
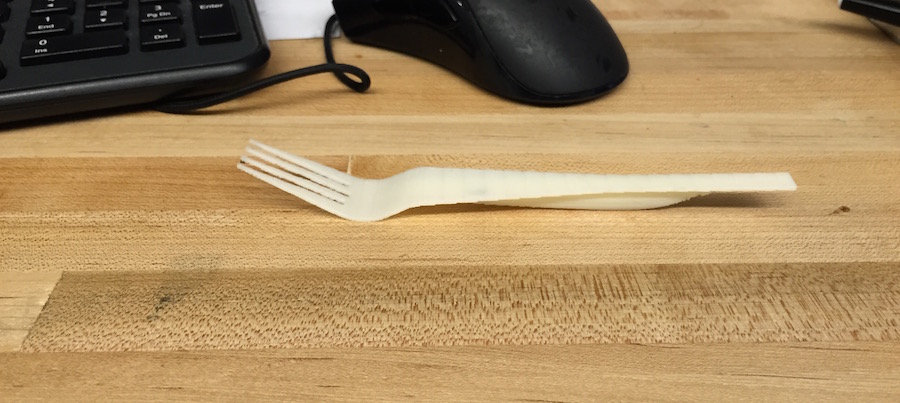
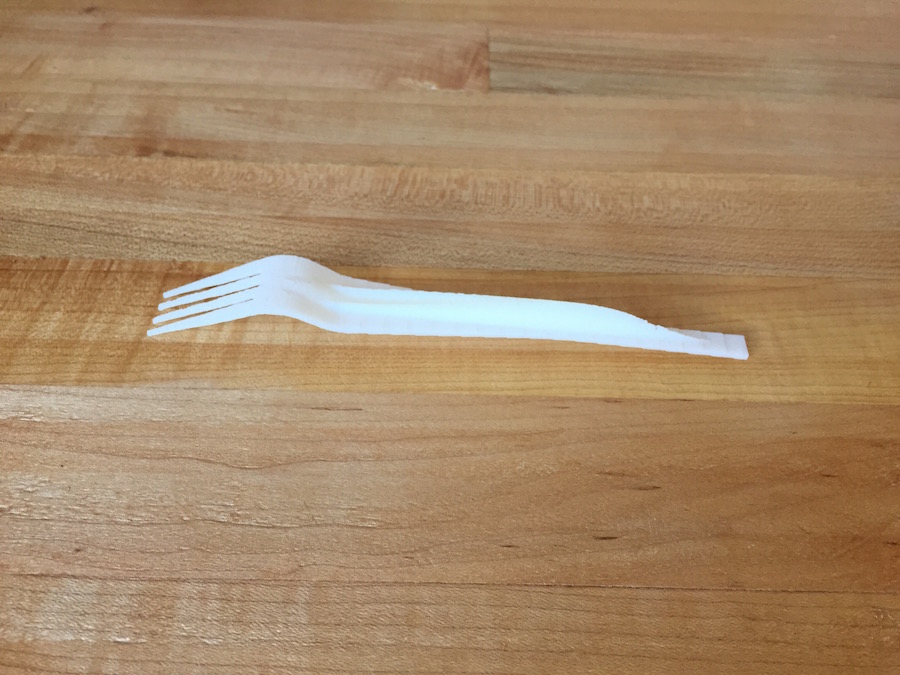
The hope was that the this could eventually be cast with a foodsafe plastic or metal. I generated an early prototype which helped me gauge that the sclae was too small and the curvature description was faulty. This was done with the ABS printer.
Difficulty with this project began early in the fabrication process.
Using the fab modules returned a bunch of issues:
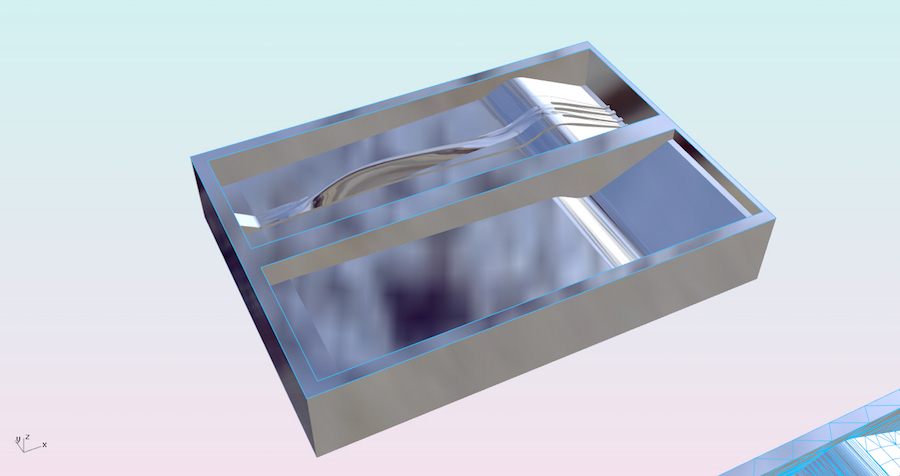
1. Be sure to have closed solid geometry as STL of your stock and the part to subtract if you want results.
2. Do not change the view scale in your window
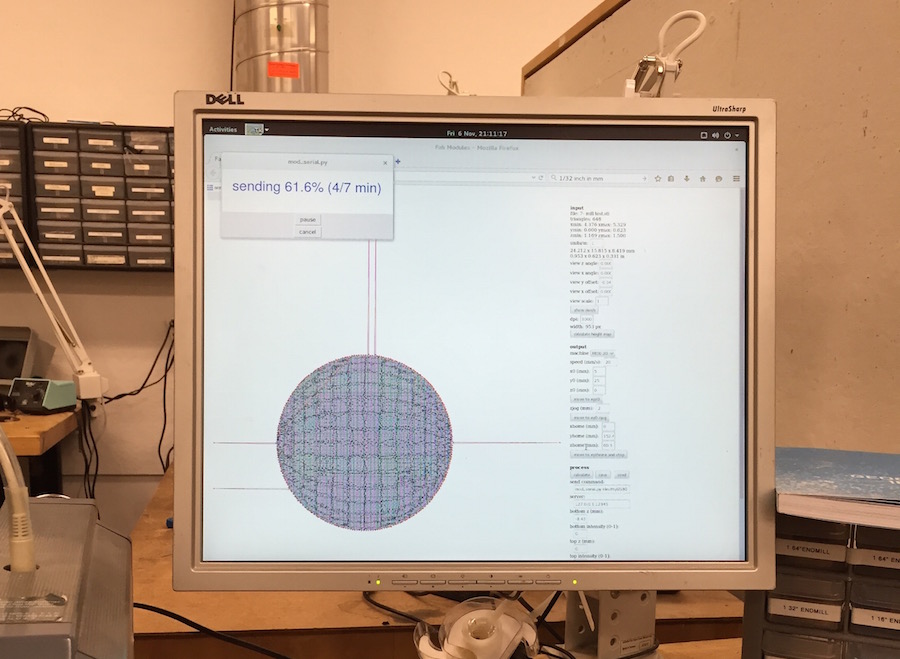
3. Though 1000 DPI is recommended, it was taking half an hour to generate just one of my 40 contours...I would go lower for your rough pass, and keep the final pass higher
4. The amount of material that needed to be subtracted may have appeared to be minimal, and the cavity i'm producing relatively shallow, but it actually takes a lot of time on the Modela. I had a projected mill time of 25 hours, not to mention after waiting hours for contours to generate (and loosing internet connection several times)


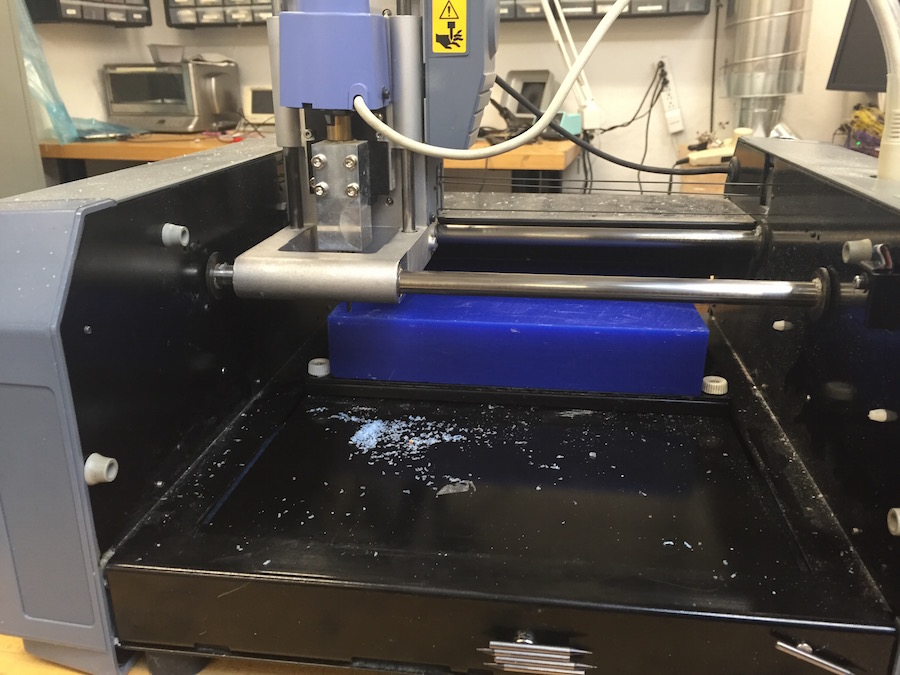
This was eventually abandoned. Due to a miscalculation on the Shopbuddy, my next machine of choice, the TA broke an endmill even with the wax, as the tool plunged into the stock. The TA assummed we didn't need passes. We do.
Next was the Onsrud. Took a good 4 hours to set up the file given strange results in the simulation, and despite the speed of the machine, still 1.5 hours to mill. Helped put into perspective how much effort the modela would have needed.
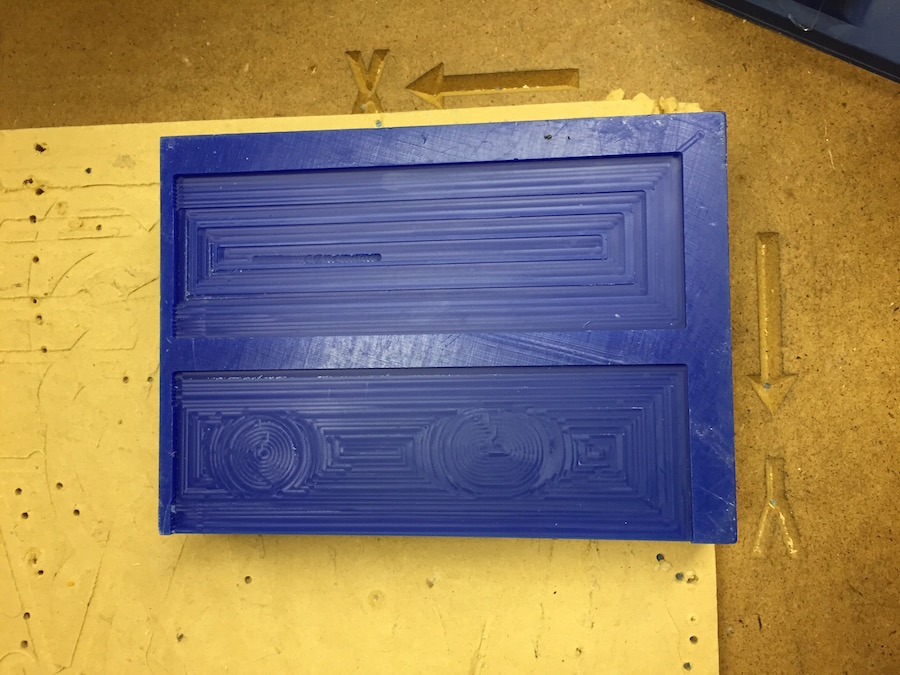
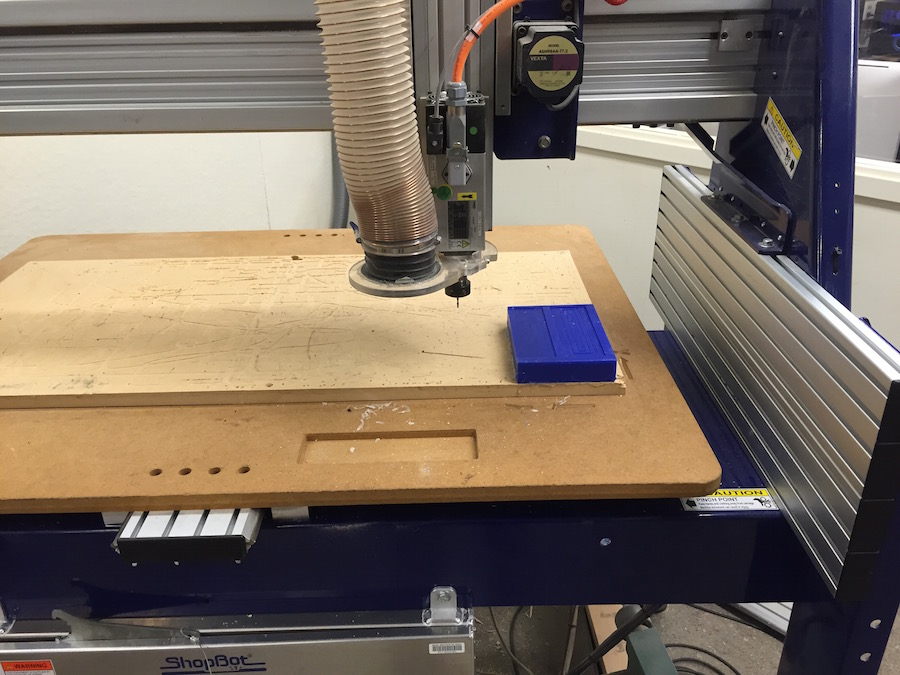
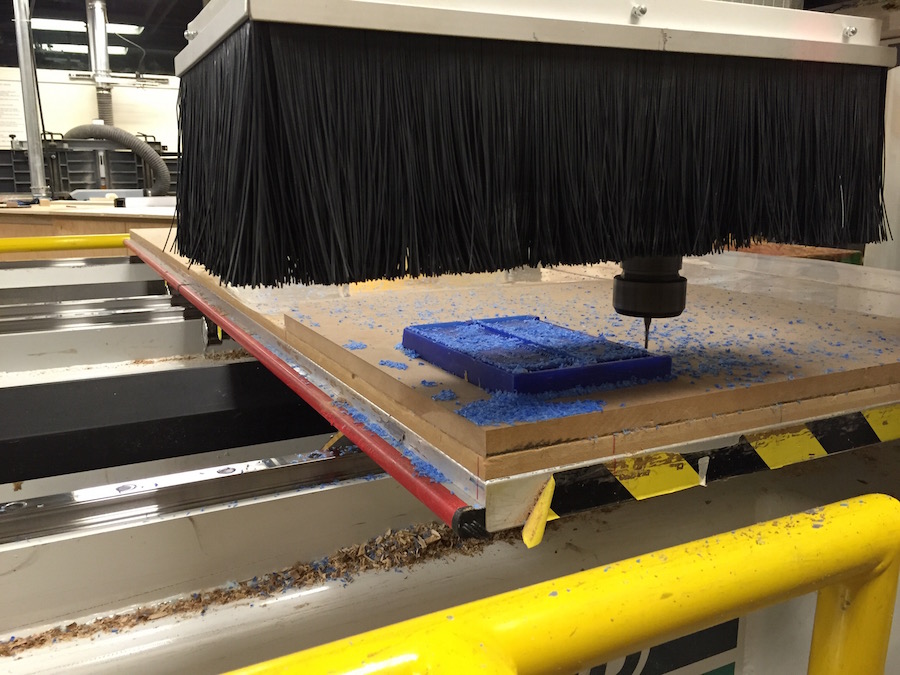
Though I would have liked to use something like the 1/64 endmill on the modela to get all the fine details, i used the 1/8th on the onsrud. it defined most things except some moments on the prongs of the fork. It did manage to cut some strange abberations in other places, but not such that it would have much effect on my final cast. Chris, in the shop, having no experience with wax on the machine, recommended we secure the stock in place but first milling a cavity in a sheet of mdf to give the stock bracing as the tool pushes against it. I guess it also helps to maximize vaccuum coverage as well. Cutting the stock of course results in filleted corners that had to manually shaved down. Tricky thing was also translating all dimensions in order to place the cutting area on the stock correctly. The result was a bit inaccurrate as you can see the cutting area misaligned to the stock. I tried to make up for this by lasercutting some scrap plexi and drilling it along the stock edge to complete the walls that would eventually complete the mould.

So with the positive done i prepared the Omooo silicone for the mould. Pouring slowly to resist air bubbles is....frustrating. I was super impatient and went for it with just a few bubbles resulting.
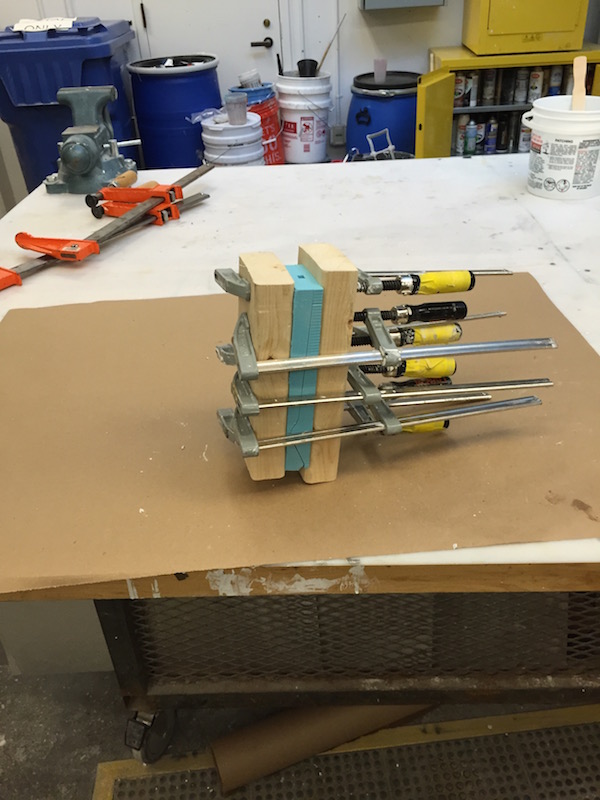
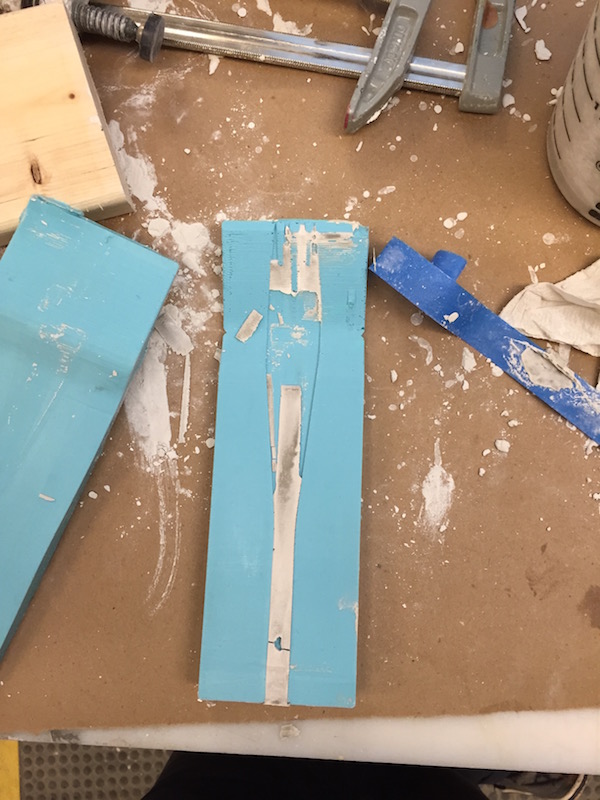
Preppign the mold for the final cast involved finding some scrap lumber to clamp to either side of the big face of the mold. The issue with this is that it silicone is easy to give way and squish the space that you're casting into - something i discovered with my first pour. Takes some loosening of the clamps and inspection of the mold seams to get it to where it's likely not crushign the space. The mold is equipped with a pour hole at one end that, on the computer, always appears generous enough, and vent holes on the other end that seem equally generous. neither are given how small the mold is. A lot of waiting in between pours of the hydrostone, and it was still difficult to tell when it had reached the top as the material would take some time to settle into the mold after hovering at the top for a bit. Vent holes dripped some concrete out but not too much. I poured vertically, and let it cure horizontally - forgot to prepare a piece to cover the pour hole as it cures. This still didn't work out great. What ends up happening is the thinnest part, the body of the fork right before the prongs is hardest to get. I manually, instead, applied hydrostone to the mould, open face, without the top piece, filling in all the gaps, ineveitablly leaving it to overflow around th part that i most desperately wanted to fill... it's walls weren't high enough to control it and it was at an angle. I quickly applied the top piece of silicone to give it some shape, and weighed it down to let it cure. The result at least filled allt he gaps... and then some that need to be manually removed. of course... no prongs!