For every week's assignment, I am trying a part of my final project out. After having 3D printed most of the nods for my geodesic dome structure, considering there were only 3 different type of nods but 40 actual nods printed, I thought that molding&casting might be a better workflow for producing numerous pieces that are identical. However, I have underestimated how tricky it was going to be to mold&cast thin hollow tubes that meet in three axes!
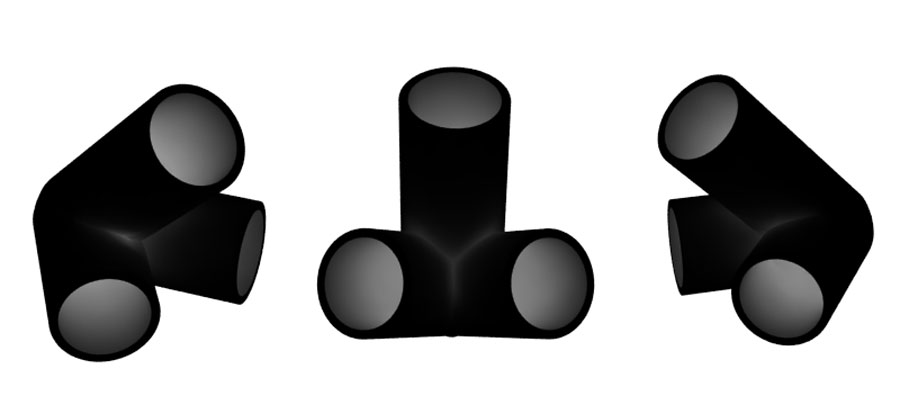
^ this is what I wanted to cast!
the workflow had to be machining (on shopbot or onsrud or modela) a positive mold to cast silicon (omoo) that will function as an easily removable negative mold into which hydrostone or drystone can be casted to achieve the final positive shape.
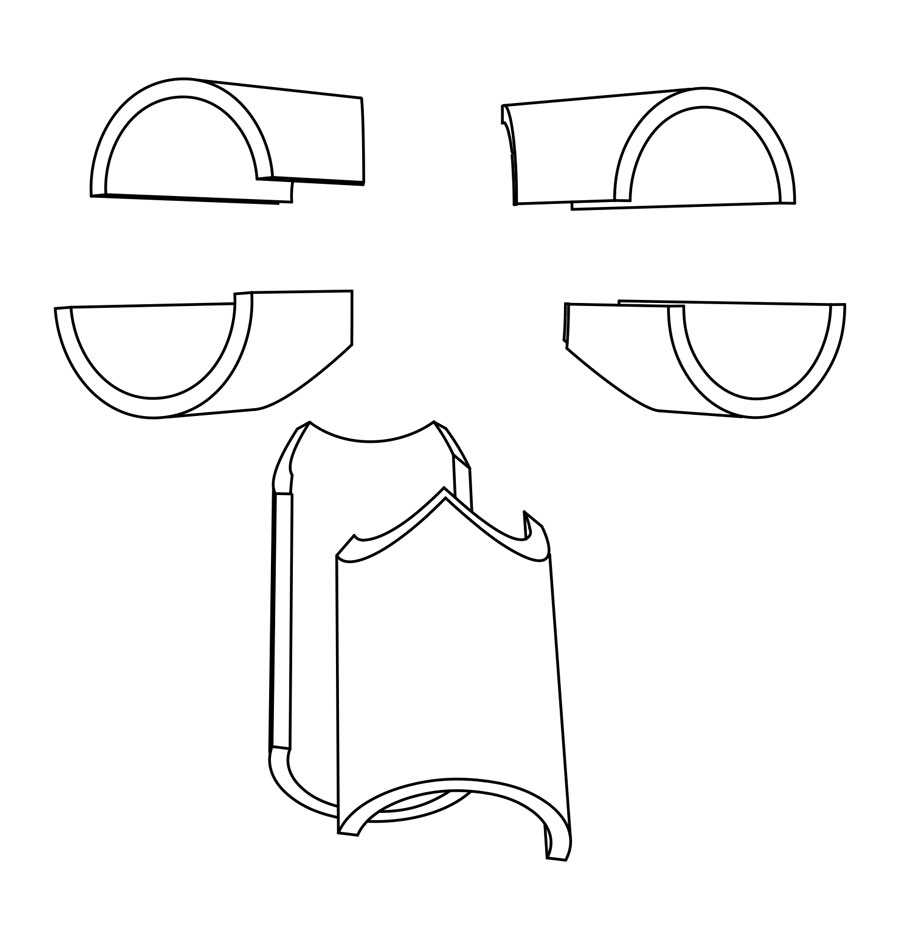
^ virtually, machining such a geometry on one go is impossible because of the undercuts and hollow tubes. thus, I have decided to deconstruct the geometry into easy to machine parts. I have split each tube into half, having in total 6 barrel vault like shells. While doing so, I was acknowledging that there is a huge chance that the casting was not going to turn out as I wanted. it would be still ok, though because the aim was to use multi-axes machining and getting insight about the molding&casting process as well as chemicals.
First trial: milling a machinable wax on Modella through Fab Modules

^ fabmodules kept stop responding and made me lose so much time
^ milling on modela was taking so much longer compare to shopbot or onsrud
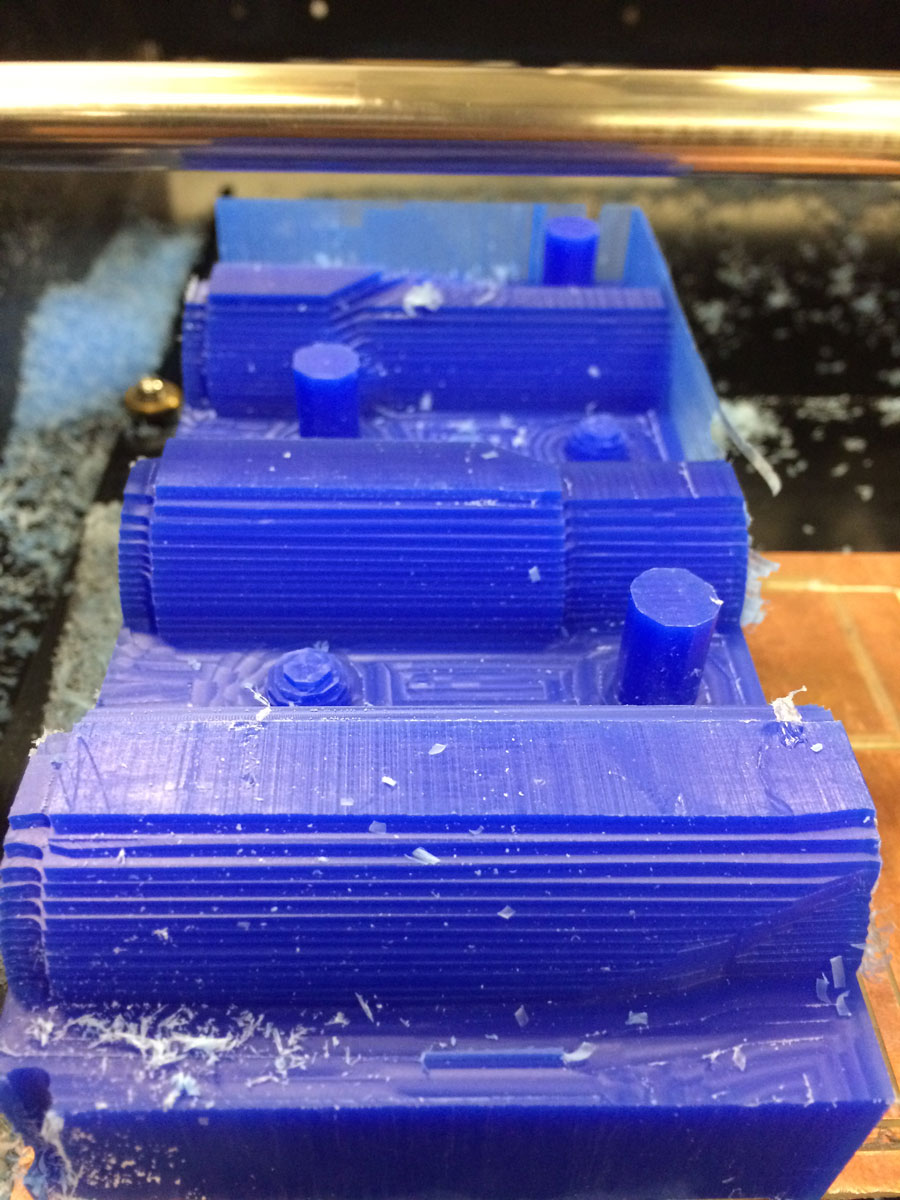
^ the roughcut was fine however the I could not proceed to the finish milling because the endmill, no matter how I set the z, was keep descending all the way down to the bed and was trying to move through the thickness of the block.
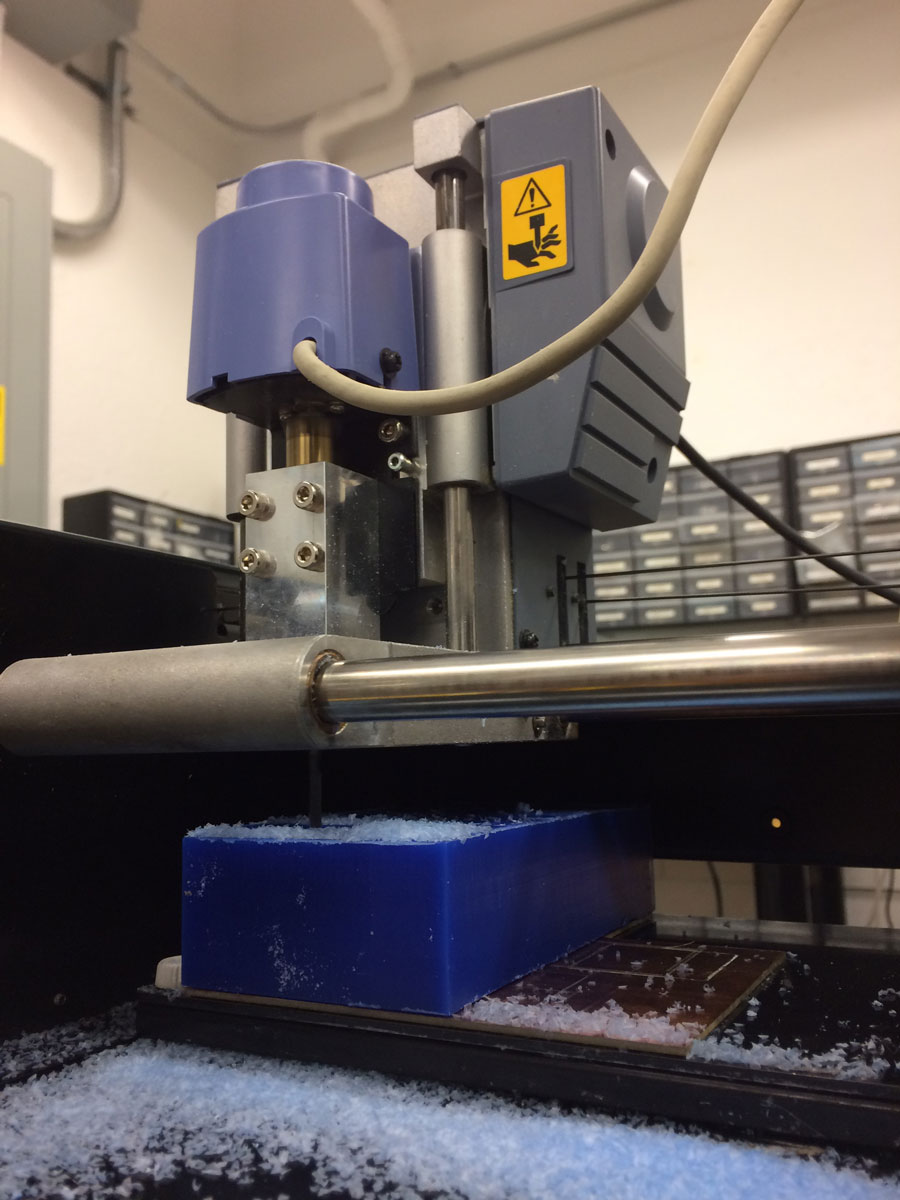
First Trial: milling dense foam on Onsrud through Mastercam
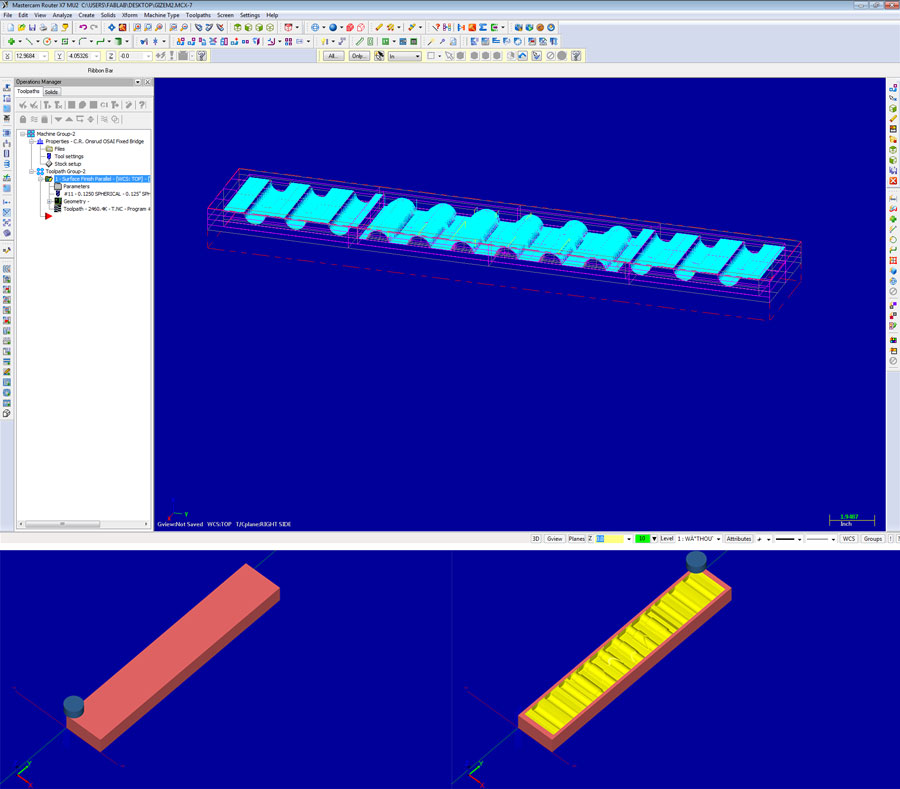
^ the geometry to be milled, mastercam
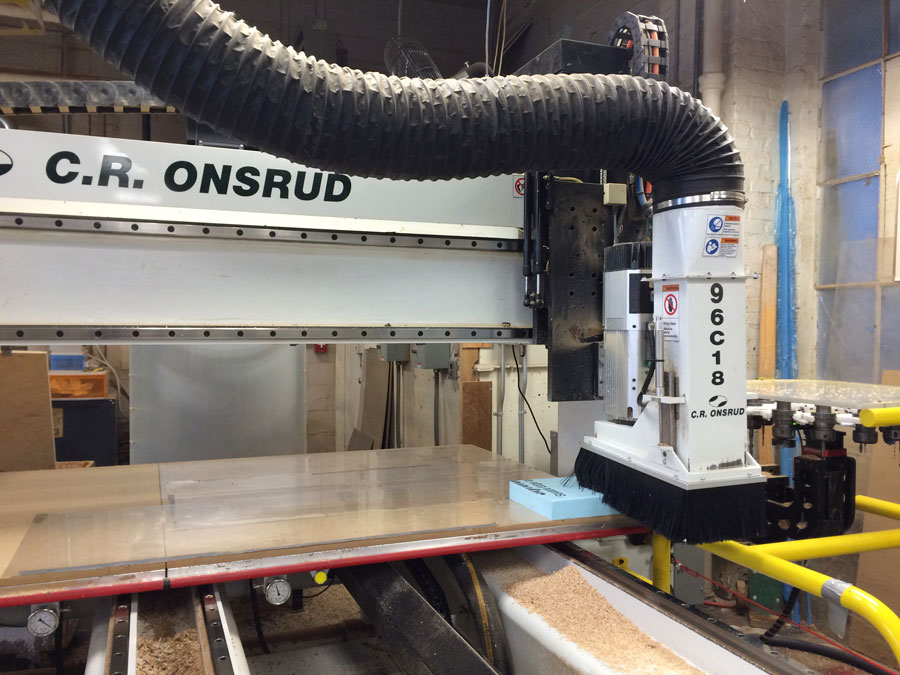
^ milling a small block for trial before start using the expensive dense foam sheet
^ the milling was succesful and fast, unlike what I had to go through on modela
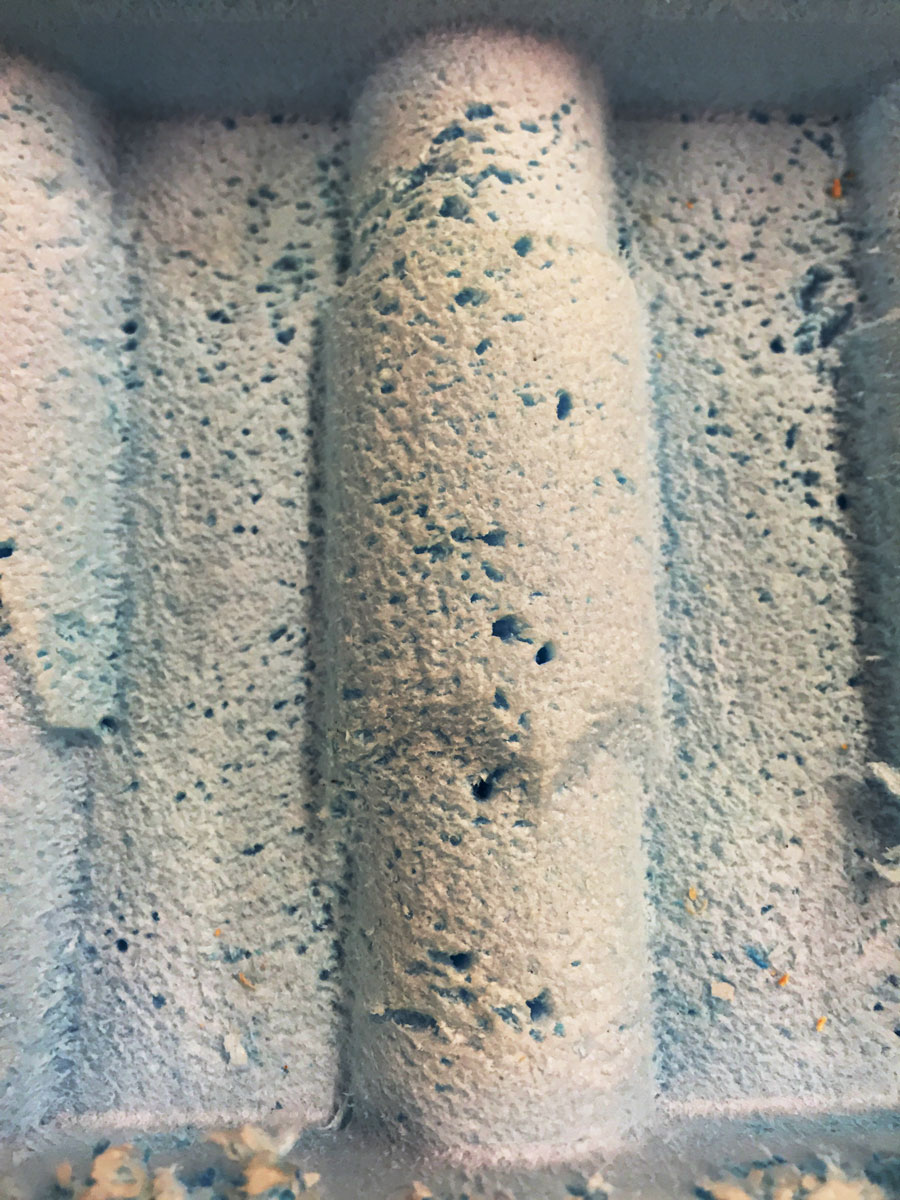
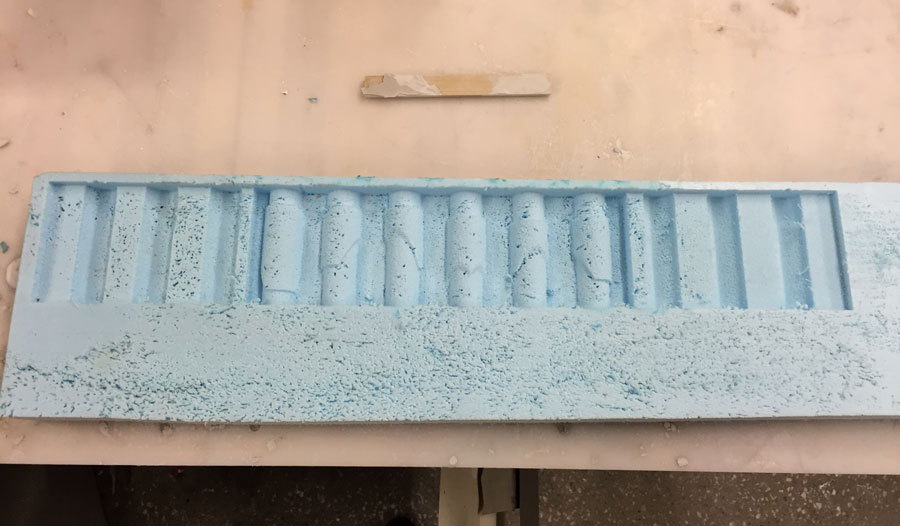
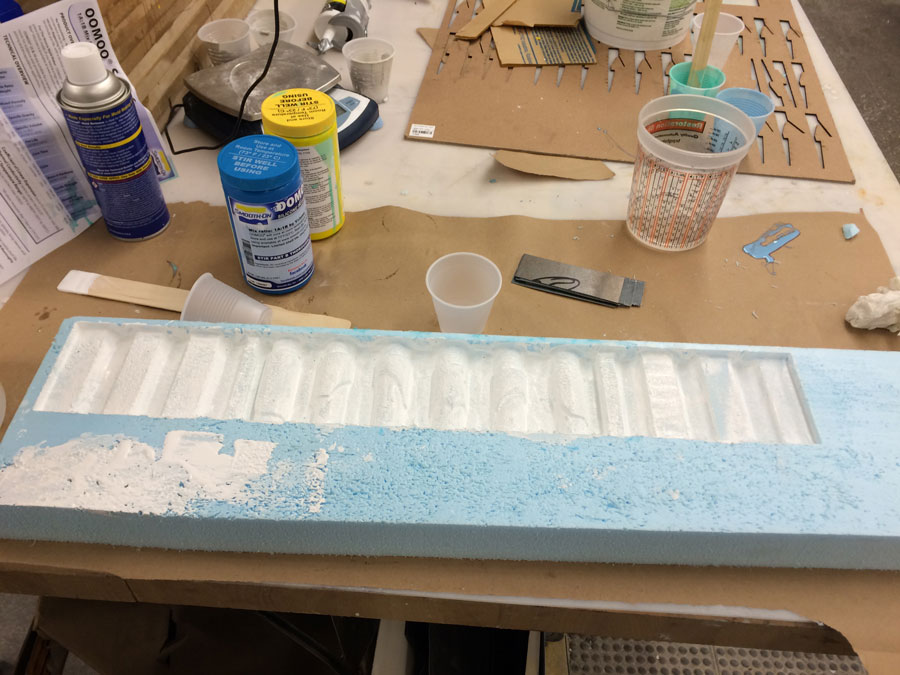
^ however the surface of the foam, even though its density compare to regular foam, became very porous once milled
casting

^ in order to prevent the omoo (silicon) to get sucked in by these pores, I have applied acyrilic (gesso) and mold releaser to the surface of the foam.
^ after having covered the entire surface with acyrilic + mold release, it was time to cut some metal sheets to be places as partition walls between casts. I could have embedded these walls into my model and get them milled, however in that case I would have to make them quite thick for them to come out intact from onsrud. instead, it was going to be easier to cut out some metal sheets and insert them into foam.
^ metal cutting

^ metal sheets are placed

^ gently poured the same amounts of omoo's partA and partB in order to avoid bubbles that will eventually create holes in my cilicon mold
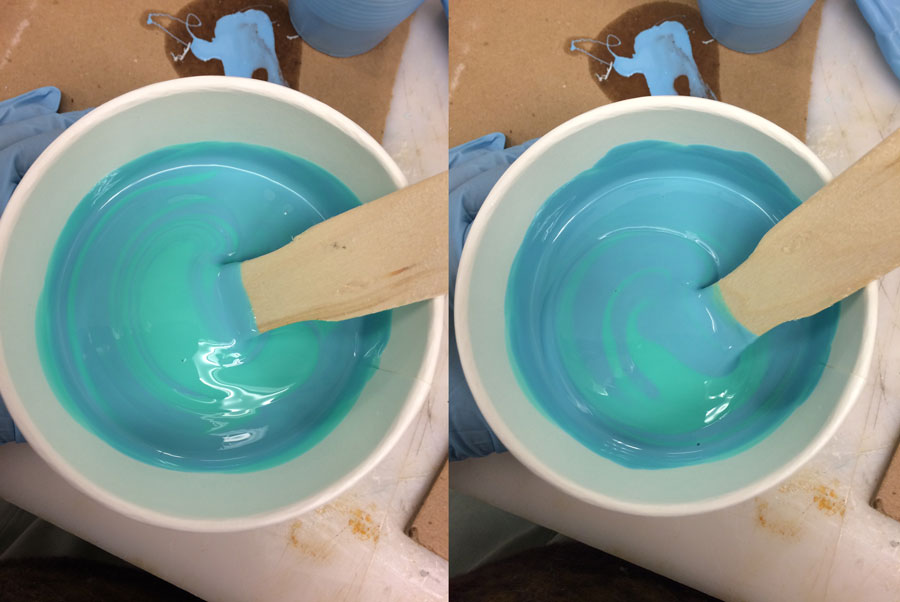
^ gently stirring to keep avoiding bubbles
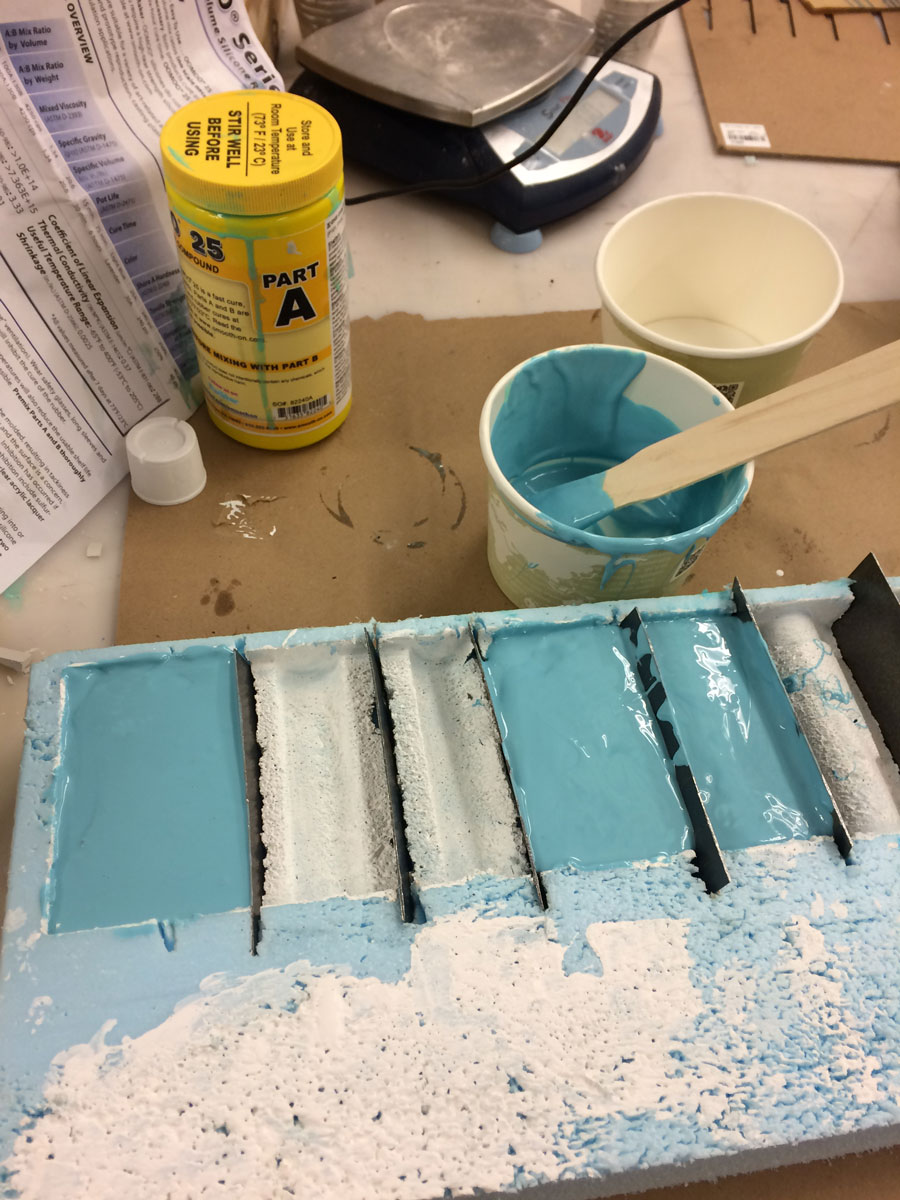
^ well, the mix turned out to be only enough for 3 sections
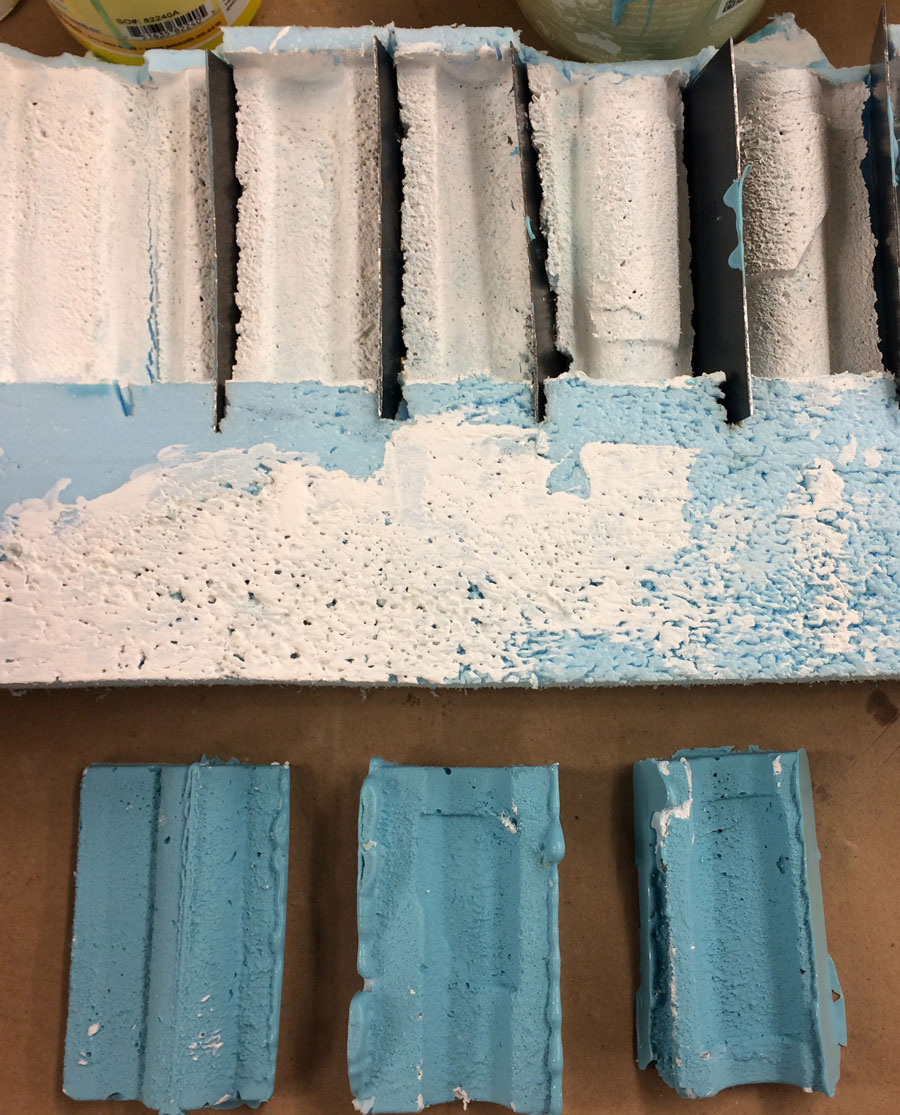
^ they came out very clumsy and the surface wasn't perfect in terms of avoiding bubbles.

^ at this point it was obvious that this workflow (at least the way I did it) was not proper for casting thin shells because the resolution silicon offered was not enough to create a clear intermediate space between two faces of a shell.
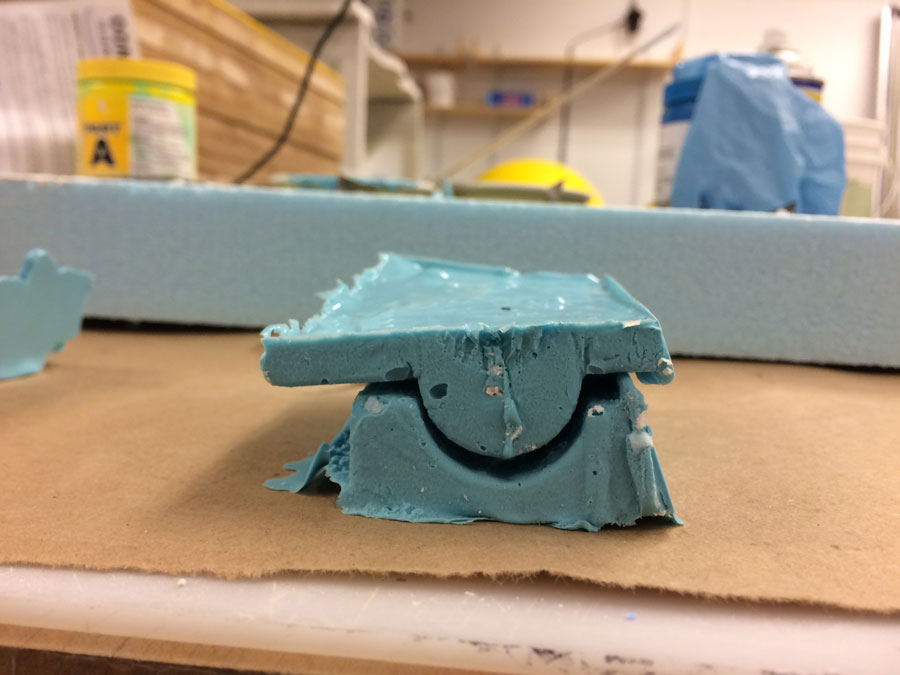
^ epic failure alert! the 2 faces were not sticking together properly because of the rough surface of the silicon. Even if they would, I would have to inject the hydrostone via a syringe or something because the space between 2 faces of silicon wasn't wide enough to cast traditionally.If these shells were to turn out ok with hydrastone casting, I was going to bind them with epoxy (concrete adhesive), in which case the structural properties (especially towards tension forces) would be highly questionable!
now I know that the casting nods is a super painstaking process and made up my mind firmly to go with 3D printing the nods for the final project!