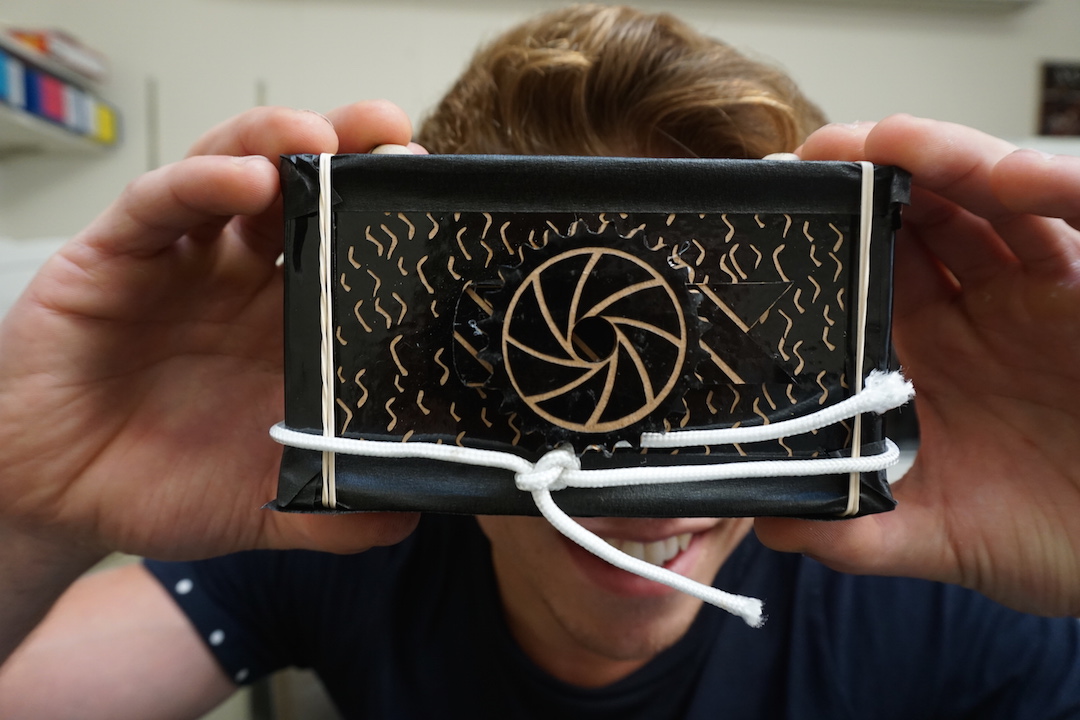
This week I used computer controlled 2D vinyl cutting and laser cutting to make a push-fit construction of a pinhole camera!

I started working in Antimony, becuase I liked how easy it was to parametrize things. In this case, I started with simple triangles and a simple slot; then I parametrized elements to get chamfers of different sizes and thickness. I went to the laser cutter and found the chamfers that worked best and then used those for my design.

In order to figure out the physical constraints of my camera, I needed to calculate the focal length. With a 0.25mm pinhle (measured via a caliper), I would needa focal length of 46mm. Thus, I now got the depth of my camera! The other dimensions are fixed from the components of the film canisters, which I measured prior. Thus I was fully constrained!

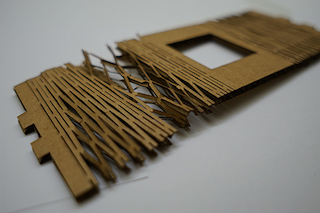
When making my Illustrator file I actually converted my chamfers into rounded edges so make a smoother press fit. In the end, I found these worked really well and produced quite the satisfying "click!"
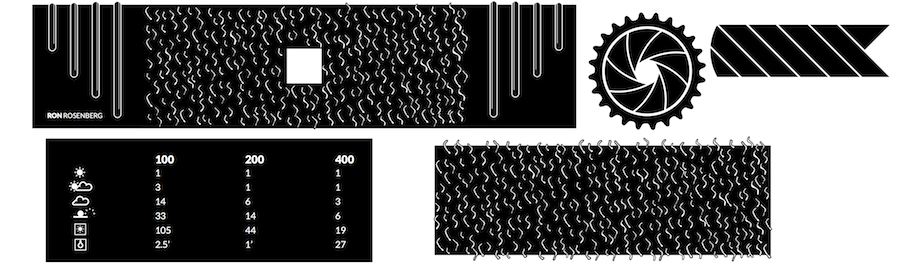
After making my master illustrator file, I could then tackle my vinyl cut design. I wanted my camera to look spunky, so I made a fun leather-like design using a pattern brush in Illustrator, as well as a aperature design for the spacer of the shutter.
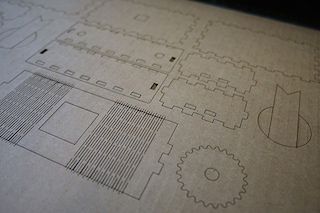
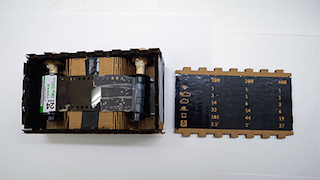
STEP 1: Cut the pieces.
STEP 2: Test the hinge and press-fit.
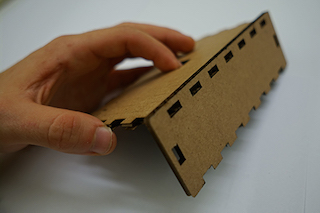
STEP 3: Iterate hinge and press-fit.

STEP 4: Spray paint the inside-faces.

STEP 5: Assemble the box.
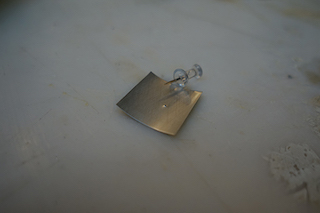
STEP 6: Make the pinhole using an Al can.
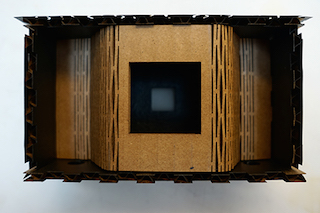
STEP 7: Add in reel spacer and window.

STEP 8: Put on the vinyl stickers.

STEP 9: Break apart an empty canister.
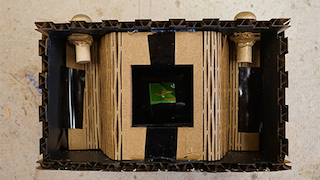
STEP 10: Place wooden dowels thru the top-holes.
STEP 11: Connect the canisters to the dowels.

STEP 8: Press in the back and wrap it up!
This week's project surprised me with how long it took me. I am very comfortable on the laser cutter and optimizing laser setting; which truthfully wasn't the bottleneck in this project. What got me was the intricacies in rolling up the film easily and light-proofing the box, which takes a lot of attention to detail! I would have liked to iterate through more versions of the press-joints but I did not have time in the end. Regardless, it was a fun project and I learned a lot about optimizing for press fits, making pinhole photographs, and of coures - time management!.