Technologies Used
3D Milling was used to make a wax positive for molding.
Molding and casting were used to make a mold and then cast an object.
Personal Project Goals
This week we looked into molding and casting. As I know a lot of soft robotics are created in this way, this is actually a very interesting topic for me. Also, as a 3D printing aficionado, I figured this was the time to learn what works better in a 3D printer, and what works better in molding + casting scenarios. One of the reasons why molding + casting is interesting to me is because, while I think it's much slower for rapid prototyping, it also currently has access to a much wider range of curable materials, which is interesting.
When I set out on this project, I originally wanted to do food casting, and in particular, cast melted gummi bears into other shapes. I didn't have enough time to pick up food-safe silicone though, so that will have to wait for another date.
Methodology
This week I decided to fabricate lego bricks. I know that Legos have been perfected to an intense degree over the years, with exact tolerances that allow for good snapability and just the right plastic composition. I wanted to see how close I could get to making two DryStone (or, ideally, gummi legos) snap. Incidentally, this is definitely not how legos are made in production.
This week also had a lot of pitfalls, so I'm going to go through what worked and what didn't in depth.
Read More / Hide
The first step of this week was to CAD up a wax positive that we would fabricate, from which we would create our silicone mold. Since I wanted to make legos, and I wanted to get them as close as possible to snapping, my thinking was that someone else had probably figured out the geometry problem better than I could on short notice. My delusions that this would be a working project were influenced by the fact that I had seen someone 3D print a working lego brick in 6.S097 last semester. I downloaded a few brick models off of Thingiverse, and positioned them in order to make a two-sided mold. Further, I added a wall so that I could easily separate the mold into two parts, and a couple of registration balls. I set them to have a radius of 5mm, which I ultimately discovered was a little to small. The registration balls should probably have something like a 10mm radius to mill out well
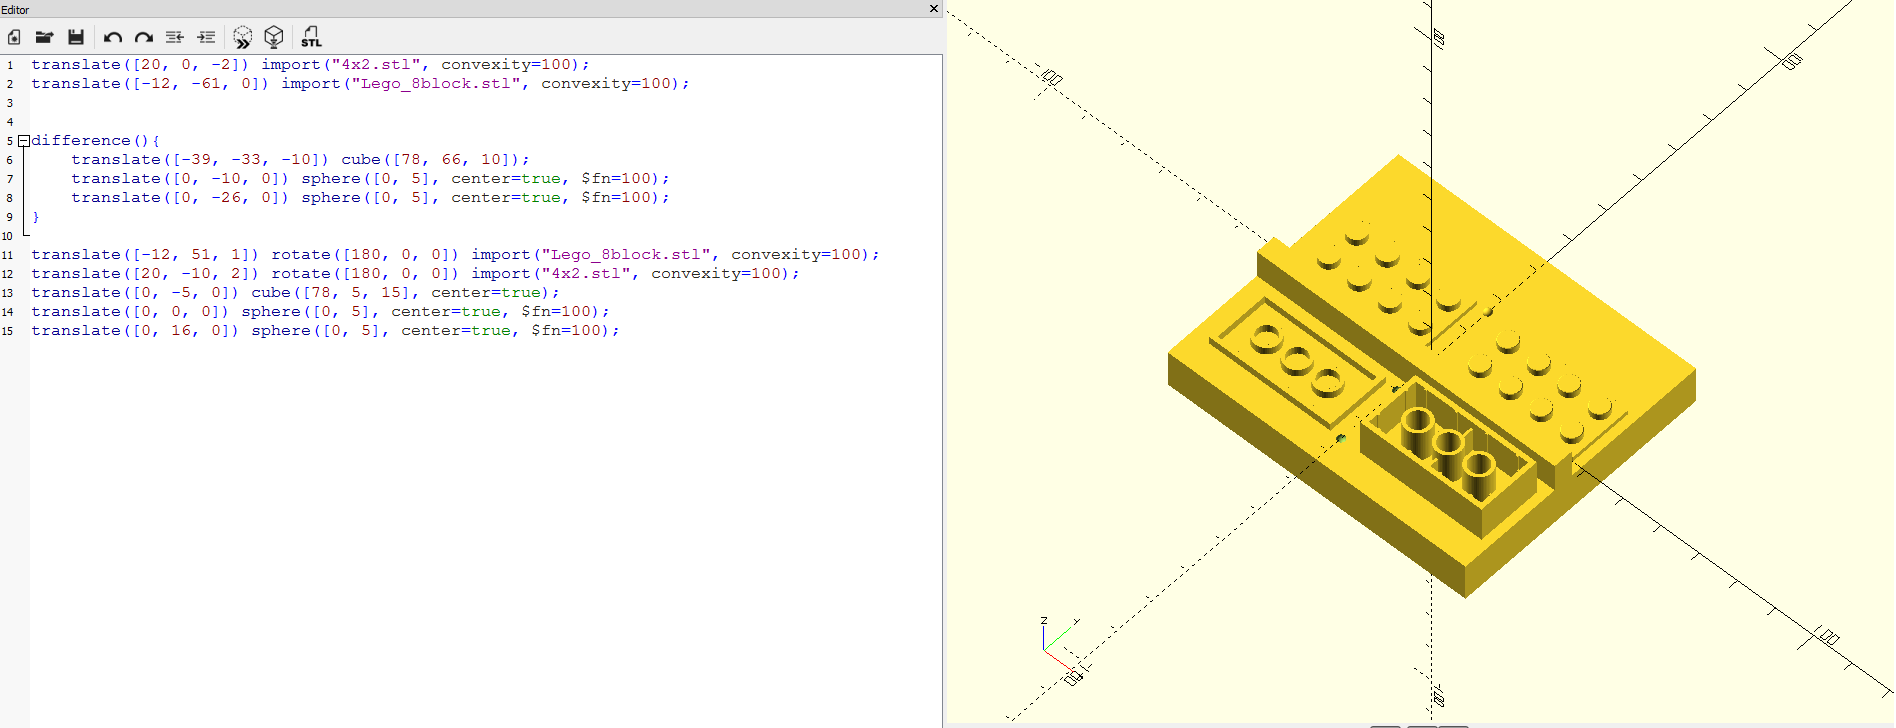
The .scad file to reproduce this is found here. The necessary support files can be found here (plate) and here (beam). Credit for the .stl's go to SmokyFrosty and nefercheprure on thingiverse for the .stl's. Incidentally, I used files off Thingiverse because I thought they'd most likely have been already fine-tuned to the tight tolerances that Legos have.
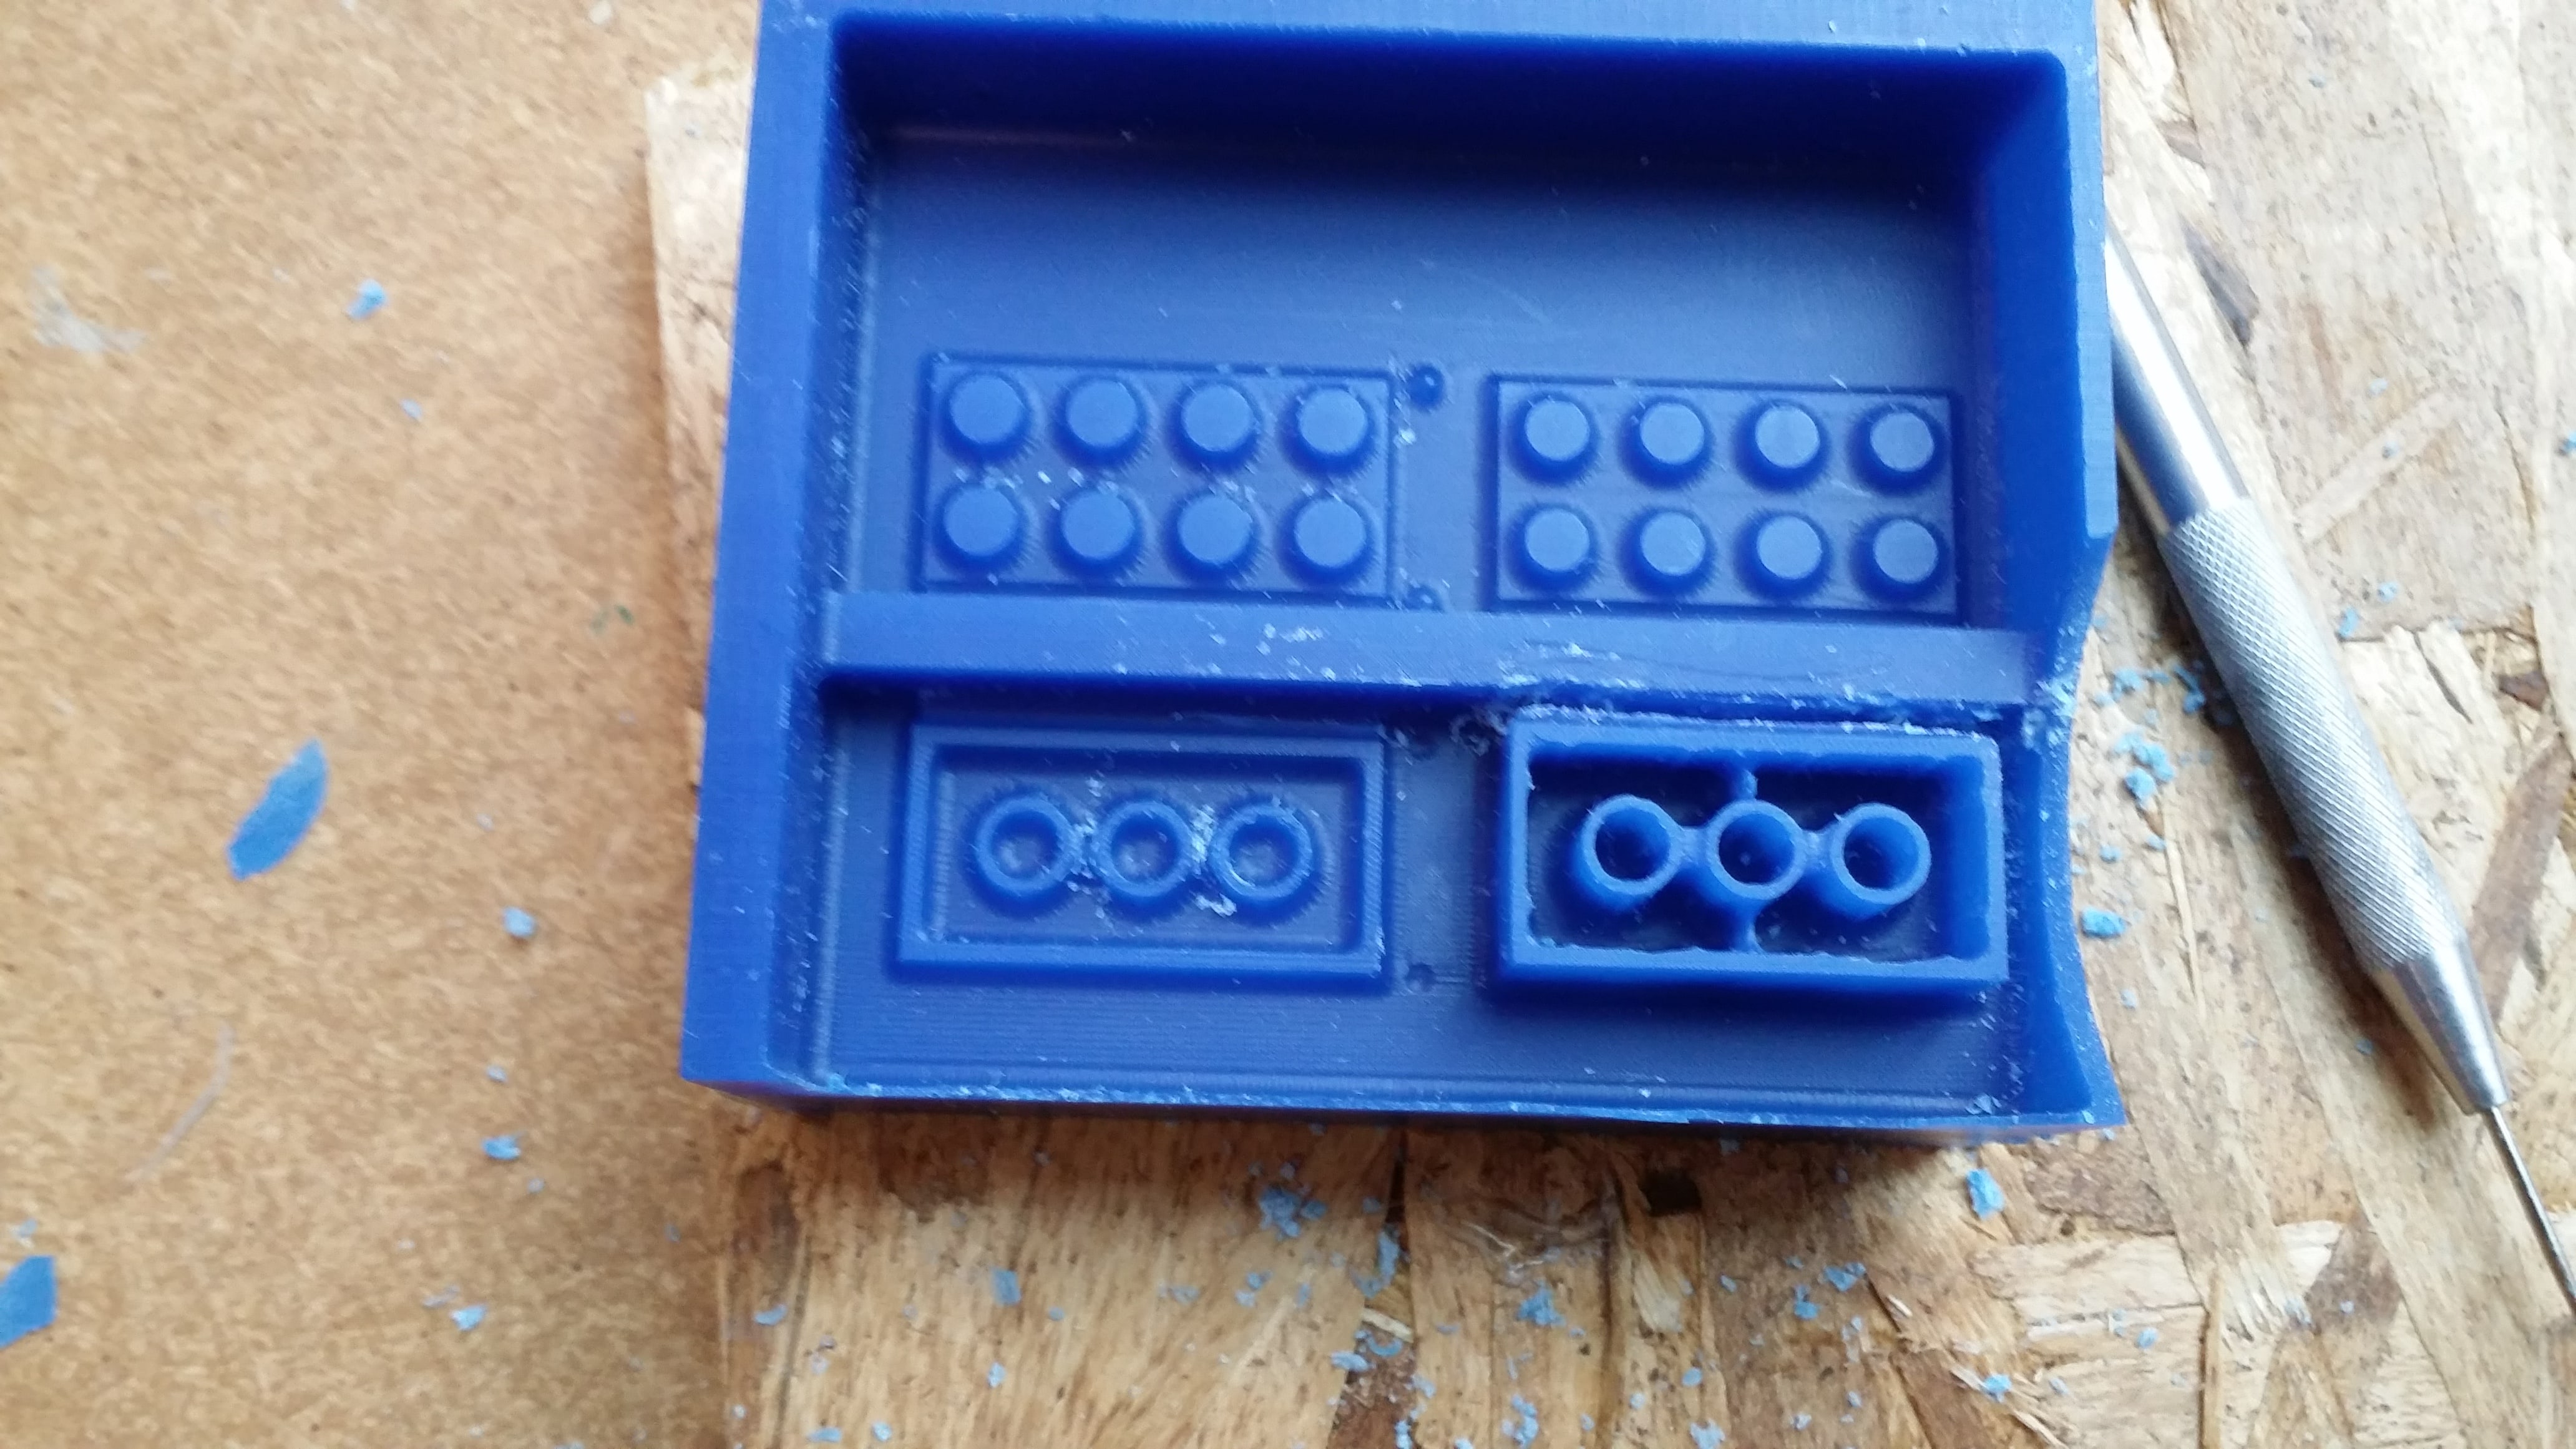
3D milling was surprisingly straightforward. I created my original positive shape such that it was significantly smaller than the material (allowing for around 0.2in walls on each side). 3D milling is just like 2D milling, except you have to create a "roughing" path first (with gentler plunge rates so you don't break the endmill) before you do your fine milling path, in order to speed up the process. Unfortunately, I must be blind or something because I zeroed my positive so poorly that I cut two of the walls too thinly and they broke.
A second big mistake here is that my positive's features were a little too precise. So, the endmill couldn't get into the section that was supposed to separate a few of the top lego numbs from each other, and it was also unable to separate one of the lego bricks from the middle barrier. I had to take a pick and manually remove wax to add appropriate separation. Even with this, you can notice that some of my features which are at right angles are not. This is a failing on my part - obviously the 3DOF end-mill is limited to non-concave geometries, and really objects should be sufficiently far from concave geometries to get good results. Further, a small step-over would have given me better resolution, which I should have done.
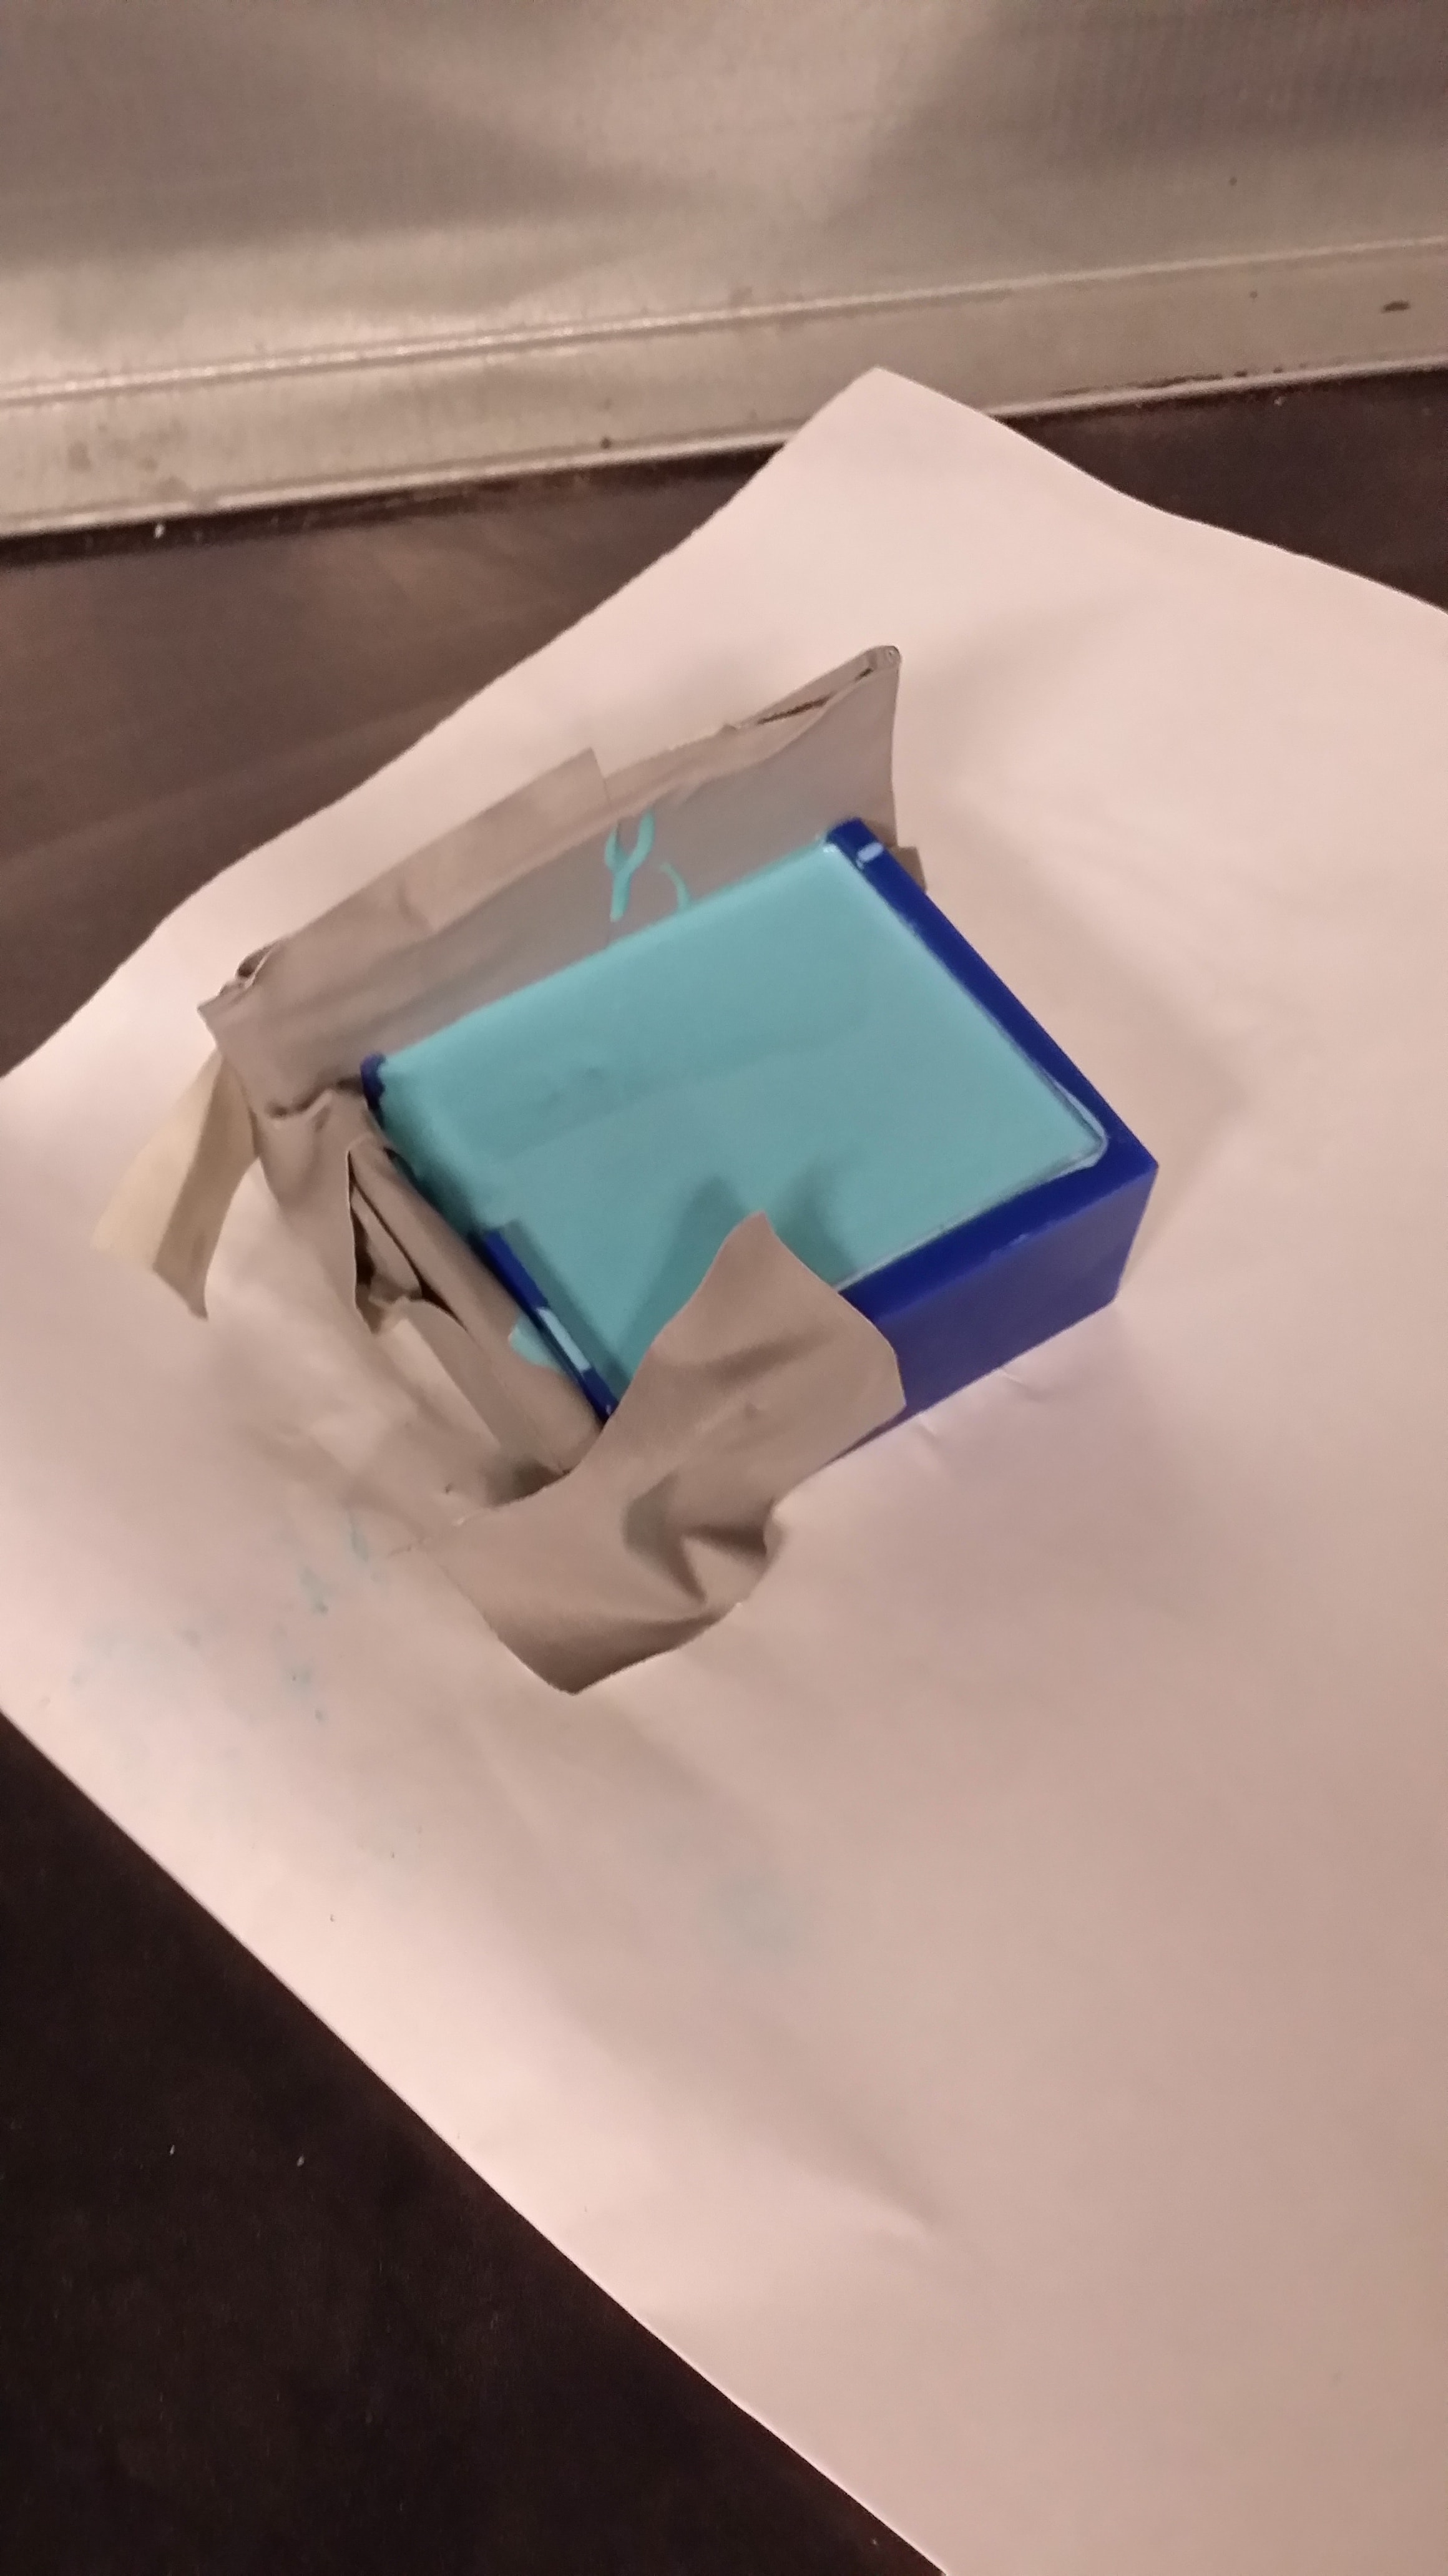
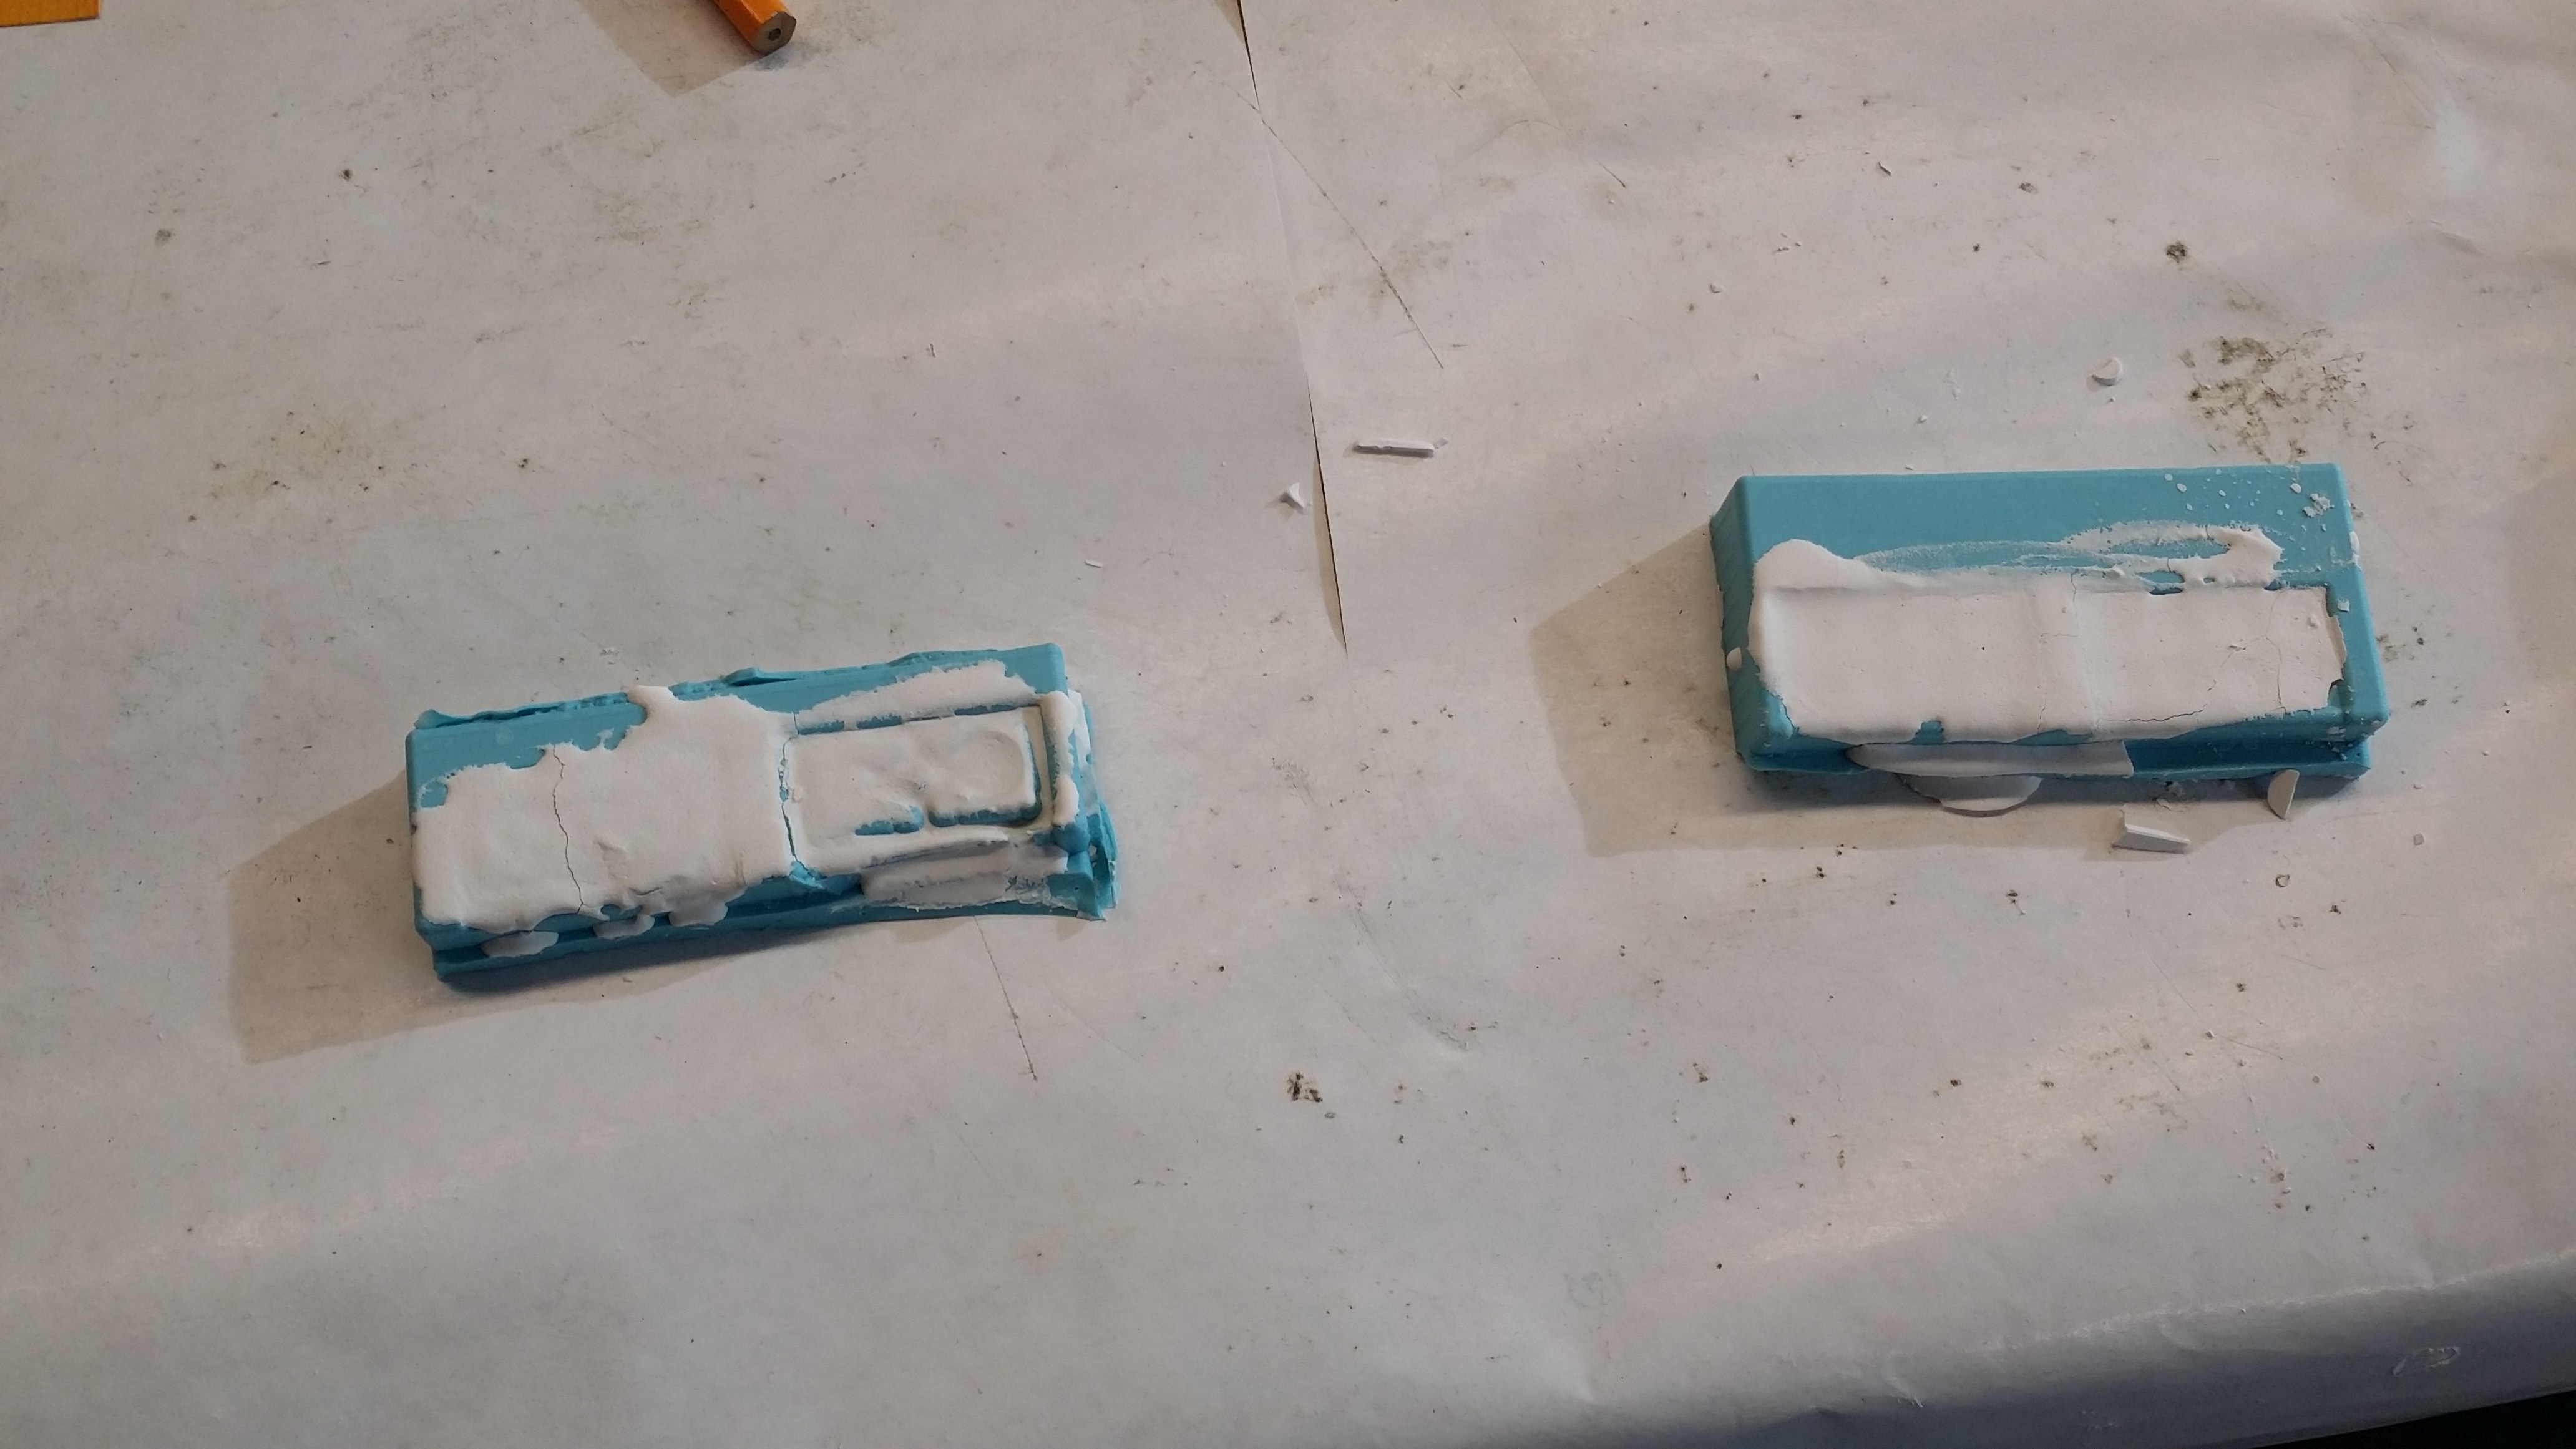
Casting the oomoo was painless - mix, pour, done. Because I had broken off my walls, I taped up cardboard with gaffe tape, and used that to make reinforcing walls. It wasn't water tight, but it was oomoo tight. I think the molds came out mostly nice.
You'll notice that the middle bottom connector on the lego has some deformties. This was probably caused due to an air bubble. I tapped my structure for a the entire work time of the oomoo, and I thought I had removed all of the air bubbles, but alas. I didn't think this would make a big difference though, it would just reduce the flexibility of one of the bottom connectors, so I didn't remold.
Unfortunately, the experienced molder will notice something here. Because I put my dividing line so close to my lego postiive, there isn't a good supporting wall between the lego and the edge of the mold. This caused some DryStone to leak in casting.
Creating the DryStone mixture is incredibly easy. Mix 1:5 parts water to powder, stir for about a minute, ta-da, you're done. Not much to screw up here but the consistency, which can be easily rectified.
In fact, I tried casting twice. The first time, I tried doing it the proper, two-sided way, filling each side, lining up the registration marks, and rubber-banding them. Bad idea. Because my mold is so thin (I should have made the lego brick solid), the tiny amount of DryStone mixture that was put in there would leak out before I could connect the two sides. My first casting in this way was so bad, that I basically had no product.
So, I decided I would settle, and cast each side separately, and then glue them together at the end.
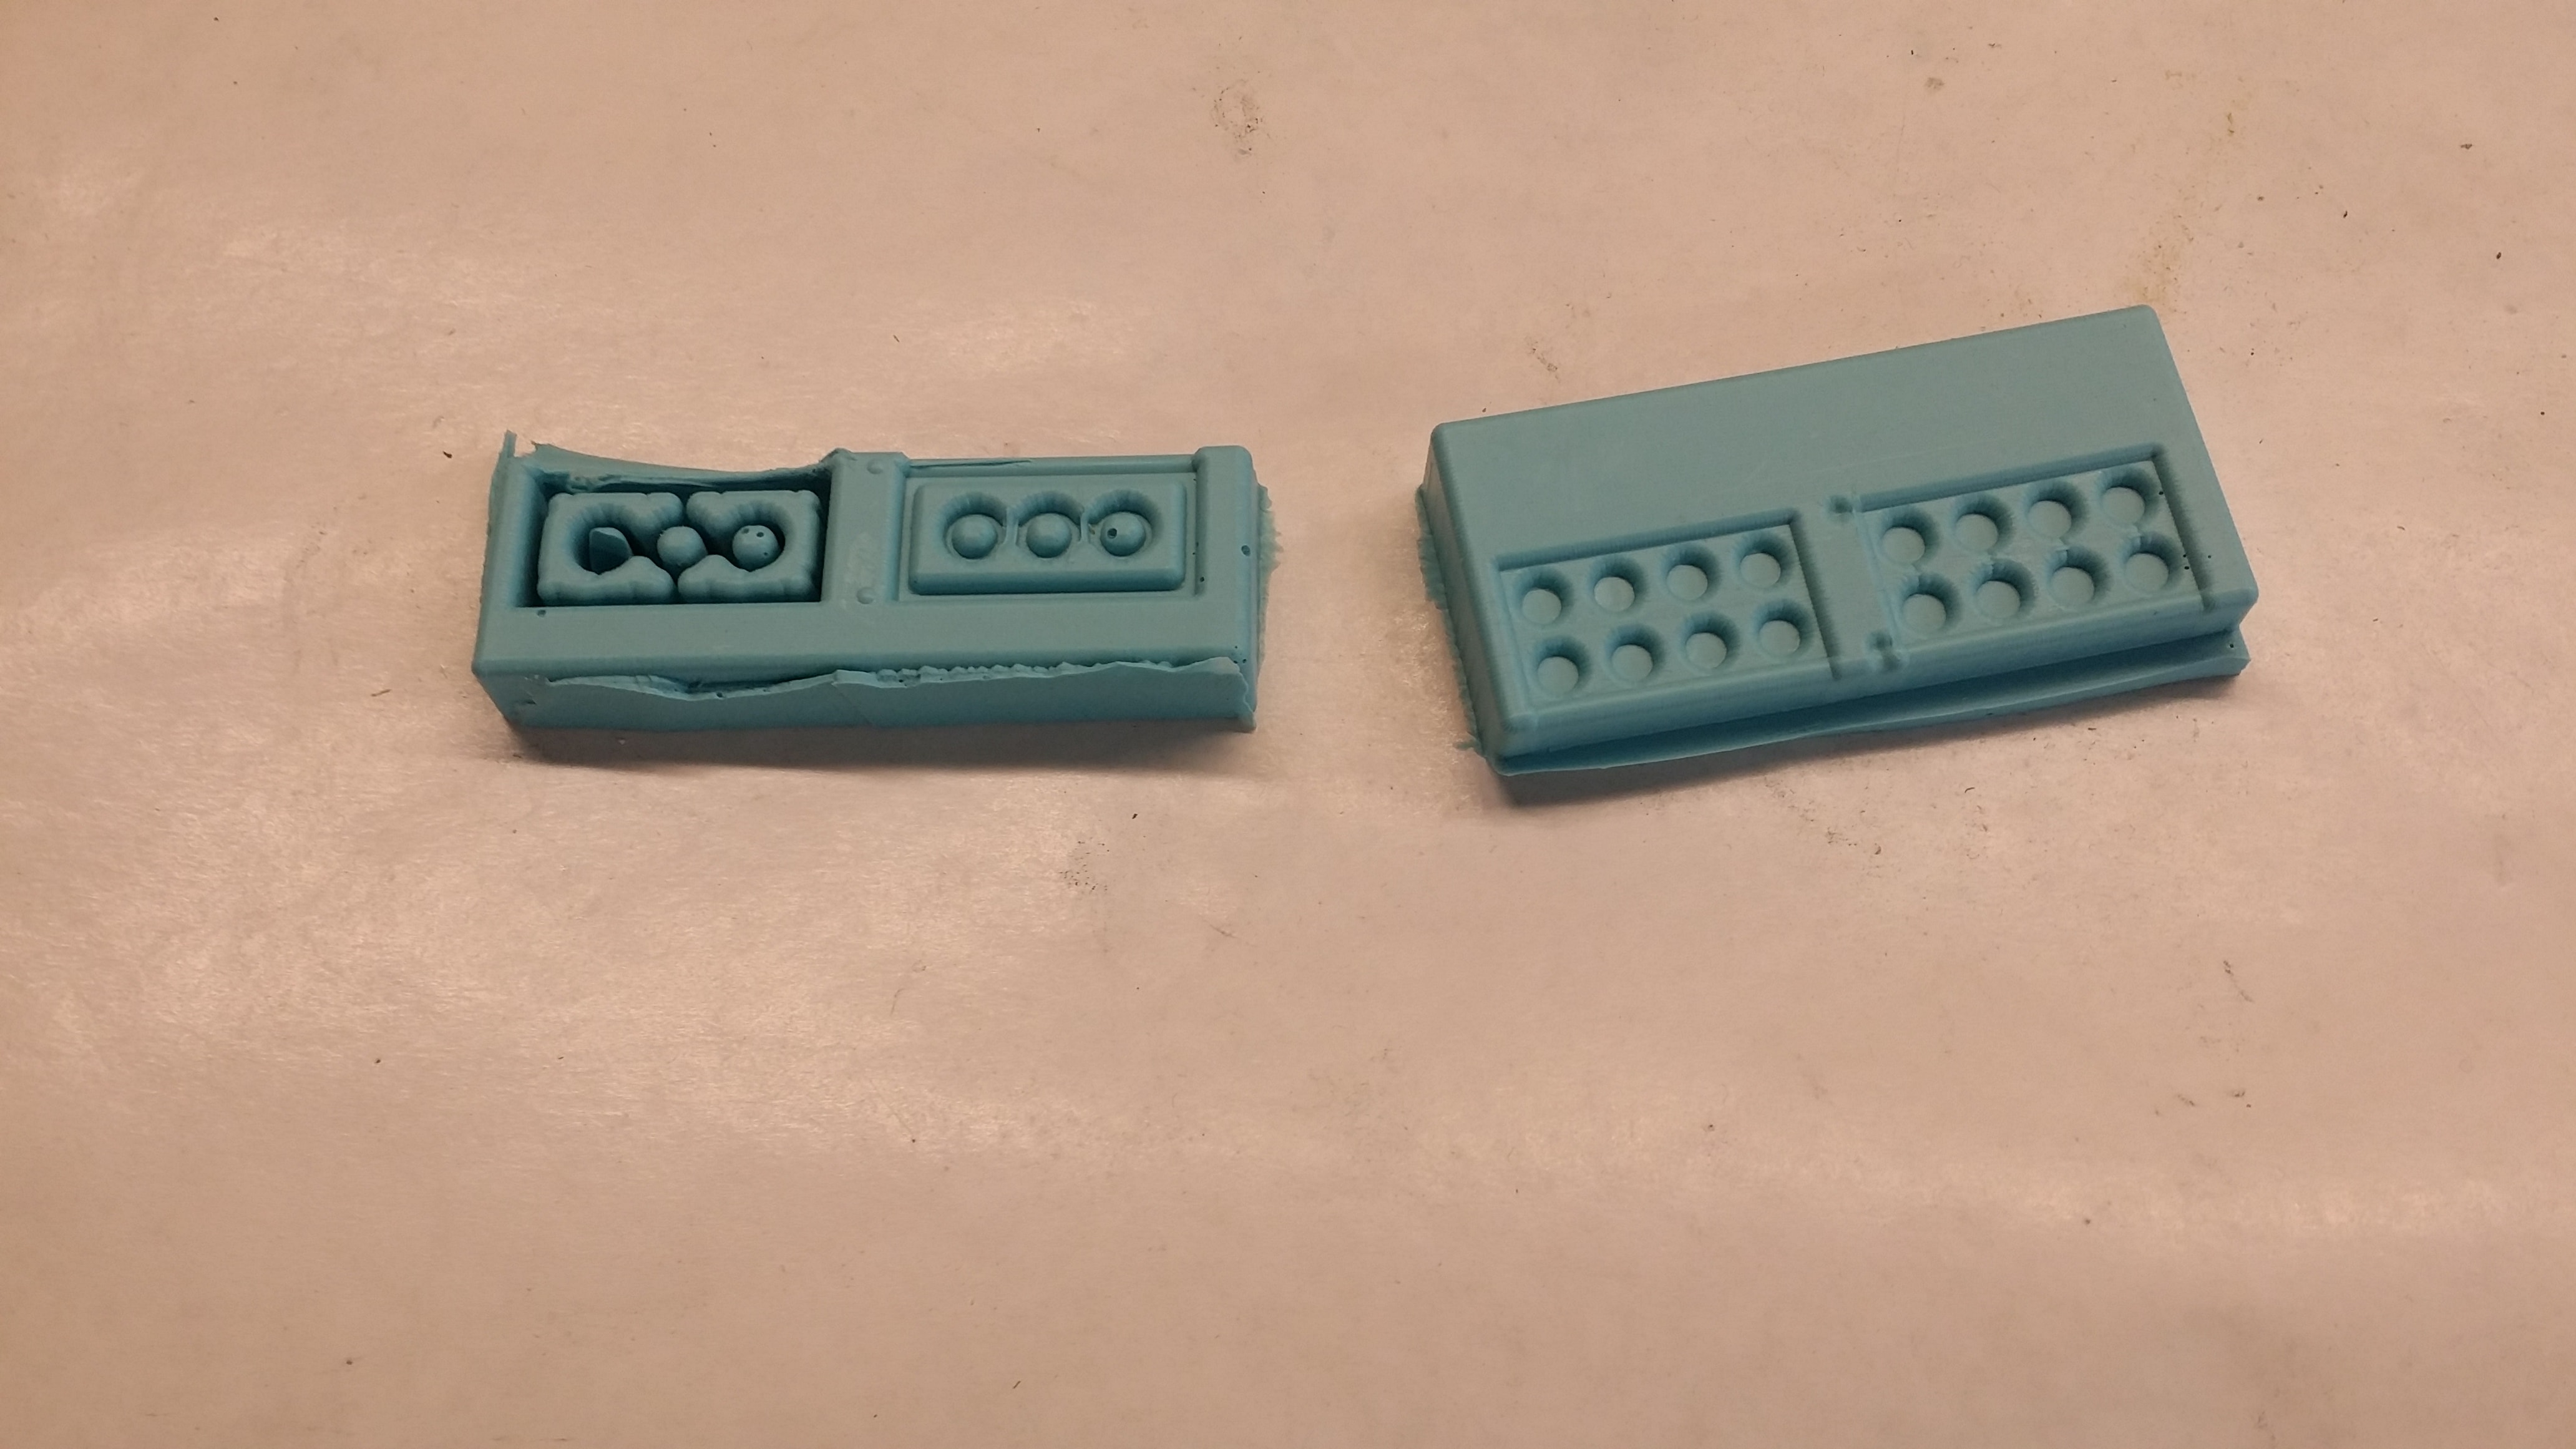
This still had some problems. Because the negative space of the mold is so thin, I couldn't remove the final drystone material for the larger lego brick - it was adhered to the mold more as a coating than its own object. It's as if I just got the outer layer on a thicker cast. This couldn't be removed without significant force, and doing that broke both the lego and the mold itself :-(. The backing sides of the lego broke almost immediately.
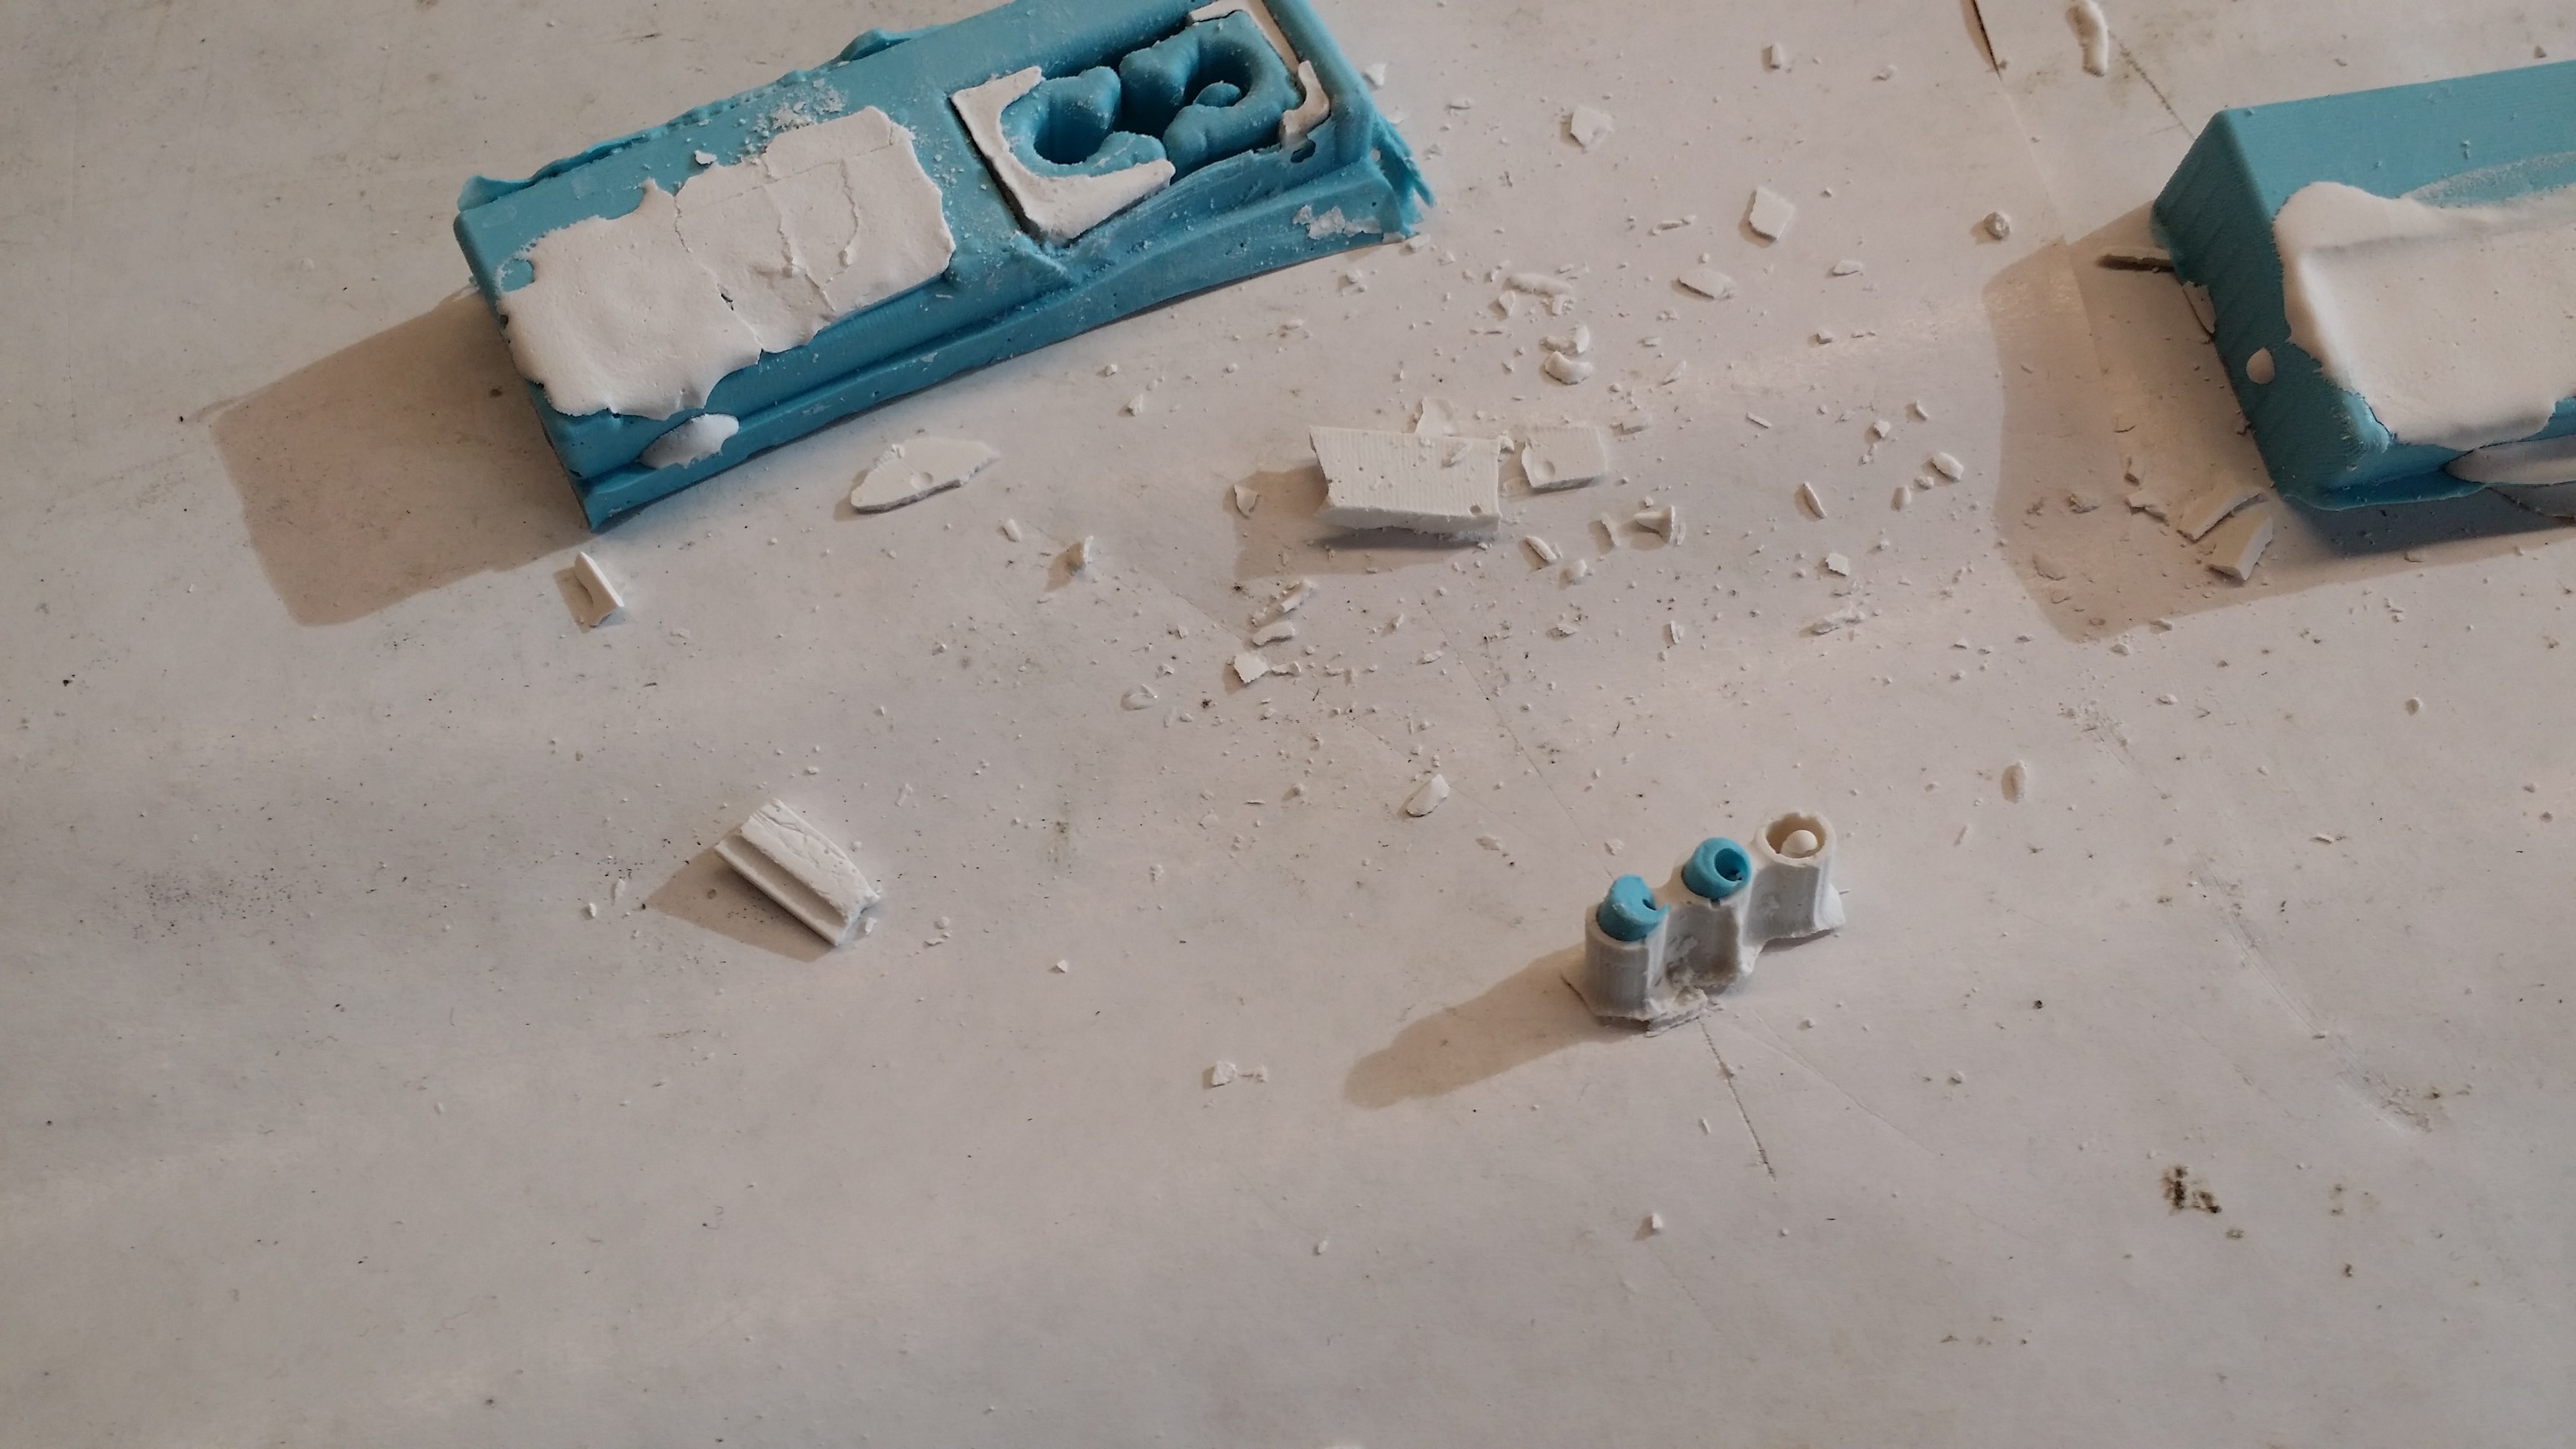
The only thing that came out somewhat nicely was the top part of the thin lego - but even that broke pretty quickly :-(. Moral of the story: make sure the things you try to cast have significant thickness, or cast with something that can handle more shear and stress

Current Issues
I still want to try to re-do this week with a thicker mold, food-safe silicone, and melt down gummis to make potentially snappable gummi legos. That's all time-permitting, though.