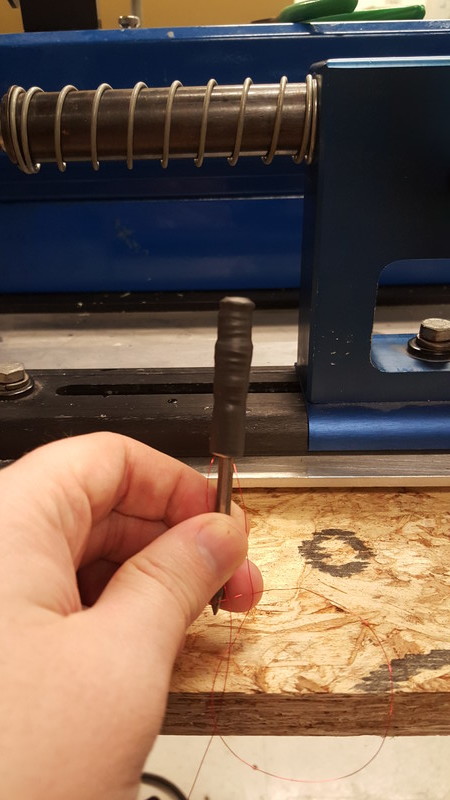
The coil winder is a great way to make custom electromagnets. Here is how to use it!

The coil winder has the following parameters to configure:
I used "Manual" to configure the start and end positions. In this mode, the feed will start at the left control knob (start), move to the right control knob, and bounce back and forth until the job is done.

Unscrew both knobs enough that it can be slid back and forth. You may need to tap slightly to break stiction, but don't fully disassemble the machine. It won't move much at all, and then it'll move a bunch. This can make precision adjustments difficult, so be sure you know where you want them before you start moving them.
You may want to run the machine back and forth a few times without the wire attached to the stock to make sure these positions are correct.

The pitch controls the rate the feed moves along the stock. This must be adjusted for wire gauge. When this is dialed in correctly, the feed head advances one wire diameter for each revolution of the stock. Figure 4 of the operators manual has the following suggested settings:
I believe it was in "fine pitch" mode, though the photo indicates otherwise.
The Dereeler pulls wire from the Wisker Disk and prepares it for the Wire Guide. Feed the wire:
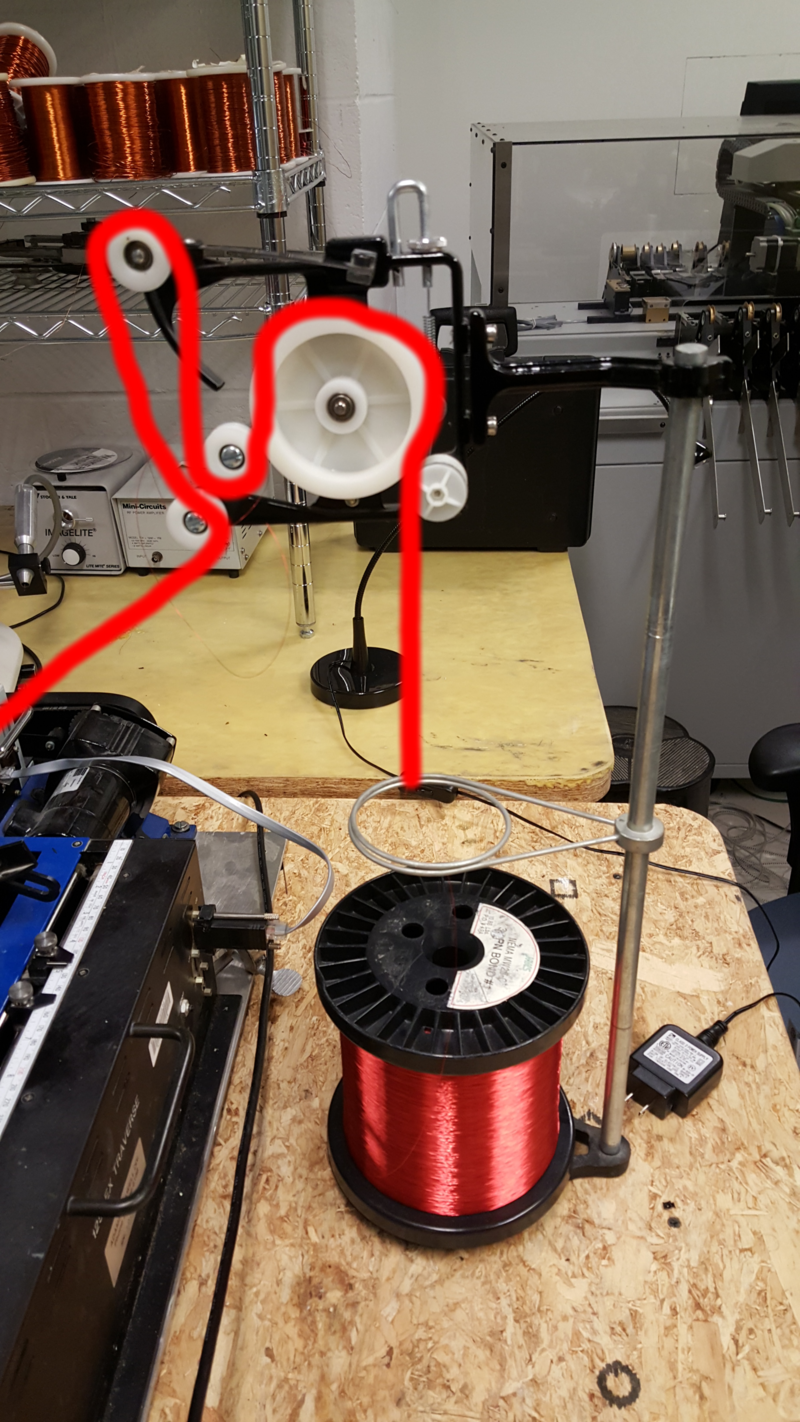
Ensure that the spool is centered, and that its plastic rim doesn't have any knicks or cuts. These may snag the wire as it unspools. You should be able to manually pull wire through this setup without the tensioner deflecting.
The Wire Guide is shown below for winding direction "A":
For winding direction "B", go under the final bobbin and over the stock.

Open the chuck and insert the stock. I use the Tail-Stock to reliably position the stock.
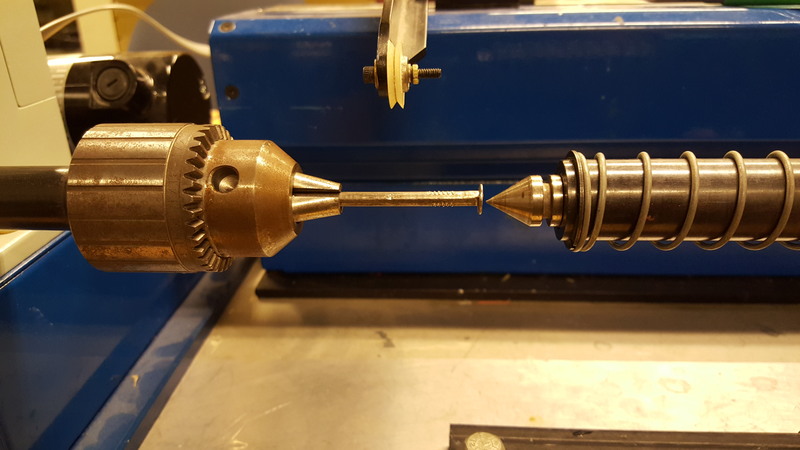
Repeat the wire feed procedure from above. The dereeler is usually fine, but check each link to make sure it hasn't hopped out. The wire guide is very likely to have unraveled, expect to re-guide it every time.
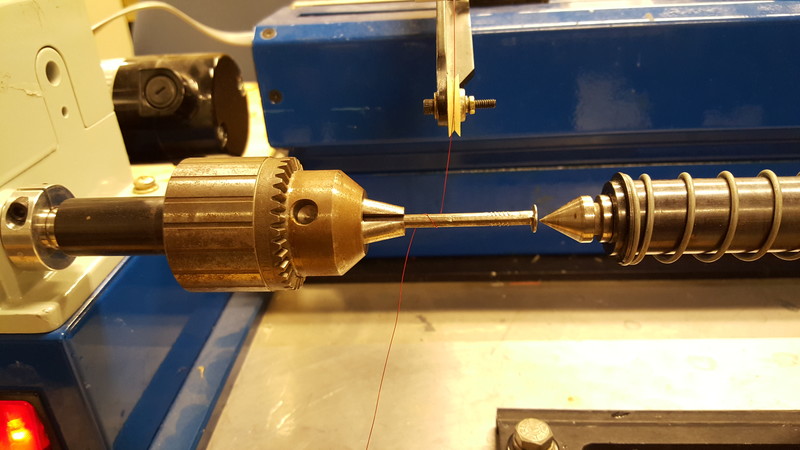
Give the wire a single wide turn and leave a few inches for connecting later. Tape the pig-tail to the chuck. Capture the twist with tape so that the pigtail comes out close to the chuck and the bobbin side comes out on the other side.
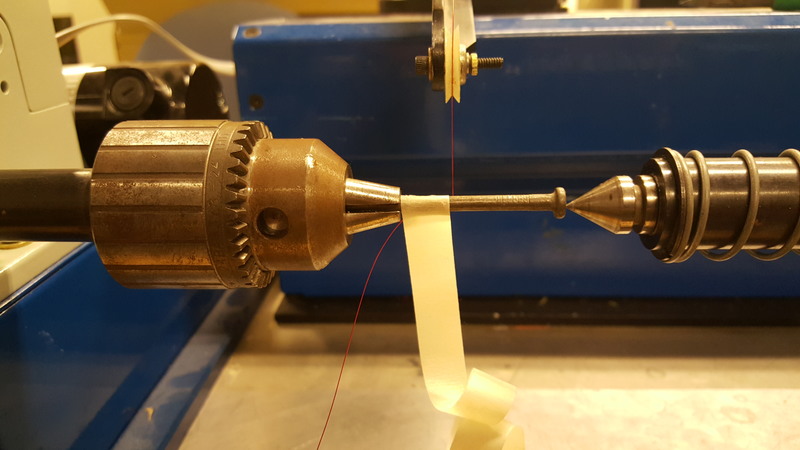
Reset the counter and set speed to SLOW. Wrap 8 turns of tape as accurately as possible. A flat "wall" will make the next step go smoother.
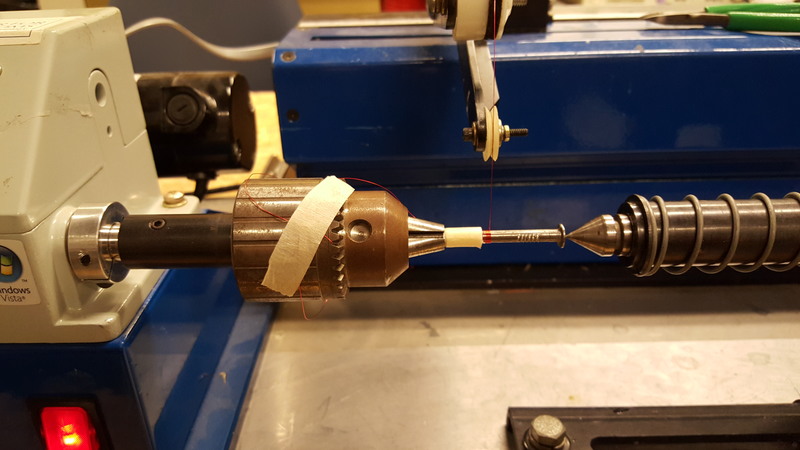
Increase the speed and watch it wind. This part is primarily about watching for errors.
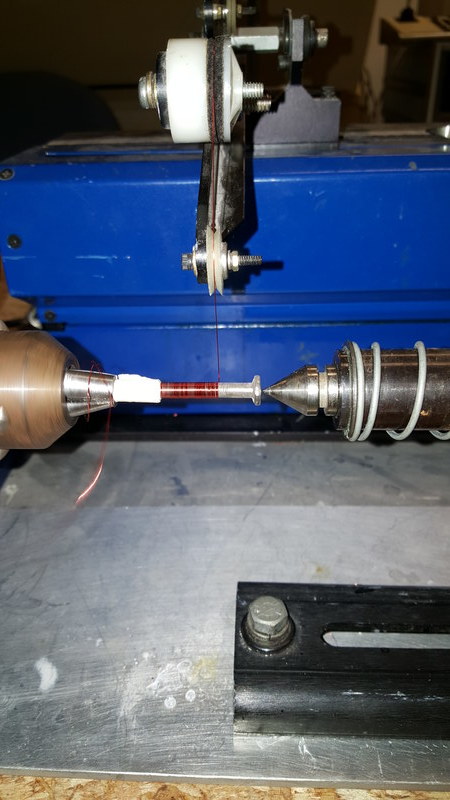
The angle of the wire should remain constant. If it is incorrect, the head will move faster or slower than the wire front.
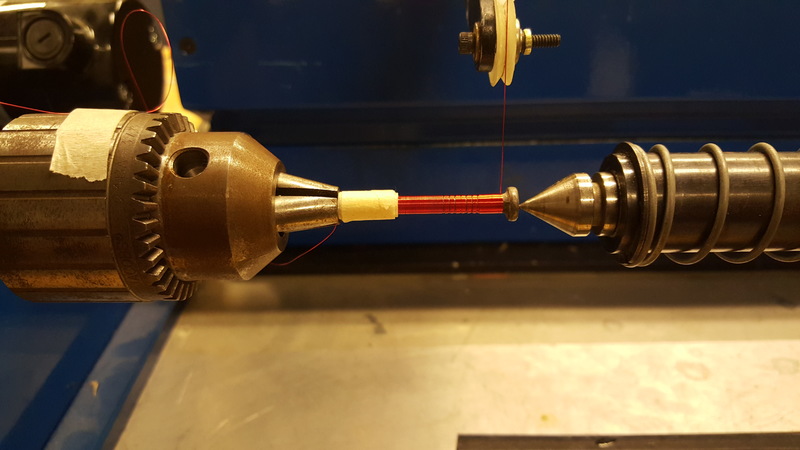
When it "bounces" off the edge, the wire guide should bounce a few rotations before the wire pops up to the second layer.
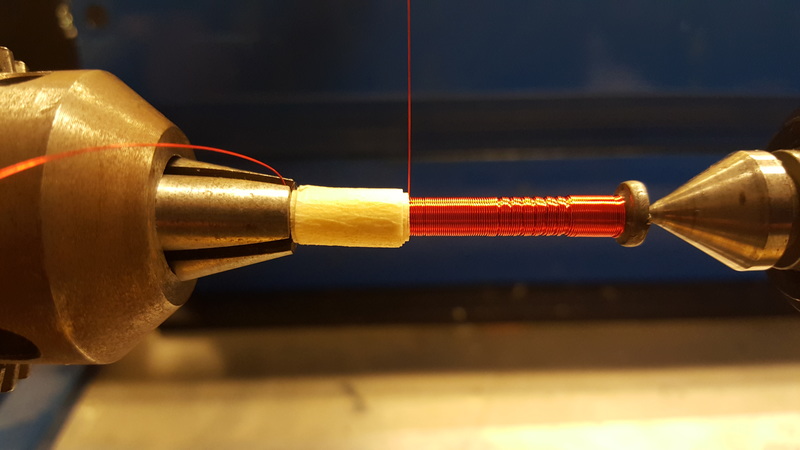
400 wraps in and it is still beautiful.
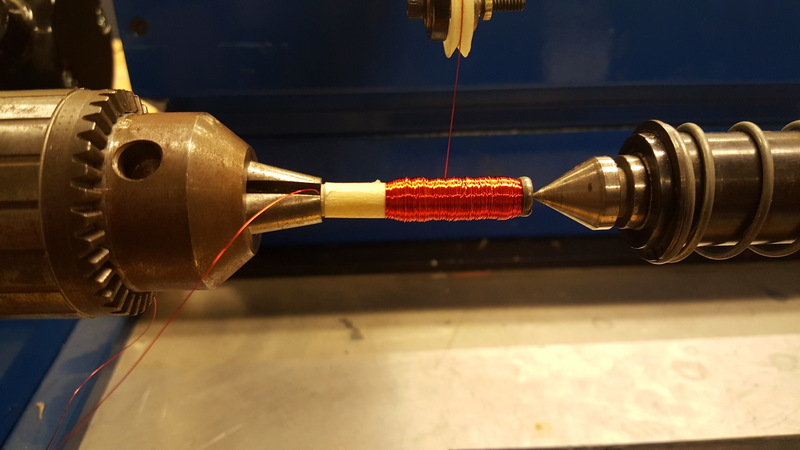
A well wound coil has a (relatively) consistent radius, as shown above. Note the taper on the left side
It is critical to maintain tension in the wire during this step. Attach tape on top of the prior tape.
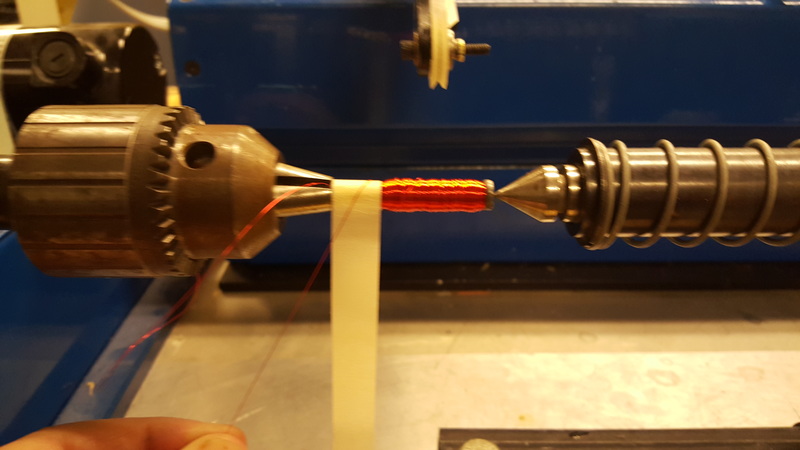
Set the speed to SLOW and press Reset - the feeder will return to home. Grab the wire just behind the first feed bobbin and snip behind your hand. Maintain tension while unraveling it from the feed bobbins.
Move the loose wire to the front lower left as shown. Wrap 2 turns of tape over before letting go of the loose end. Wrap 6 more additional turns of tape.

Cut heat shrink to fully cover the non-wire end and at least partially cover the tape end. Set with heat gun.
