
I started with some research on what was done already. There are several methods of extruding pastes such as icing. A long time ago, Makerbot developed a frosting extruder. A syringe was filled up with frosting, and an air compressor supplied pressure. One solenoid valve opens to dispense frosting, and another served as a relief valve to stop the frosting from oozing. RepRap also developed a support extruder, consisting of two parts: a pressure vessel (fancy way of saying a water bottle and balloon), and a solenoid to let pressurized air in. Activating the solenoid allows a bit of compressed air into the bottle, therefore compressing the balloon containing paste which travels through the nozzle. The water bottle could also serve as a hot water bath for molten paste (or at least make things go down easier). Alternatively, peristaltic pumps - basically a flexible tube with a set of rollers pushing fluid along - could also be used, but better suited for thinner liquids. Finally, the Moineau pump / Archimedean screw looking progressive cavity pump consists of a helicol rotor (screw) and stator (cavity) which have slight gabs between them that can pump a fluid from one place to another.
References: 1 / 2 / 3
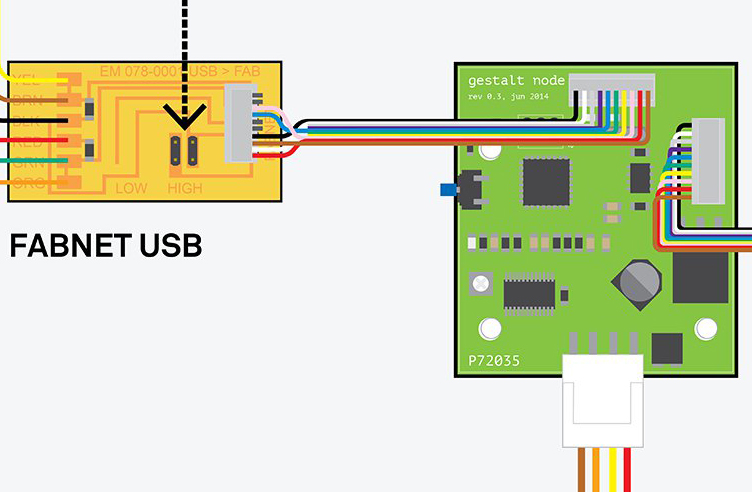
Nadya Peek visited the Harvard section to help us get gestalt - a framework she wrote that allows easier creation and control of automated tools - functioning on our computers. First, make sure you have pyserial (a library allowing serial communication control), get her files from github, and then type:
cd pygestalt-master
python setup.py install
python
import pygestalt
cd examples/machines/htmaa
python single_node.py
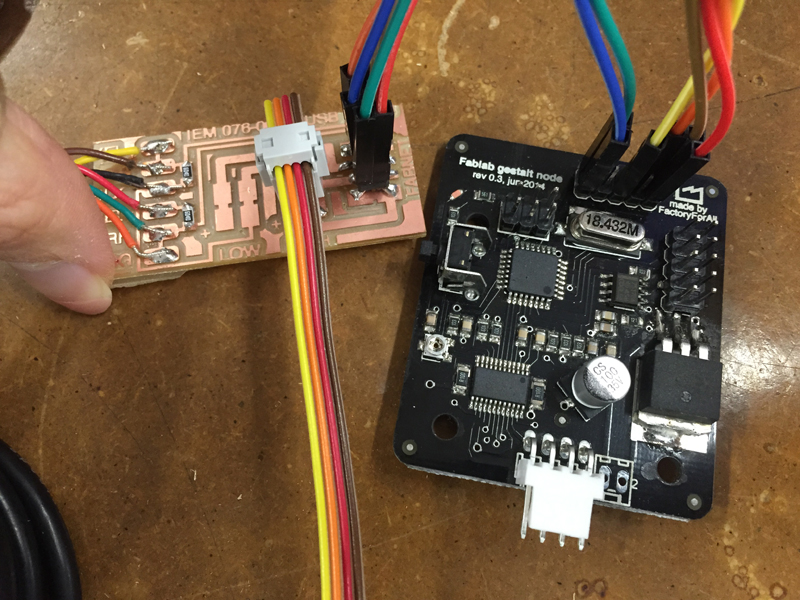
When you run her python example, it will ask you to identify each node on the network by pressing its button. After you identify the node(s), the code will run and move the stepper motor back and forth! A week passed after Nadya's visit and some mysterious things happened to our gestalt nodes and power supply... Testing each node individually, it was discovered that at least one board was destroyed and our 24V power supply had also died (both of which were used successfully before). It was also learned that the bench power supply cannot be used with gestalt nodes. After finding a new power source, the same error "could not reach virtual node" kept showing up. We checked the voltage (regulated to 5V on the board) and cables (never hot plugging), all connected properly...
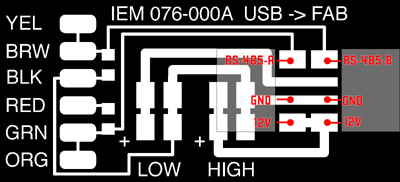
[these diagrams are your new best friends]
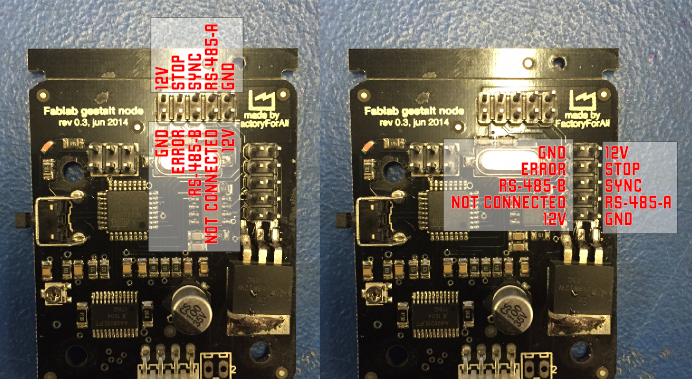
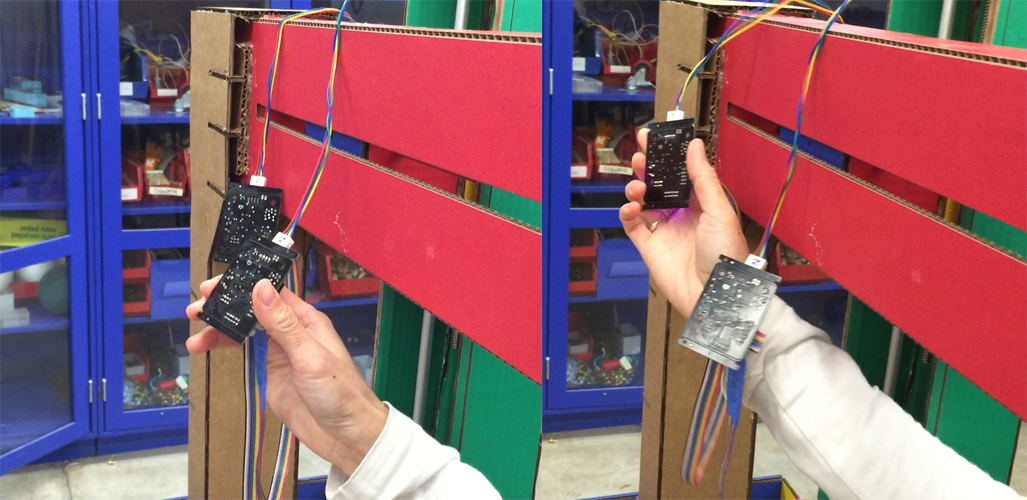
Dan Chen was helping all weekend, and we suspected that the boards were bad. He saved the day by getting us replacements! The new ones are fantastic. We also found out that our FTDI cable was damaged along with the broken power supply and board. I guess what happened to them we will never know...
[checking all the good/bad boards and connections]
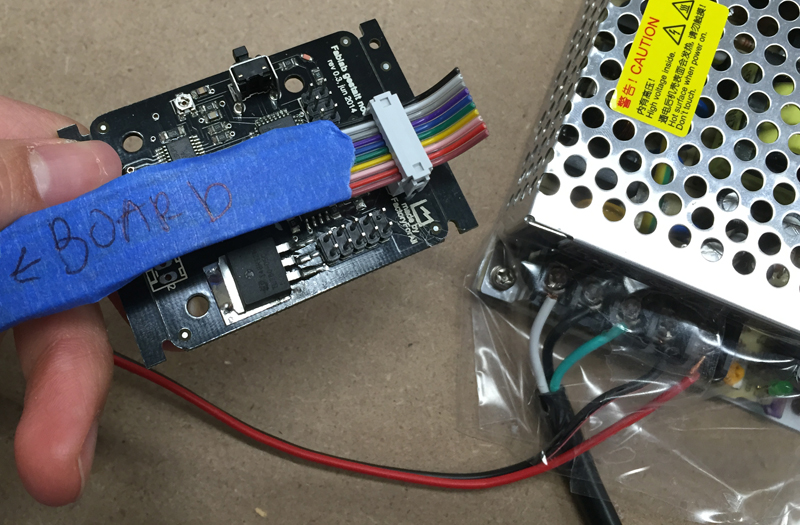
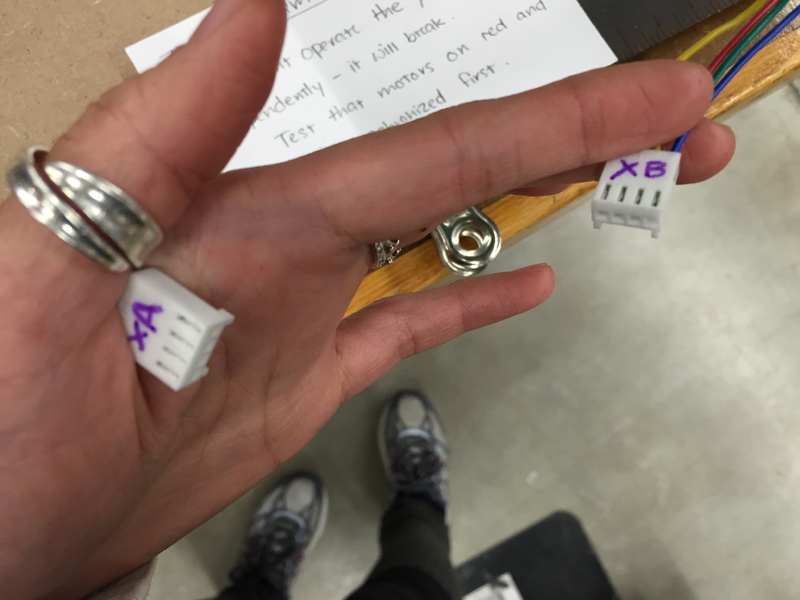
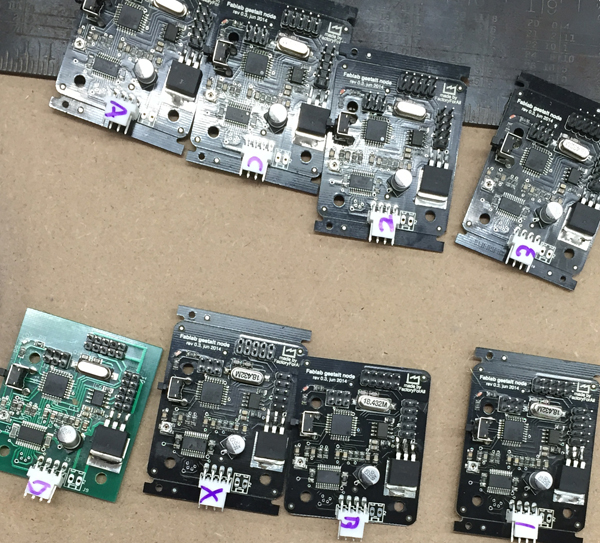
[label everything! most crucially, the stepper motors/node order. also note the tape on power supply, to protect shorts when children drop conductive things onto the terminals...]
[click the buttons in the correct order and the persistance file will remember that sequence]
[testing the movement of end effector, and extruding seperately]
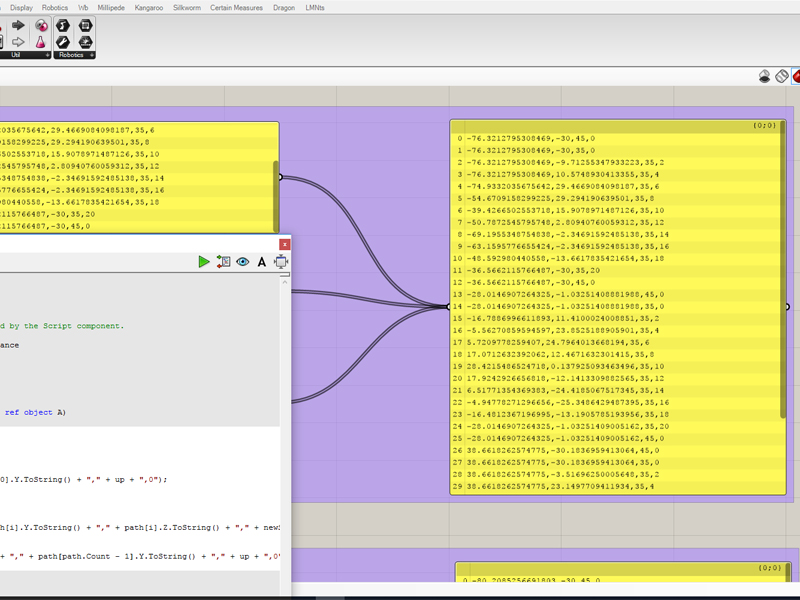
[using rhino/grasshopper and c# to generate tool paths and extrusions]
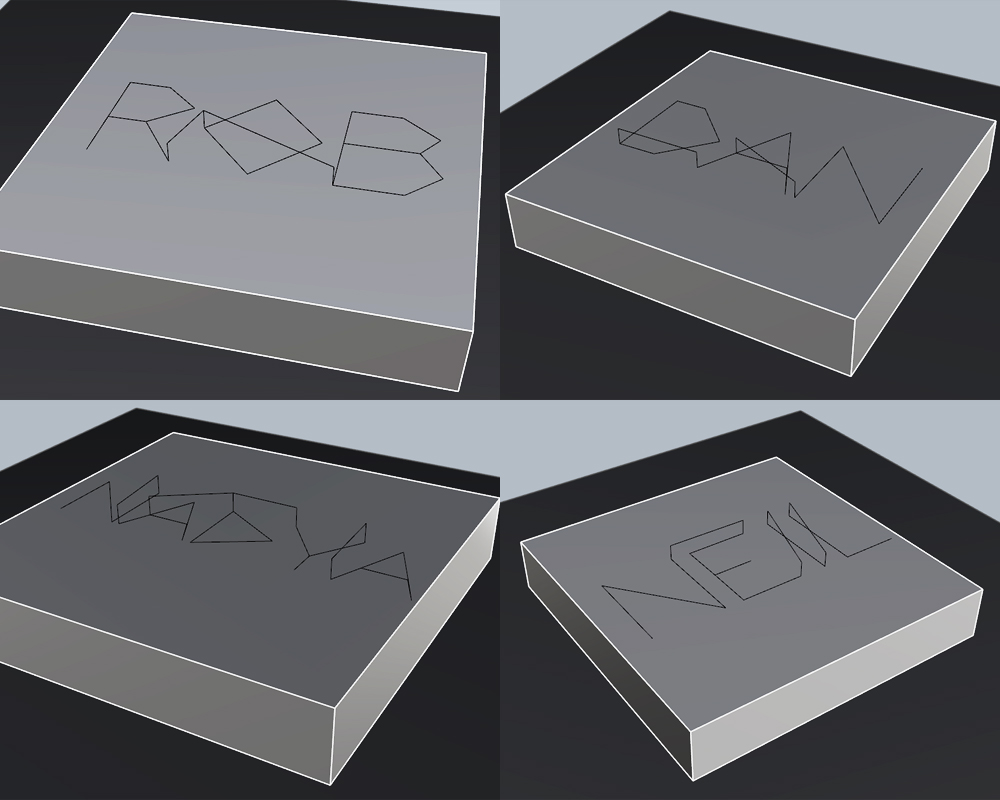
[what the tool path is supposed to look like]
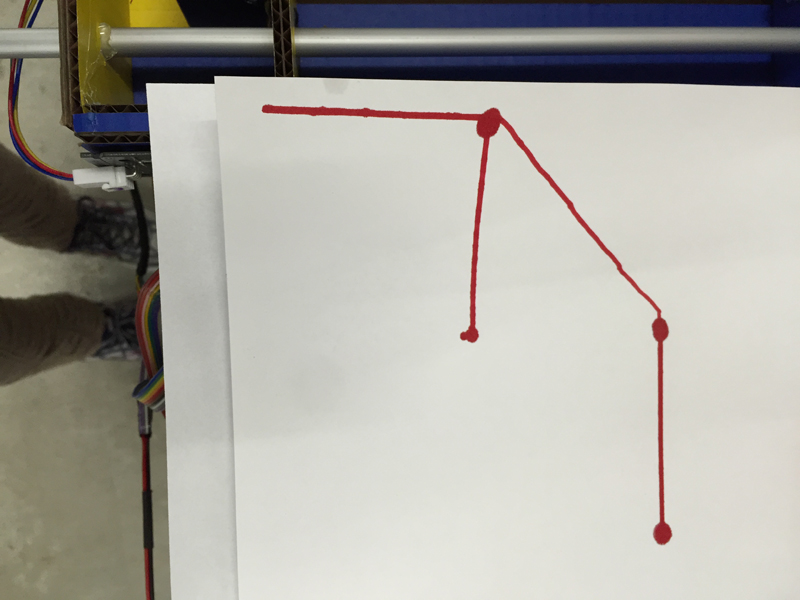
Here is the result: