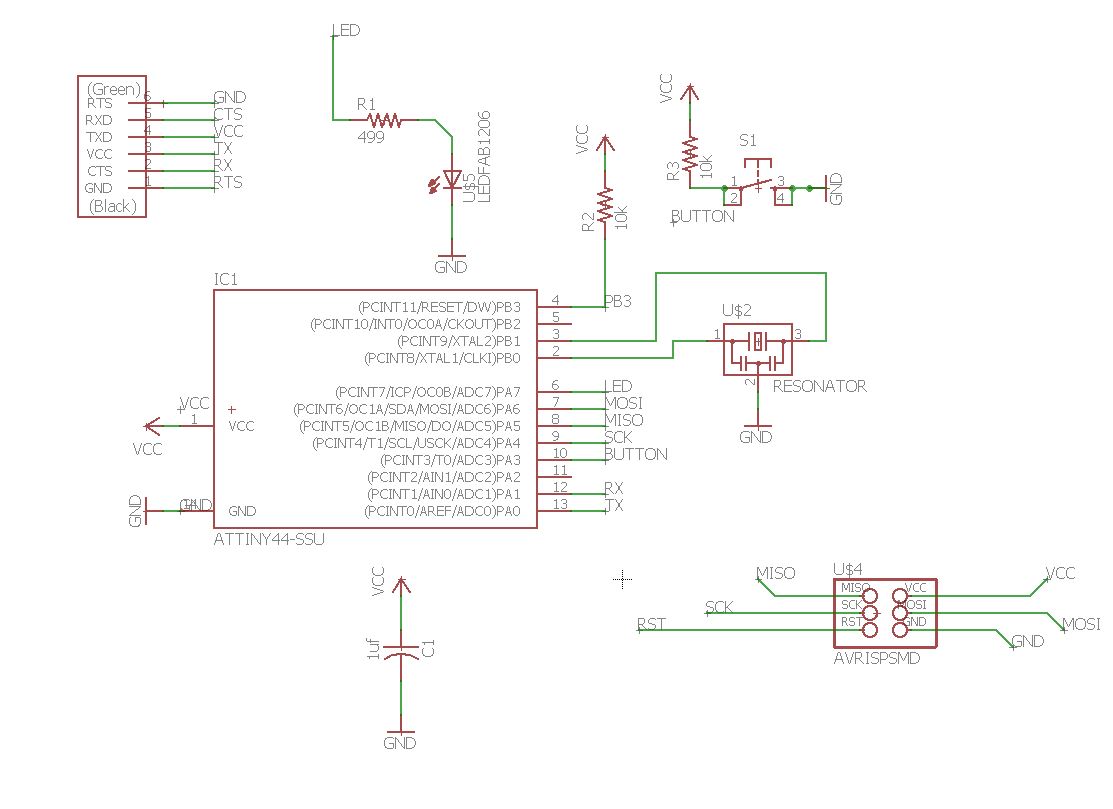
Electronics design in Eagle has been really tricky for me. I laid out the schematic just as the fabacademy tutorial instructed, and
when I finally ran the errors command to find no errors (although several warnings) I was so relieved.
But I kept having issues with my board layout. Autorouter is really not to be trusted. There are so many problems that I had to finely
tune while learning new Eagle commands. I thought I had pre-set my traces to be 0.016mm thick, but they weren't, and I didn't learn
that until I milled my second attempt. To thicken your traces, click on the "change" button, go to "width", and select 0.016. You then
have to click every individual line to change their thickness. Another issue I ran into was snappy dragging (as we would call it in Rhino).
When you need to move a component or a line, you should make sure the grid is very small. To change this click on the grid button and
change the Alt: setting to Size: 0.001 and Alt: finest. This way when you drag around it will be smooth and allow for finer changes.
Also, when you need to create a right angle in a trace, you can right click on the trace and select "split".
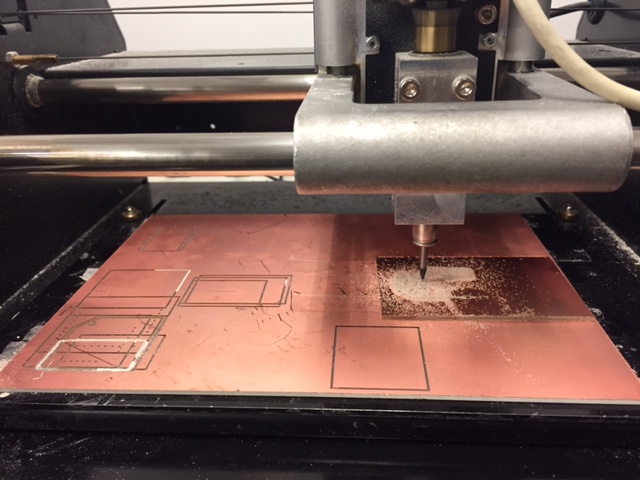
Milling reminders: turn the Modela on, press view, try pressing "jump to origin" to see if the fabmodule is connected to the machine.
Mine wasn't at first so I restarted everything. Use the hex key to insert the 1/64" drill bit to mill the traces. Move the origin over to
your copper board by continually changing the x and y zero values in the fab module. Remember that the z origin is set manually: you need
to adjust the length of the drill bit so that it touches the copper board just barely. Remember to roll the drill bit in your fingers to
check to see that it is shiny. Use double sided tape to press the board firmly and evenly onto the underlay. Select your PNG from the
desktop, calculate, and then start file. If you've changed the origin be sure to recalculate.
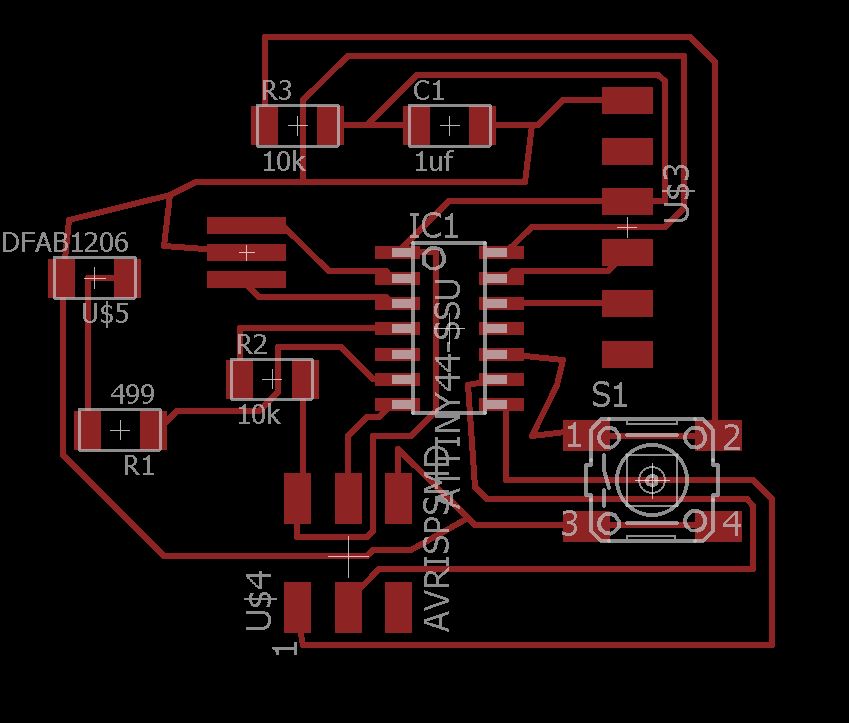
I then milled this board and noticed that the traces were too thin, and went back into Eagle for the thickening process I described above.
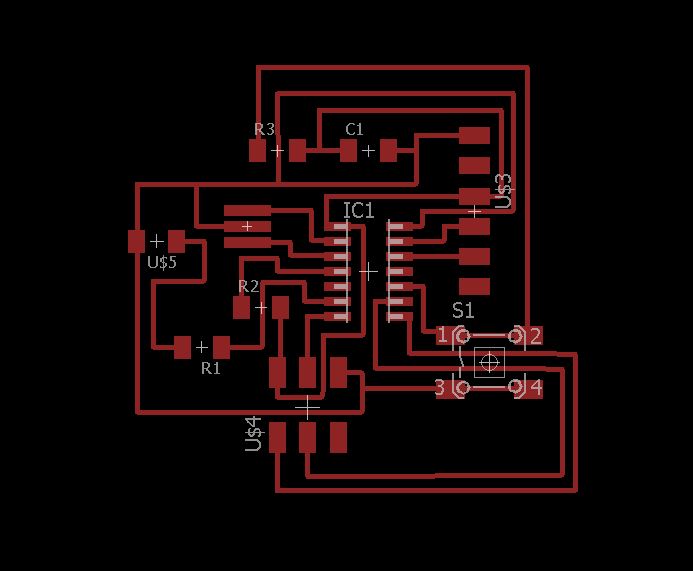
Here's the new board layout after much fiddling in Eagle. To prepare for the Modela, go to View -> Layer settings and deselect everything
but the Top so that you are only seeing the traces. Then File -> Export -> Image, Monochrome, 500 dpi.
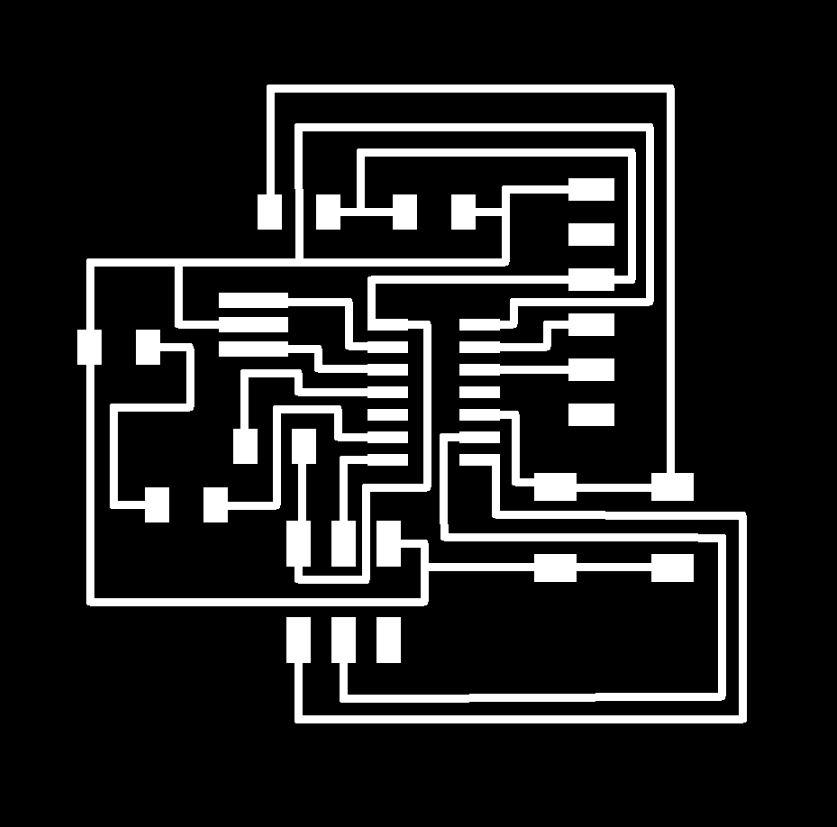

PNGs sent to the Modela.

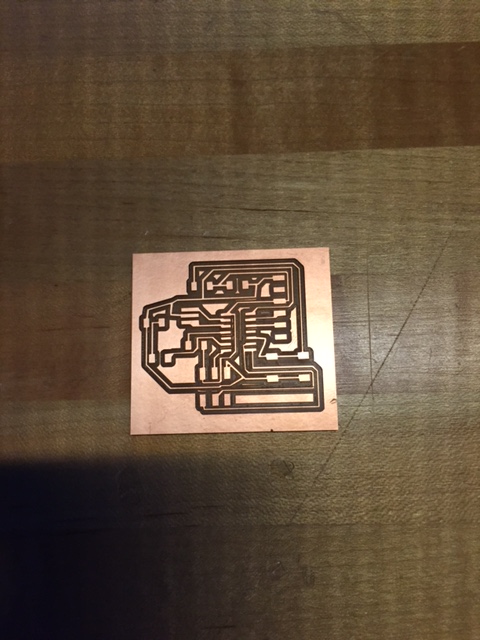
Much better.
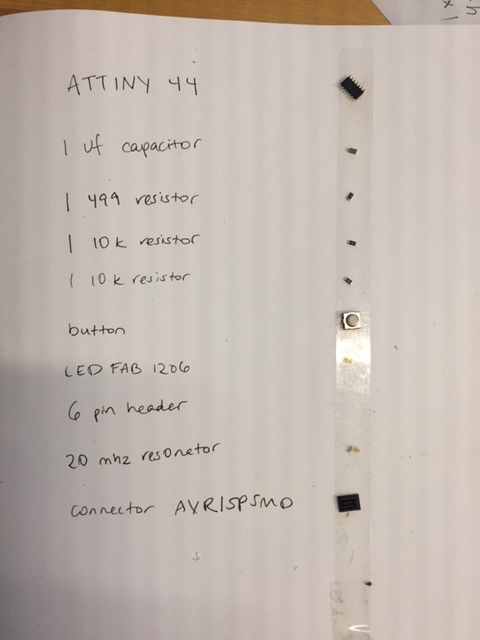
Getting ready to stuff.
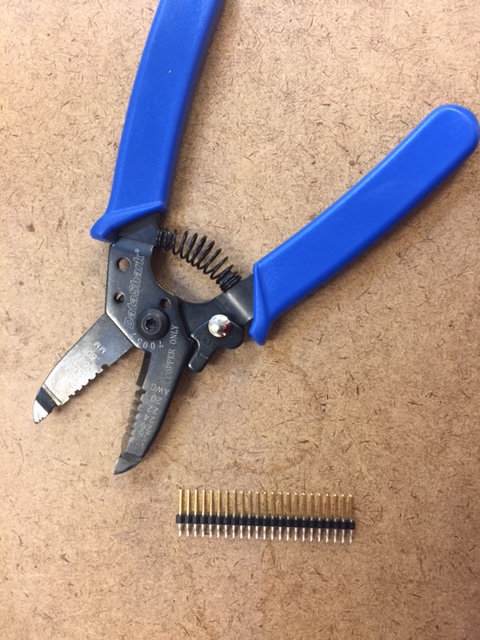
A note that if there are no 6 pin headers in the supply room, you can just cut one of the big ones down!

Ready to program.