After the initial training on the shop-bot, I took advantage of the dead-time and availability of the lab managers to do a press-fit test. Here I designed a quick pience which was supposed to press-fit into another piece.
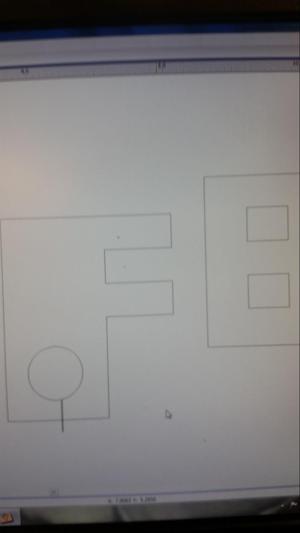
The shop-bot generates a toolpath from your design. The three options when generating the toolpath are outside, inside, and on. Each refers to how the tool travels around the design. In this case, I generated a toolpath using “outside” in the VCarve program.
The reason this is important is that this eliminated the need to measure kerf. A laser-cutter cuts directly on the vector, leaving a kerf which can be hard to predict. In the case of the shop-bot, the “outside” toolpath adjusts for the size of the tool.
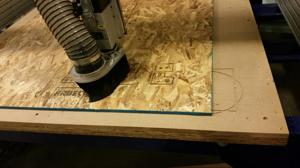
After a long process of affixing the Oriented Strad Board (OSB) to the shop-bot, the system began to cut out the pieces I needed
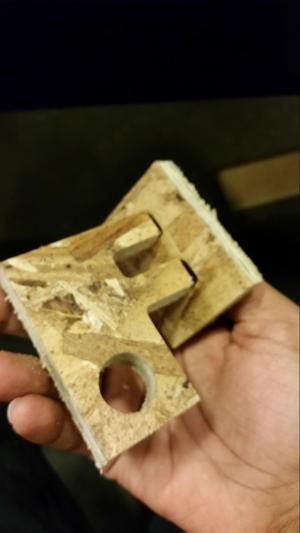
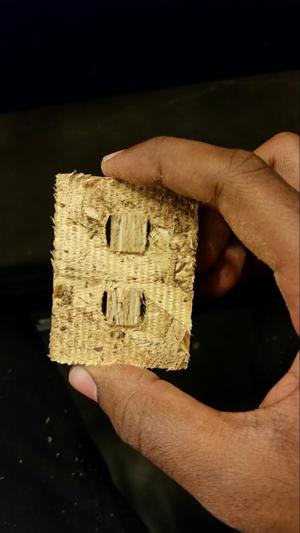
A photo of the press-fit. The top “F” piece does not fit immediately, but with a good push, it fits sn
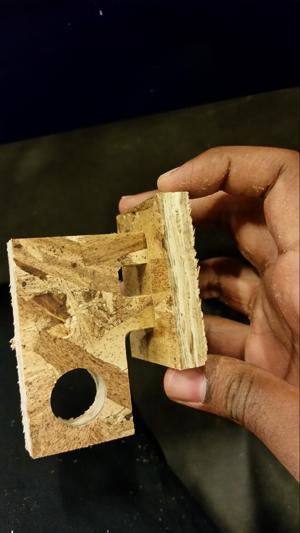
From this view, one can see which dimensions were critical for the press-fit. THe two horizontal lines are placed 0.5” away from each other, and are independent on the wood size. The vertical lines are placed 0.6” away from each other. This was put in to account for run-out on the machine (which i never measured). The distance between the vertical lines was over-estimated, however the fit was still snug enough to work as a press-fit..
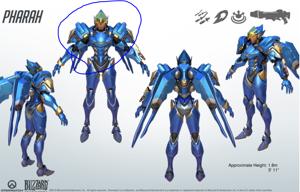
With a successful press-fit, I decided to move onto the chest-piece of my design. I loaded a png of the character i wanted into inkscape. From there, I used the trace-bitmap tool to convert the color raster image into a black and white vector format. I also used the node-edit tool to remove the vectors I didn’t want.
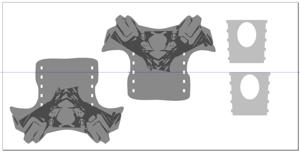
Once these were done, I designed two arm-plates with the press-fit tabs. I used CSG to make slots for the tabs. The piece had to be widened to fit my by using the node-editing tool. In addition to the cut out, I also saved a detail which I hoped to engrave with the shop-bot. I never caught up enough time to finish the engraving.

The final product. The arm holes were built too low, so it is almost impossible to put on. Furthermore, OSB is so fragile that I am afraid that if I were to fall in this, I would get a face-full of splinters.
To increase the holding strength between the pieces, I applied wood-glue to the tabs.
The piece is quite sturdy, however the lower arm positiosn makes it hard to wear. In the future, I hope to attach straps on top to make wearing easier.
In addition to that, I hope to paint it blue and gold like the video-game.