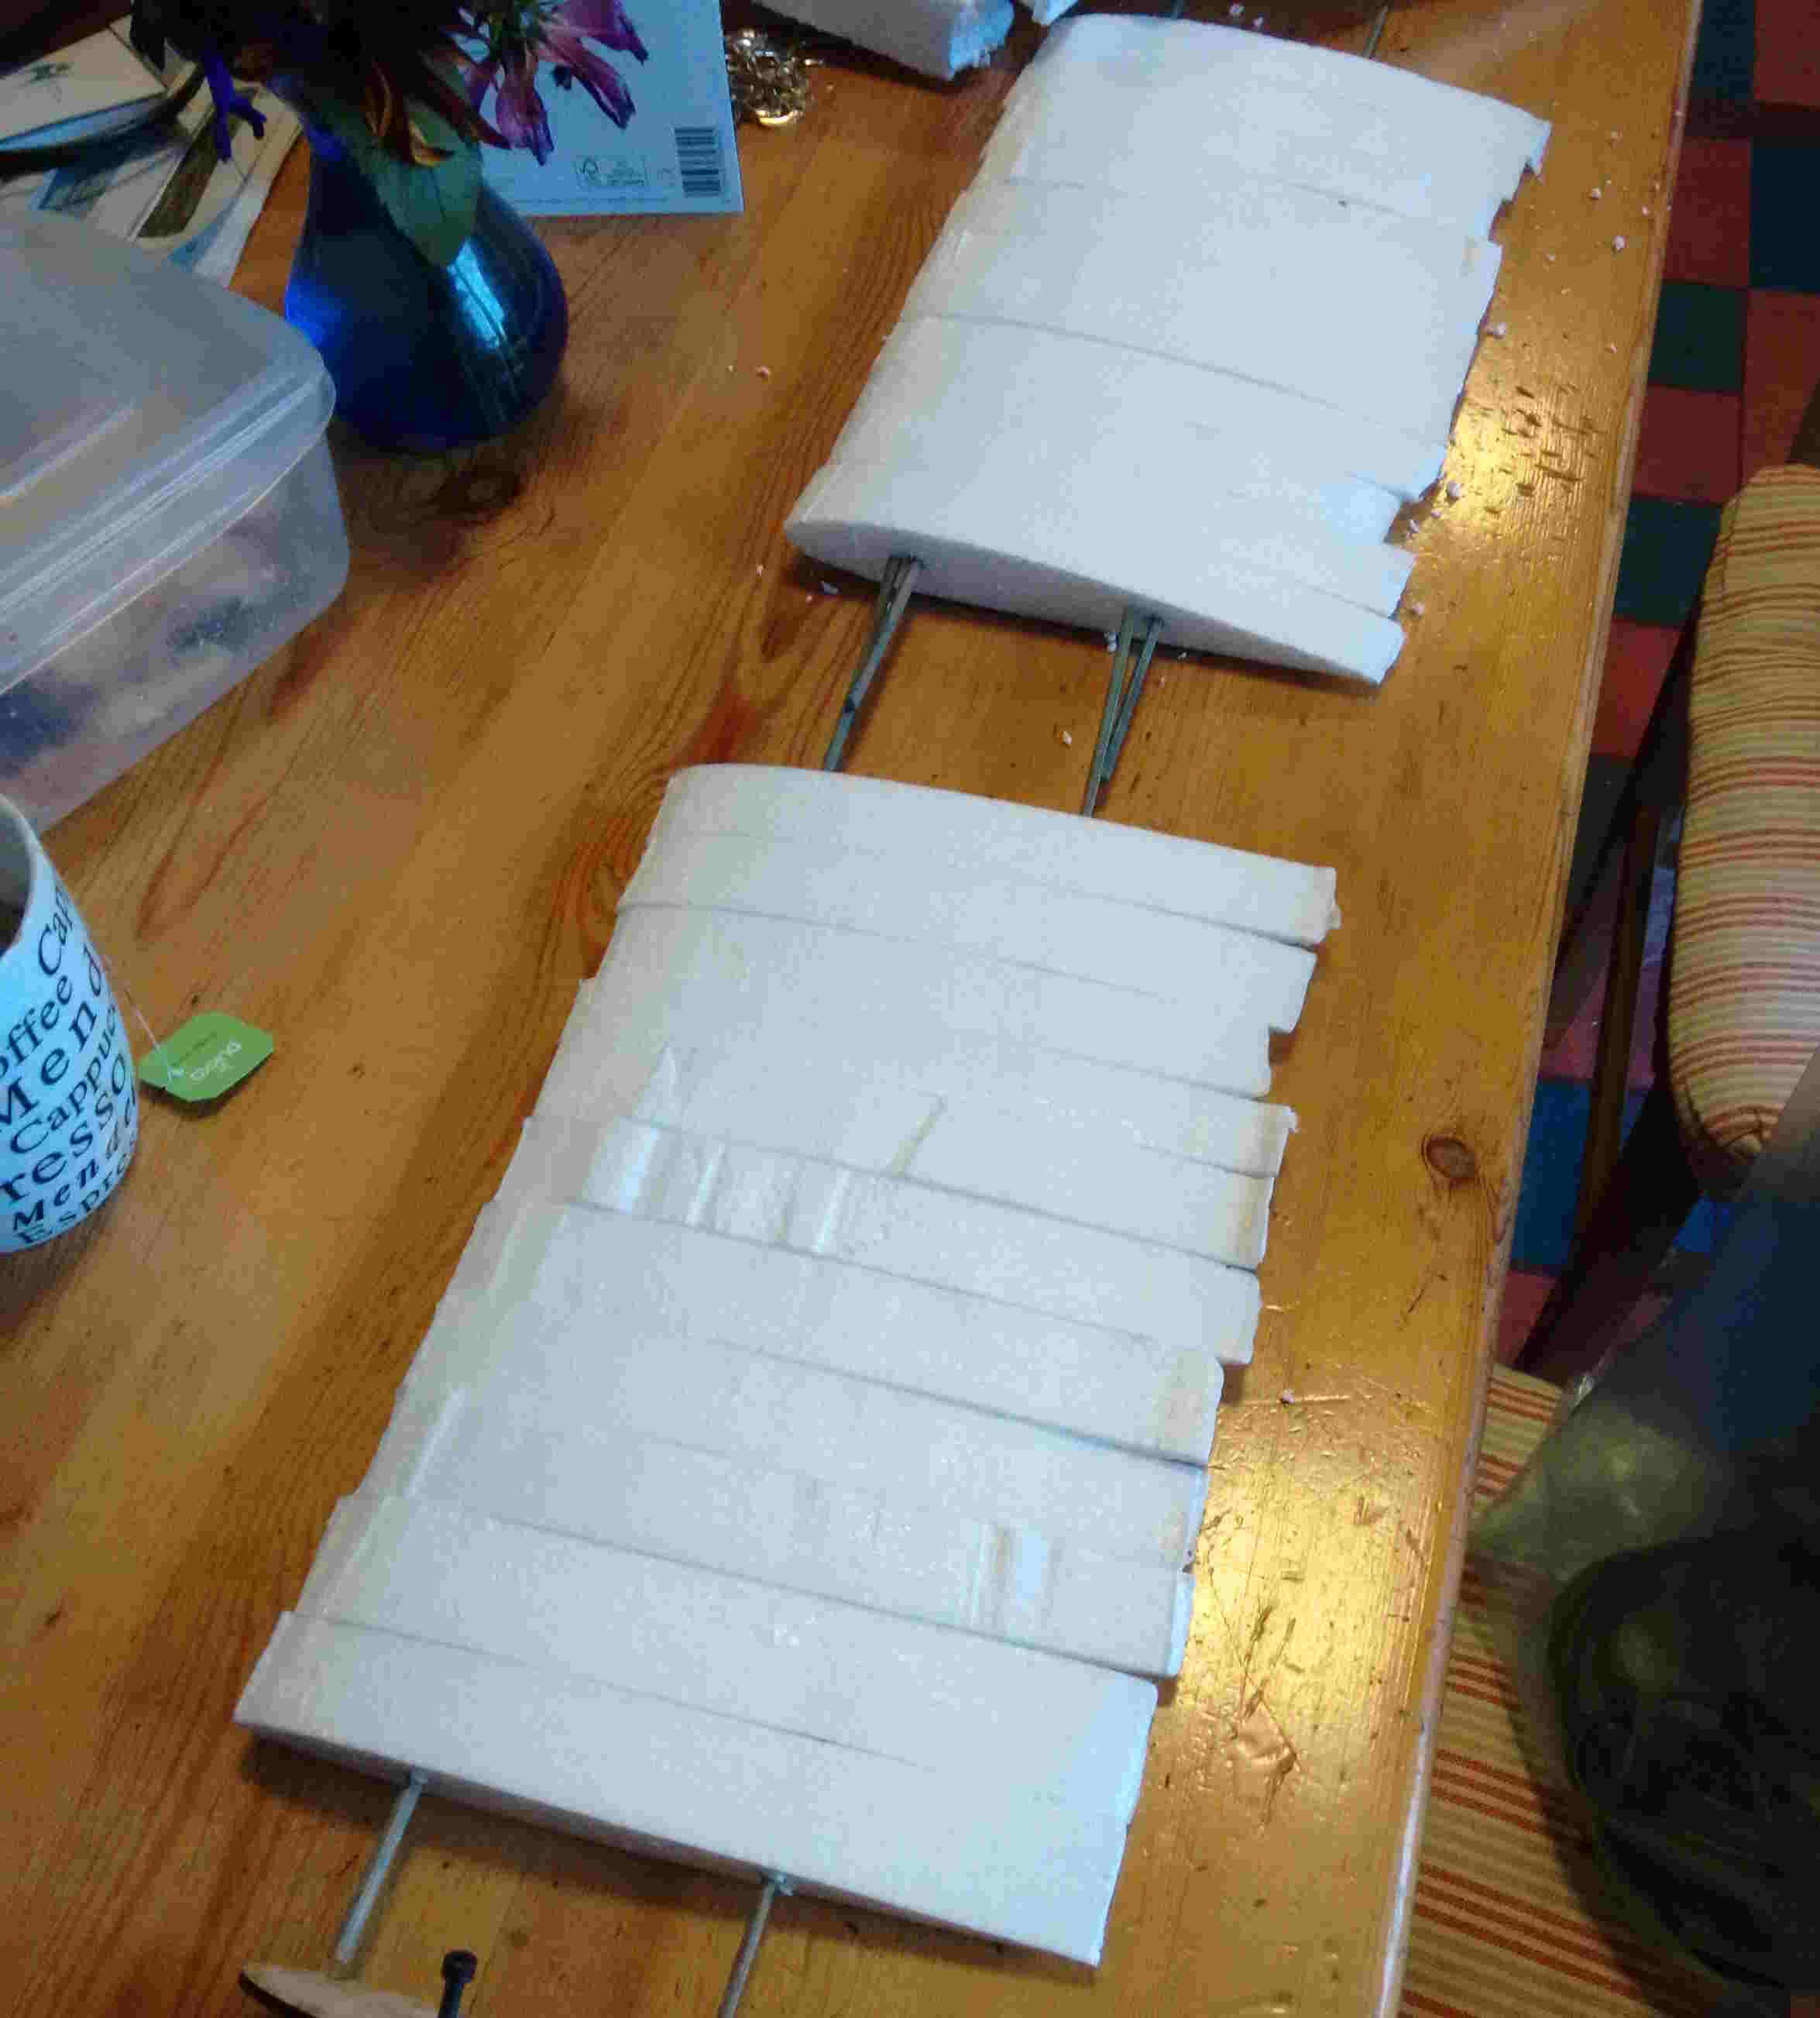
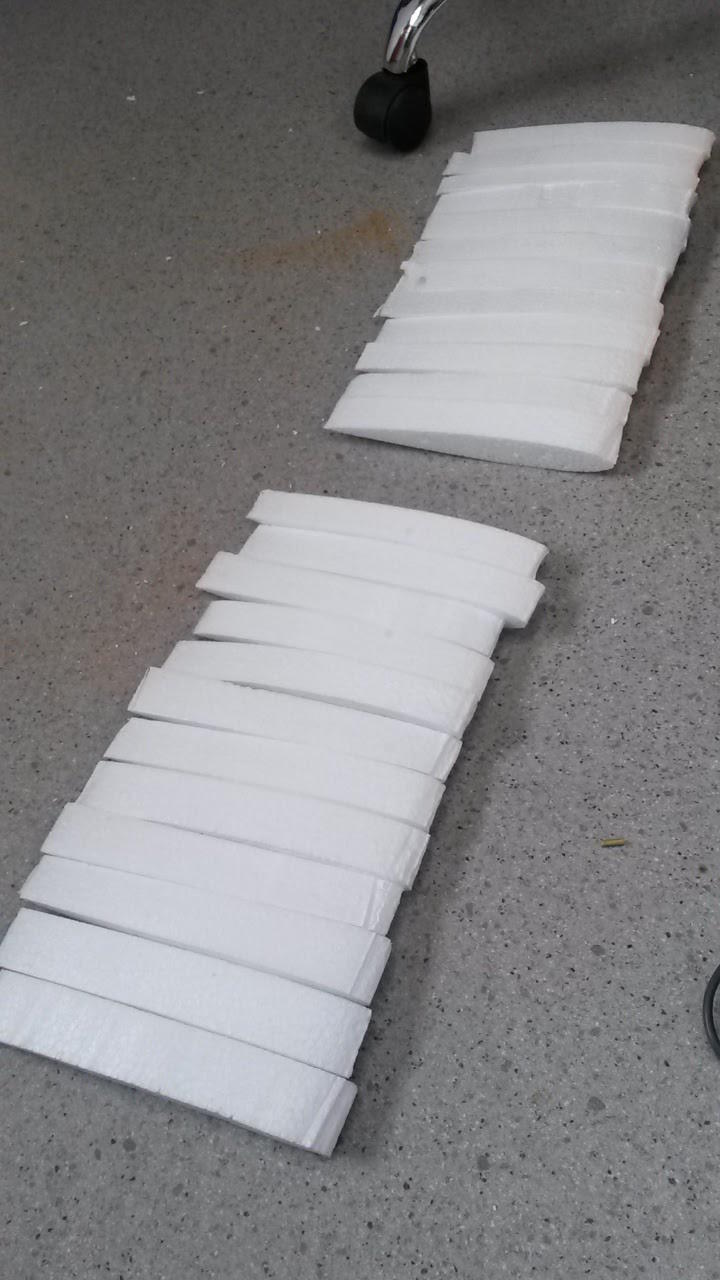
This week I wanted to try and make a wing. I didn't have access to a CNC machine so tried making the core the core of the wing by cutting sections of polystyrene with a hot wire cutter. I created a template jig using two laser cut wooden airfoils. I used a symmetric airfoil NACA0012. After putting these pieces together I took them down to Dan Emuss at IComposites in the Underfall Boat Yard to use their facilities.
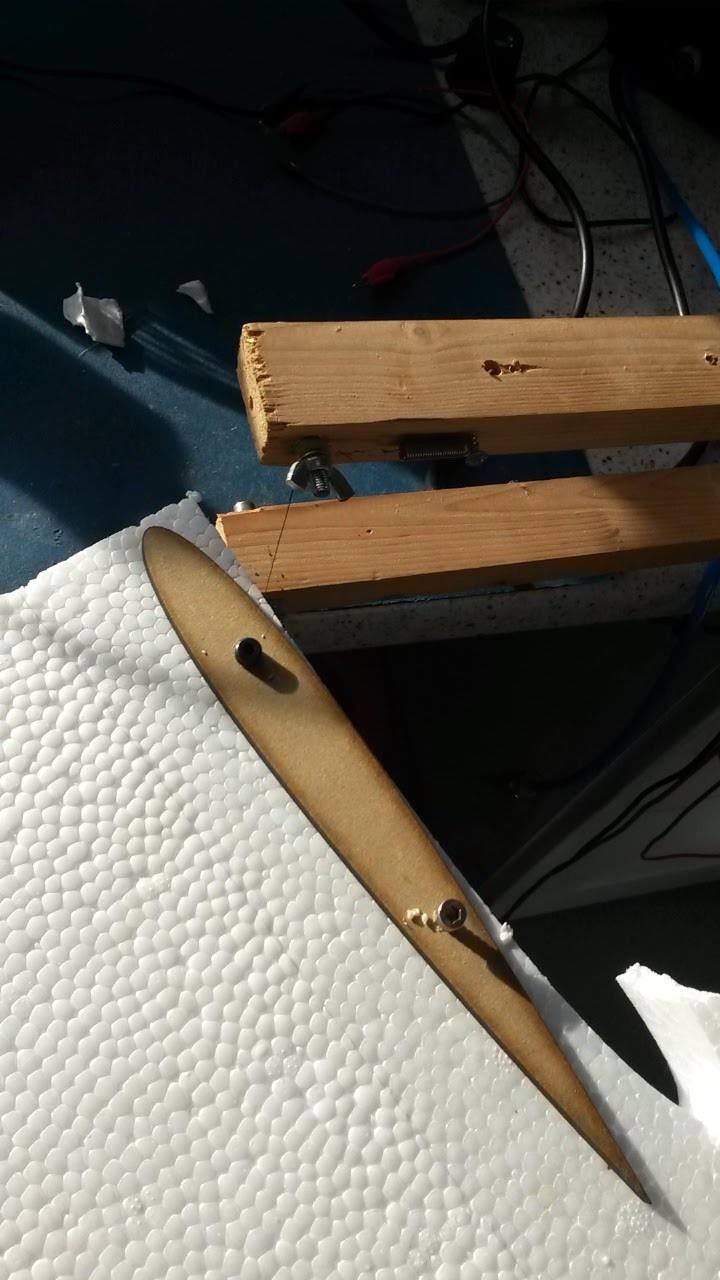
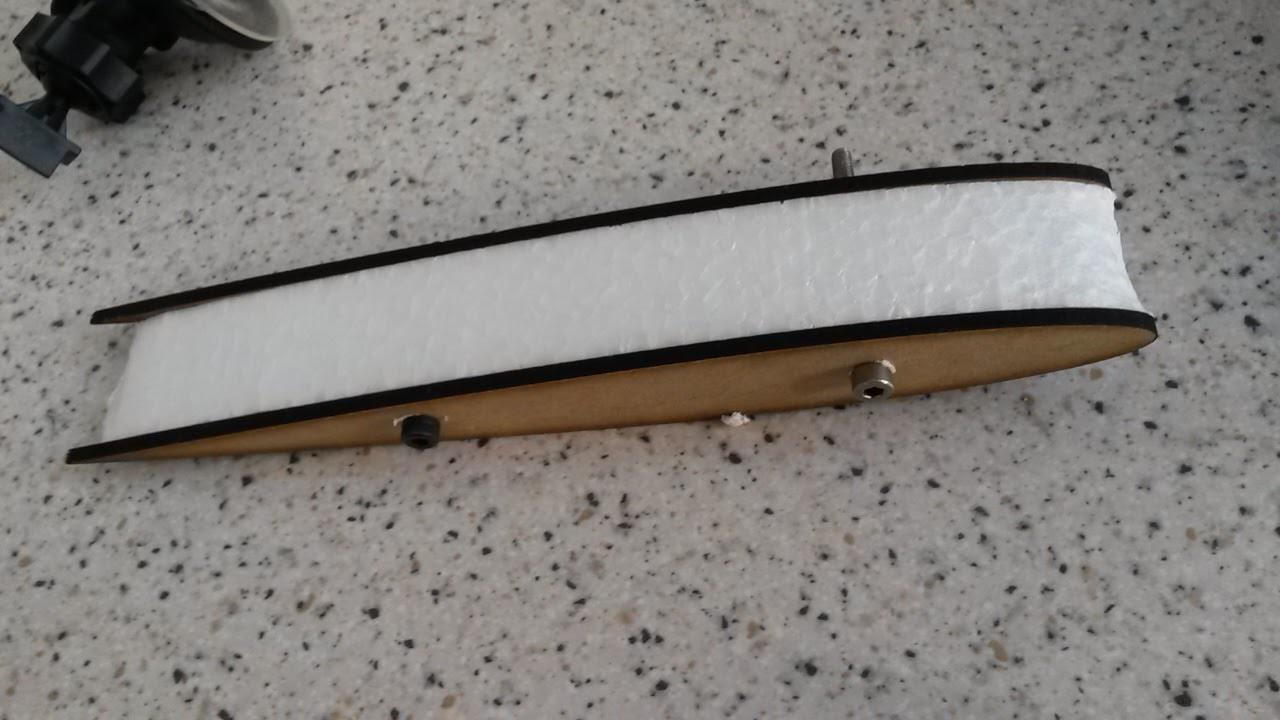
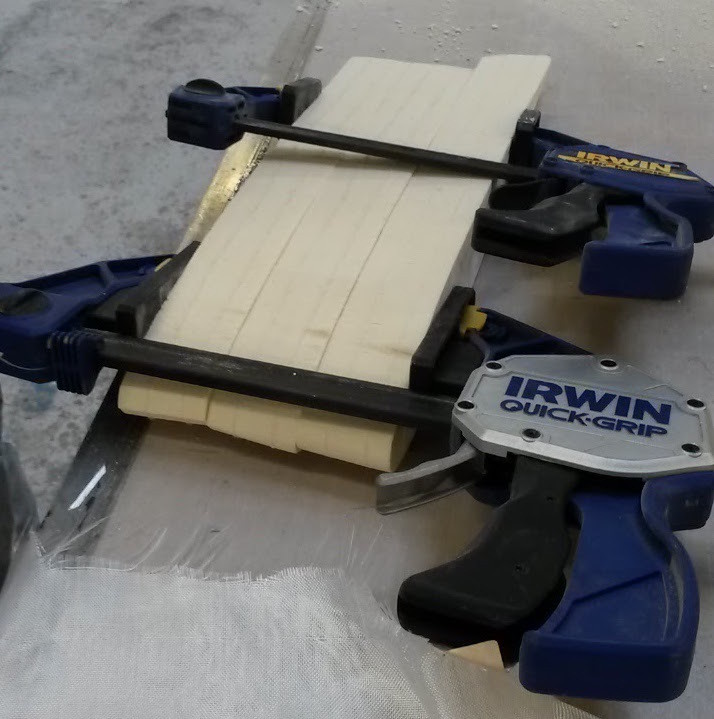
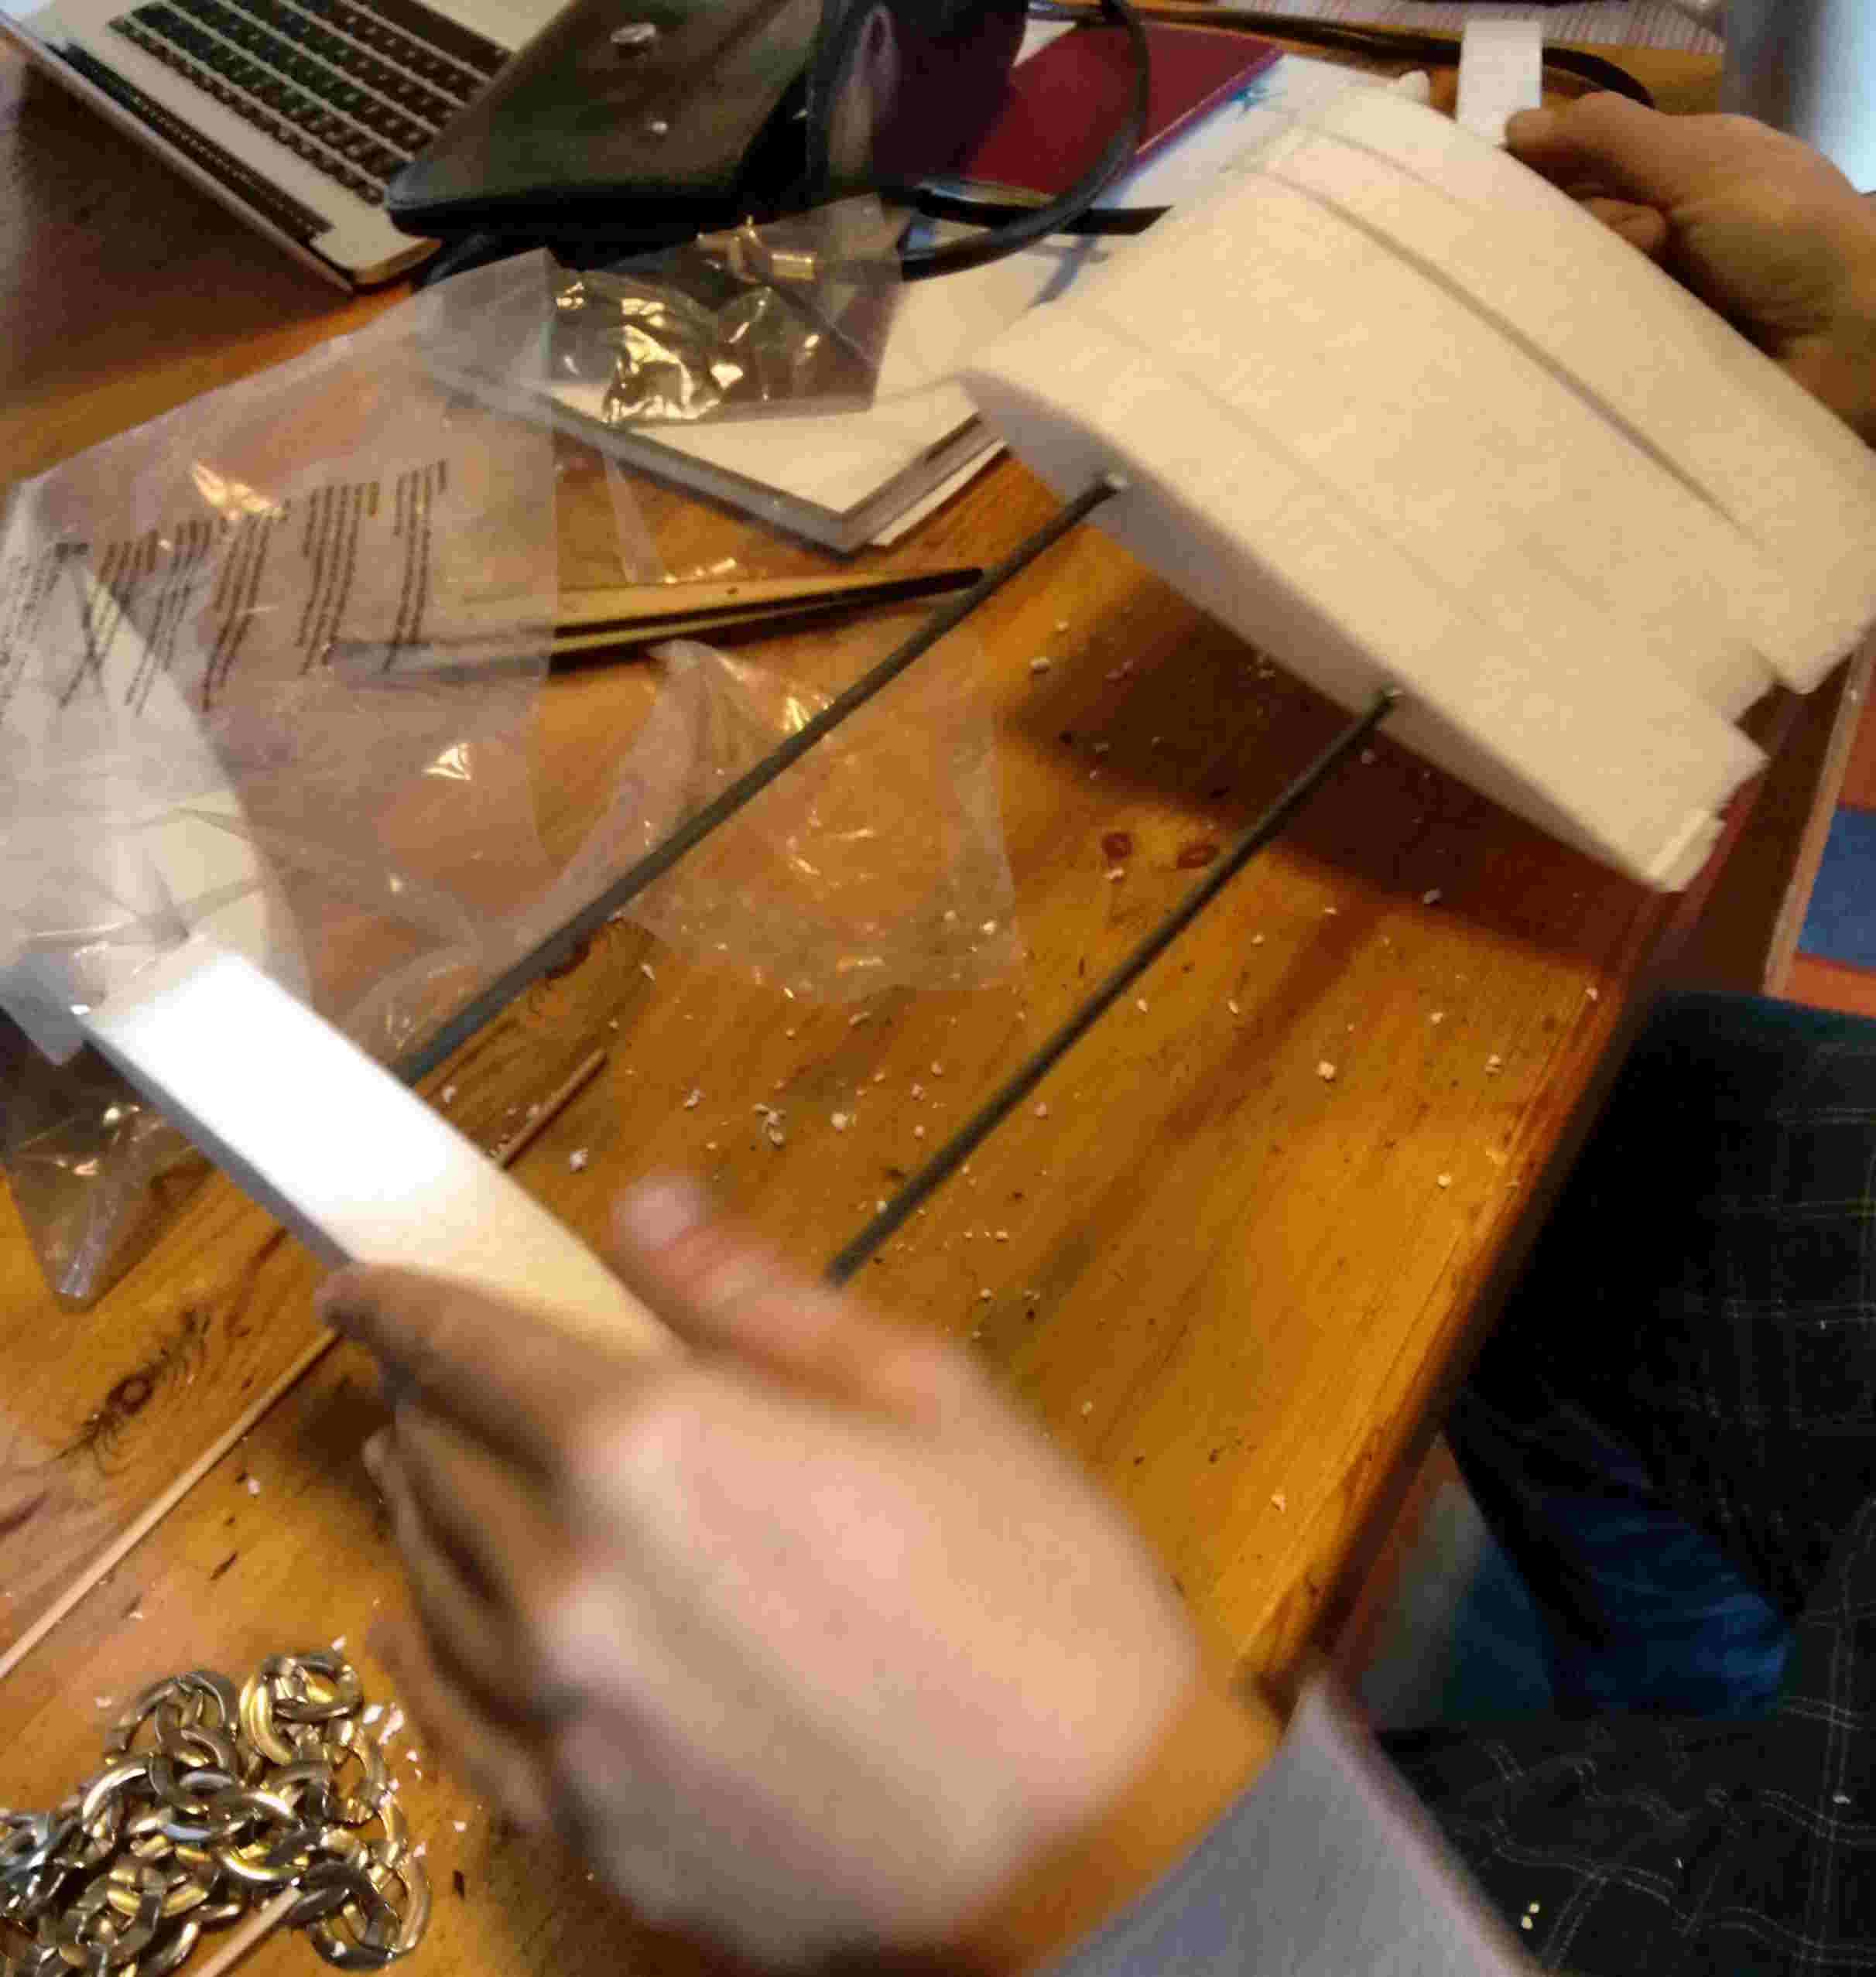
Once I explained that I wanted to lay fibre glass onto the assembled polystyrene sections, Dan explained that it was important to lay onto of a smooth surface which would have required sticking the airfoils together with expoxy and sanding them down. You have to use epoxy on polystyrene as other adhesives like superglue melt it and hot glue does not adhere well. I didn't have enough time to wait for an initial epoxy cure, therefore we decided to make new profiles from insulation foam that I had. We cut three NACA0012 airfoils using a jig saw, stuck them together with super glue, clamped them together and sanded them down.

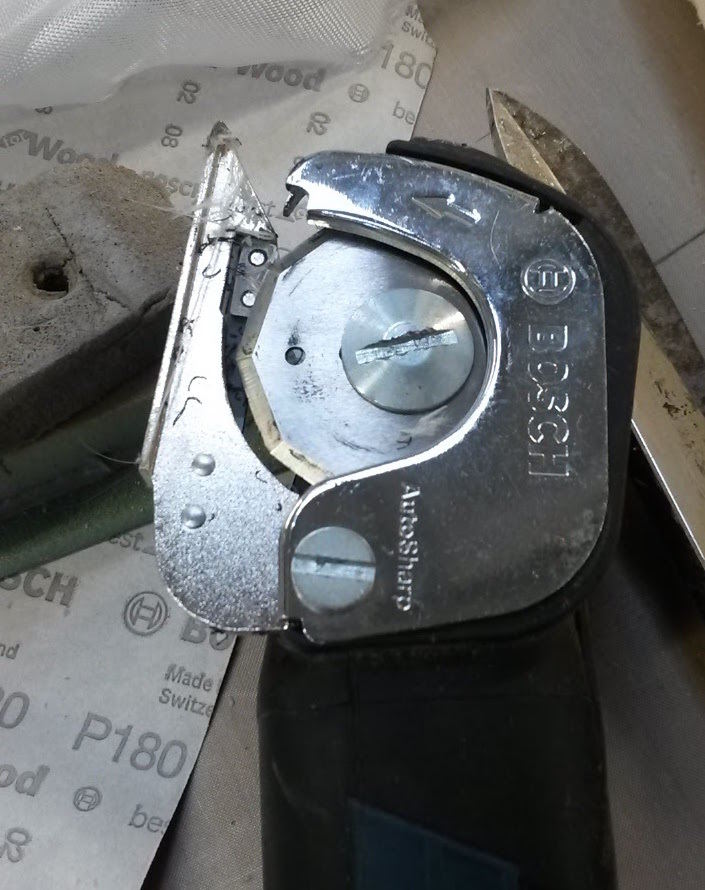
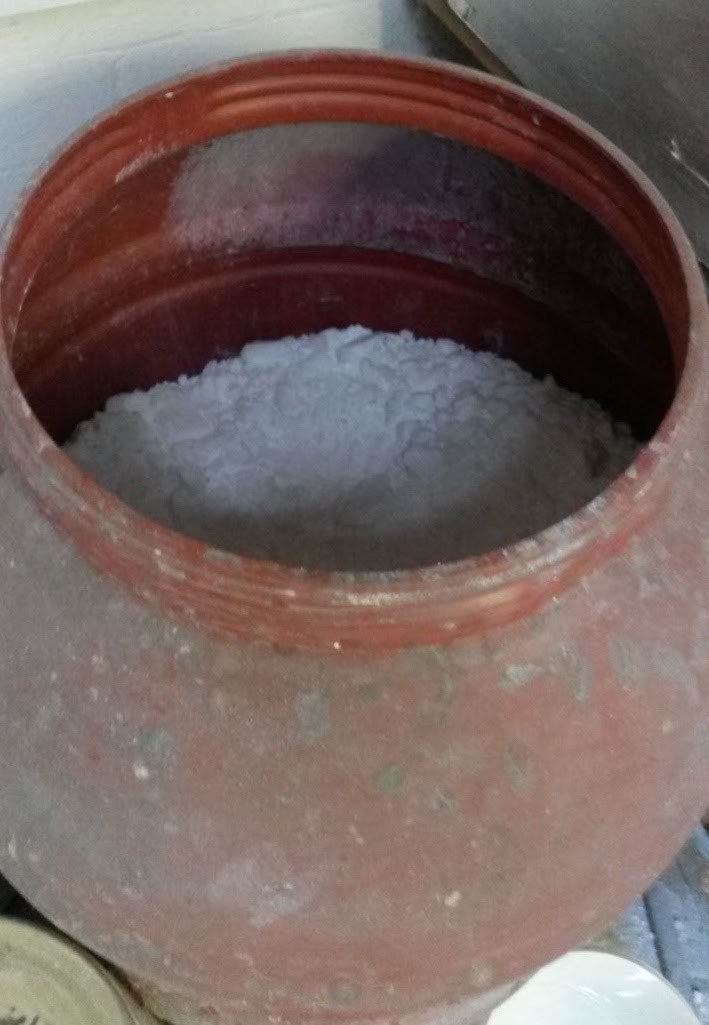
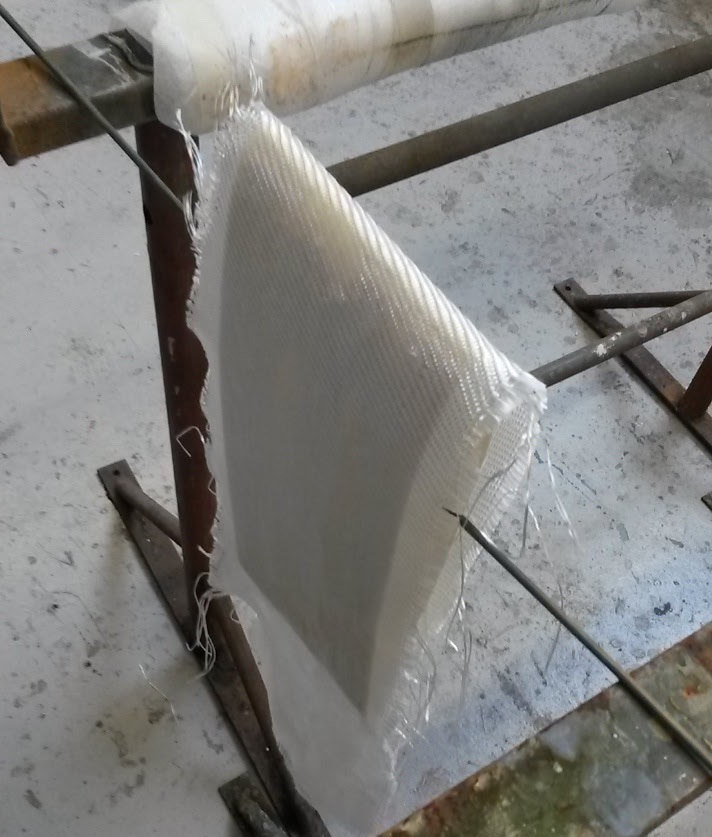
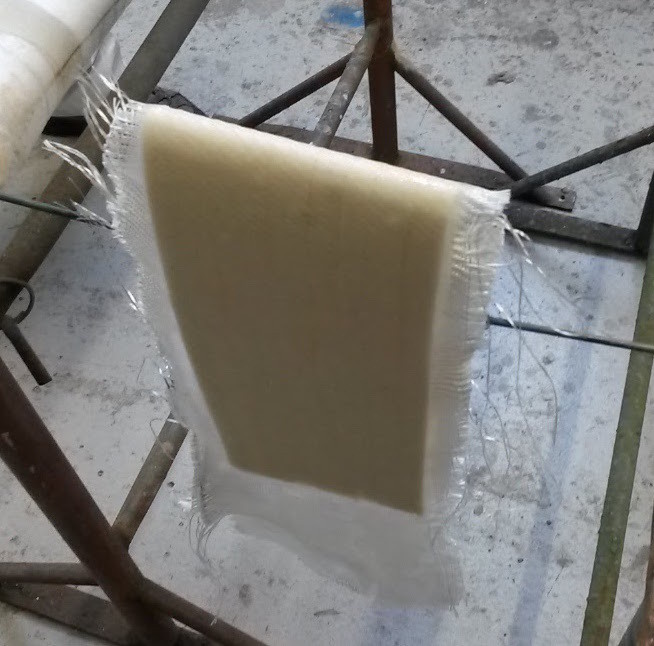
We cut the weave using an octagonal rotary cutter. When mixing the epoxy Dan advised using approximately the same weight of epoxy as fabric if applying directly to the fabric. However, since I had a foam core it was necessary to apply extra epoxy with some colloidal silica mixed in to act as a filler. This meant that the fabric could be drapped dry, over the core, but it would easily adhere to the core. Then I flattened the fabric against the core. You could tell that the epoxy was spreading into the fabric as it changed to the colour of the foam beneath it. (Dan said this is the aspect of laying up carbon fibre which becomes tricky as it is harder to tell where the epoxy has soaked into using black carbon fibre fabric). We then painted epoxy across the surface until the whole layer had stuck to the surface of the core.
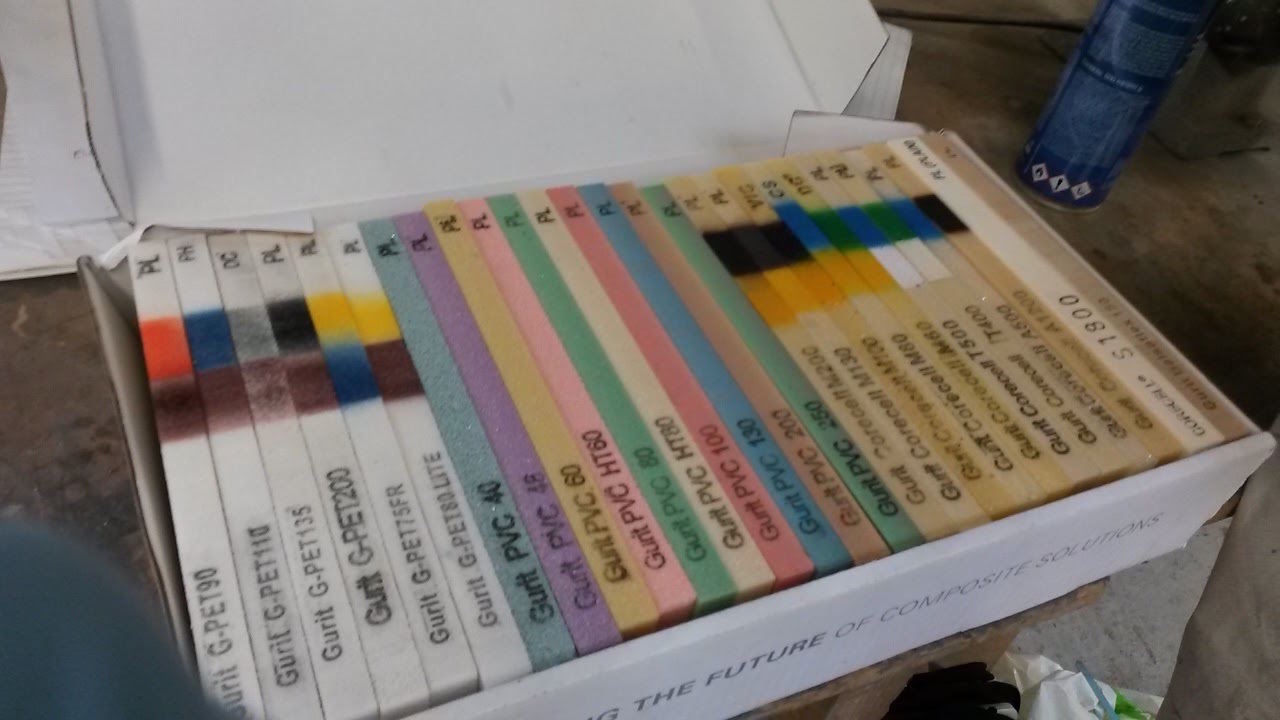
Dan showed me some samples that they've had from suppliers and things that they've made. There was a sample made from 147 layers 900g/m^2 resin infused e-glass. Apparently it was 3 times stronger than a steel piece. He also showed me a selection of foams which are made in a range of densities.
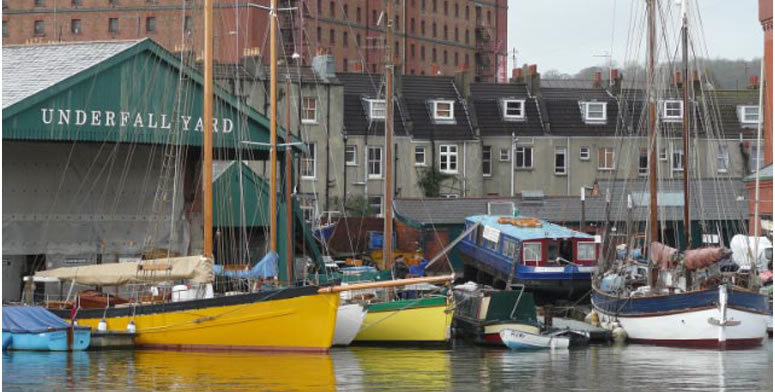
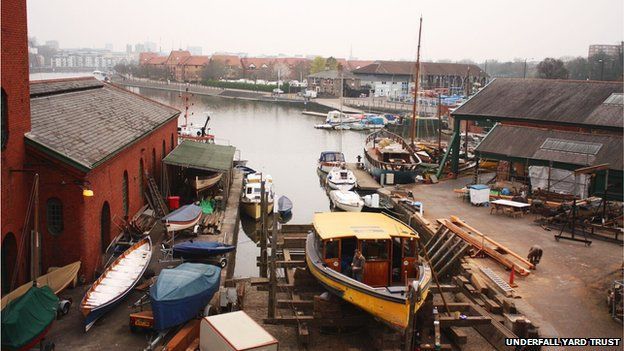
The Underfall Yard is a working, historic boat yard, home to a number of marine businesses with capabilities including wooden boat building, blacksmithing, rigging and composites. It is situated in the Hotwells end of Bristol's floating harbour and is also home to a working pumps from 1907 that were used to power sluice gates, lock gates and cranes around the docks.
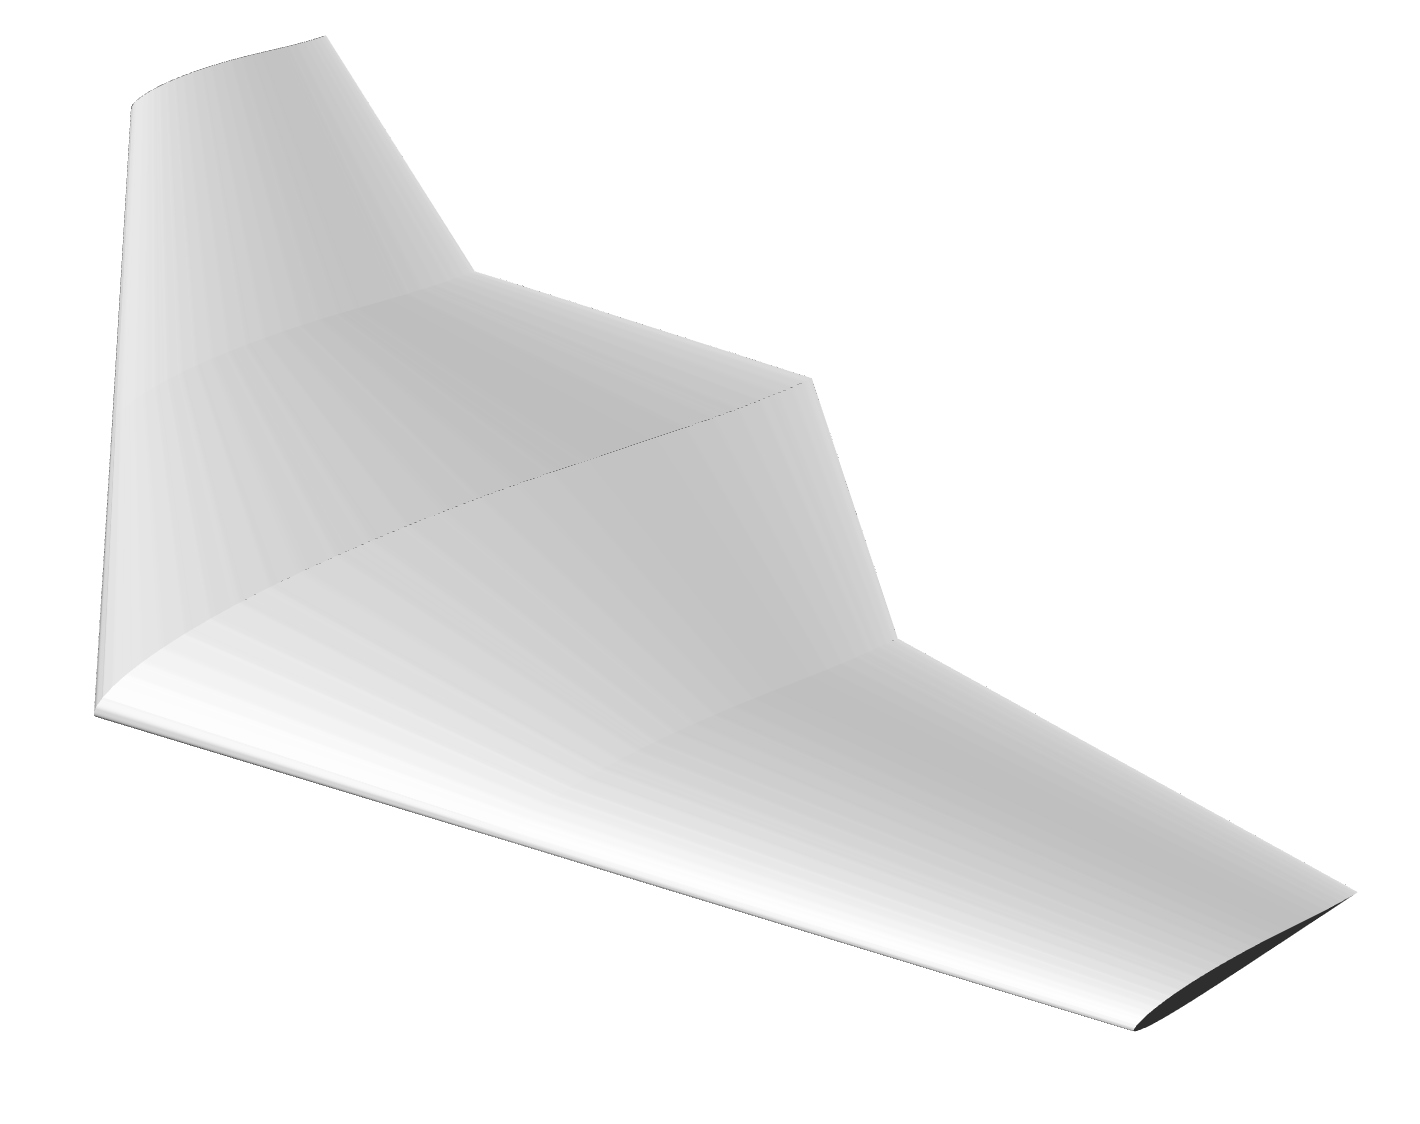
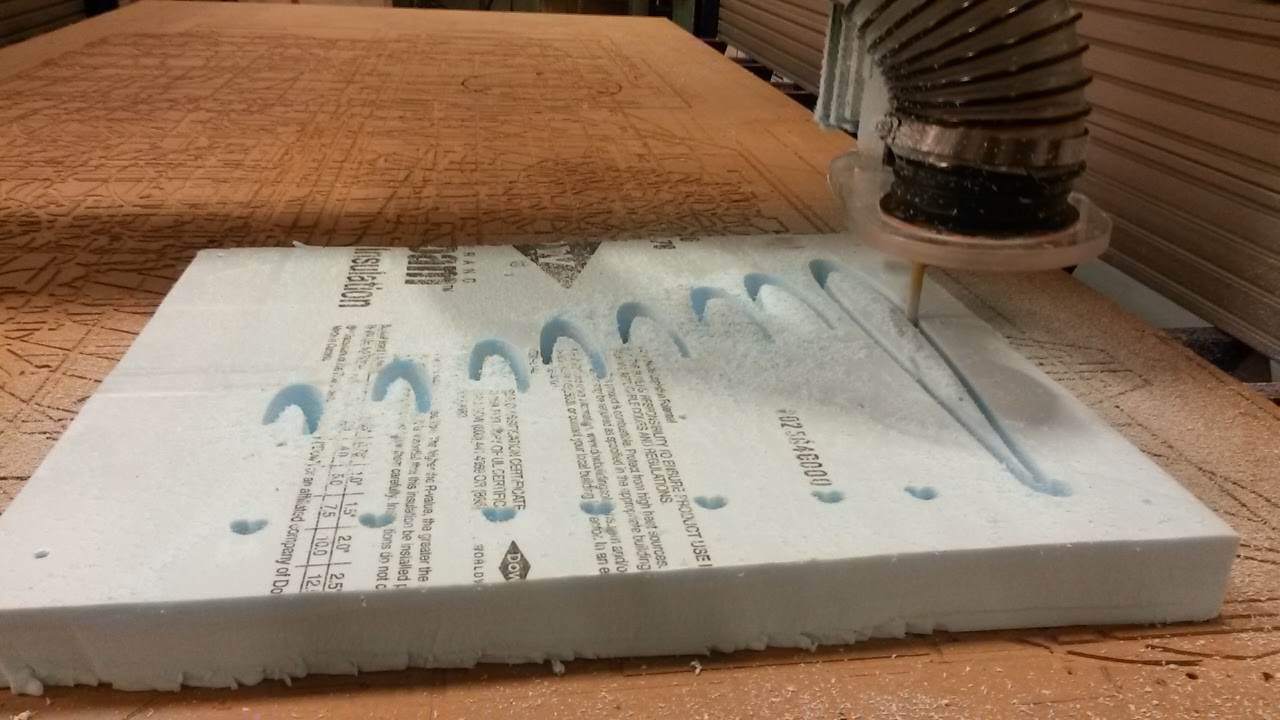
In preparation for an upcoming trip to a Fablab in Kigali, Rwanda, I wanted to try and fabricate a blended wing. I found a design online and came up with two machining strategies. The first is to section the wing and glue them together afterwards. The second is to machine the entire wing from a single piece of foam. Machining time for the sectioned wing would be shorted given a smaller volume of material would need to be removed, however the post processing step of sticking the sections together would obviously reduce this advantage.
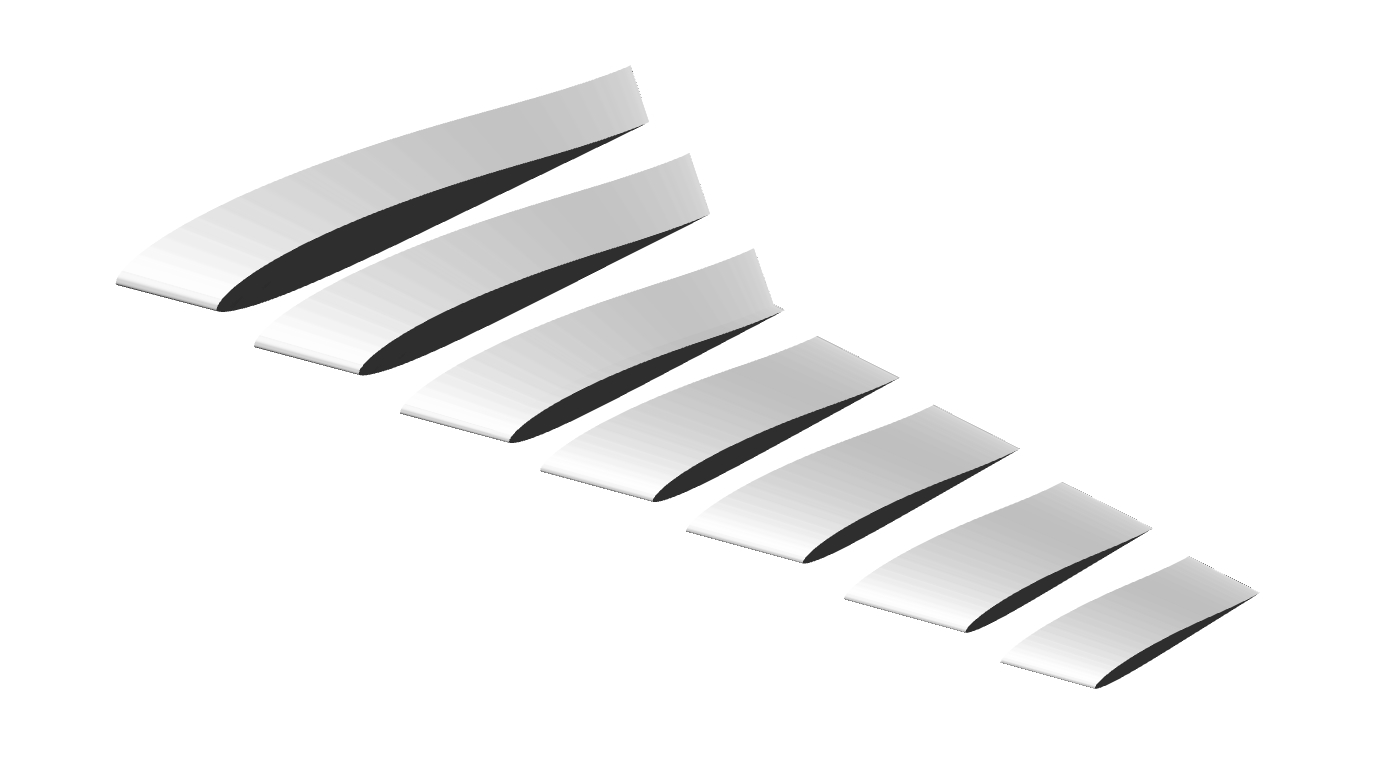
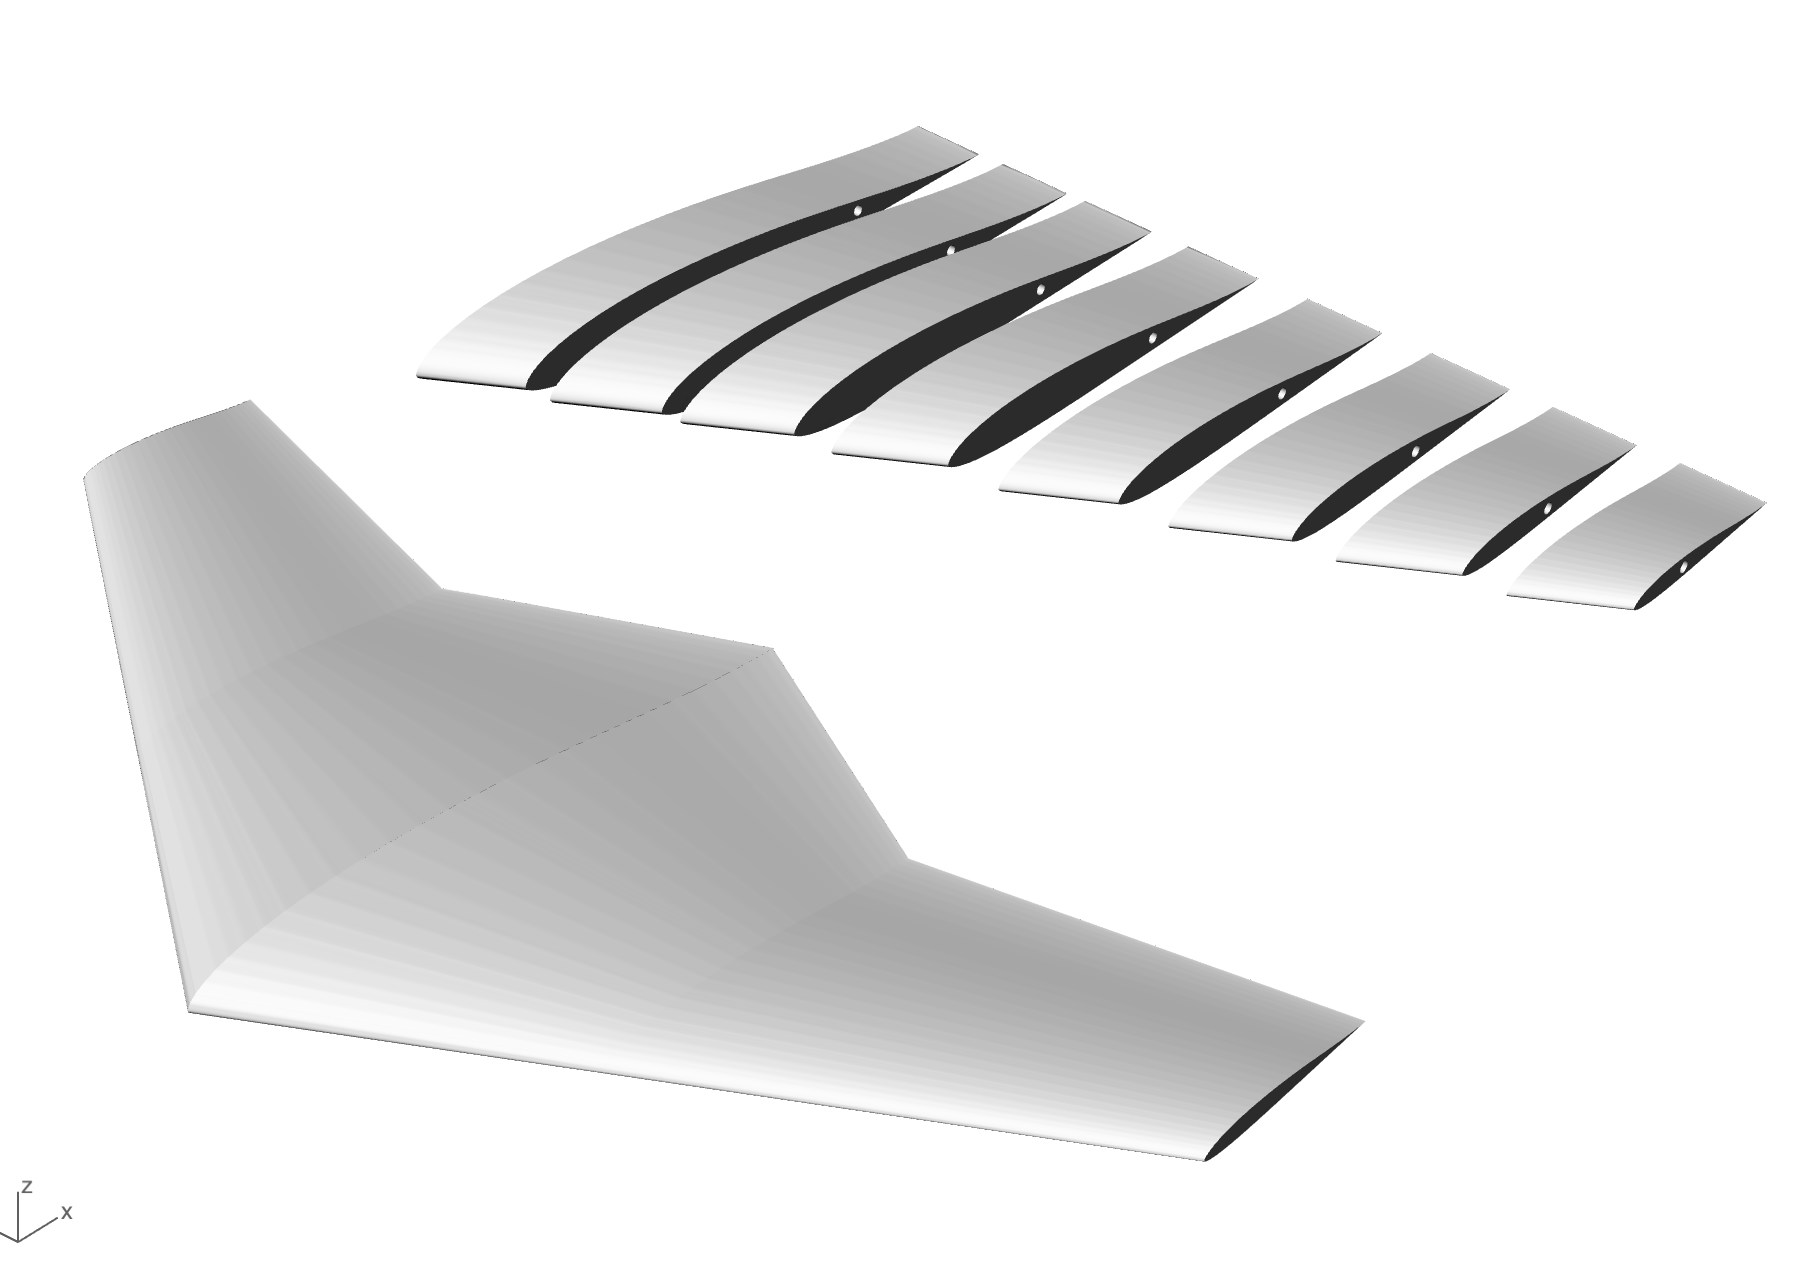
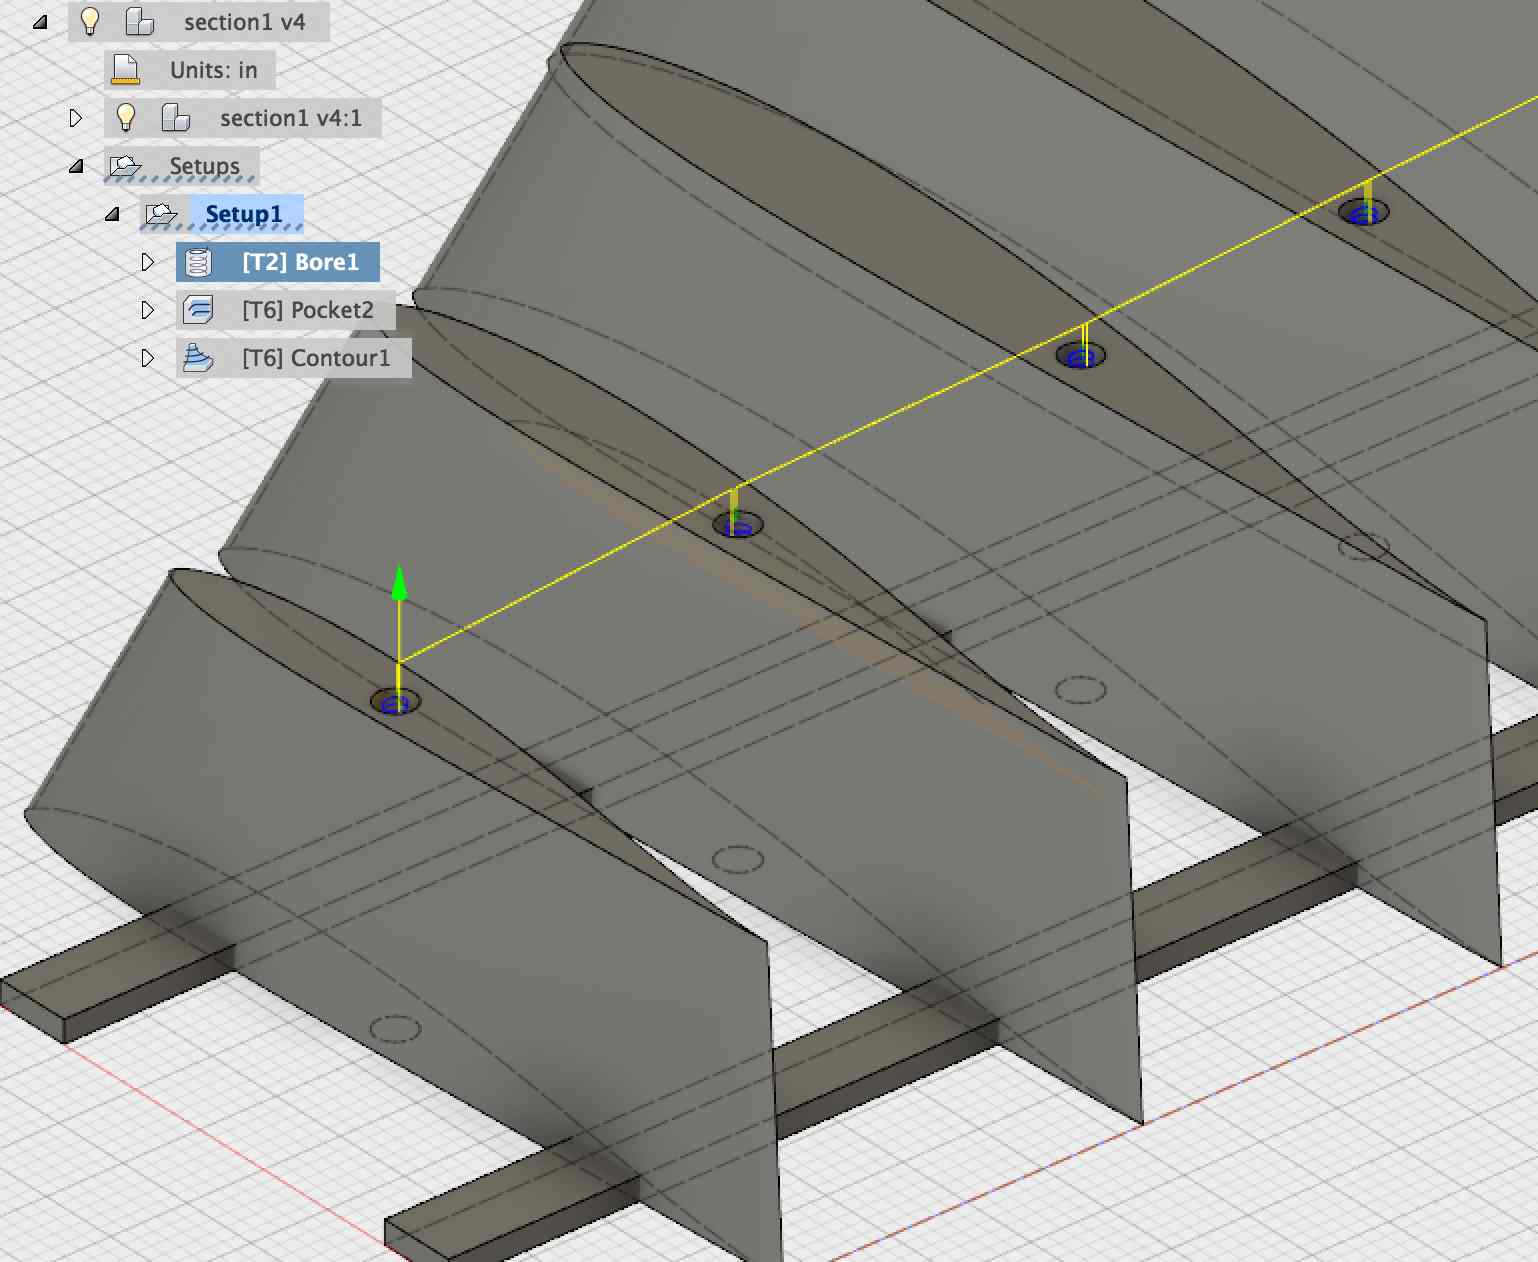
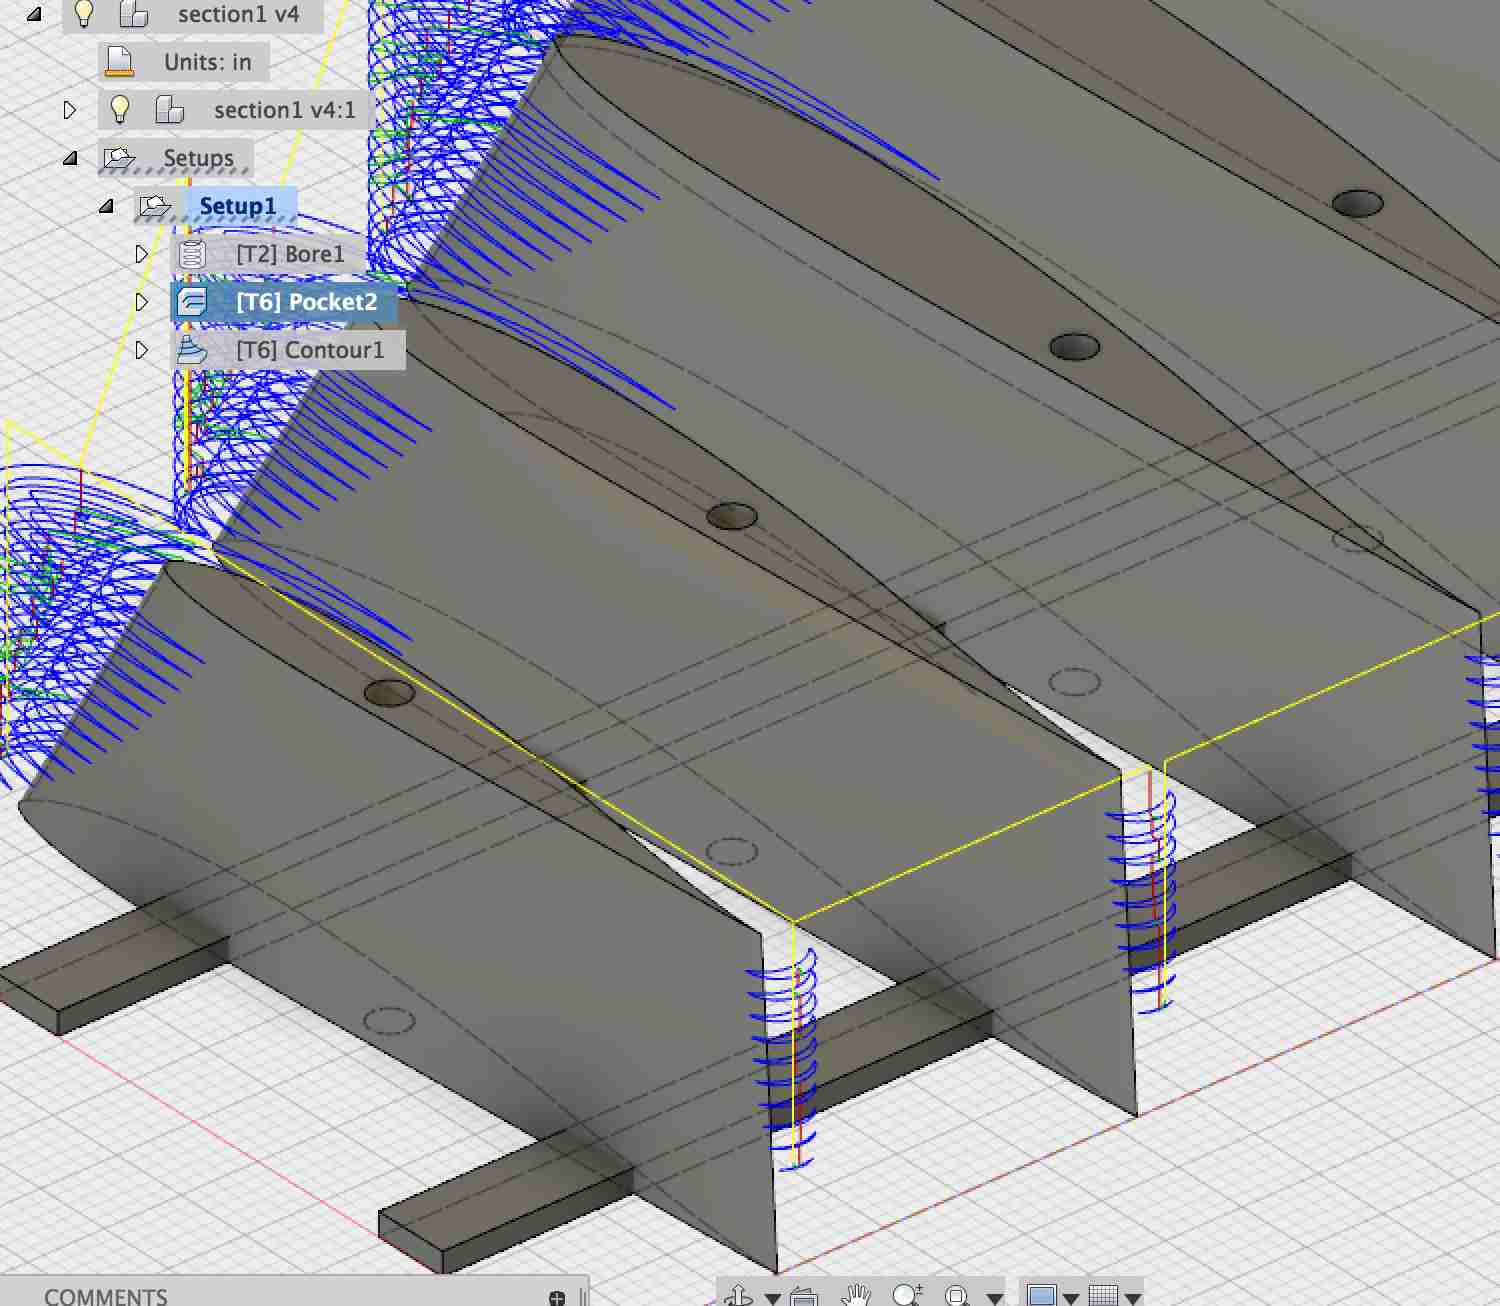
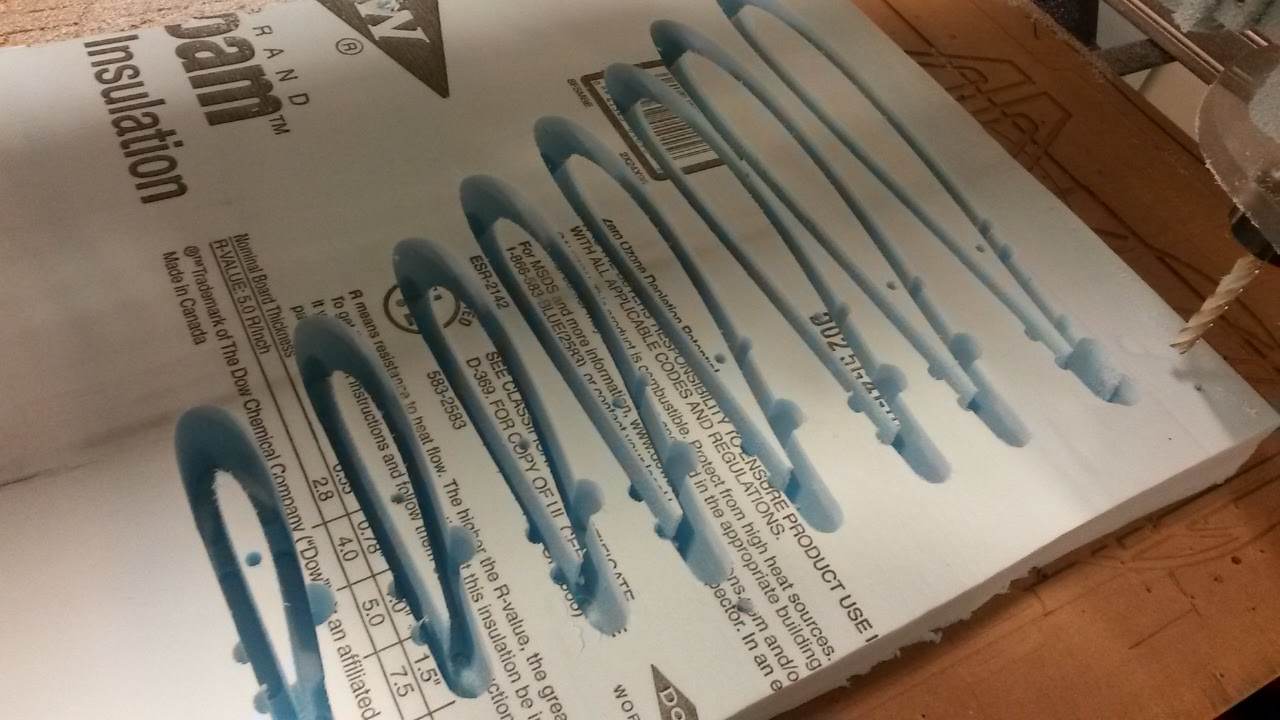
With Sam's help I learned to use the CAM functionality in Fusion 360 which turns out to have a fully functioning post-processing script for Shopbots. I adjusted the profile of the wing from the original design in order to allow a bar to be threaded through all the sections. Below are the three tool paths I created to machine the sections. The boring step uses a 1/8" SE endmill, the pocketing and contouring steps use a 3/8 SE endmill. The contouring path didn't cut all the way through the material, however I was able to create a 2D finishing contouring pass and this had the option to add tabs. Next time I will run all 3D tool paths to just above the bottom of the material and use this tabbed finishing cut to remove the last bit of material.
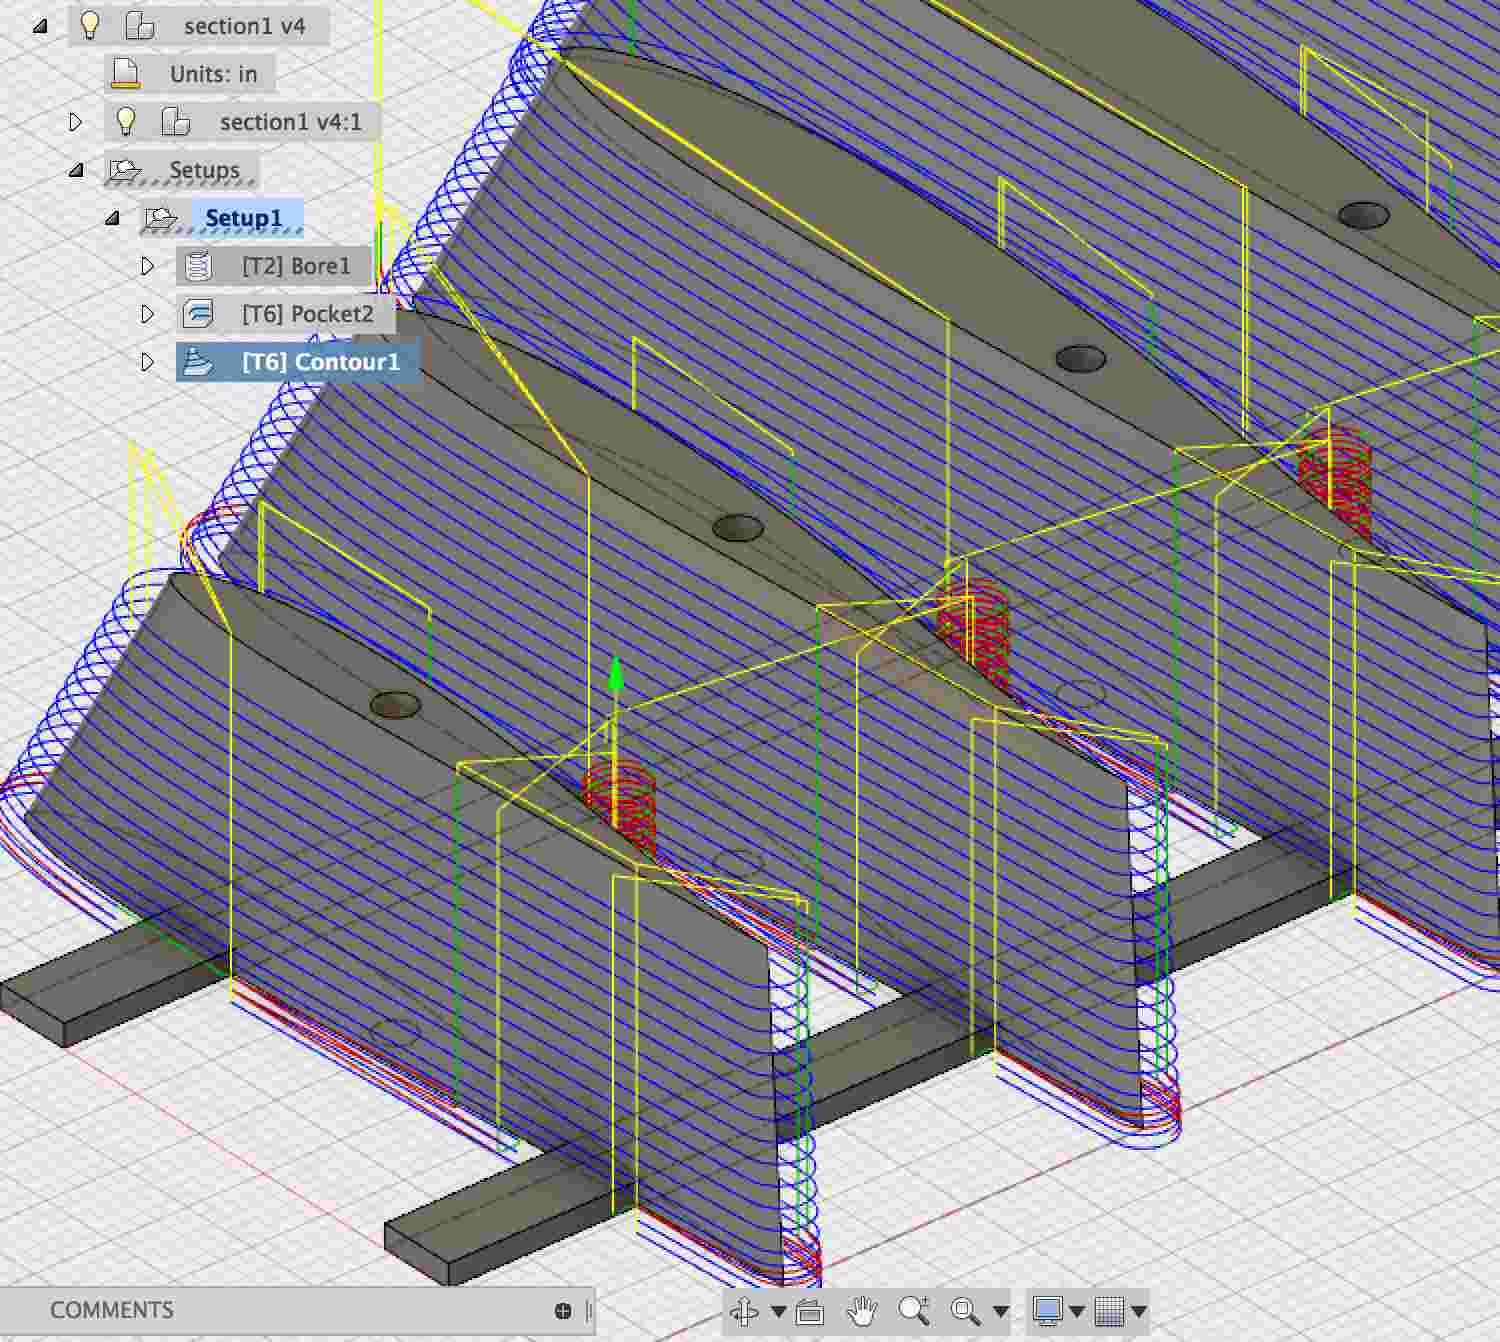
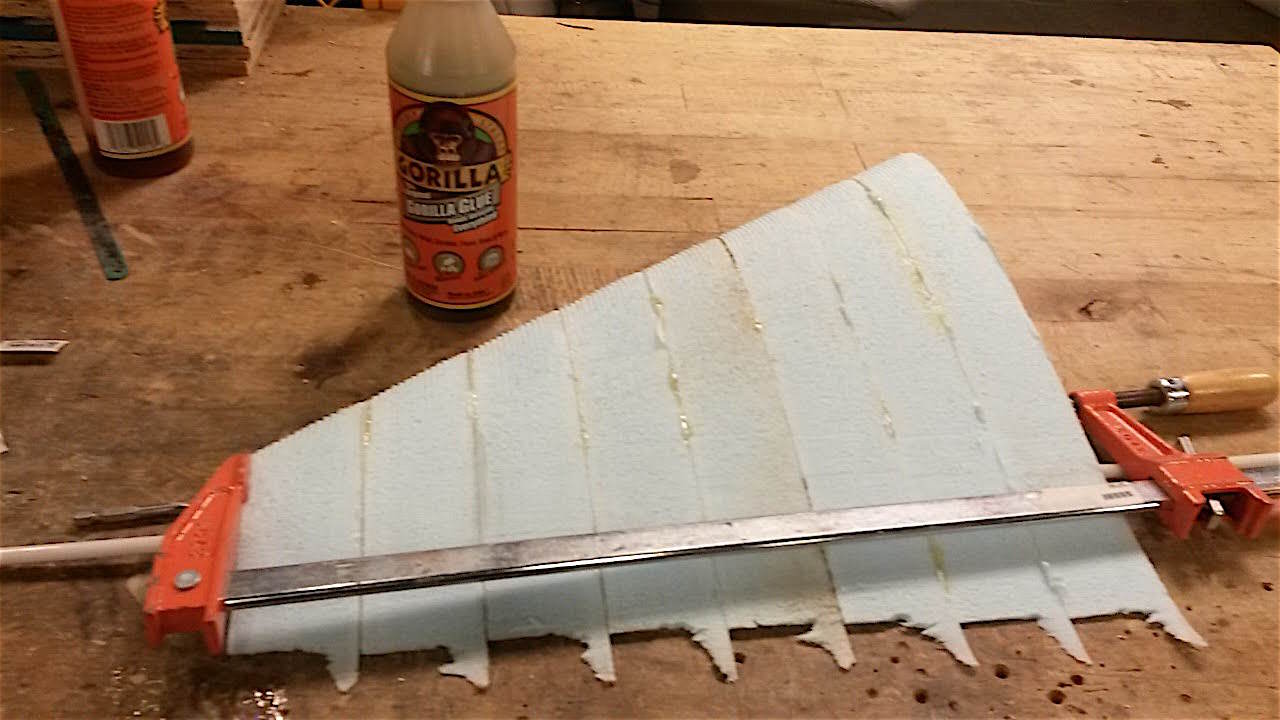
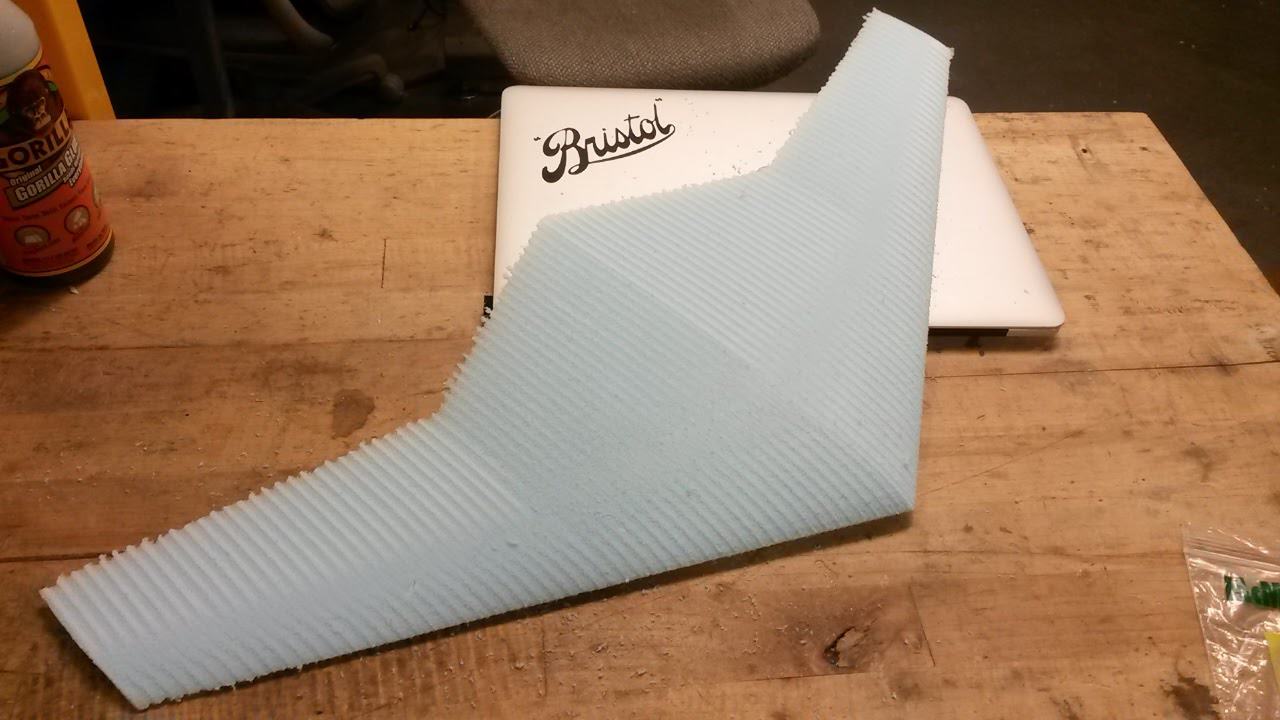
You can see that the contouring tool path wasn't delicate enough to retain the full trailing edge. I mistakenly used Gorilla glue to join the sections together, this glue is suitable for foam however I didn't account for how stiff it becomes once set. The difference in stiffness between the foam and glue meant that it was difficult to sand down without tearing up the foam. In this situation it would have been better to use wood glue.
I wanted to try milling the wing as a single piece, a quick look at possible tool paths using Fusion 360 CAM showed that machining time wouldn't be significantly greater, the only challenge would be turning the piece over to mill the second side. I did the machining in the following 5 steps. I used a 4 fluted squaure endmill, 2.1", building insulation foam machining using the 5' by 10' Shopbot. The part is approx 13" by 28" by 1".
| Cut out precise stock and reference hole, this is so that I would have an accurate set of right angled edges to reference the stock to when I flipped it over | 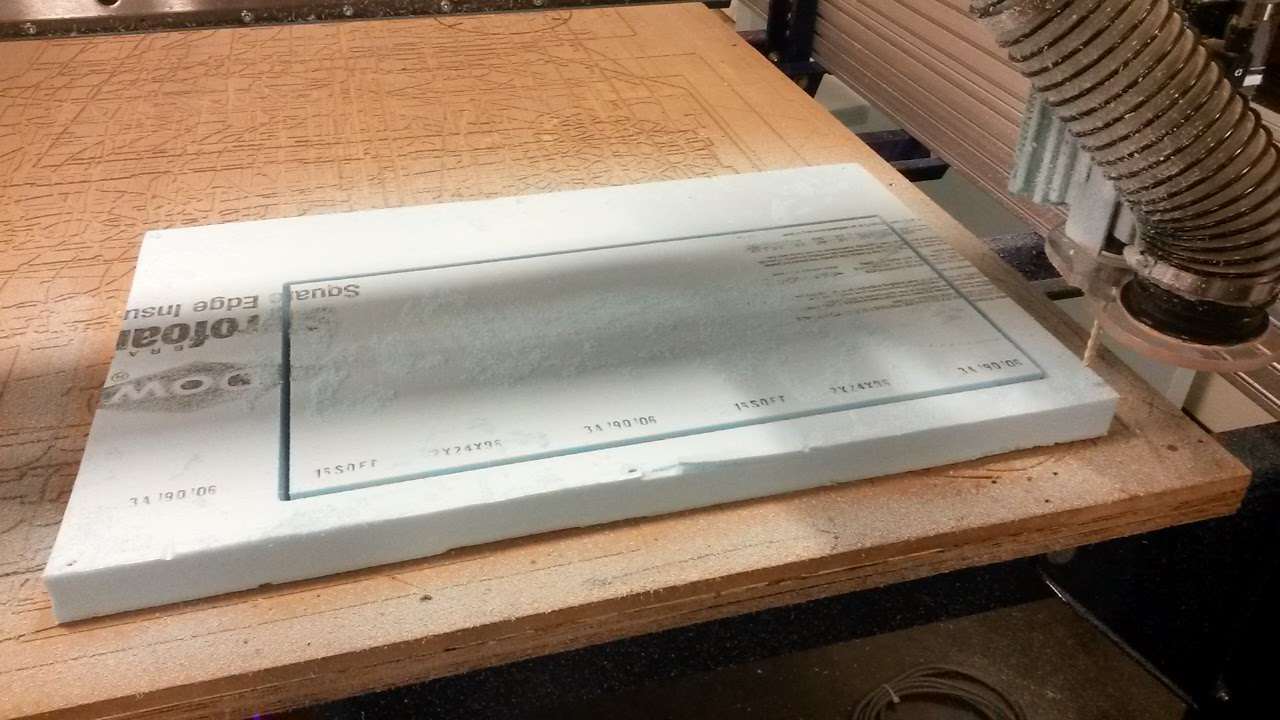 |
| Roughing pass I used the 3D pocketed tool path in Fusion 360. For this first one used the following settings - RPM = 12,500, feed rate = 160 in/min, pass depth = 0.25" (changed this to 0.4" for the second pocketing step on the reverse) - took about 30 mins | 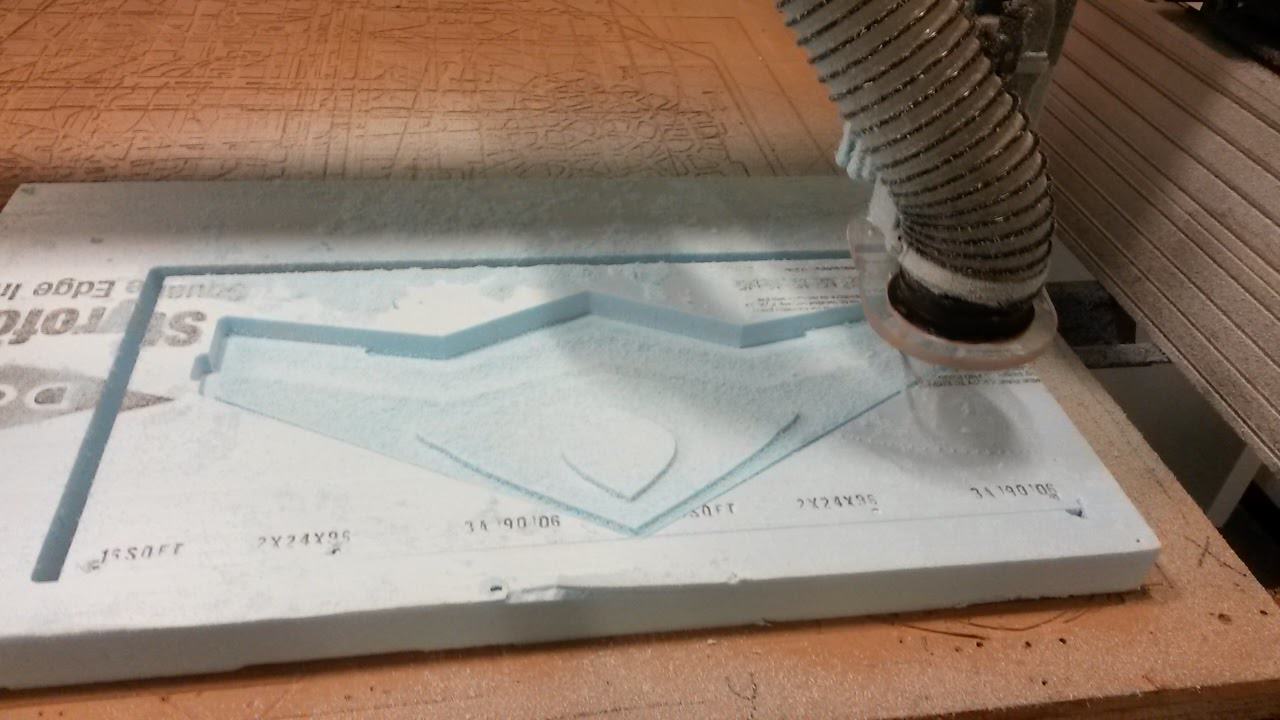 |
| Finishing pass I used the 3D parallel tool path in Fusion 360. Settings stayed the same as the roughing pass, it created some ridges along the wing, this foam is quite soft so I'm not sure how well those will sand out - took about 15 mins | 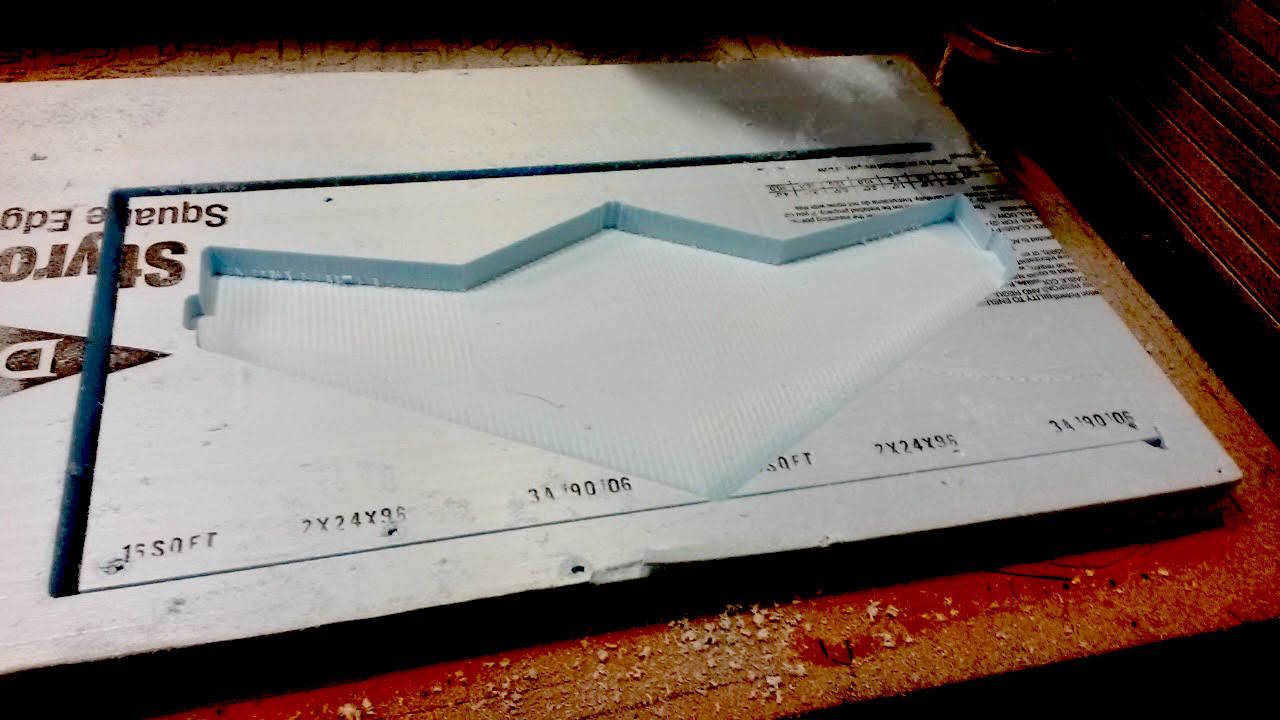 |
| Roughing pass on the reverseSame settings as previously except I increased the step down from 0.25" to 0.4". | 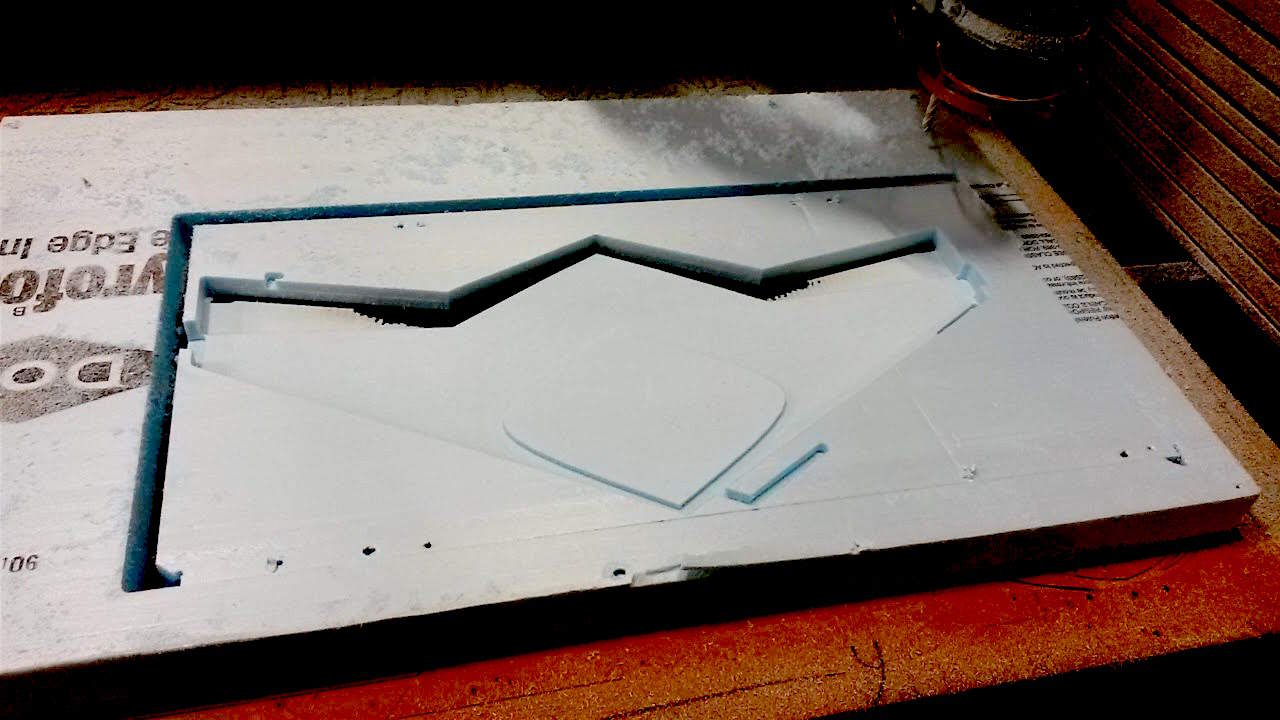 |
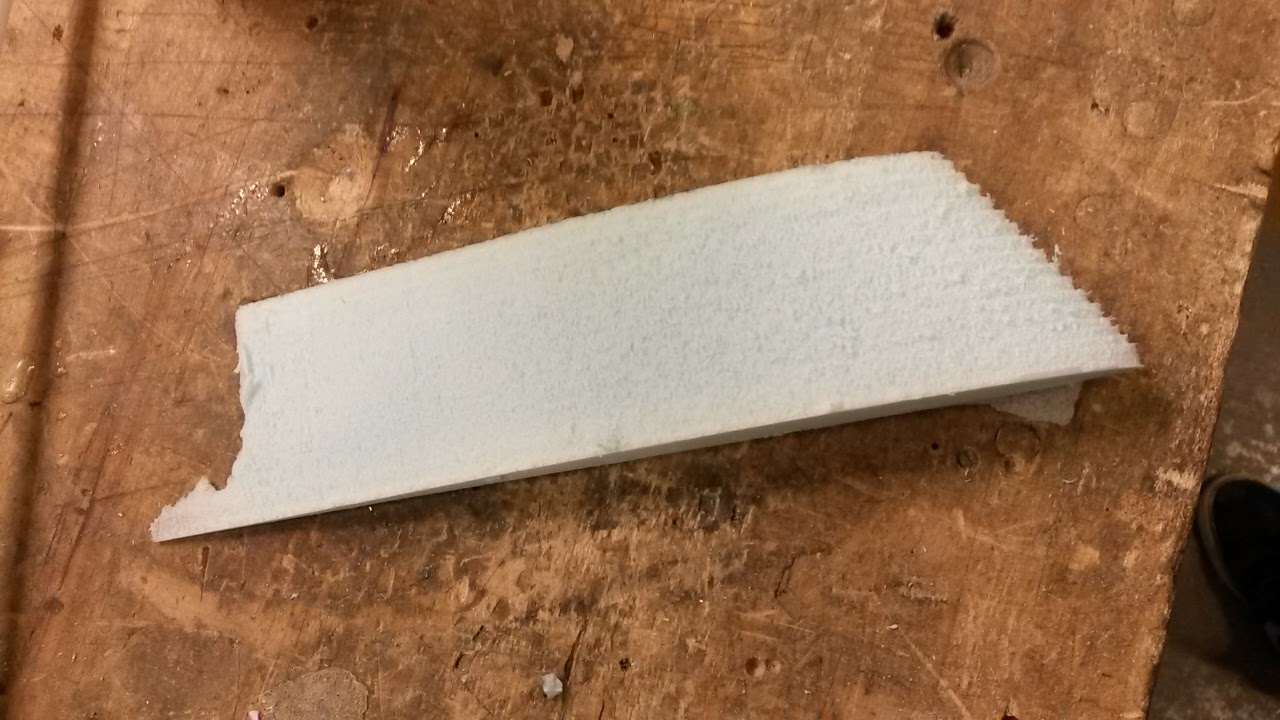
| Finishing pass same settings as before, this pass cut all the way through along the leading and trailing edge. Fortunately there was sufficient material at the tips to keep the piece suspended. | 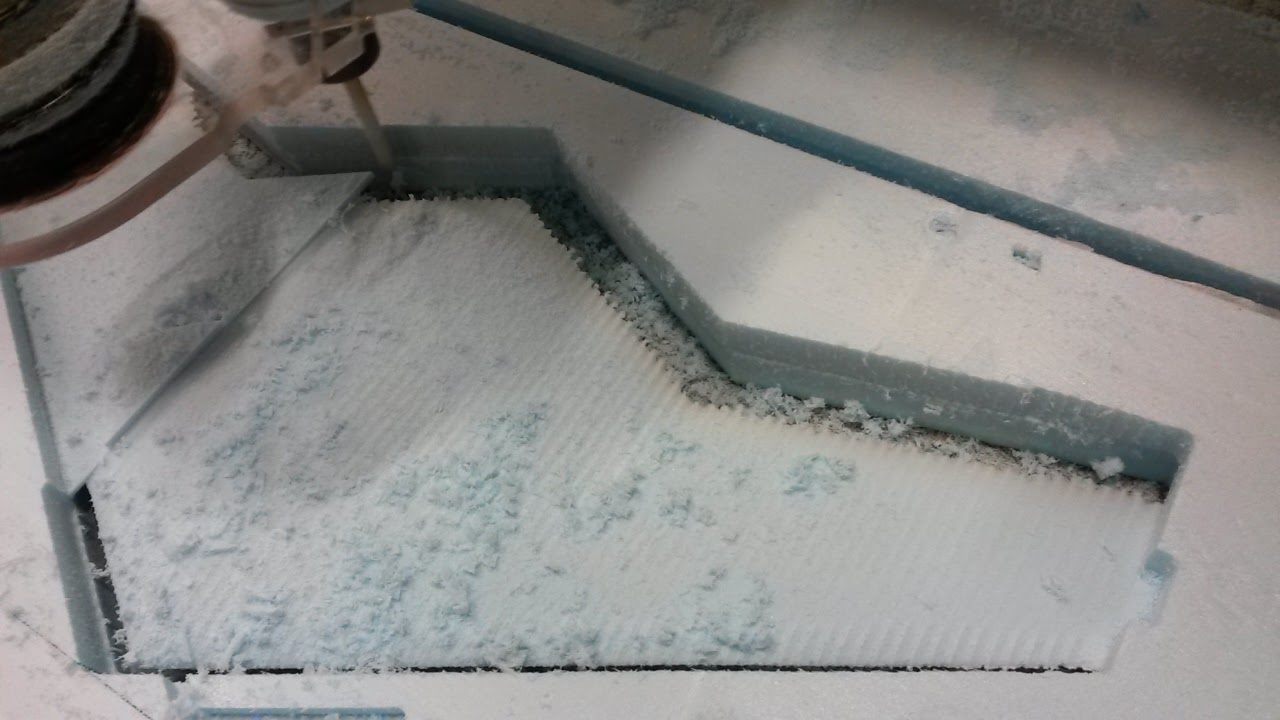 |
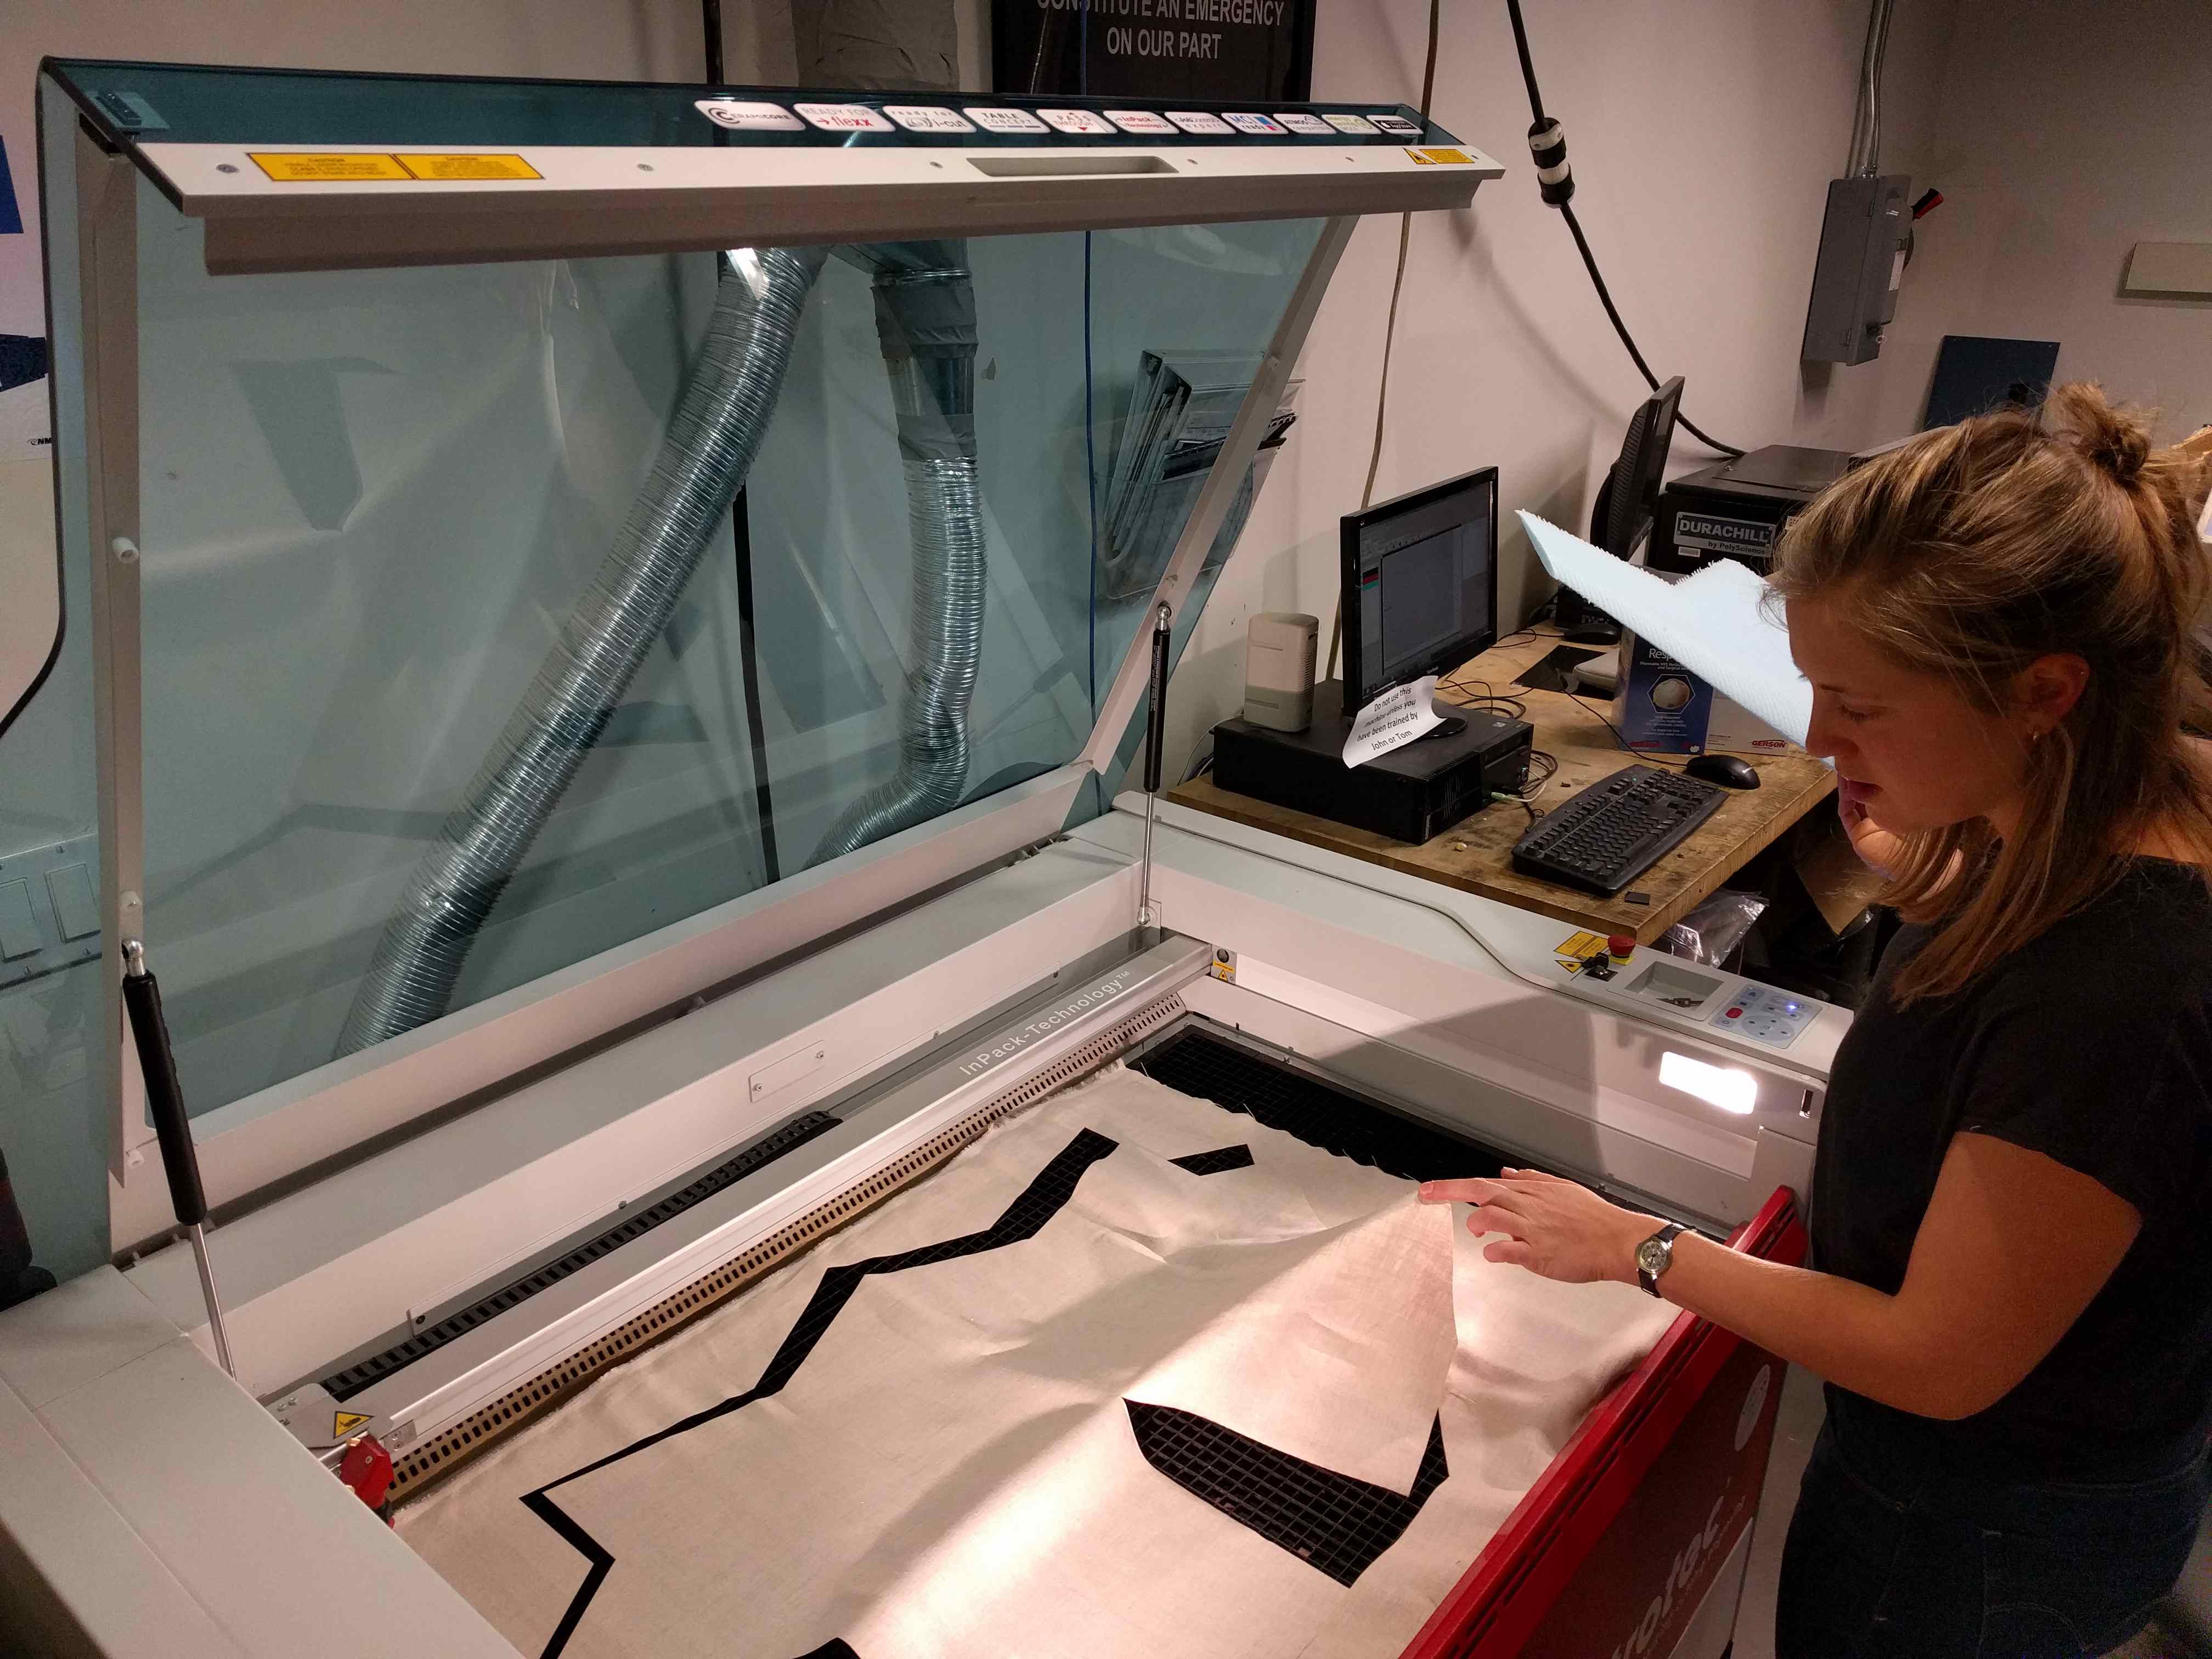
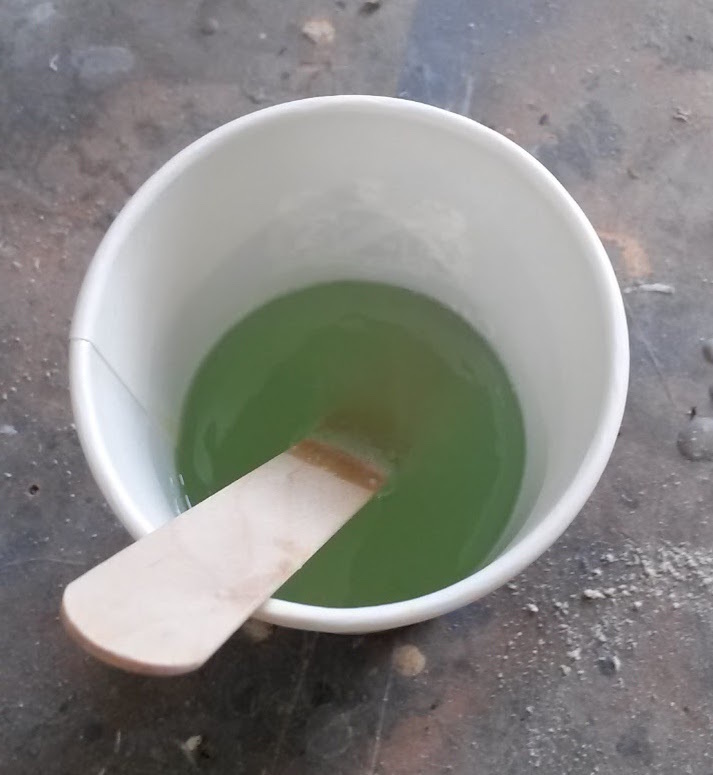
With Sam's help I decided to use a linin as the fibre and Super Sap epoxy, the cutout shape was based on a projection of the wing's silhouette, mirrored on the trailing edge to create flaps that could fold over. I used a filler in an initial batch of expoxy and spread this over the surface of the foam, I them laid the cut fabric over the wetted surface. The resulting wing was rather heavy, in hindsight it may have been better to use a carbon fibre weave and not double up layers on the bottom.