The second session of the course is focused on two subjects:
I envision that we will develop loads of projects for this course so we better keep things in a safe place and document everything to be able to come back later in case we need any of the methods learned in future projects. For that end, we will use Git and create a little website with all the documentation on it. And this is it! :)
I am familiar with Git and web development so hopefully I won't have many problems with this.
In all my life I have only used a laser cutter once. So this bit of the session was quite exciting for me. I have to experiment with the laser cutter and to make a press-fit construction kit with cardboard. I also have to cut something on the vinyl cutter.
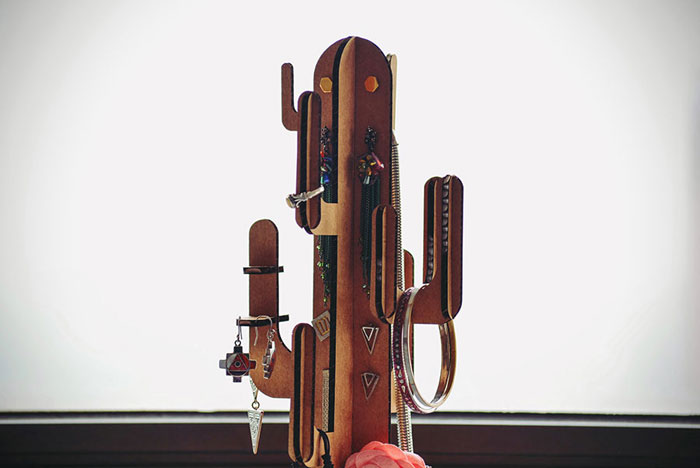
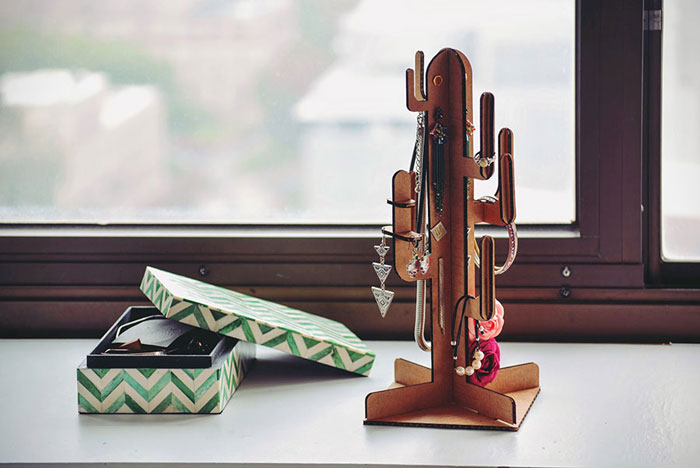
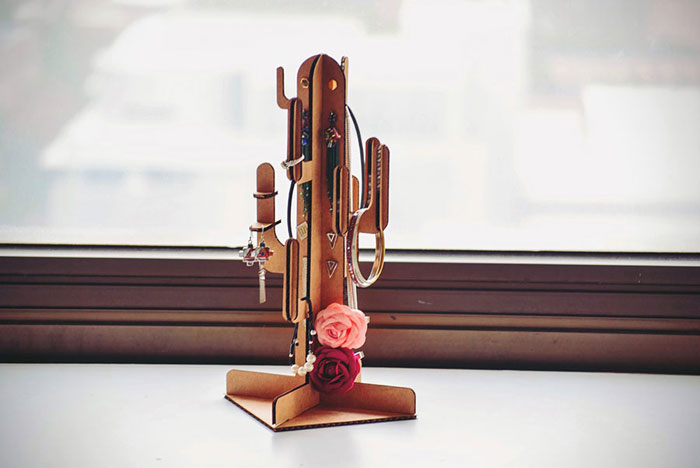
I wanted to do something useful and I have always wanted to buy one of this jewellery holders for my earrings, necklaces and bracelets. So I thought making one of this with an original shape, a cactus, would be fun and if I managed not to set the machine on fire and make a good design, I could possibly even use it!
We were asked to design the press-fit construction kit parametrized in order to be able to modify the thickness or size of the pieces all at once if needed. I have some experience with Illustrator as a design tool but very few knowledge on other platforms such as Rhino or SolidWorks. I really wanted to learn one of this two or at least try to play a little bit with them. I found out that there was a new version of Grasshopper for Rhino for Mac. So I decided I would try to learn a bit of Rhino and Grasshopper for this assignment.
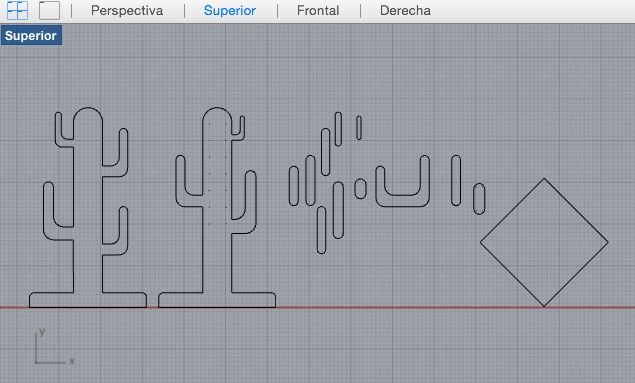
I went through some of the Rhino tutorials online and found the tool very interesting and easy to use at first. I managed to get the first basic design of the cactus in a couple of hours. [yes, I know, sounds like long but remember, I didn't know Rhino at all! Easy, pals!].

To make the design parametric, I used Grasshopper. At the beginning I was quite excited with Grasshopper. I found it very useful to be able to modify geometry and be able to have all the history in order to make any changes later that would reflect on the whole design. However, it soon ended up being a big mess of nodes and connections. And by a big mess I mean something like this:
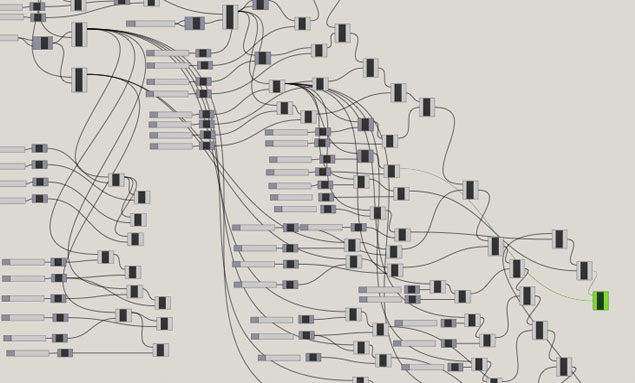
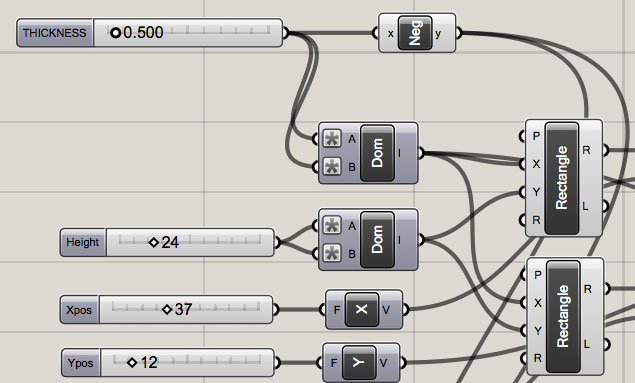
Yes, I know... But again! Easy, pals, it was my first grasshopper experience! And it actually worked. I had a node with the thickness of the material that you could change in order to adjust the design.
Once the design was done, time came to play a bit with the machine. First of all, we tried to familiarize ourselves with the laser cutter. We printed some small pieces and tried to change the settings on the software. We learnt the concepts of vector and raster to cut the material and the different parameters needed to print with the different laser cutters: power, frequency, etc.
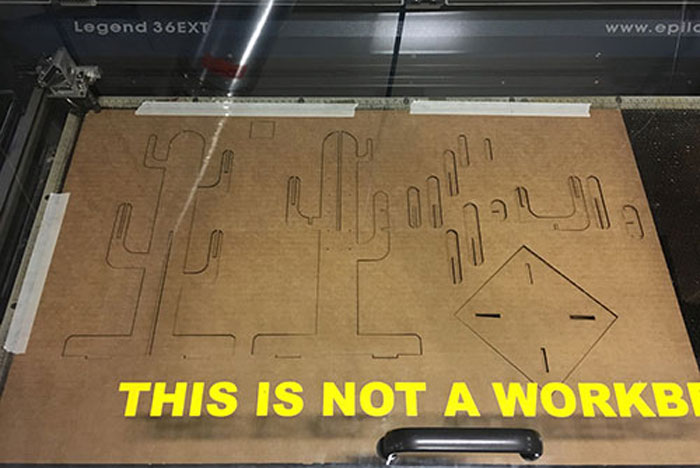
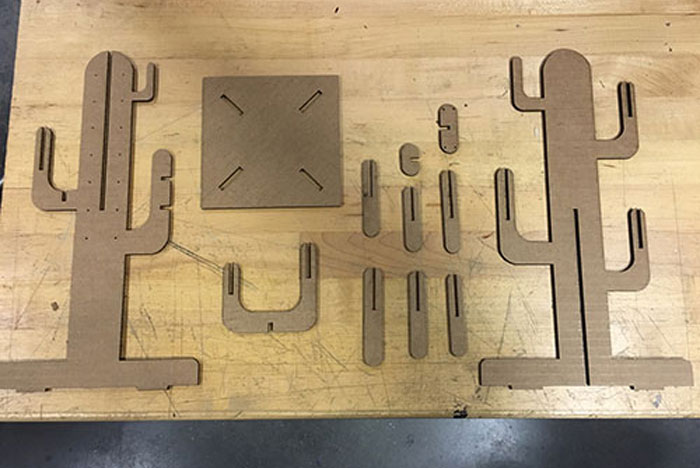
Once I felt a bit more comfortable using the machine, I decide to start printing my cactus design.
First attempts were not very good. When I exported my design and imported it into CorelDraw to print it, the lines were duplicated like 10 times. I'm still not sure why because they were not duplicated in Rhino [promise. I double and triple checked]. So basically, the machine started going over the same line for 10 consecutive times which made the cardboard catch fire eventually... Calm down, pals. It was not a big fire. I learned later how to remove the unwanted lines from CorelDraw by breaking apart the curves.
Another problem I had was that the machine was not printing the first curve of my design. So the first model I printed, had a part that was unattached from the cardboard and I had to cut it with a cutter.
The parametrized design allowed me to change the thickness of the cardboard in all the joints and was very helpful to get the pieces with the correct size. So I didn't have to print it a lot of times in order to get it right.
.jpg)
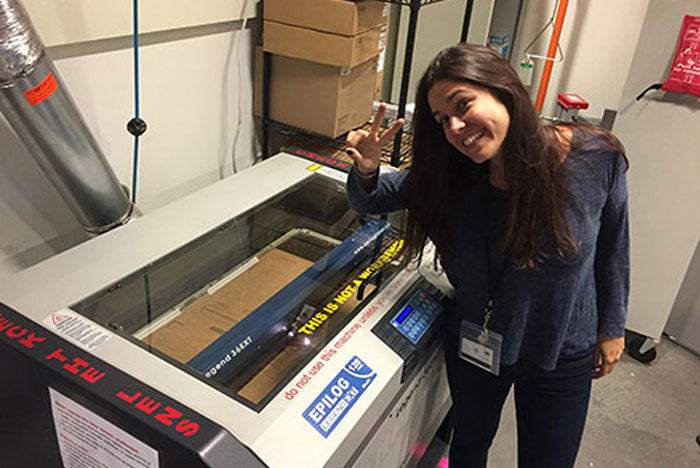
This is me getting the machine ready to print and talking catalan [sorry, I didn't know I was gonna upload the video, otherwise I would have spoken in english].
I finally got a good result with the laser cutter [good enough to feel proud of myself].
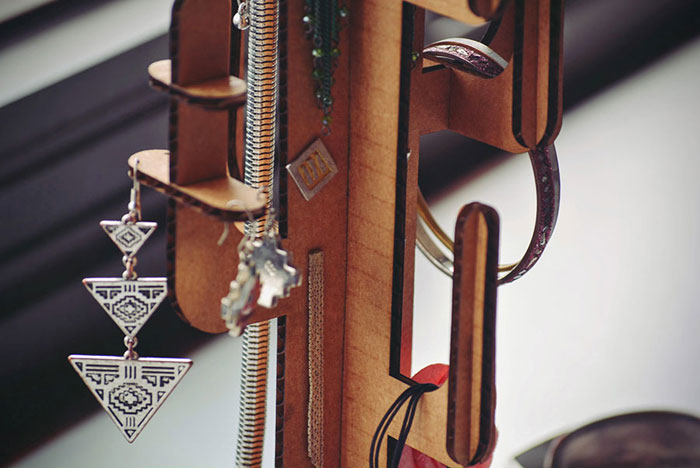
And this is the final result [with some fancy jewelry and a nice photo effect ;)]:
Some other pictures and videos I took of the process:
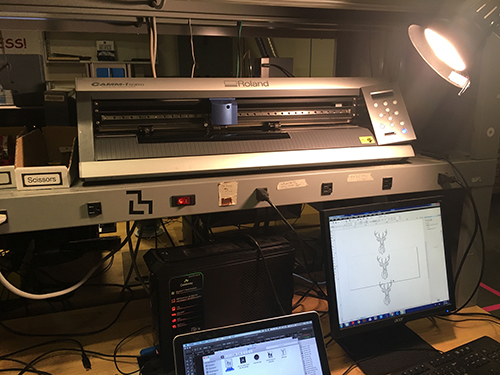
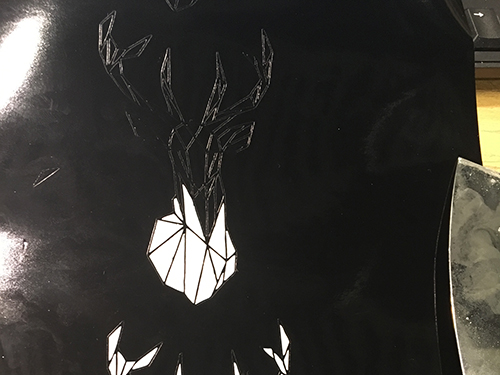
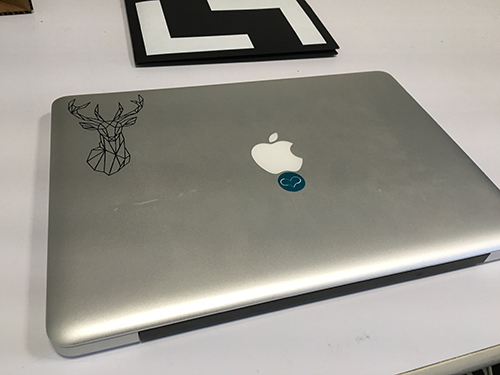
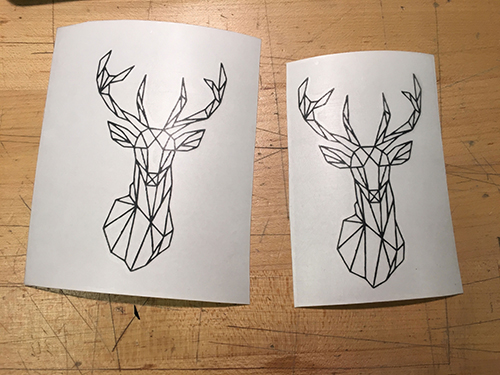
I later played a little bit with the vynil cutter. I wanted to create a nice sticker for my laptop and I chose a deer. I imported the model to CorelDraw and modified it in order to have an outline of the shape. I used black material, placed it on the machine and proceed to print the deer.