WEEK 1: _ desing and make a press fit construction kit and a vynl cut
Vinyl Cutting
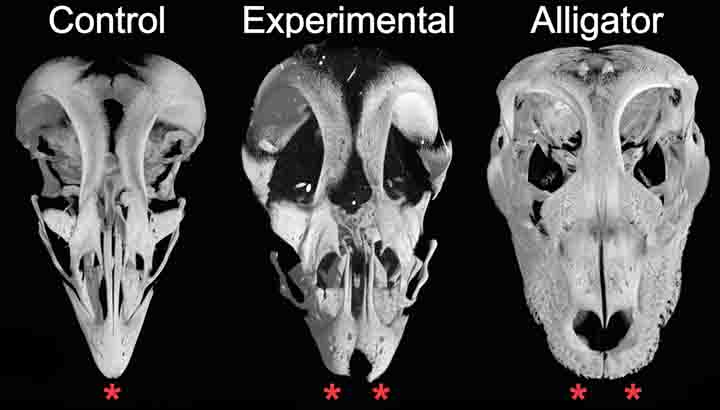
Did you know that in 2015 biologists managed to create chicken embryos with dinosaur-like faces?
By tinkering with the molecules that build the birds' beaks, they form a reptilian snout, which is a remarkable shot at explaining their evolutionary journey. However, paleontologist Jack Horner mentions, "We're having a little more trouble with the tail." I'm using a figure from their paper in Evolution
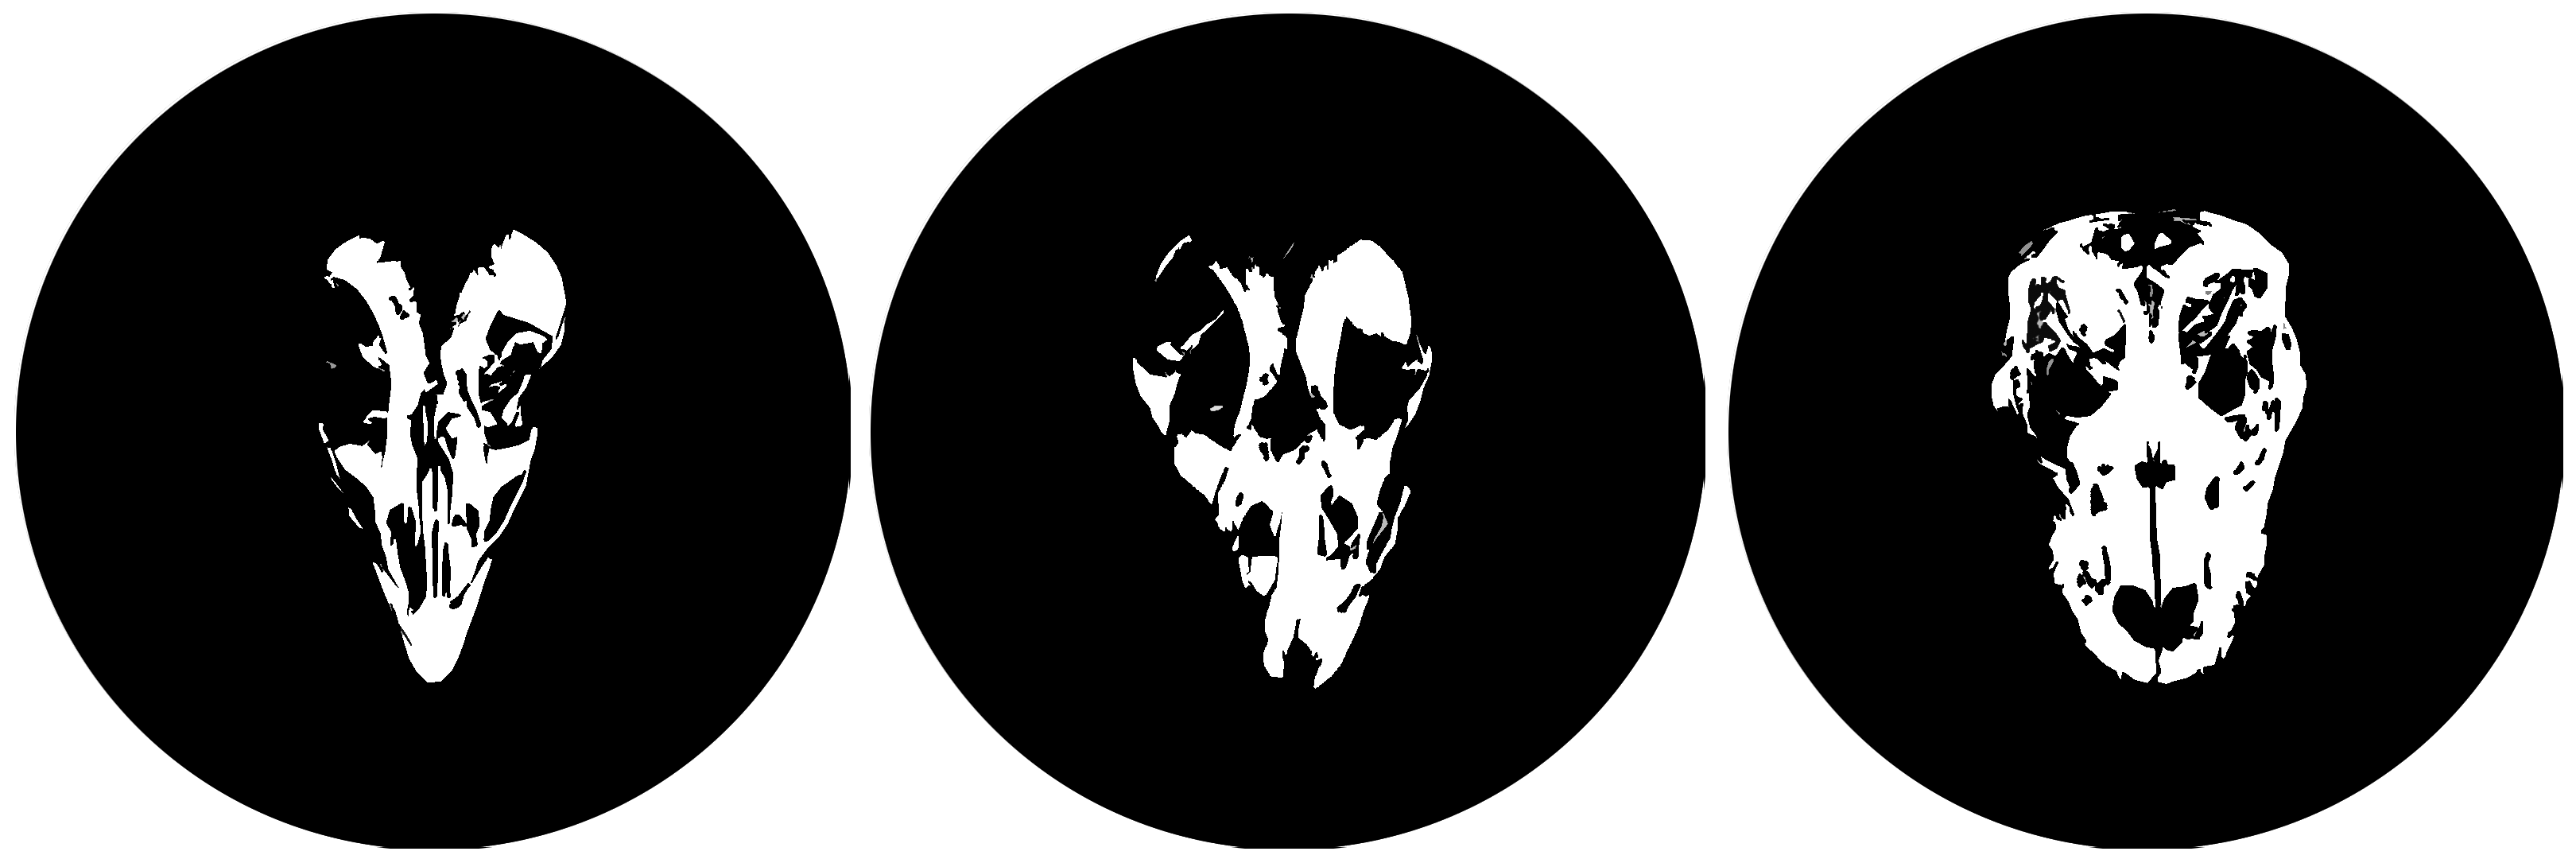
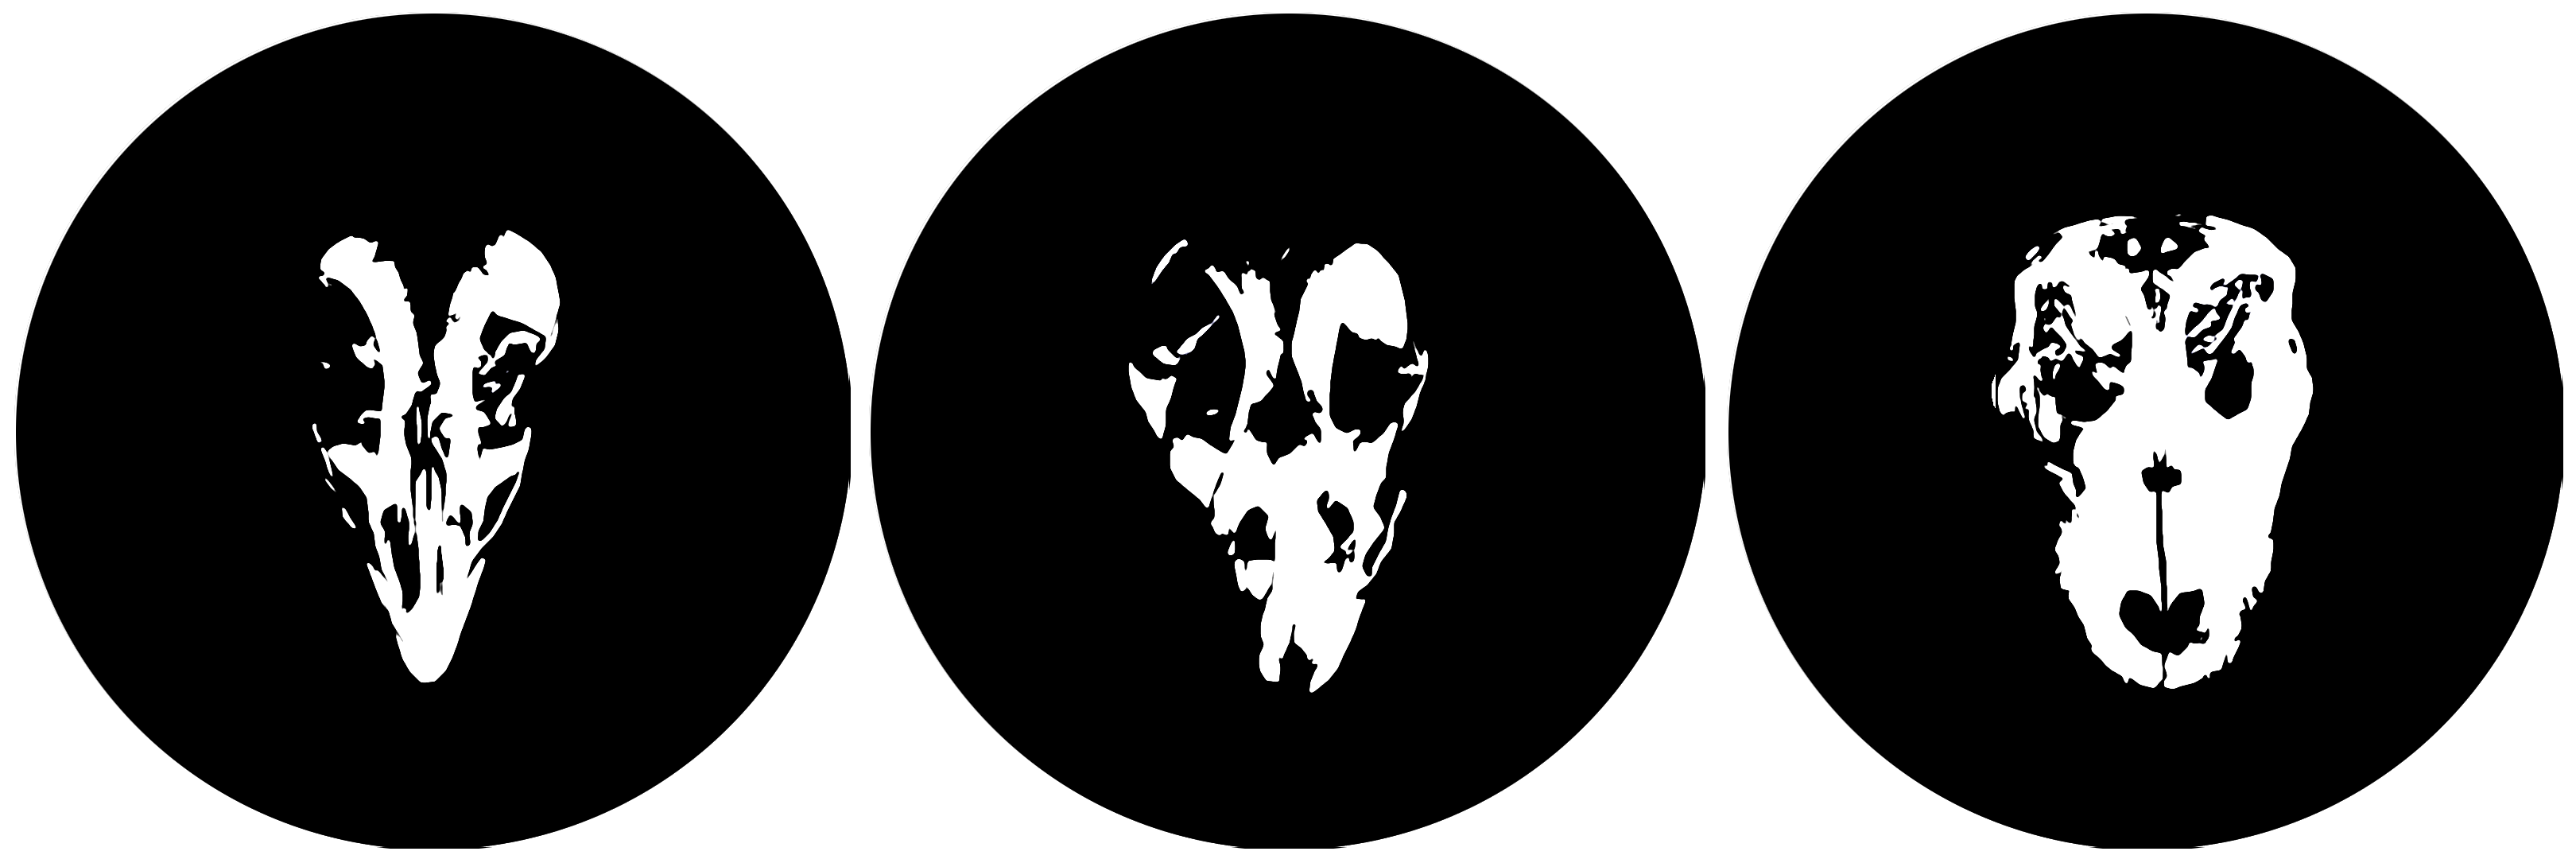
A very good website for transforming a color photograph to a monochrome fit for vinyl or laser cutting, HERE! That's what I used to format the pictures here.
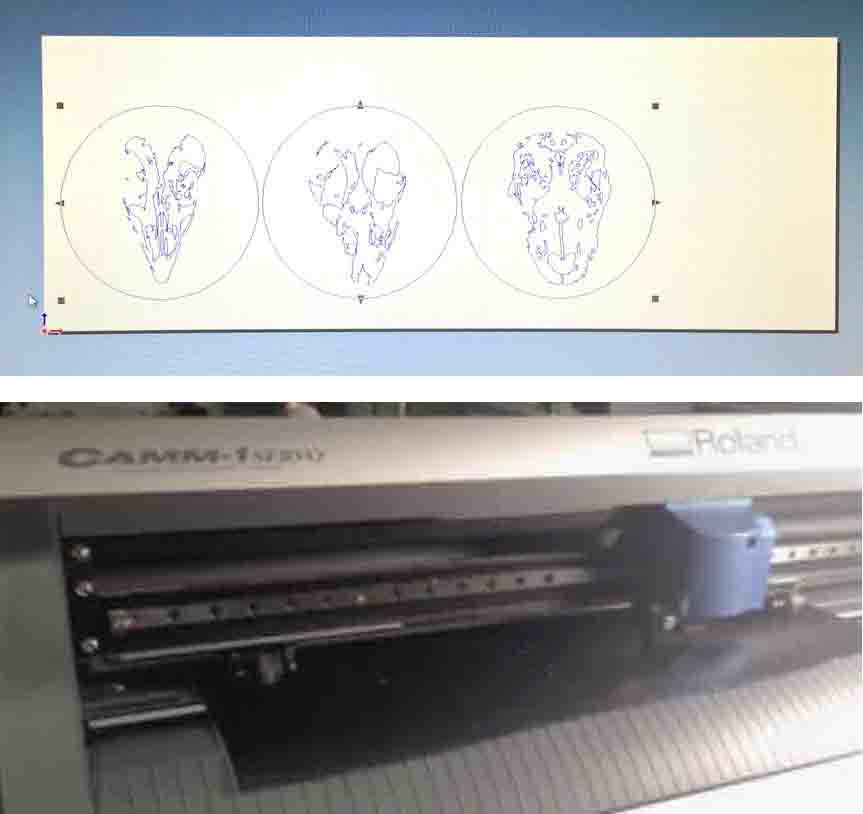
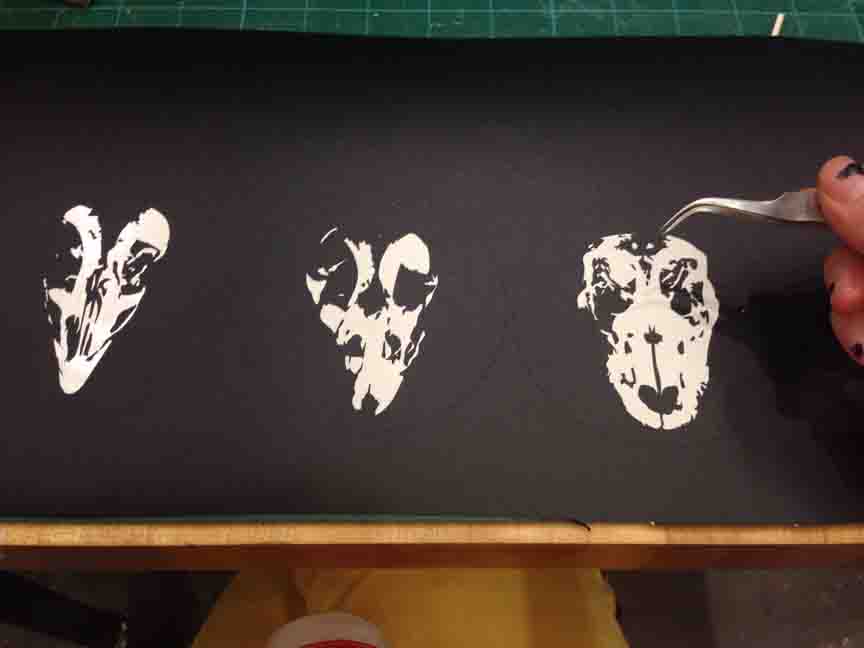
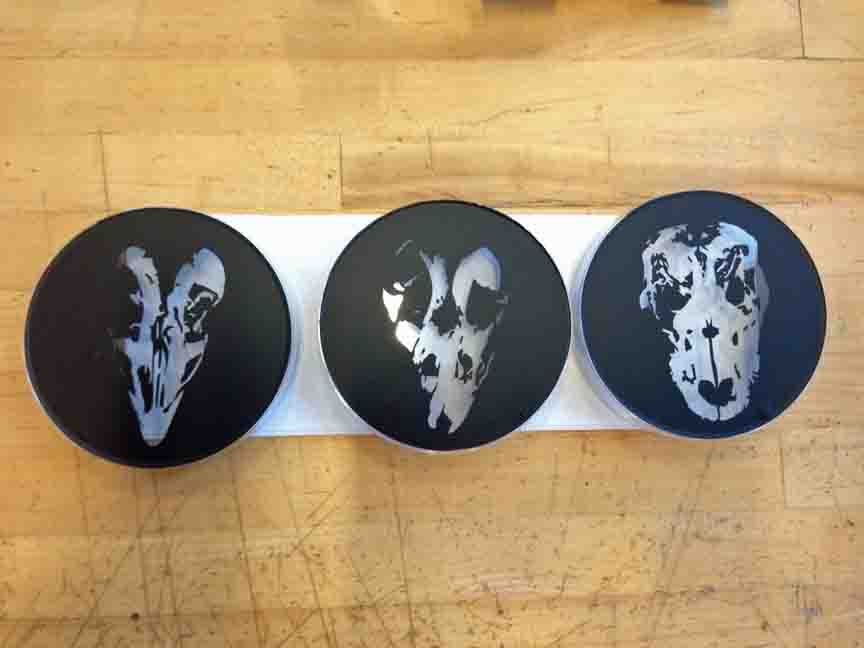
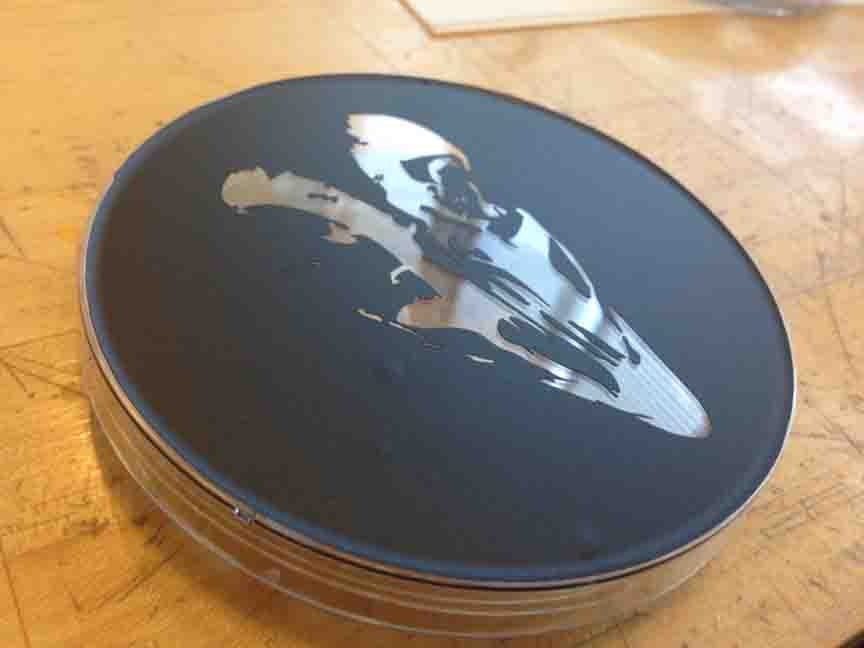
The first time I cut, I paid no attention to scale in the Roland Software, and ended up with very tiny dinosaur chickens. So - remember to size your image, as it can be imported at an unpredictable size. Luckily, this gave me nice weeding practice for both. I attached the final product to 'decorative' petri dishes I now keep on my desk!
Laser Cut Press-fit Joint Testing
As a group project in section, we determined the correct tolerance of a press fit joint by designing our own 'testing mechanism'.

While the thickness of cardboard is generally defined, it is a soft material with some give. Also it gets beat up and compressed and may have a range of thickness even within on piece. Thus, it's always a good idea to run a little press fit test.
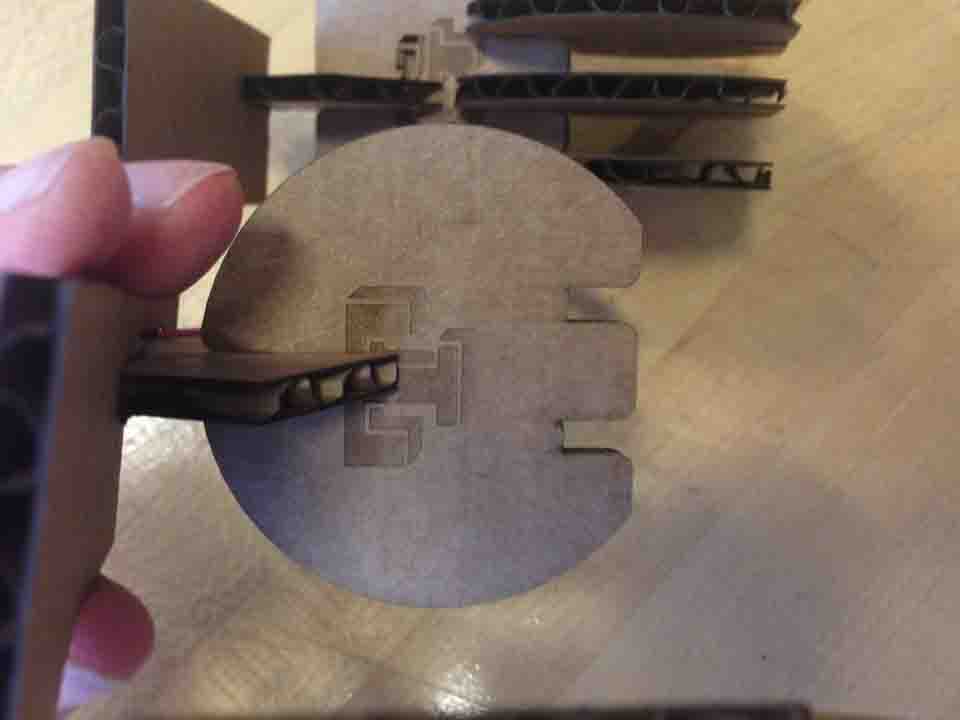
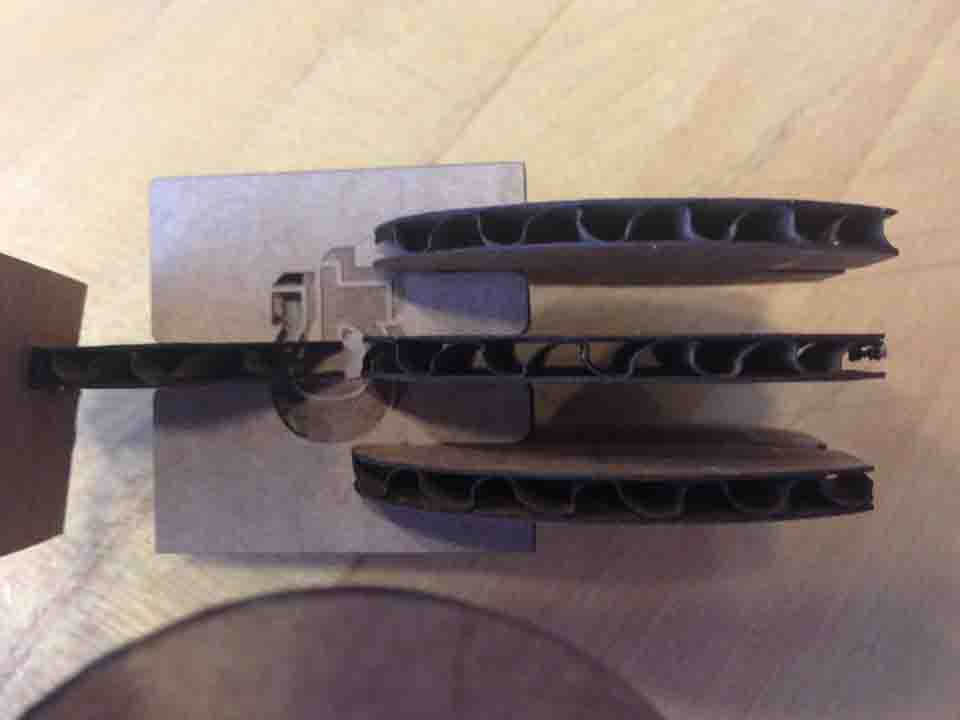
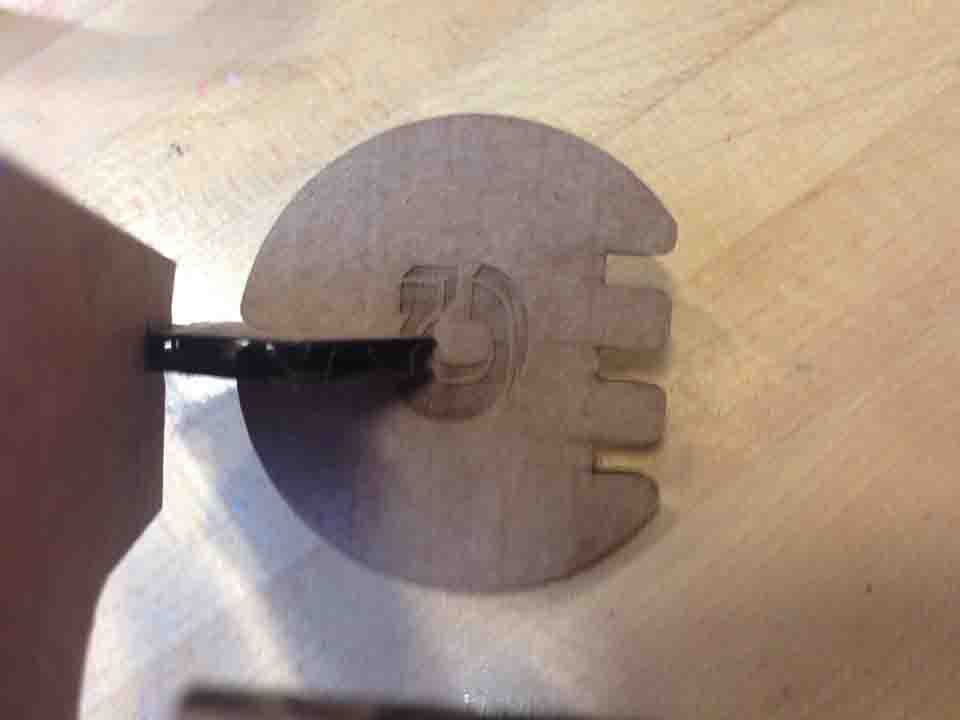
Devhal and I first designed a giant key - we had no idea as to the range of width possibilities or resolution, so we peppered the spectrum. We used the raster function to label the thickness of each cut, and printed two to slide together. Above is a picture of Dan sampling our work - it seems user friendly.
As a second test, we wanted to see if it is true what Neil says about fillets dramatically changing the ease at which a press fit fits in it's joint. However, there are many different shapes a fillet can be. Thus we tried another smattering of shapes.
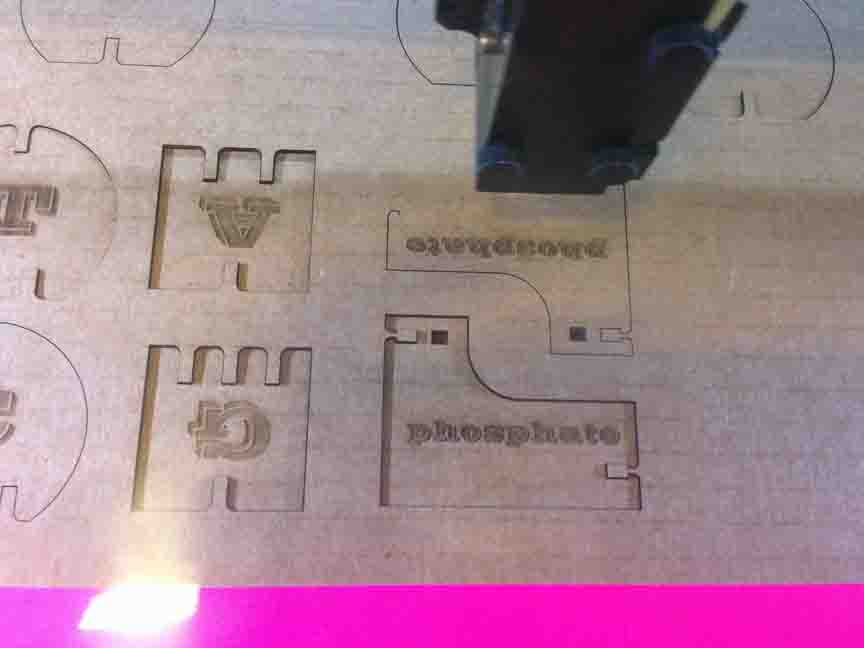
In this process we also nailed down a good cutting setting:
Speed 20, Power 100, PPI 220.
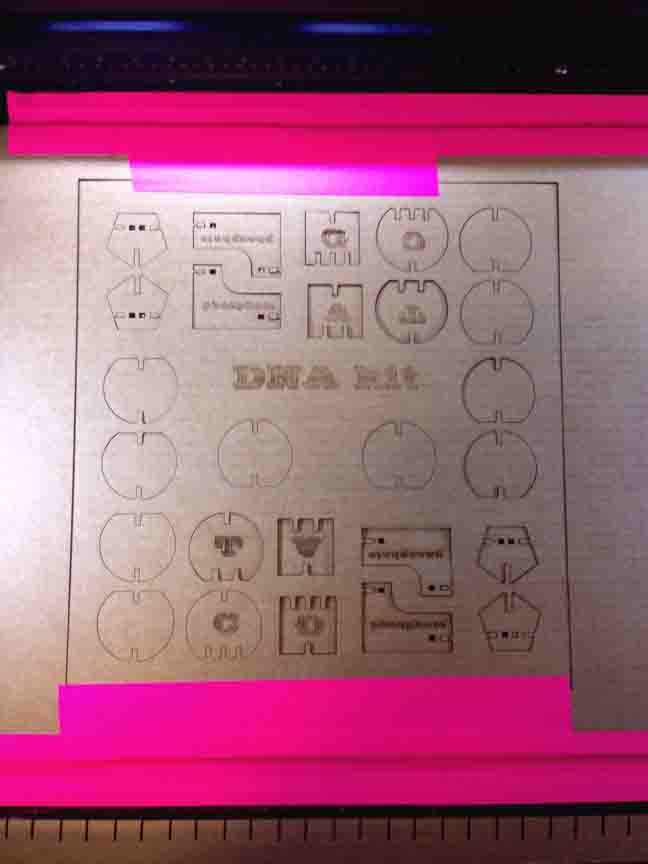
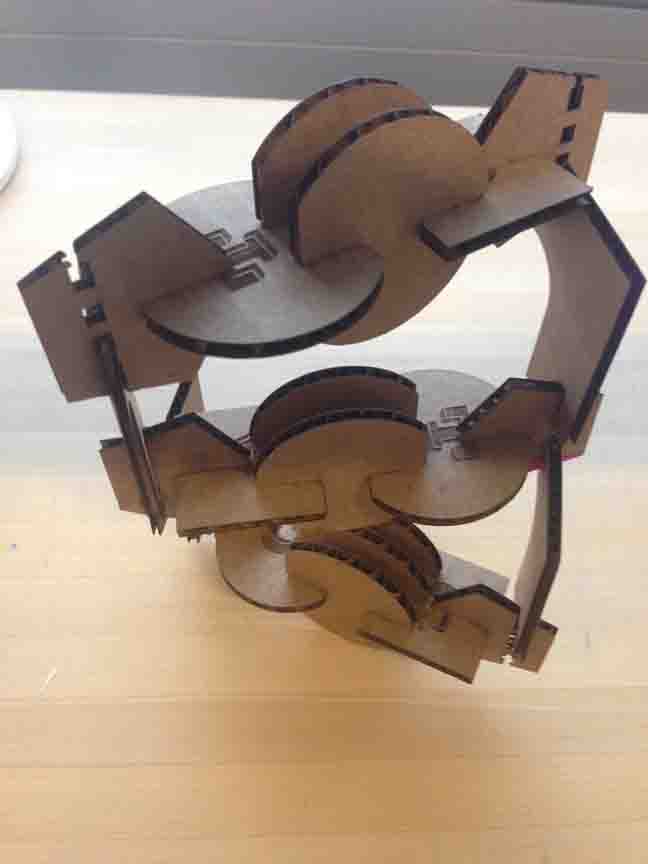
Laser Cut Press-fit DNA Kit!
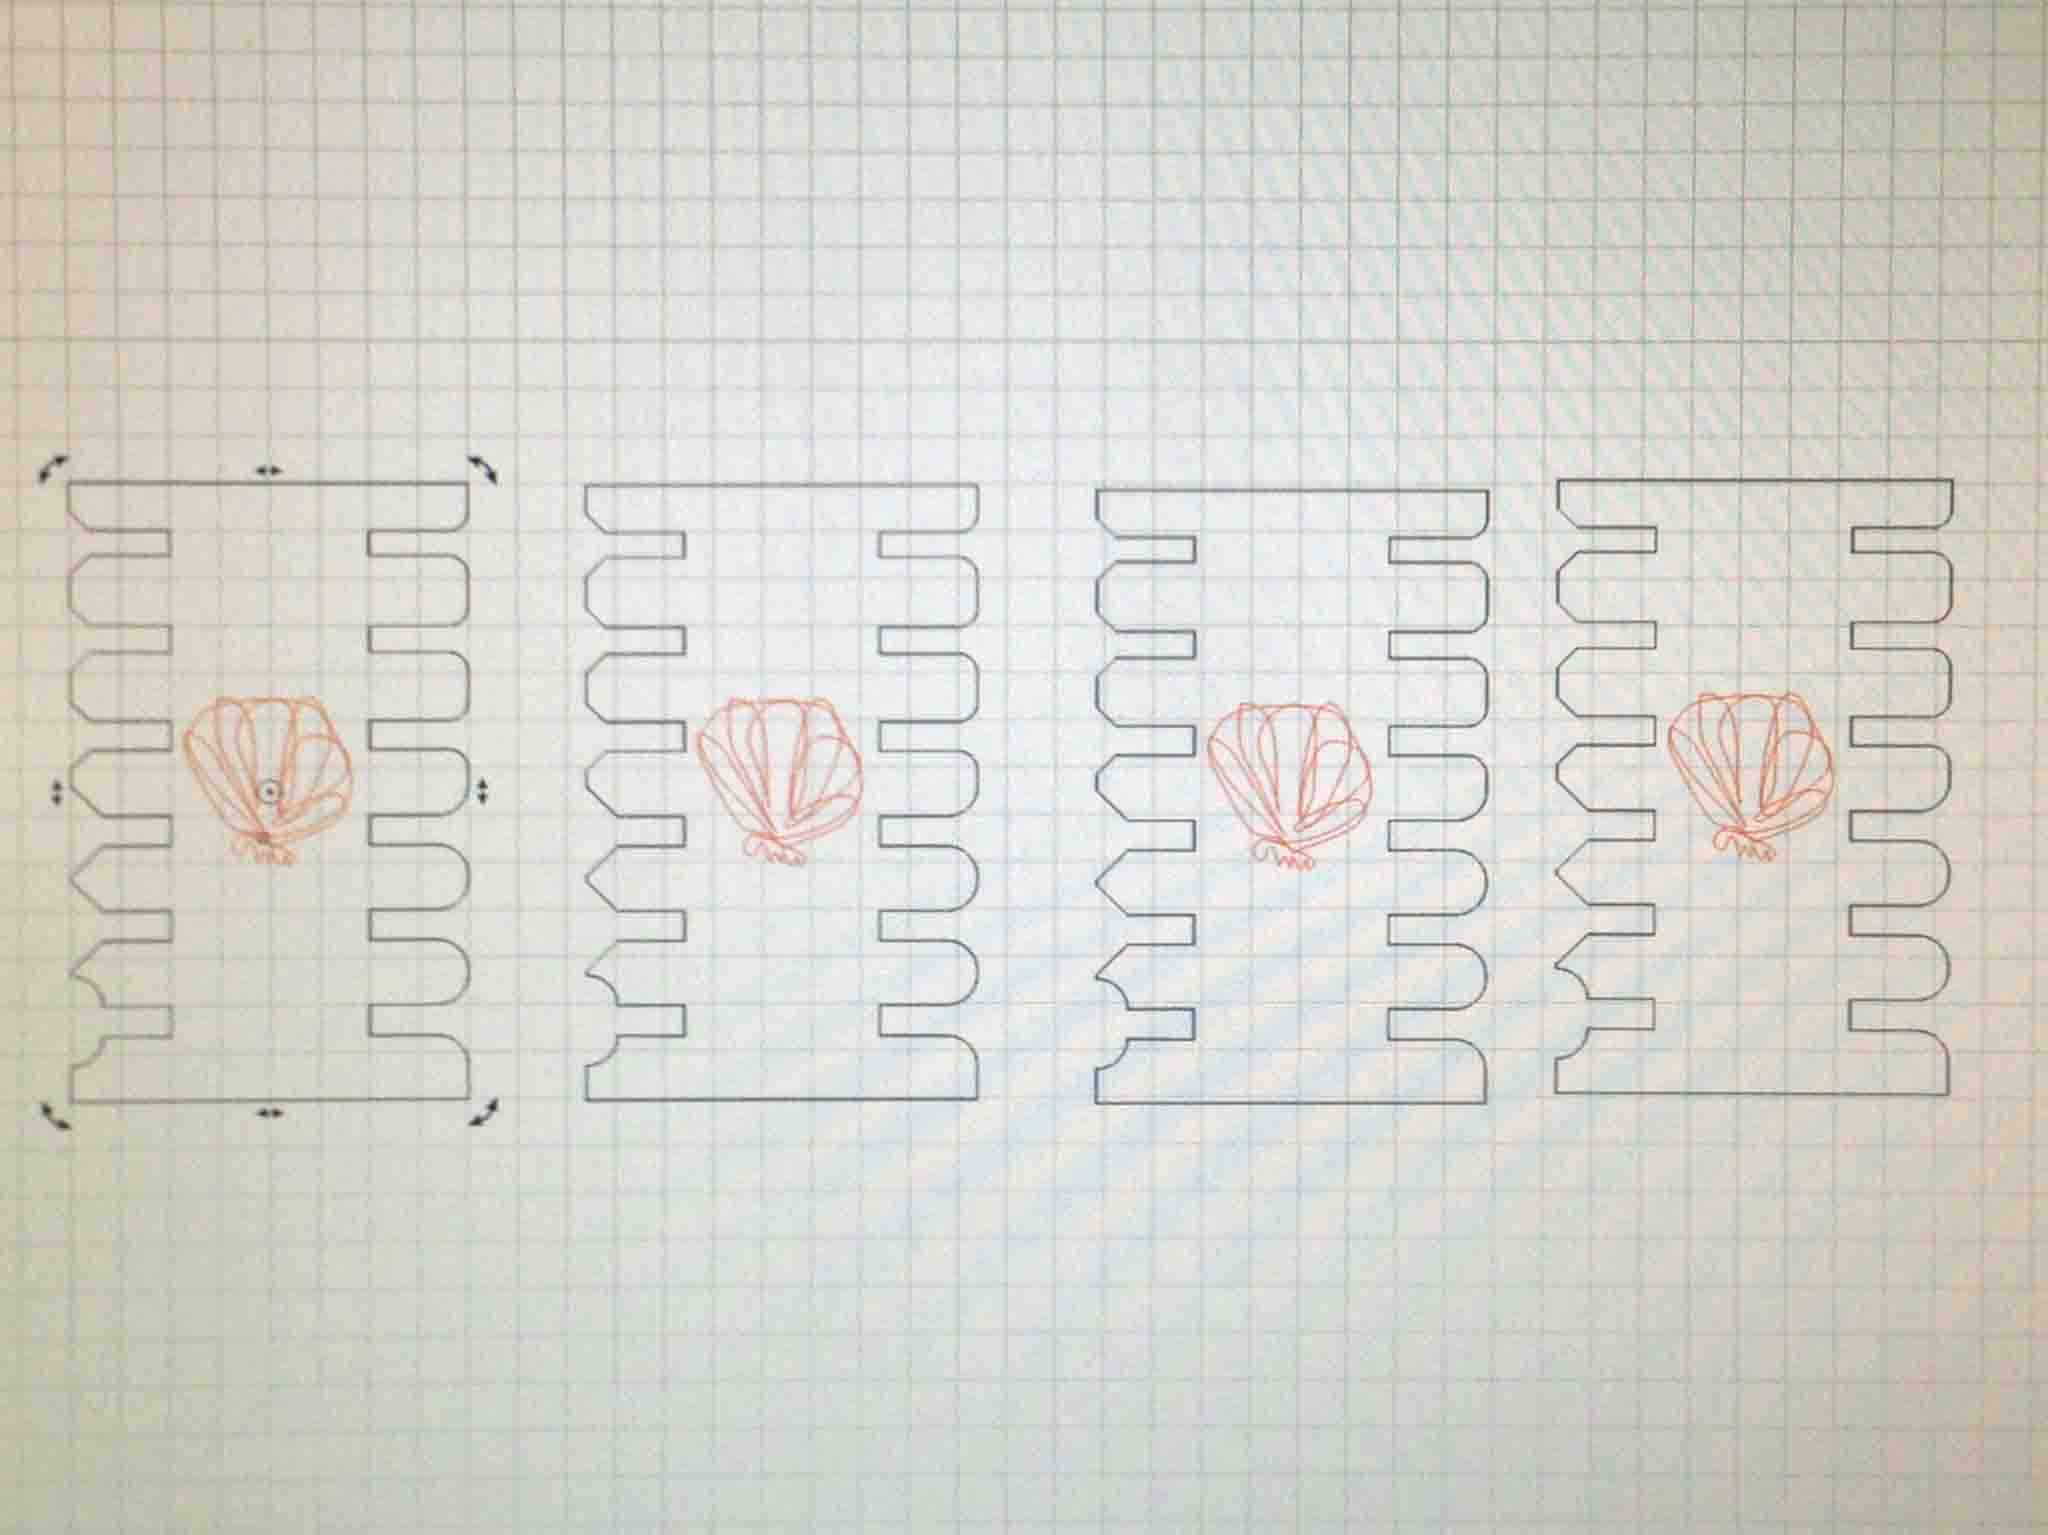
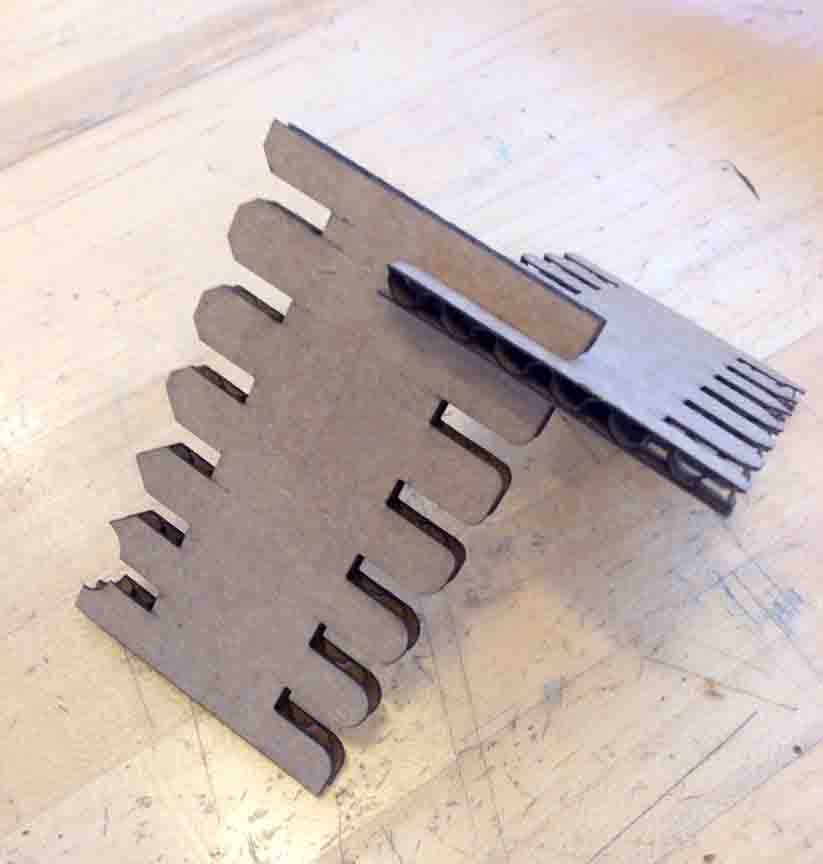
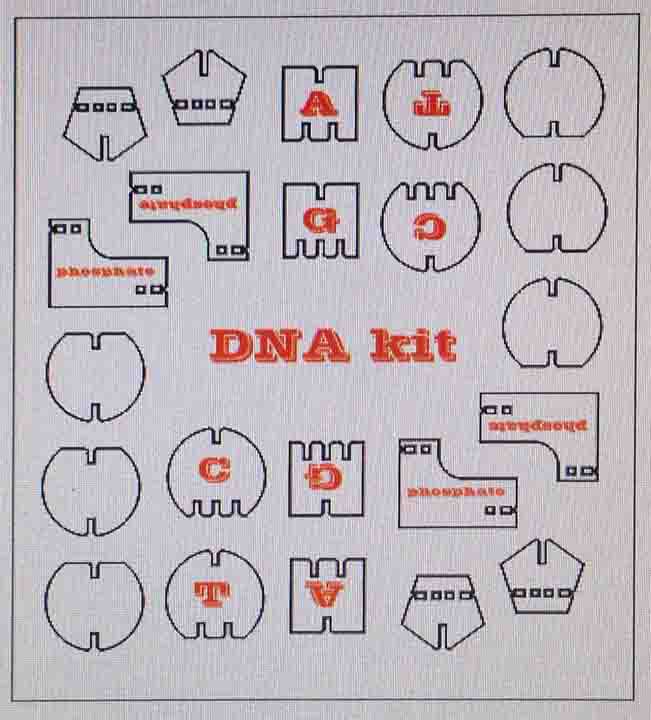
My laser press fit kit is DNA - since I was looking for a good challenge for a 3D shape (double helix ladder) made of modular but specific interlocking shapes (C's to G's, T's to A's). I started sketching out my design in Rhino, my 3D CAD of last week, but quickly realized how hard it would be to conceptualize and parameterize all the joints. This is when I discovered OnShape! A browser-based Solidworks-like CAD. I much more naturally understood how to assemble, and then make boolean subtractions of material for joints in this program. I highly recommend it.
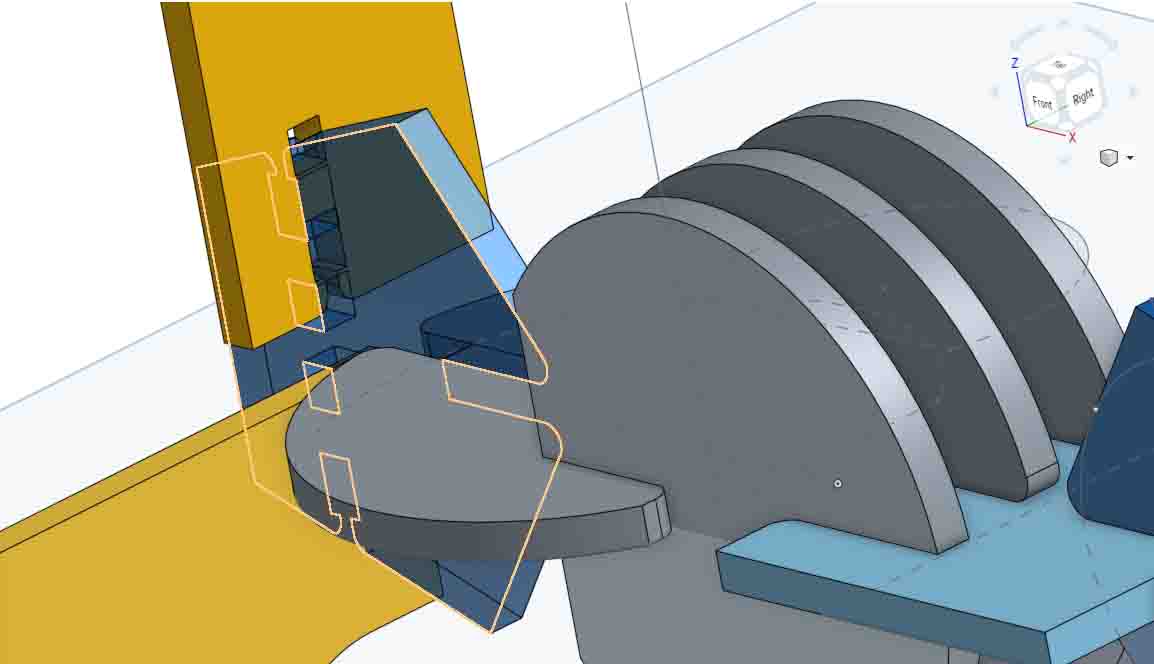
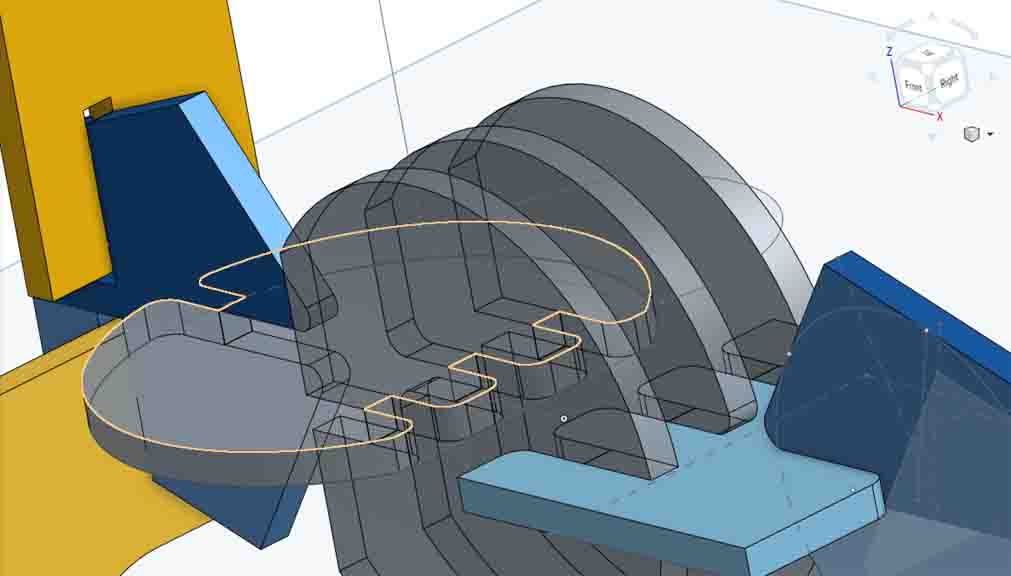
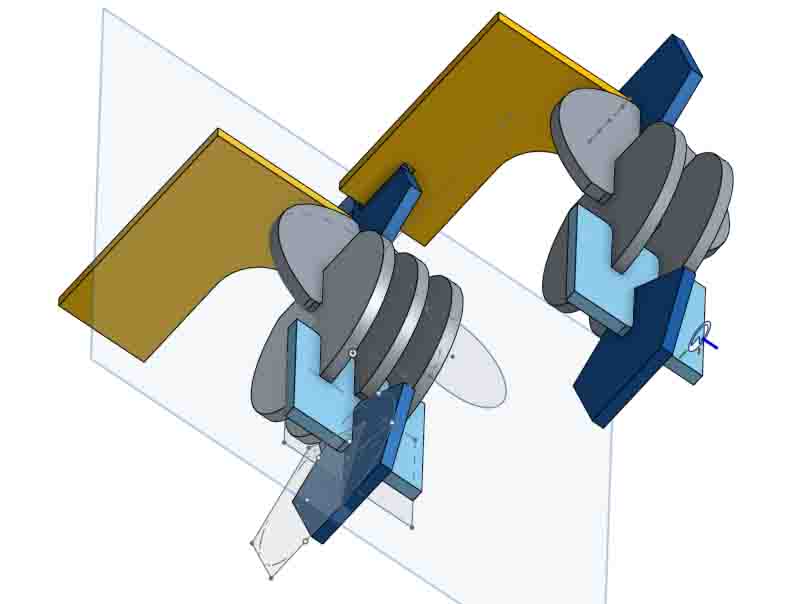
From OnShape, I can click on the faces of any of my 'Parts' and export these projections as 2D DXF files. I used CorelDraw, on the CBA computers to arrange the pieces on my cardboard.
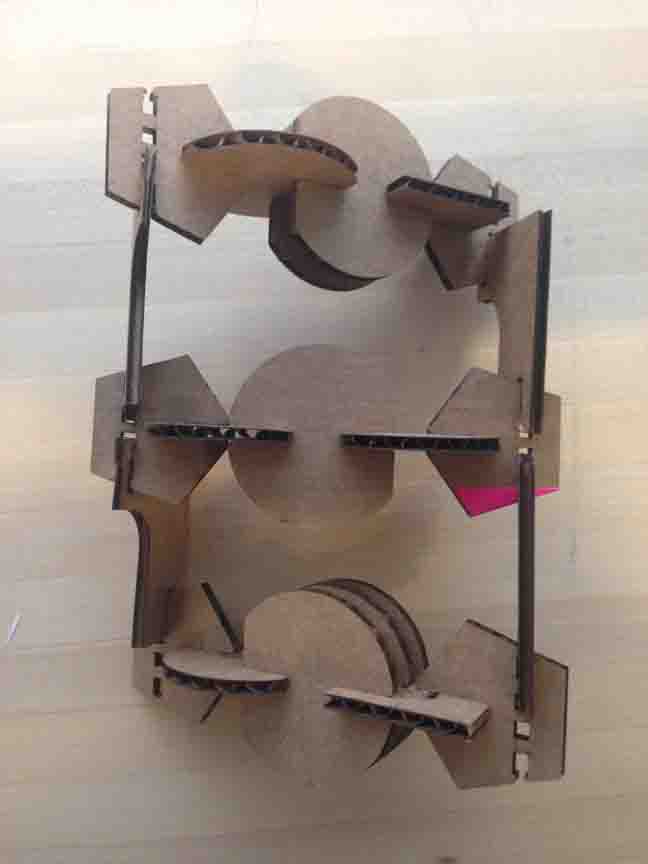
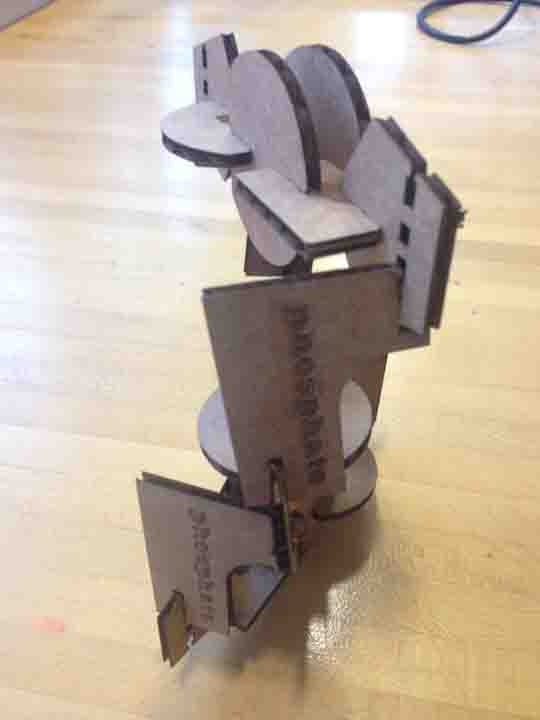
NOTICE: In my design, the backbone is made up of phosphates and sugars with PERMINENTLY locking joints (covalent bonds).
The nucleotides link with slip joints (hydrogen bonds) which are easily reversible.
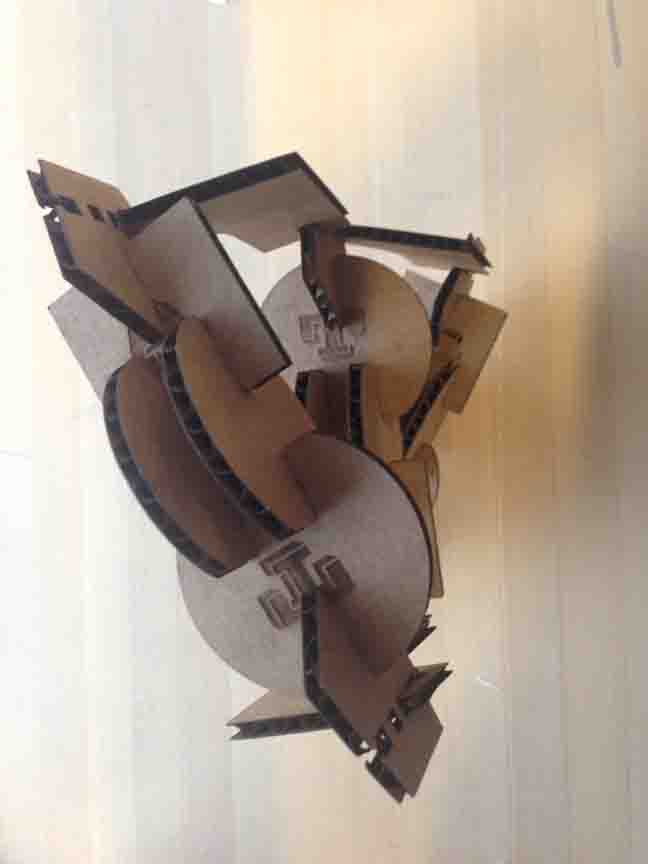
However, G's and C's have 3 slot (H-bonds) and A's and T's have 2 slots that are spaced differently, so the wrong nucleotide can never interlock. If this wasn't scientifically accurate enough for you - the intermediate squares on G's and A's are the extra 5 carbon rings, and the phosphates rotate 34 degrees every base pair step.

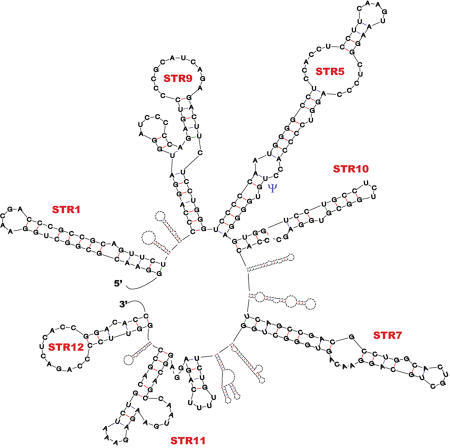
According to the RNA World Theory, small pieces of RNA-like ancients may have preceded the first living organisms in primordial goo, and competed for survival. This is one way to explain all the complex single strained RNA machines, like the smallest: The Hammer Head RNA - for cleavage. At ~40 bp, I could totally construct this shape with my DNA kit!!!

PRO TIP: When making press-fit kits, always design a press fit box. When you're done cutting, you'll end up with many little tiny pieces to carry back upstairs. I'm so excited with all the new life I can make with my kit!