The Design Process
The hardest part this week honestly was dealing with the laser printer. Week 1 when we first trained on laser cutters felt like a long time ago! I used Illustrator for the first time and sort of struggled on how to get my image printed with enough thickness to the lines. Basically I made tons of fancy designs, and learned that it was too intricate to be printed on felt. So, I redid a very simple geometric design and messed around with the settings until I had a beautifully print design. The first time I tried, the edges of the felt melted. Eventually, setting the machine at 14% power and 22 speed worked for me.
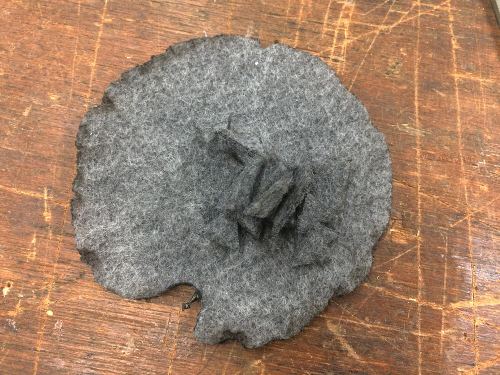
Oops, melted felt!
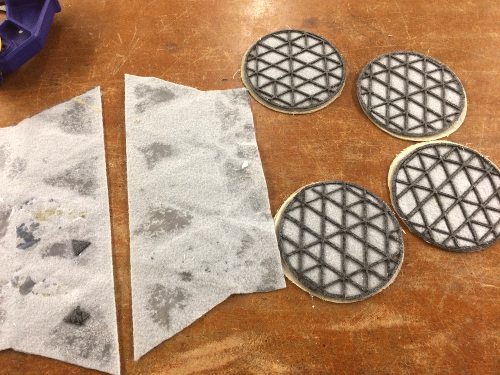
Once the felt came out, it took some time to weed the scrap felt since the fabric really wanted to cling to itself. But, it wasn't anything sharp scissors couldn't take care of! I glued the lasercut design to a background piece of felt and used a thin coat of Gorilla glue to cement them together. Meanwhile, I lasercut linen backing (circular pieces) after realizing how difficult it was to cut either the burlap or linen accurately with scissors. I created three layers of linen for each felt coaster. I didn't want the felt to feel plasticky, so I was carefully to slowly decrease the amount of resin used for each layer.
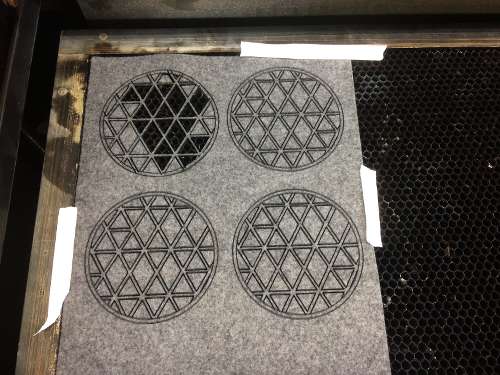
Correctly lasercut felt
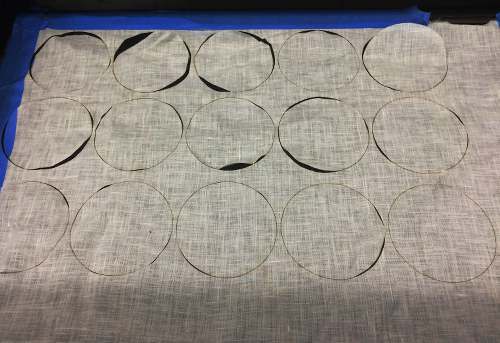
Lasercutting linen circles for coaster
I don't have any pictures of the actual composite process as that was very time-sensitive (roughly 15 minutes) and I had my hands full...and covered in gloves and various sticky substances (definitely wear gloves!). But, basically, I mixed the resin in a 2:1 ratio, stirred vigorously, and used the chopsticks and wooden stirrer to slather each piece of linen in the resin. Once the three pieces were covered, I added the felt layer and checked to make sure the resin didn't bleed through. Meanwhile, I worked on creating a template for my felt origami test. I wanted to partially stiffen the felt but leave the creases flexible to fold the cup. I used a sharp blade to trim out the template and reinforced certain areas of the felt with an extra layer. I carefully painted around the template, though this was hard because the felt soaked up the resin, and it was difficult to precisely remember where I already applied resin.
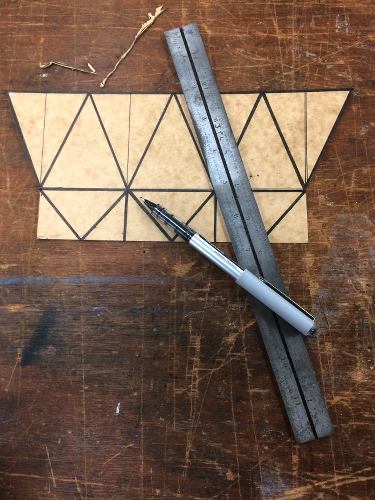
My template for the origami cup design
Once the layers of linen and felt were ready to go, I placed them in a sandwich of the release fabric and cotton batting (to allow for air to exit the vaccuum bag). I sealed the entire assembly in a vaccuum sealed bag, the kind people use to store their off-season clothing. The seal, despite my repeated checking, didn't seem to be that strong, maybe because the bags were so big, and my objects were small and flat, so I sandwiched them between two OSB boards and C clamps. With that, I retreated from the lab and let the resin cure.
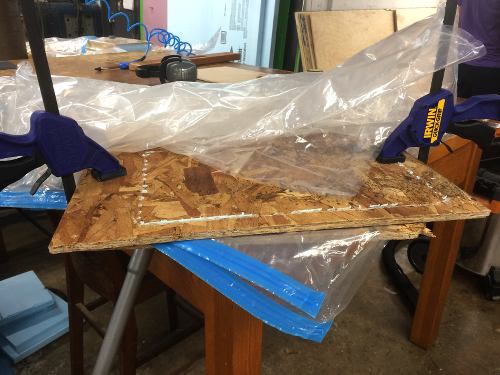
My set-up for the resin to cure
And they came out wonderfully the next morning! The coasters are sturdy but not too crisp, and easily serve their function. The hard resin feels a bit plasticky, so I may layer another piece of felt so it doesn't scratch anything. I did need to do a quick trim as some of the layers shifted in the curing process. The origami idea also came out great, but the resin discolors the felt and while it folds wonderfully, it doesn't look quite as good!
After removing the clamps and vaccuum bags
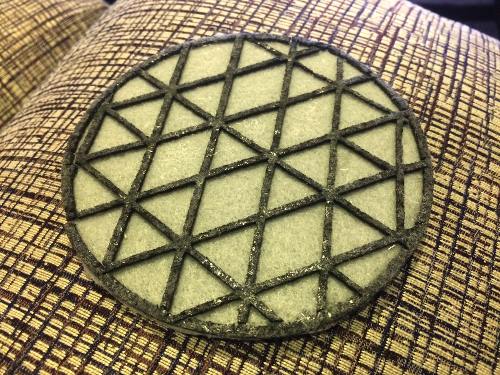
The finished coaster after trimming the linen
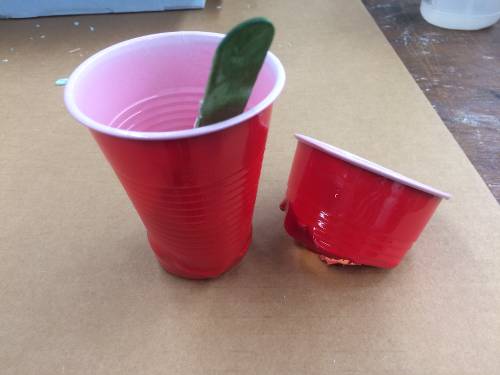
A word of warning - I didn't realize that I had too much of the leftover resin left in the plastic cup, so the chemical reaction gradually melted the cup down. I did watch it carefully so no harm was done, but I should have poured the leftovers into multiple cups or something to spread out the concentration. Oops! Lesson learned.