Project 08 -- Molding and Casting
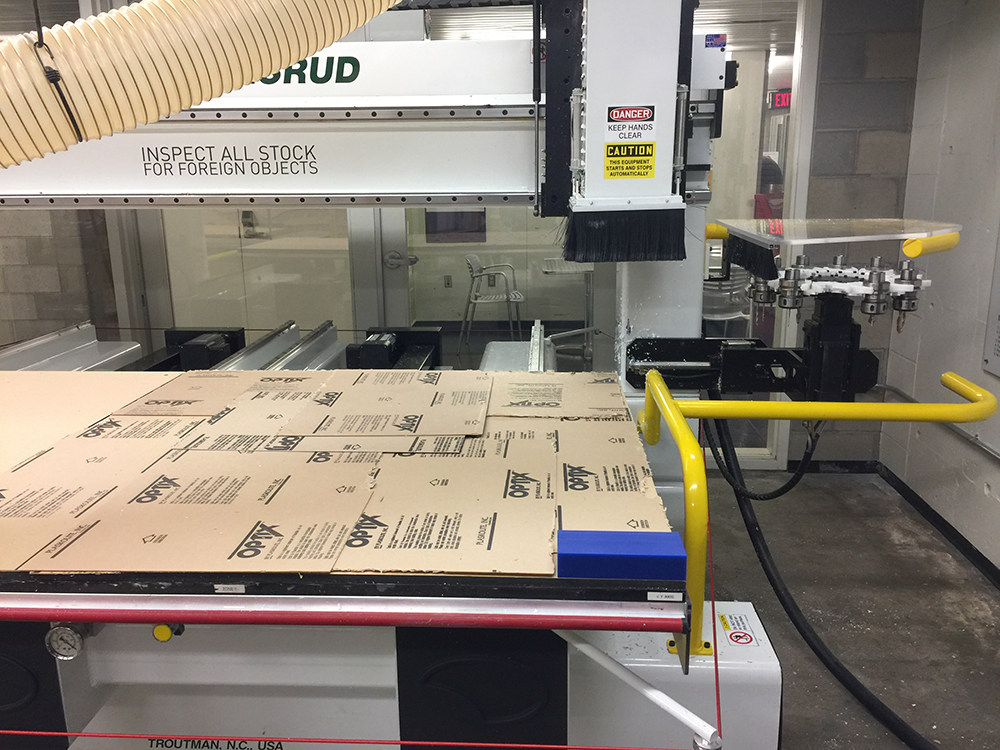
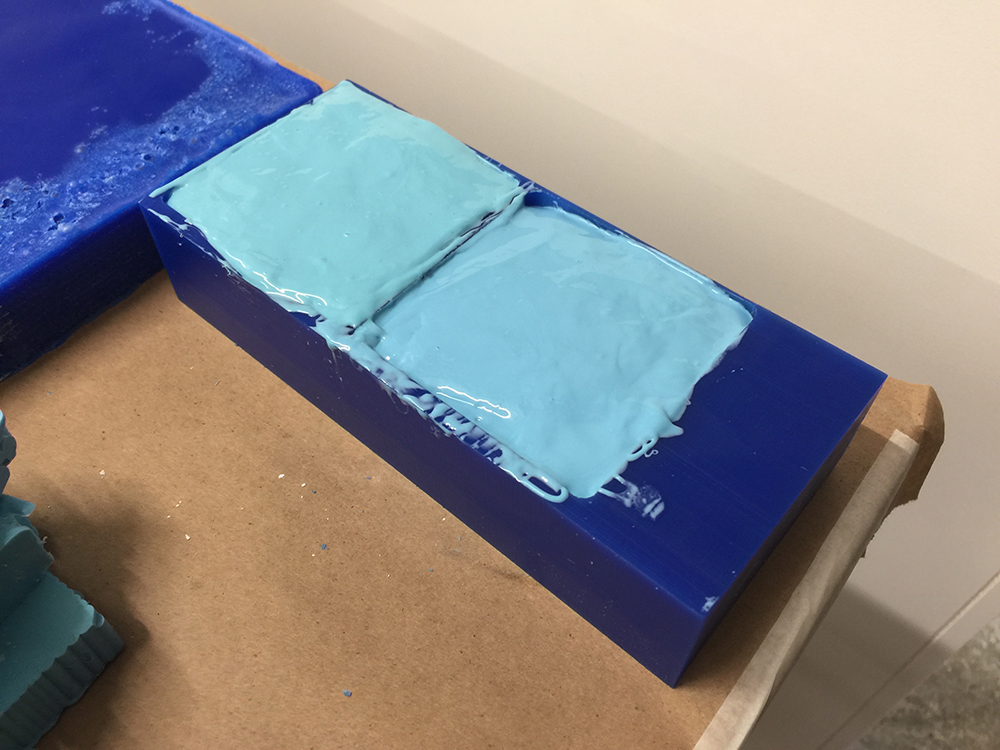
This week's assignment required that we CNC fabricate a positive mold and cast an Oomoo Silicone Negative mold from it so we can cast a positive from it. Being that it's Halloween I decided to fabricate a Skull. I'm much more comfortable using larger equipment, so this week I chose to code the project in MasterCam and fabricate it on the Onsrud instead of fabricating it on a desktop shotbot. I know the precision of the Onsrud machine better and this let me run High-Speed toolpaths over traditional (old-school) milling.
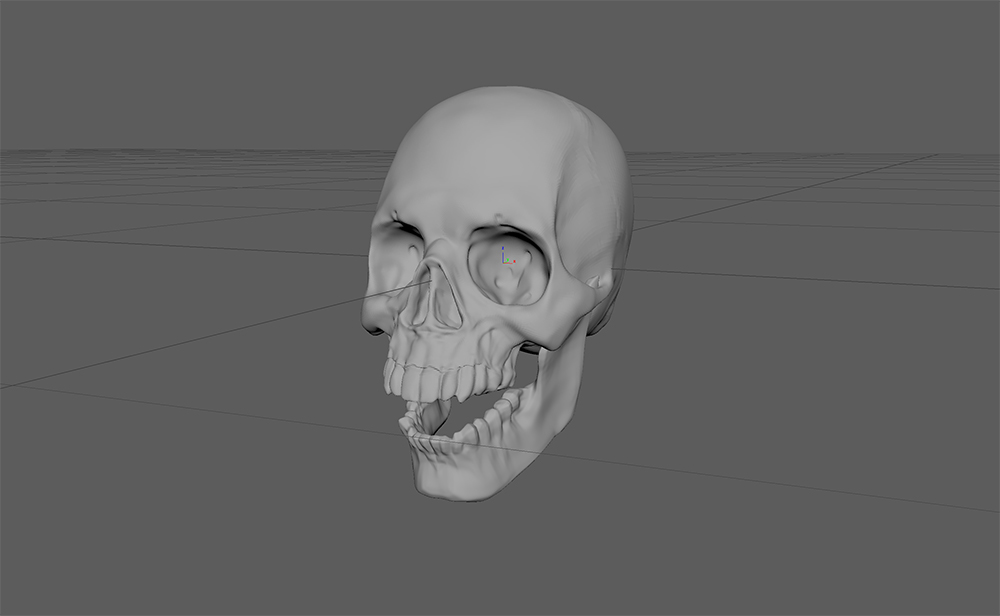
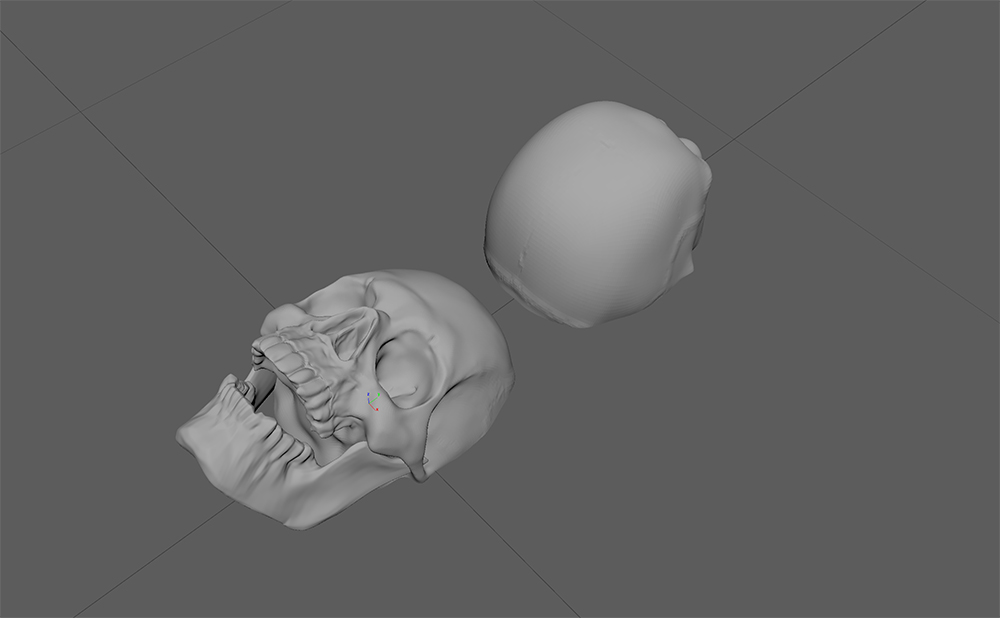
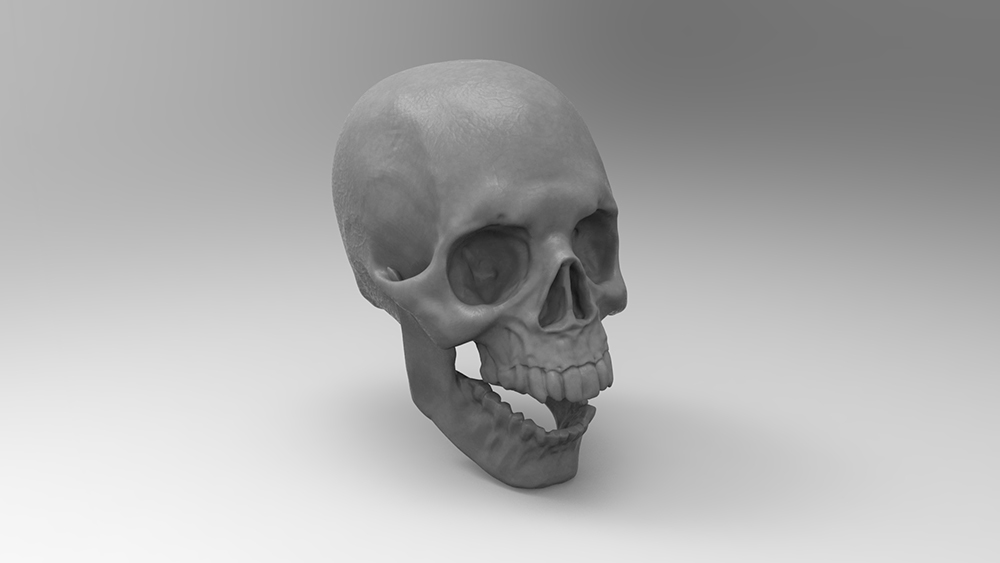
I grabbed a generic Skull model off the internet and rebuilt the mesh in Maya to have a higher resolution, so we'd be able to see some of that detail.
I used Maya to split the mesh because for some reason mesh modeling in Rhino is painful, but relatively easy to do in Maya.
I then layed out the parts in Rhino, scaled them properly, and added keys for bookmatching the molds.
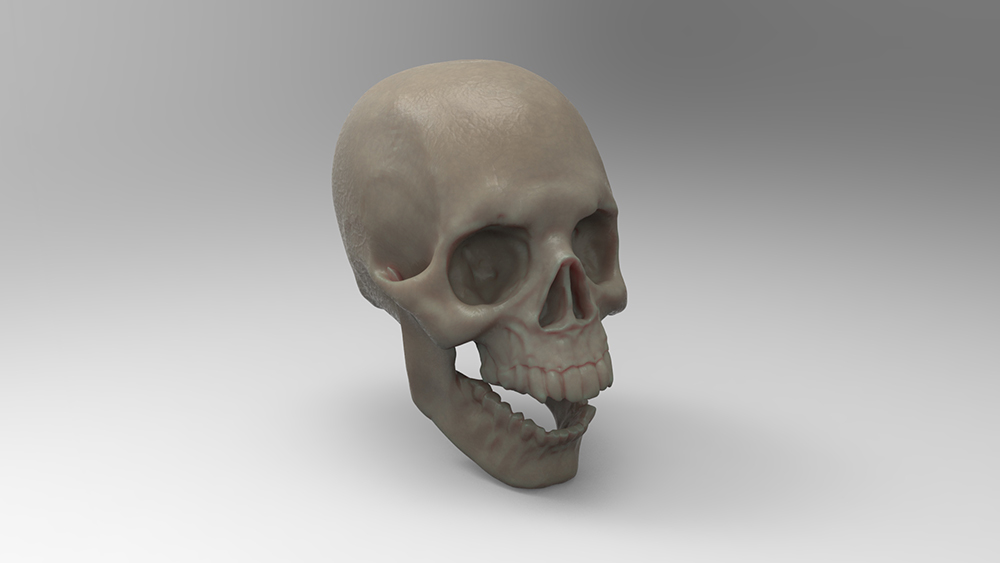
Rendering of the Skull. I like creating renderings so I can get a sense of how the forms will look in reality. It's important to note here, I'm aware I can't get undercuts with this method, but I'm ok with that. The finished product will be a faithful representation with limitations. 3D Printing here might be useful, but I can't turn down an opportunity to do some insanely detailed CNC work.
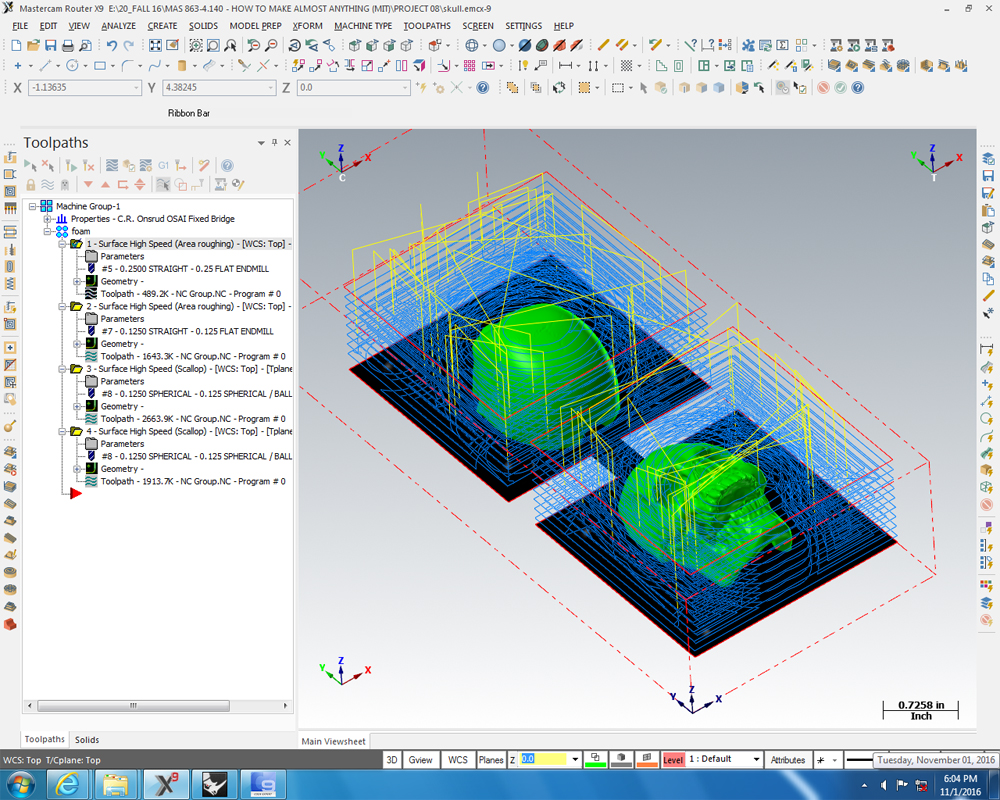
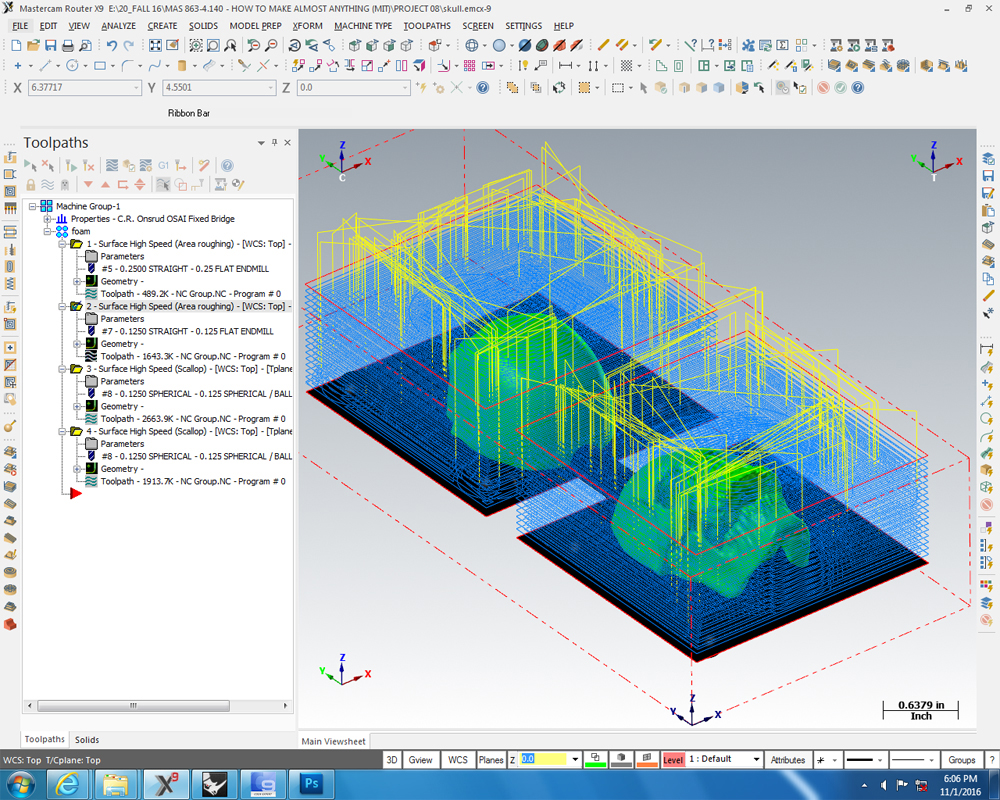
High-speed Roughing pass in MasterCam. This is a 0.25" flat end-mill with a 0.125" stepdown and a 45% stepover. Helical entries and ramping transitions. I couldn't really find much information on machinist wax, so I programmed high IPM, then used the controller to dial back to a good cutting speed. With these machines you can always program high and then slow it down, but you can't really go the other way. This is one of my favorite softwares to use because you can be very particular about what you want to do, and it automates a lot of the work behind figuring it out. Love this software.
I created a backup High-speed Roughing pass just in case the 0.25" roughing was too agressive for the 0.125" finishing bit. High speed milling allows you to create a toolpath and then keep working while it figures it out. This feature is called Multi-threading, and it's amazing. It lets you try out combinations of things and find the right series of operations that you like.
Finishing pass - 0.125" Ball End-Mill with 0.02" stepover. I again used a High-speed Scallop pass because of the control you can get with the high-speed tooling.
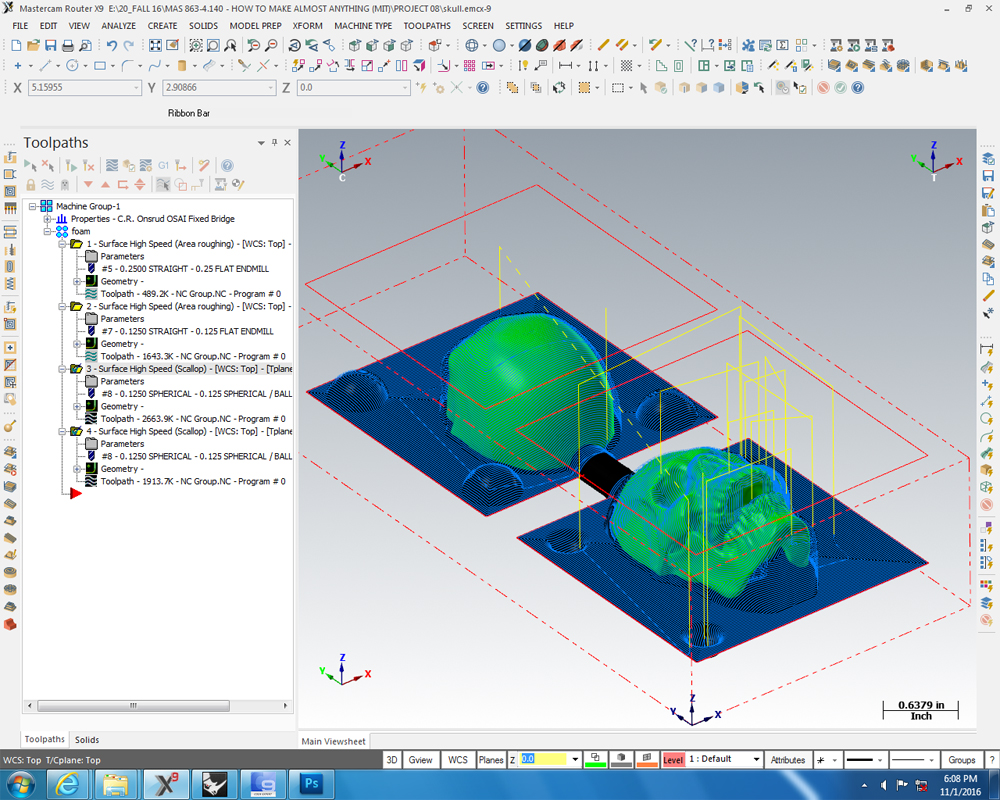
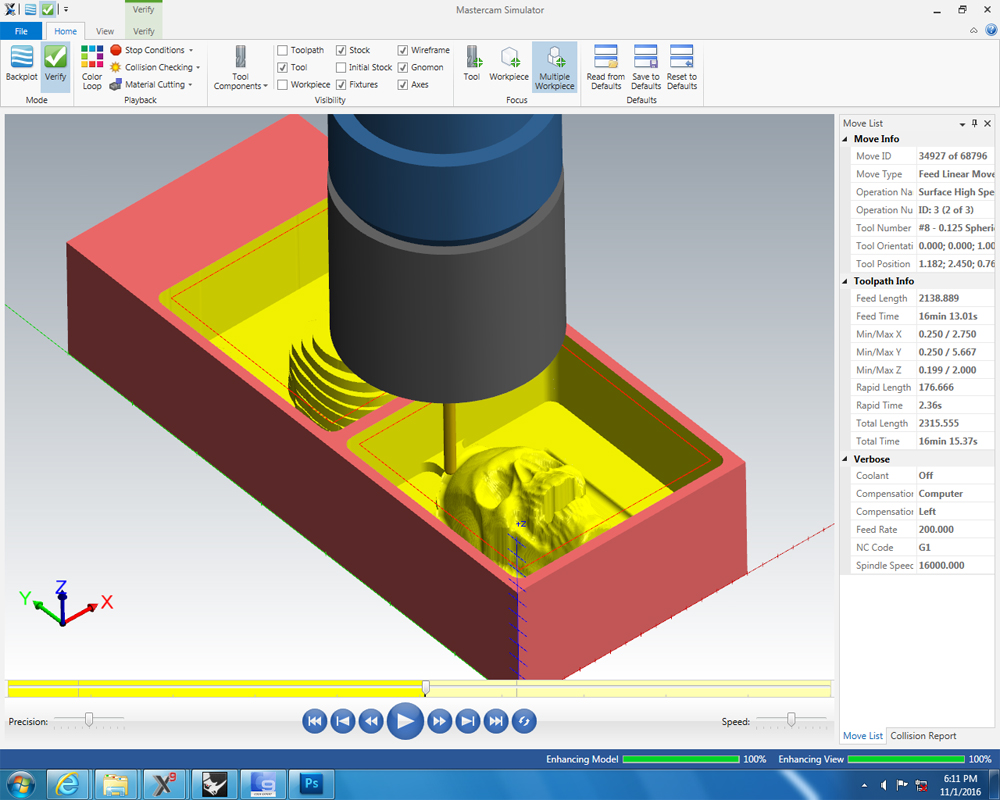
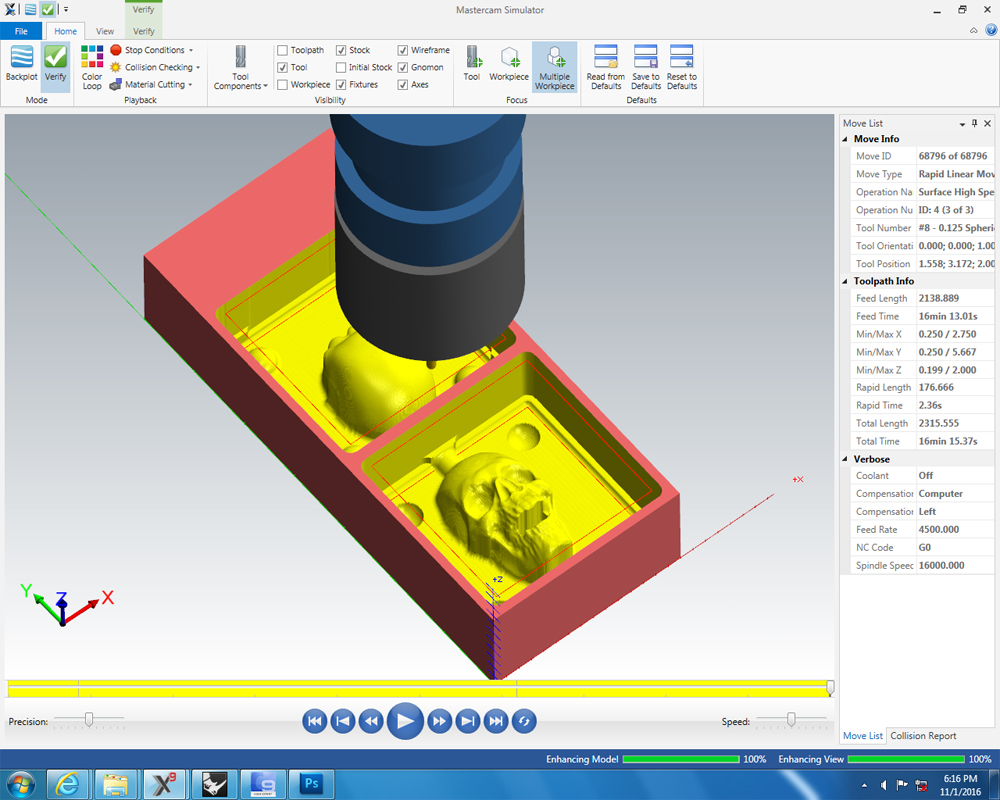
Always simulate your cuts. I can't tell you how many times this has saved me.
Finished Simulation. Green to run!
GCode for the Onsrud 3Axis. Language: GCode
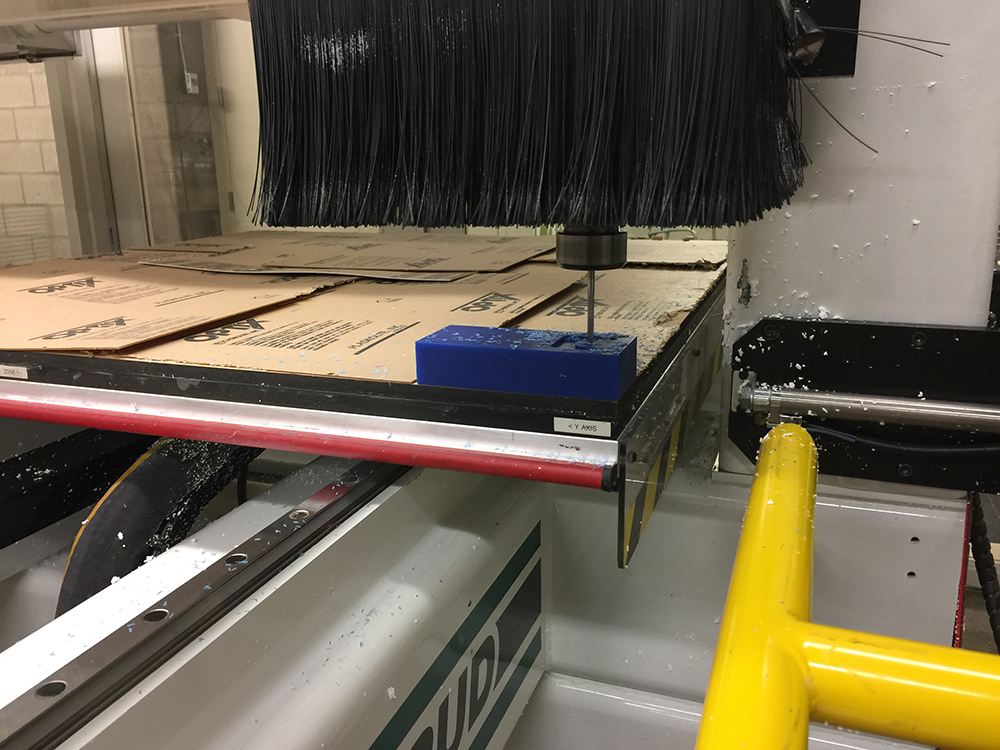
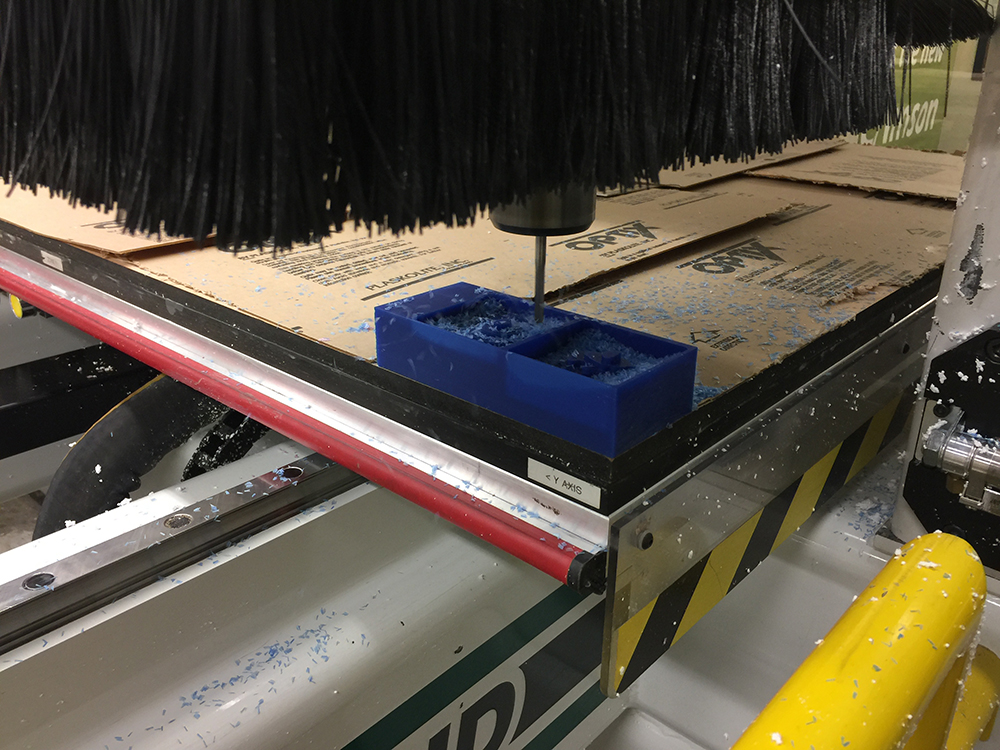
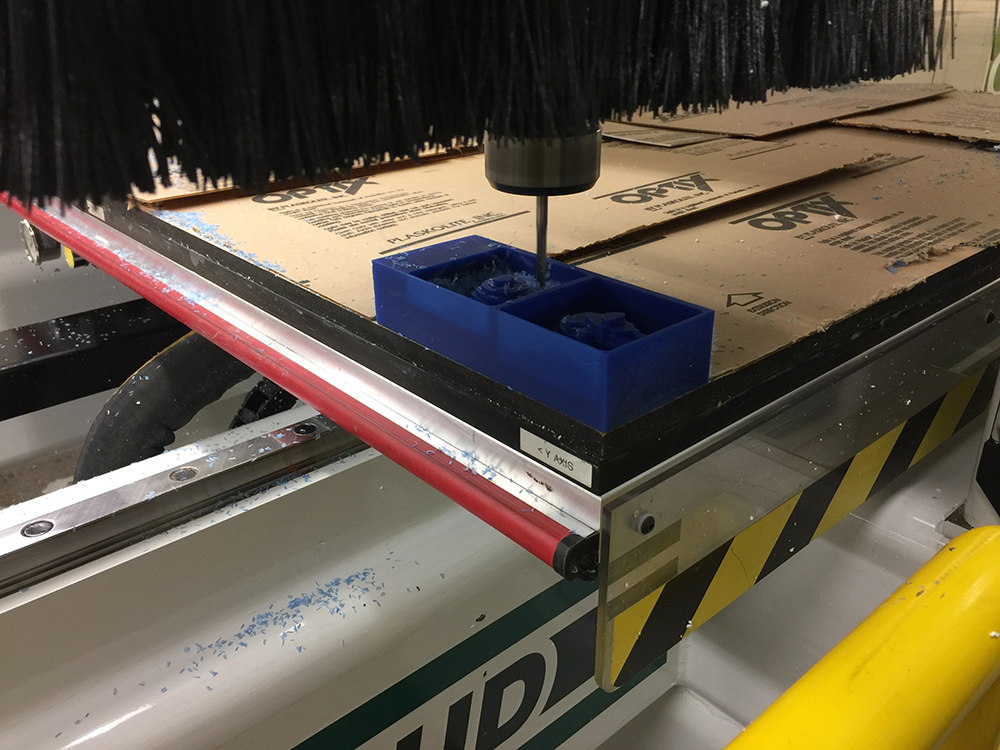
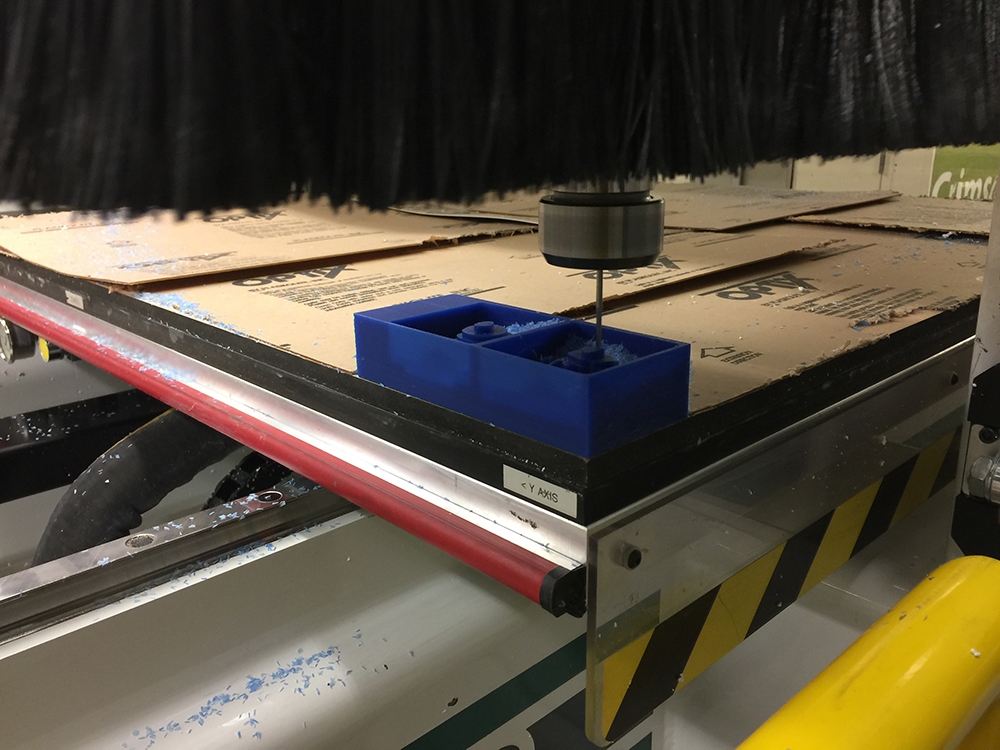
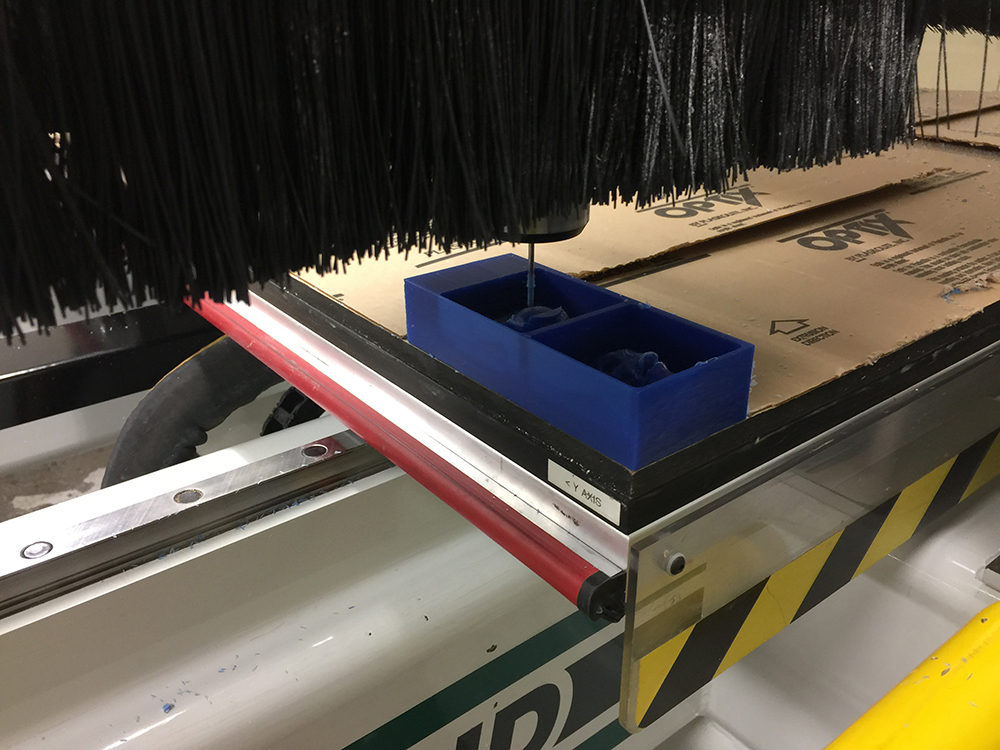
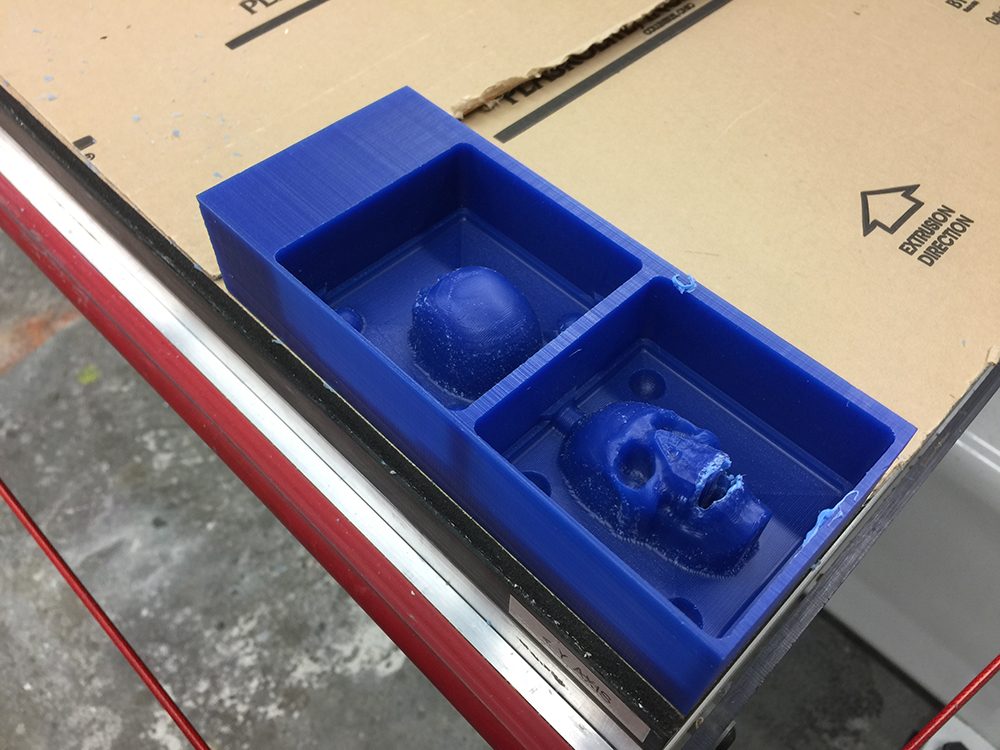
I couldn't really use the vacuum table because typically you need at least 1 sqft of material to get any real vacuum hold-down, so I used some double-stick tape. This proved to be SUPER effective. I actually broke one of the walls on my mold trying to pry it off the table.... Nothing a little tape can't fix though.
Glamour Shot. More to come.....