
This week, we learned about laser cutters and vinyl cutters, two machine I had used in the past, but had never really analyzed in much detail. I had previously prepared files to laser cut only in Rhino or Illustrator, so having to use a parametric CAD software instead was both intriguing and challenging. I chose to work in OnShape because I had used it in Week One and am also using it in a class I’m TA’ing, and I wanted to get more comfortable with the flow of using it, as my Rhino habits were definitely slowing me down during my first attempt.
I knew I wanted to find a way to work vinyl cutting into the same project as the laser cutting, because my laptop was already pretty full with stickers I cut this past summer and I wanted to try a different material. I had been meaning to make a laser cut lantern for a while, so I decided to use this opportunity to test out some ideas and integrate vinyl cutting as a way to add different colors and patterns.
While not exactly a construction kit in a traditional sense like Legos or K’nex, my project does use a modular system that can be easily modified to make different patterns, colors, and sizes of lanterns. I also designed the pieces in such a way that there are only two distinct structural forms, a side piece, and a top and bottom piece, but the side pieces can be easily manipulated in 2D to add different patterns or change the height, and they are also double stacked to allow colored filters to be slipped into the sides.
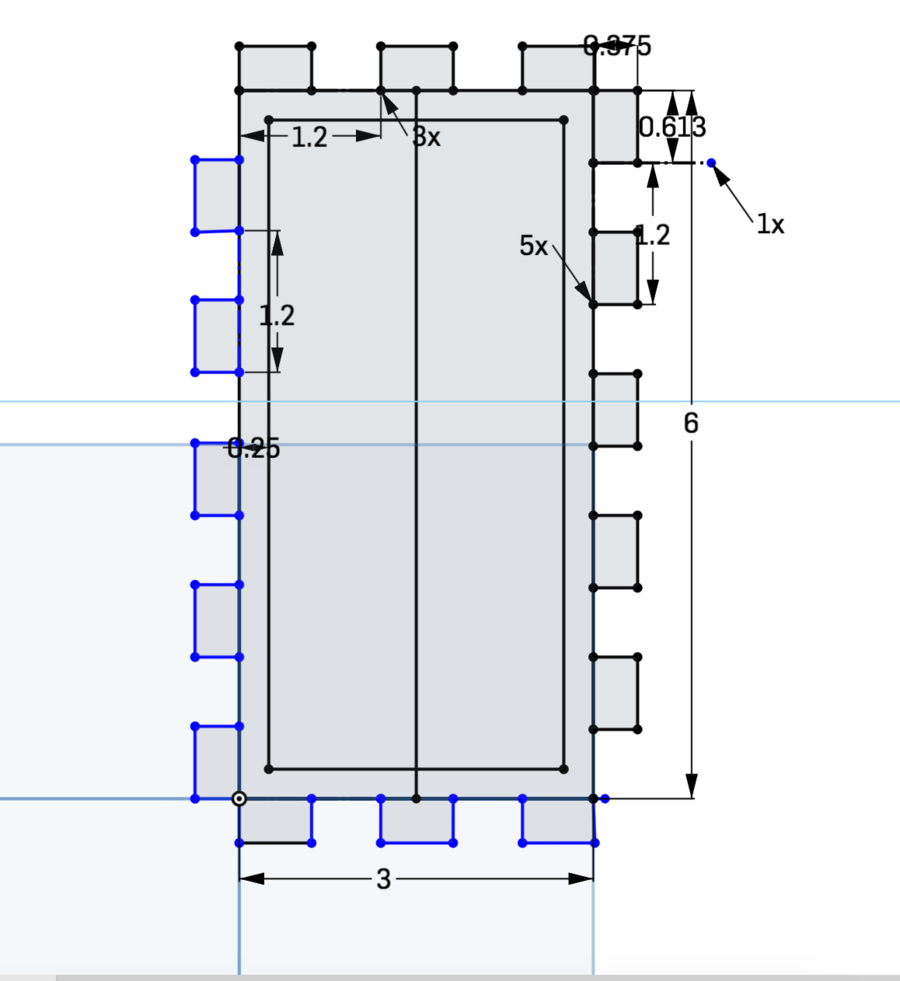
I began by modeling the side piece, taking care to use a single size of repeated tabs and dimension them to allow me to modify the size of the tab later after determining the kerf of the laser. I mirrored the tabs from the right side to the left to maintain size and spacing, but offset them so that the piece would be rotationally symmetrical and fit into an identical piece. I made the top and bottom tabs identical so that the top and bottoms would be interchangeable.

I then extruded the piece to a specific thickness that I could later modify, and used a boolean command with offset to create corresponding holes in the top and bottom pieces. I also double each of the sides to ensure big enough holes to fit two pieces of cardboard.

Before I cut the pieces, I tested a sample finger joint to figure out how tight I wanted it to be, as it was a bit different than the joints we tested as a group. In testing, I noticed that arranging the pieces parallel to the edge of the cardboard resulted in very flimsy tabs, so I made a point of rotating the pieces 45 degrees to make them stronger.
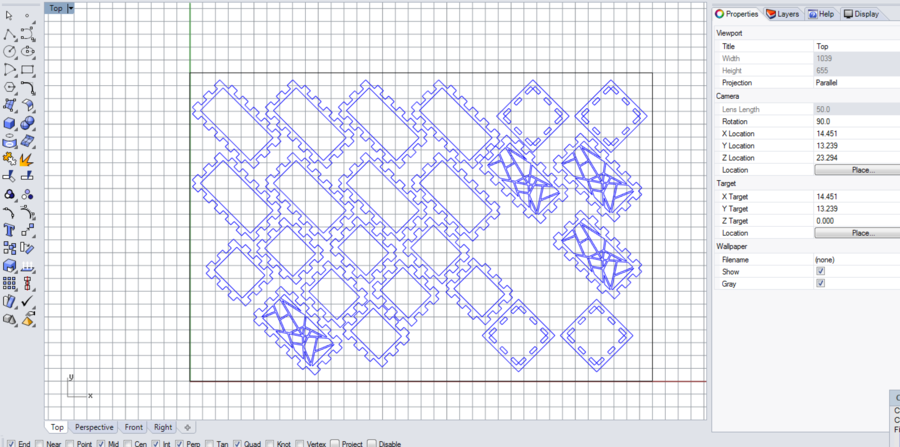

From there, I exported the top and side as 2D dwg files to bring into Rhino to cut. I modified a copy of the side piece to have a geometric cutout pattern and modified another to be shorter, then copied enough of each piece to build the lantern. Perhaps it was an accident or perhaps it was my architecture training subconsciously affecting my design, but I perfectly arranged the pieces to fit on a single piece of cardboard, even leaving room for a do-over piece after I forgot to remove a couple lines in the geometric pattern side piece.
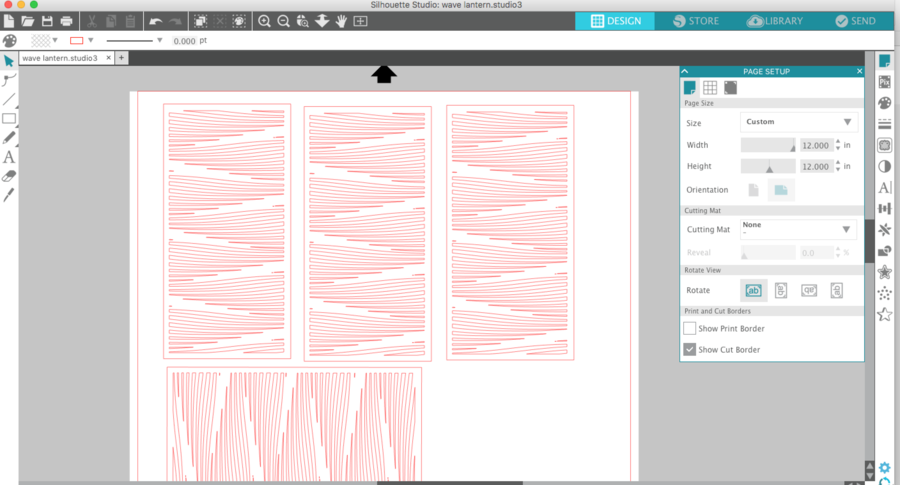
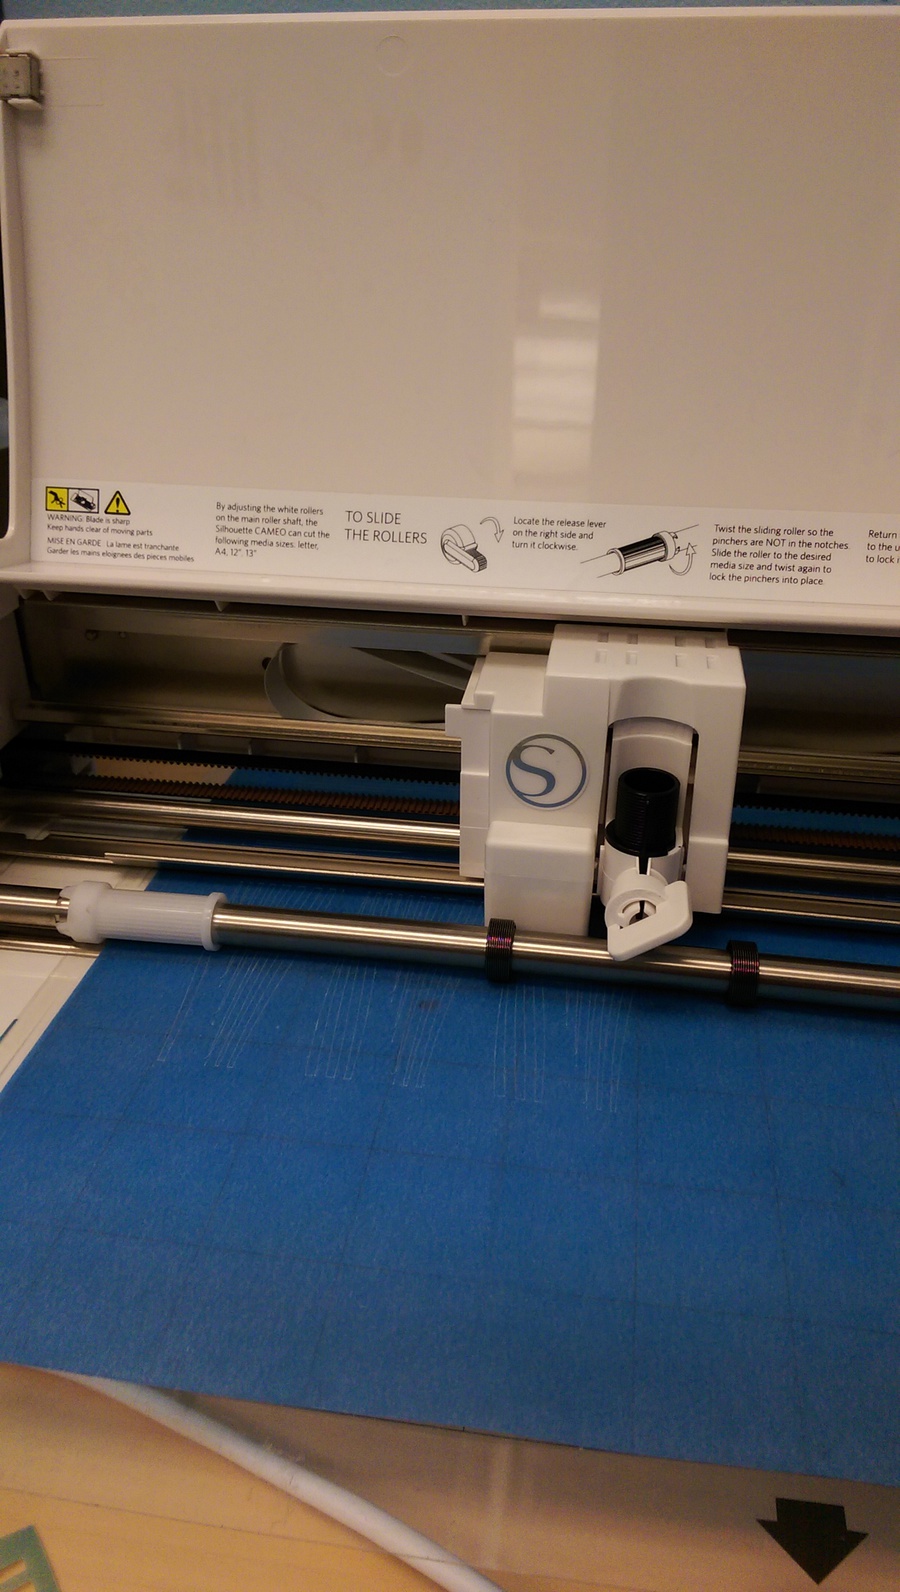
For the vinyl cut component, I wanted to create a water-like effect in the lantern, so I took two different shades of blue vellum and overlapped them. For the pattern, I found a wave pattern online and manipulated it in silhouette studio to create the effect I wanted. I then cut it out, which proved to be a bit of a trial and error process because the vellum was simultaneously somewhat difficult to cut through, but incredibly easy to rip.
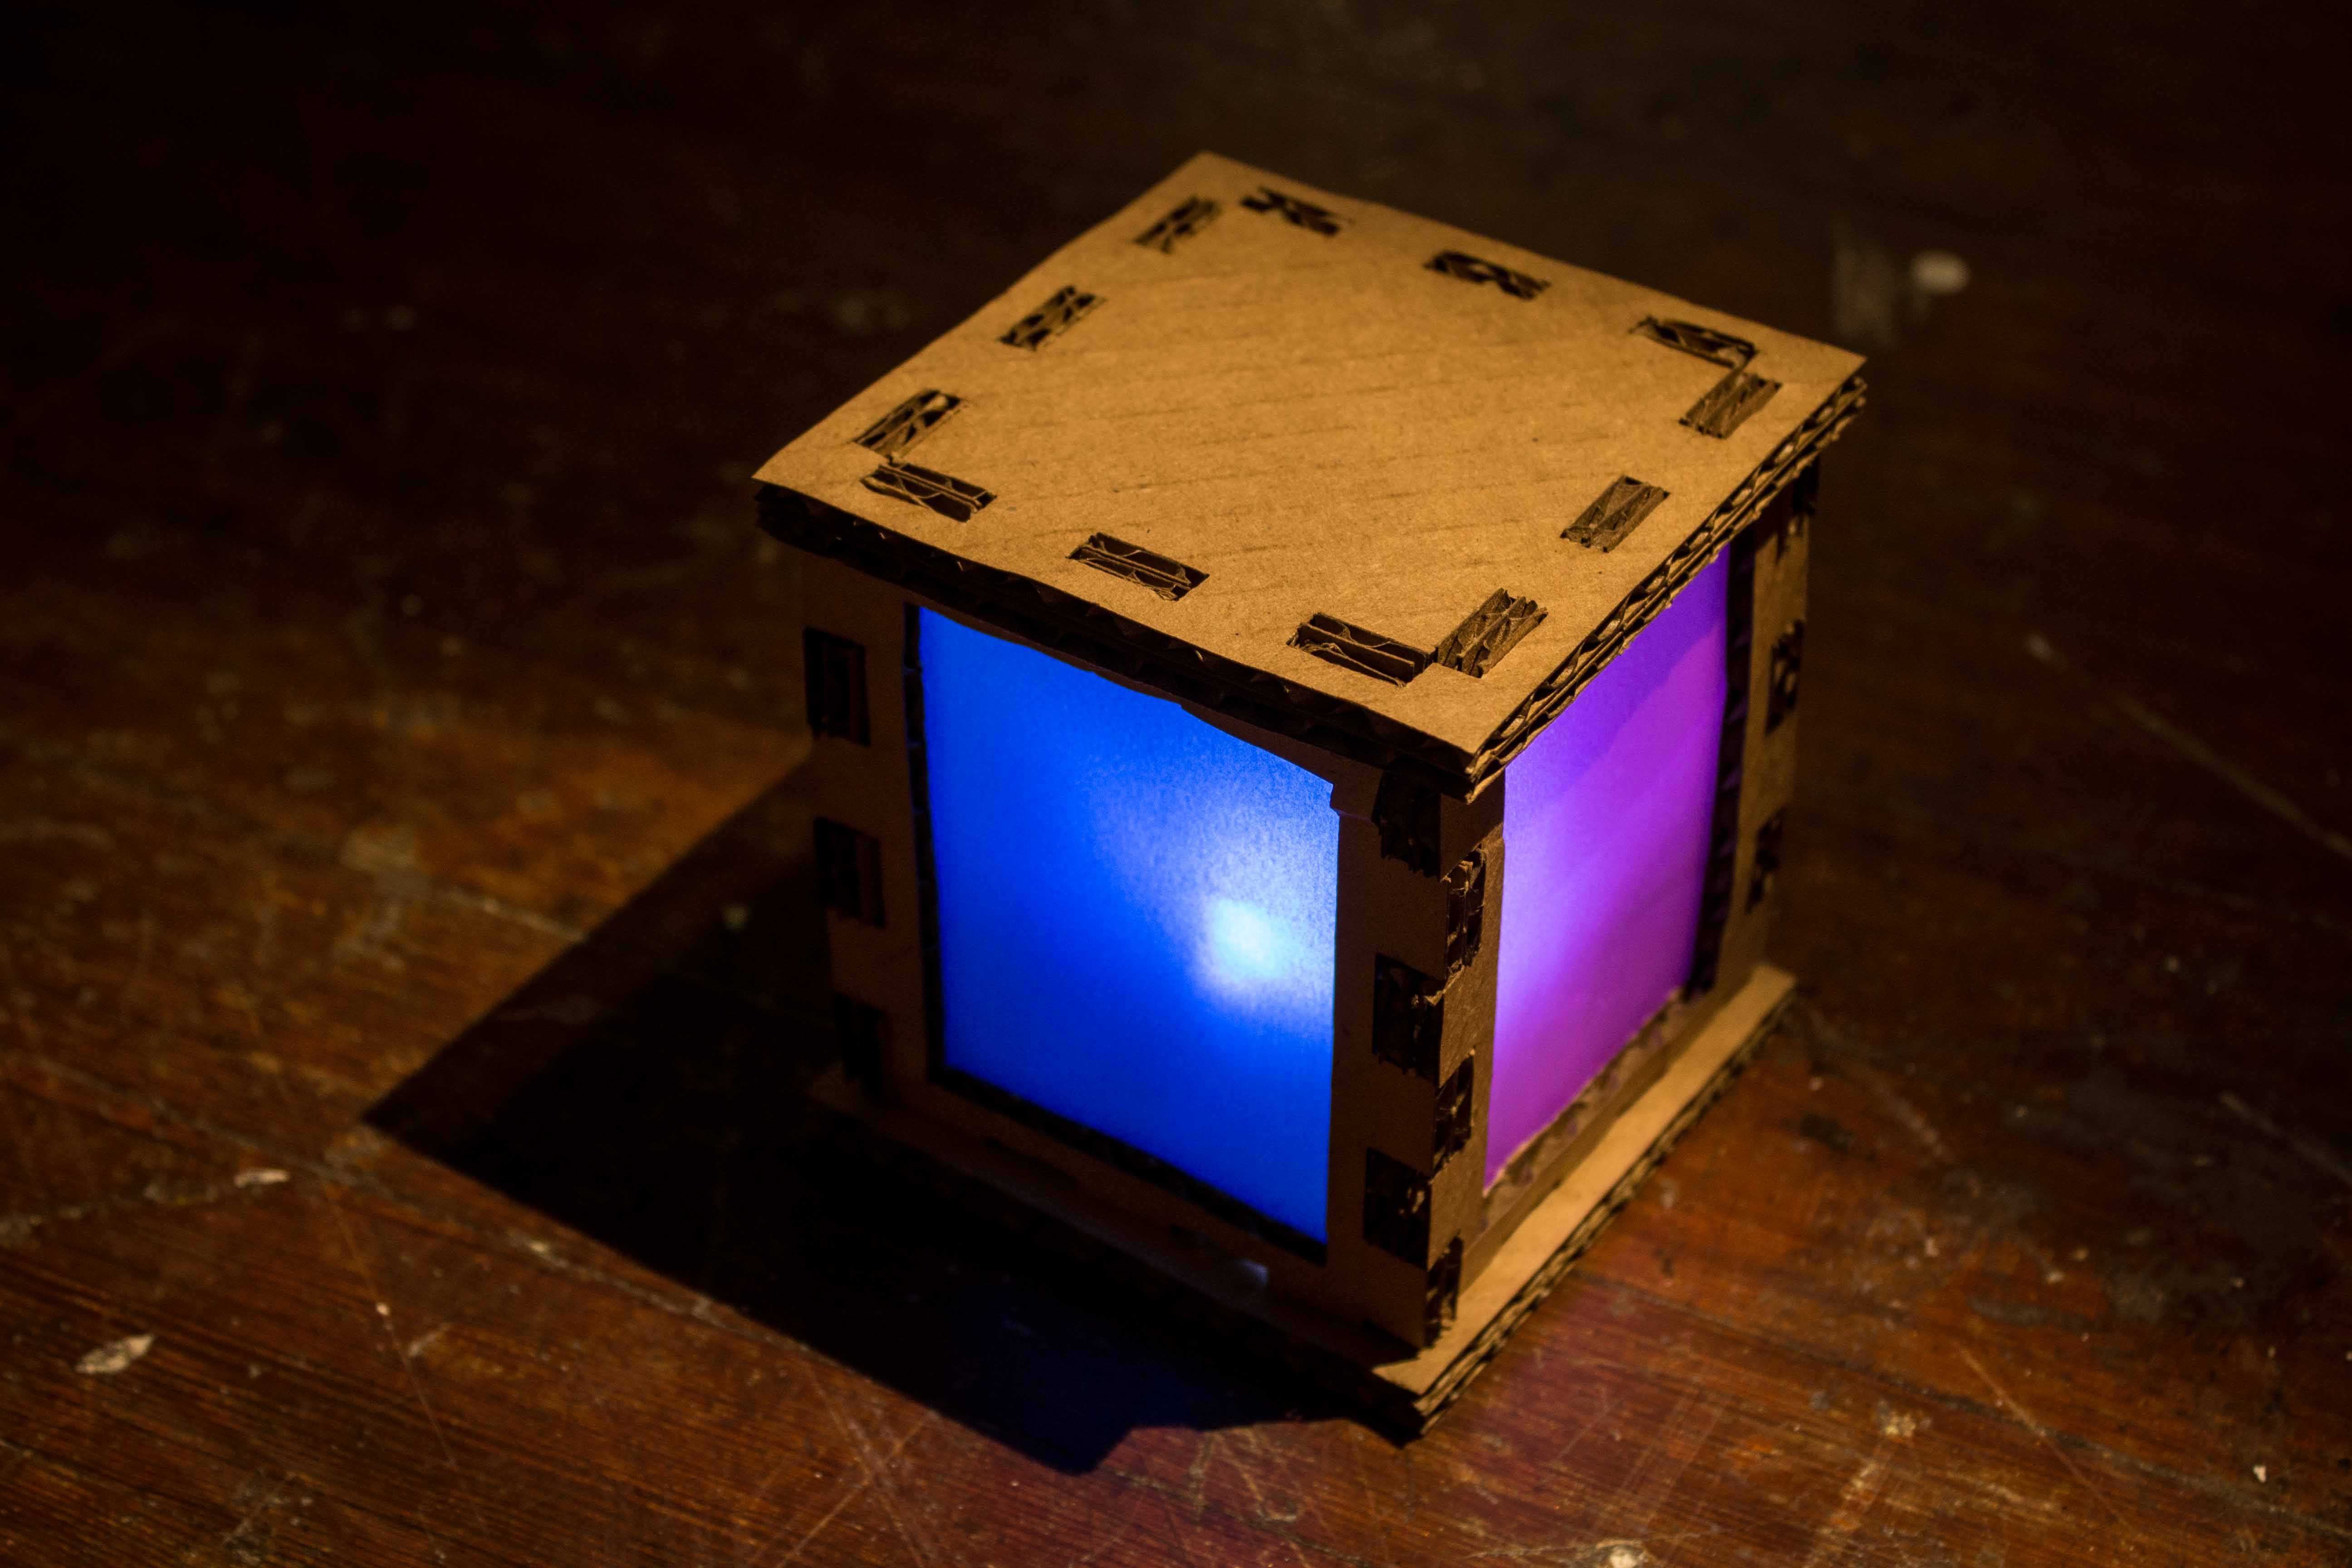
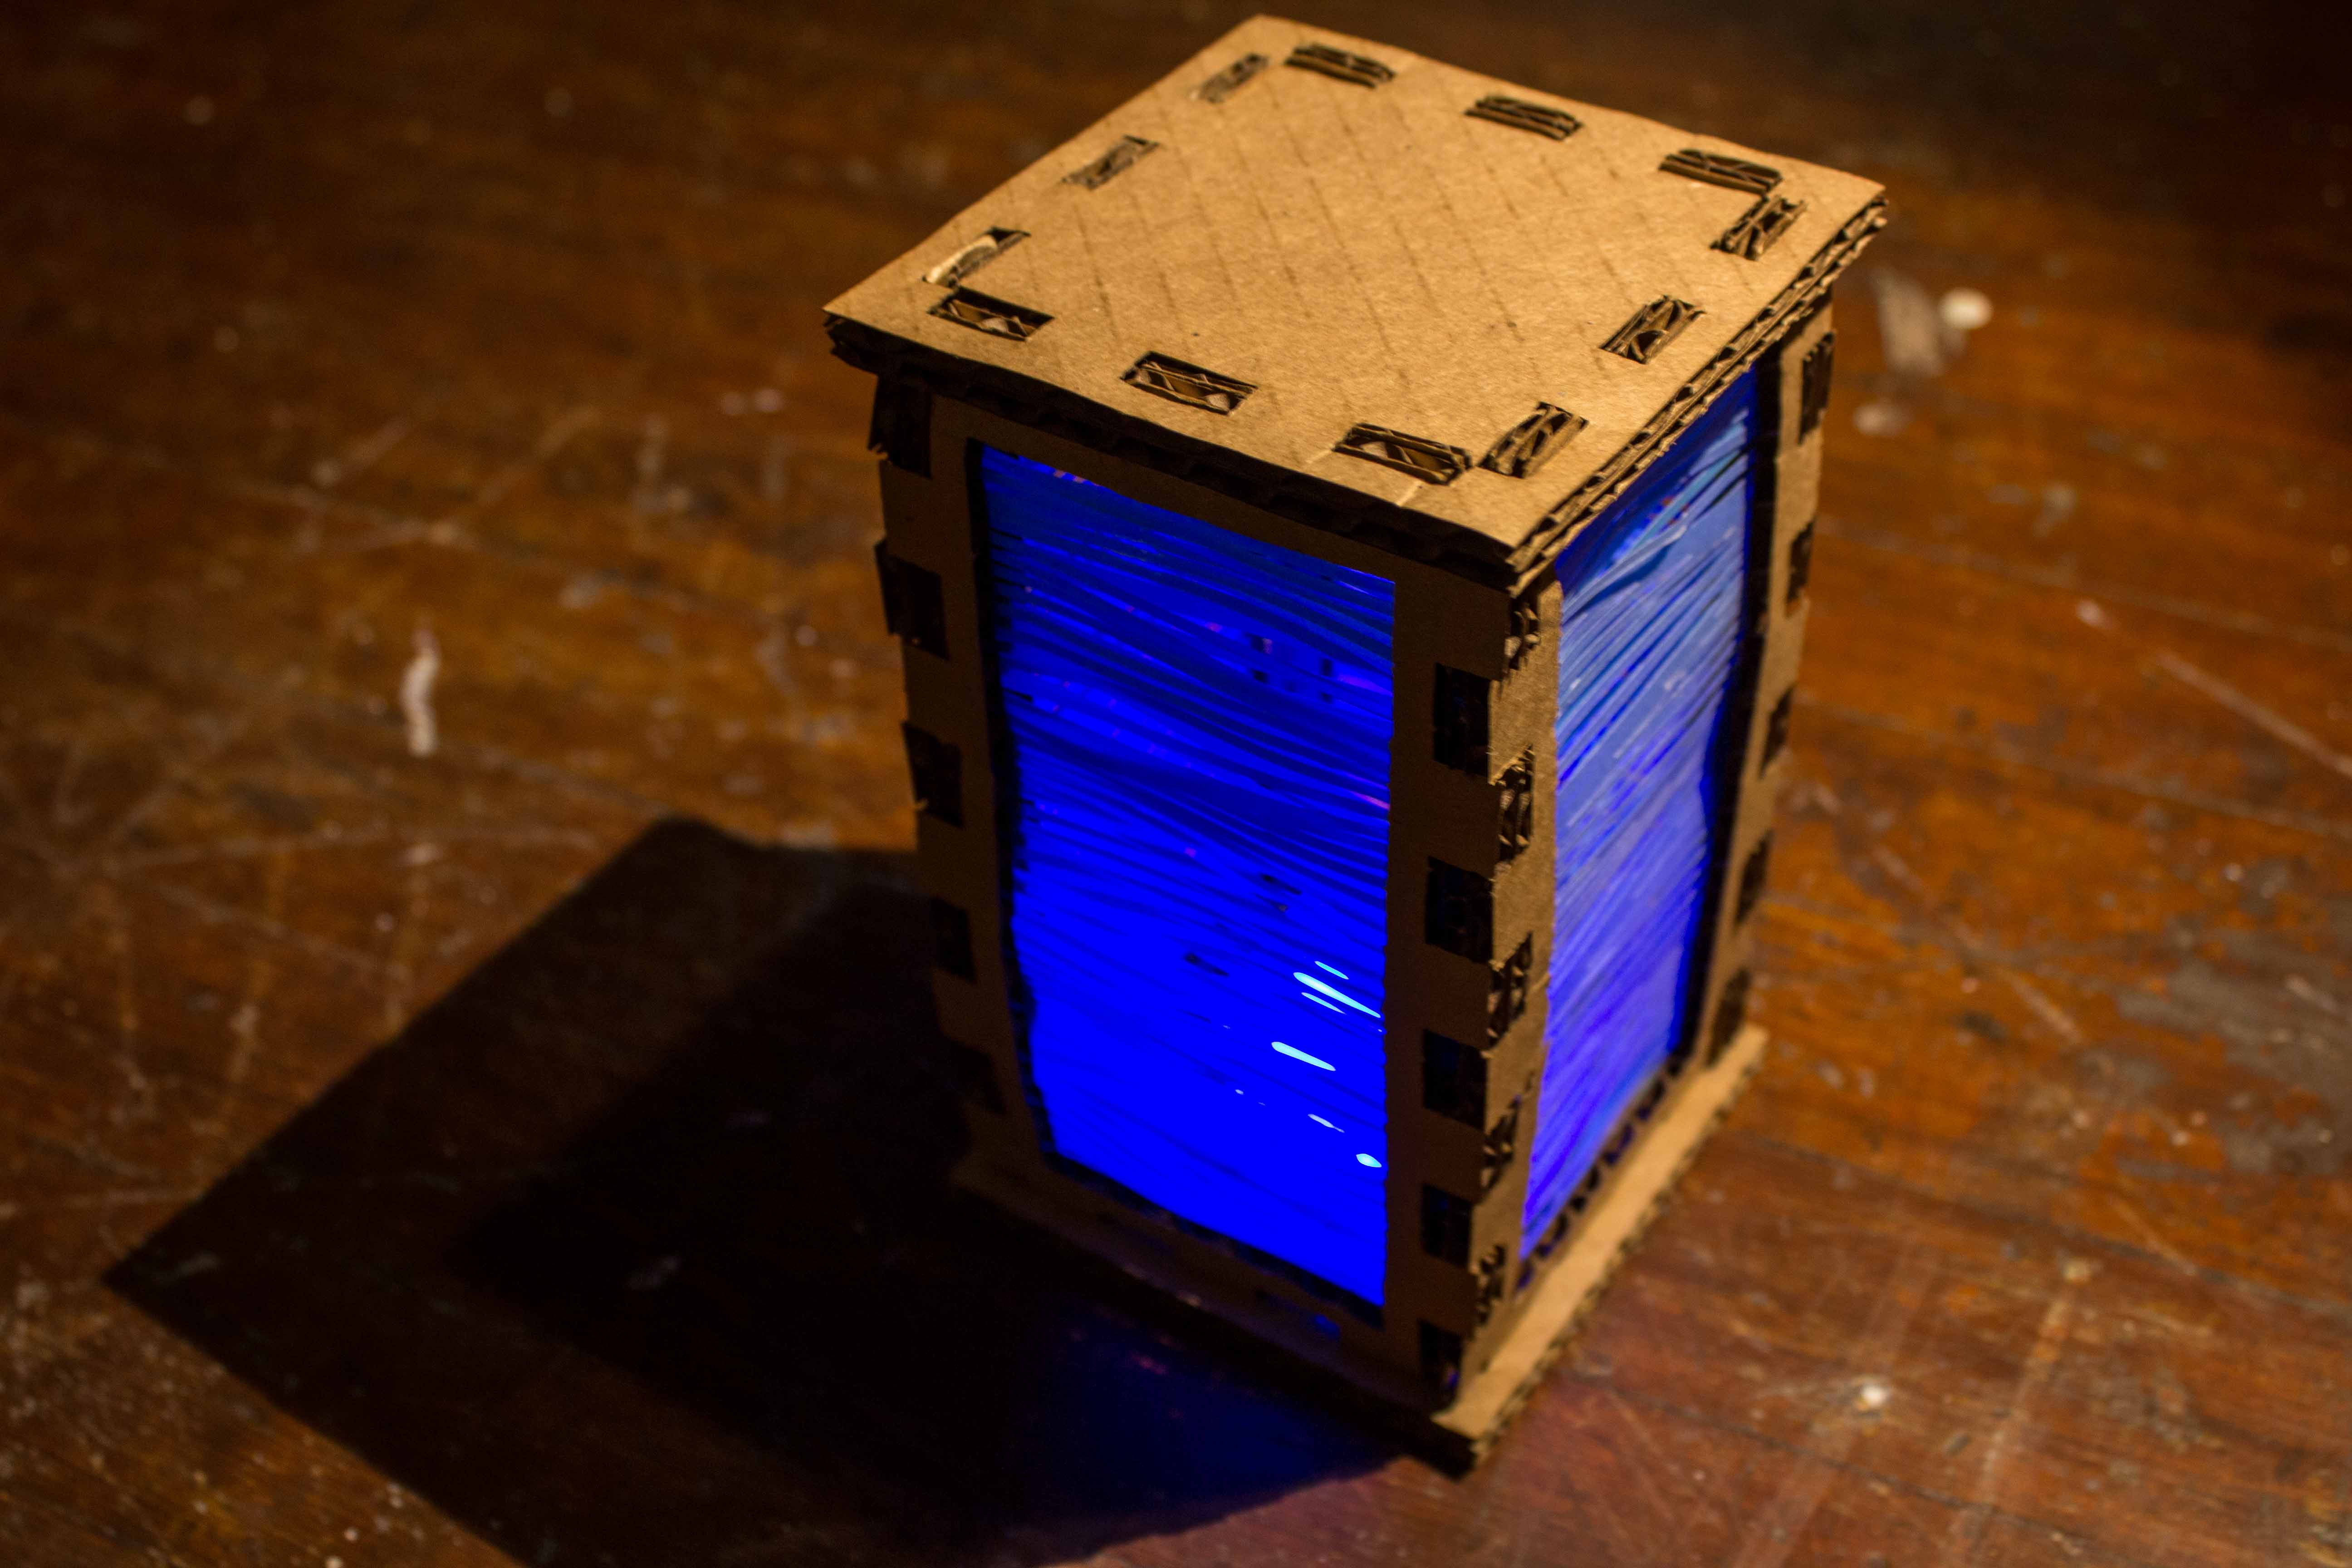
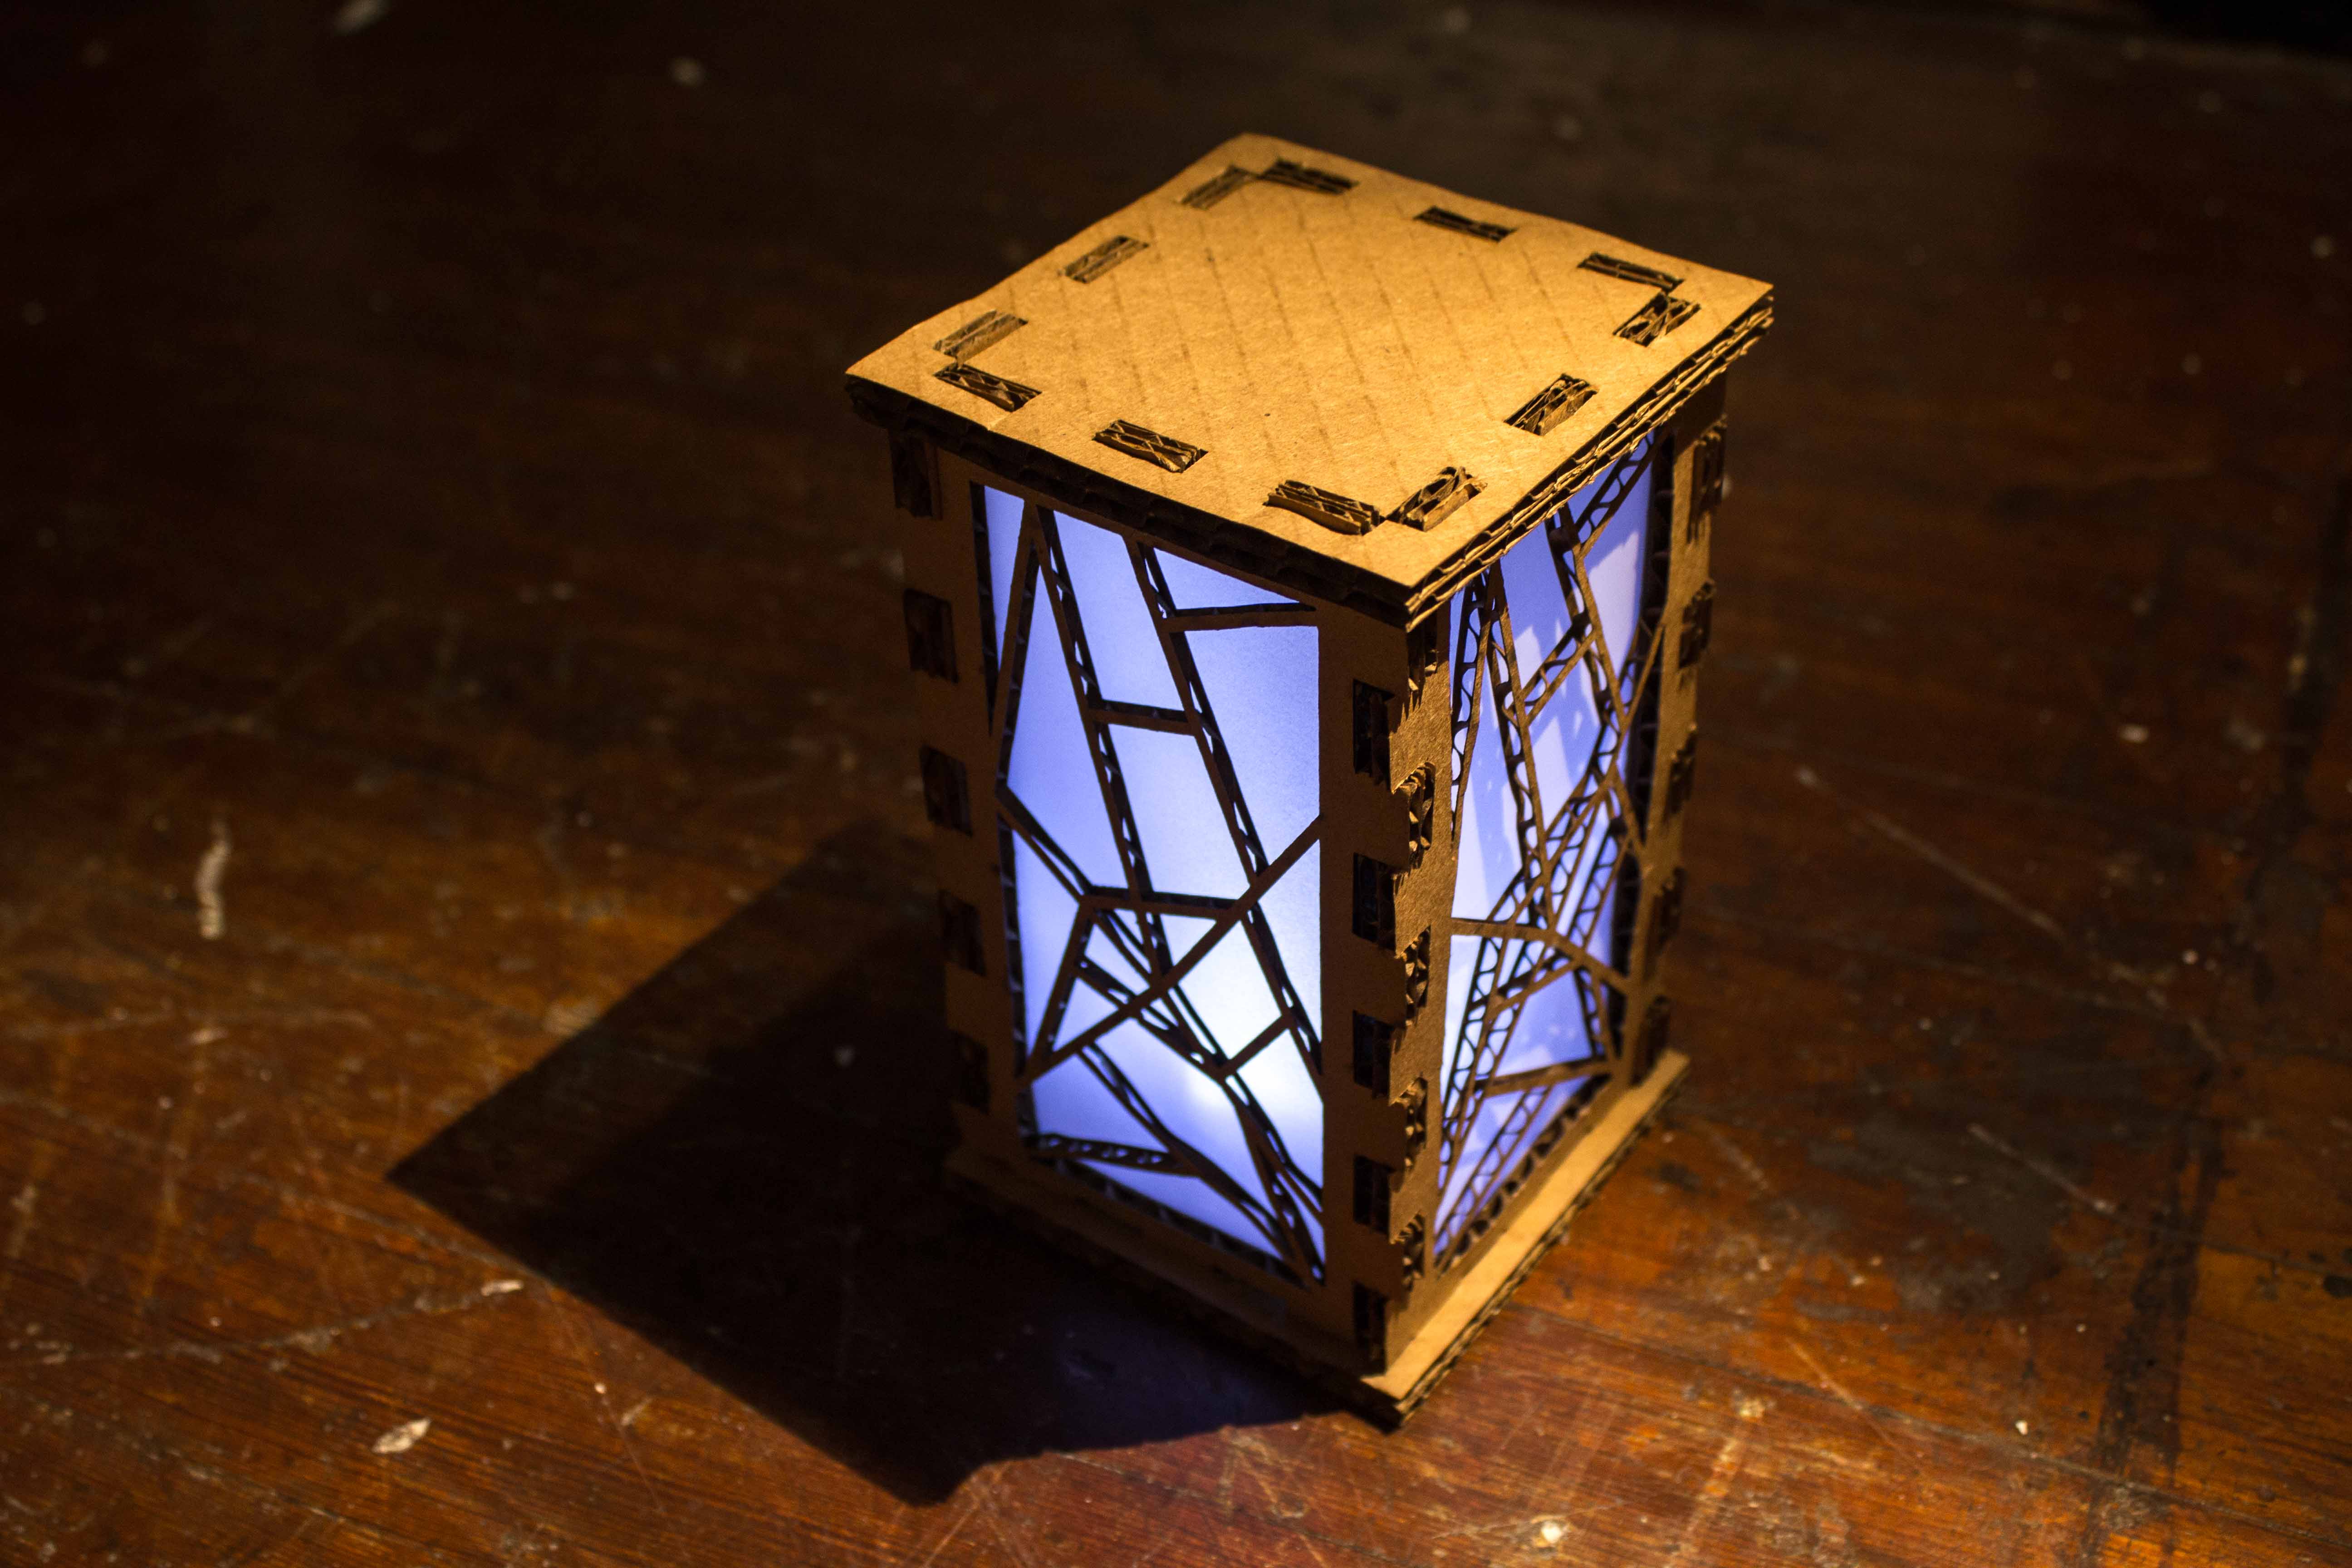
In the end, I managed to produce three lantern configurations I am reasonably happy with, and the system has the potential for a lot more iteration as well as the insertion of a nearly infinite number of vellum designs.
View OnShape file.