3D Scanning & Printing
Week 4: 3D Scanning and Printing
This week, I learned how to scan the 3D object and 3D print using different types of 3D printers.
3D Scanning
Training
 |
 |
 |
 |
 |
 |
 |
 |
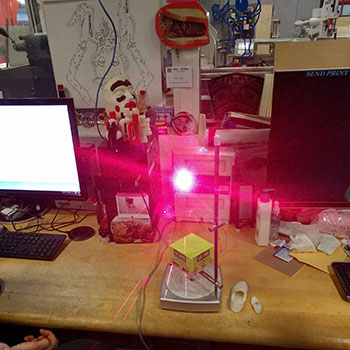 |
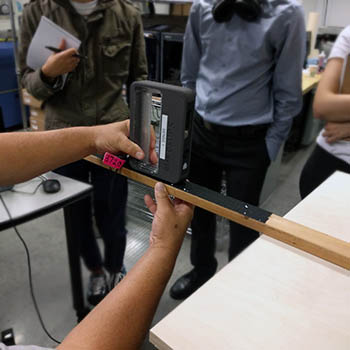
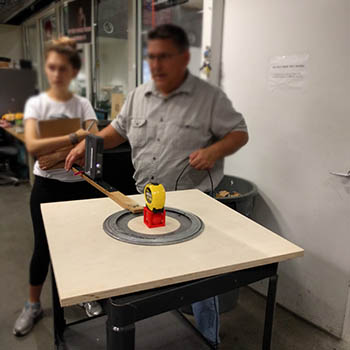
Scanning with different laser 3D scanner
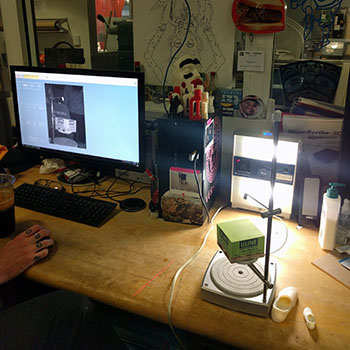
Trials
 |
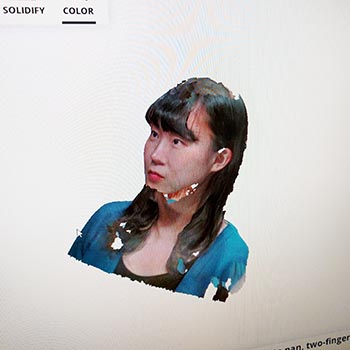 |
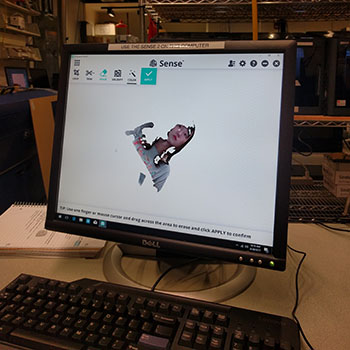
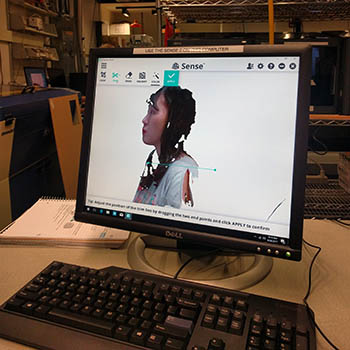
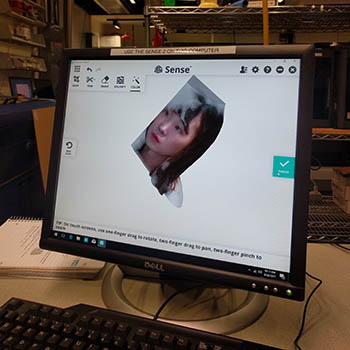
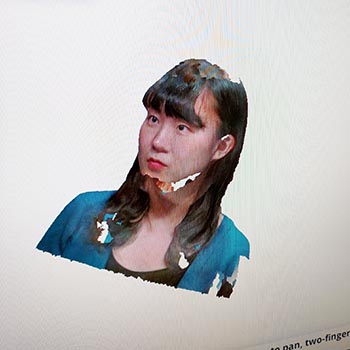
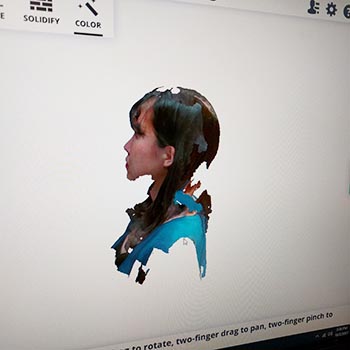
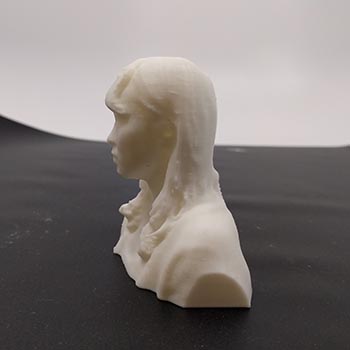
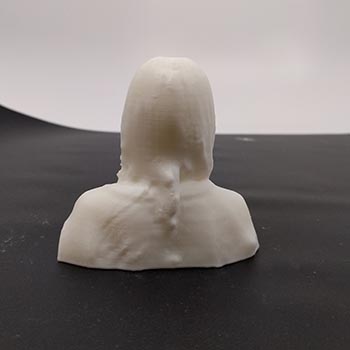
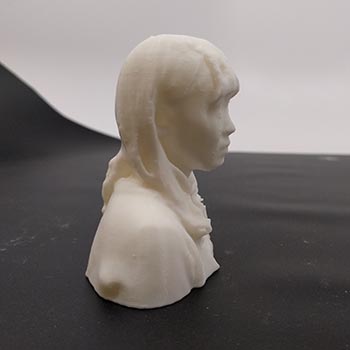
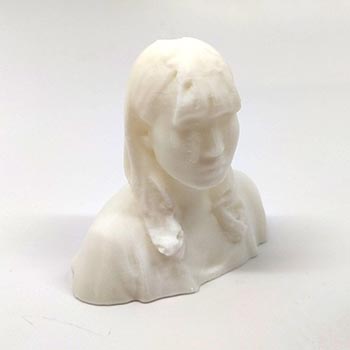
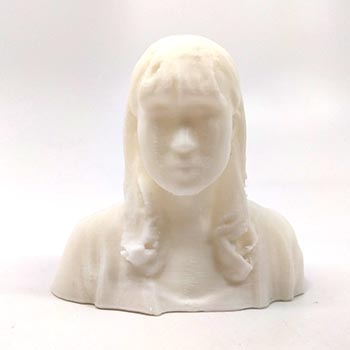
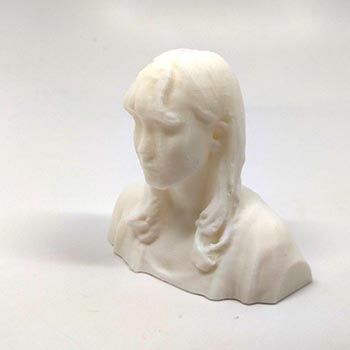
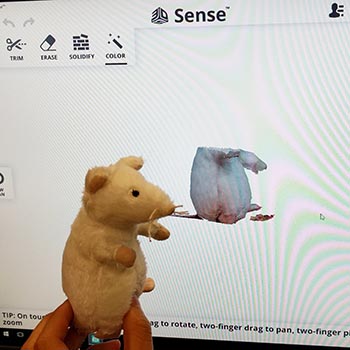
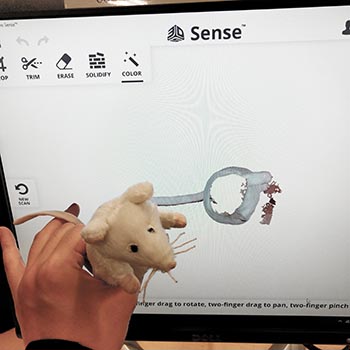
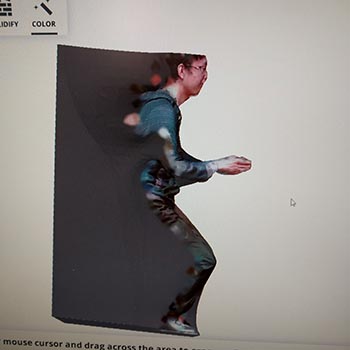
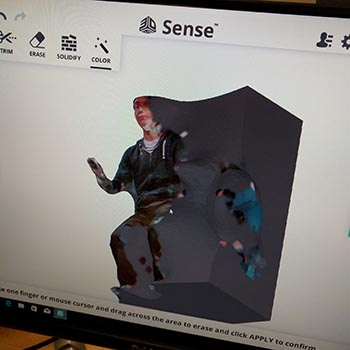
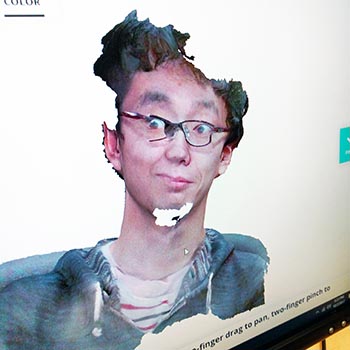
Thanks to Taka, I was able to scan my head using the Sense2 3D scanner. It was really easy and fast to use but sometimes it lost the track of the image. When it happens, I had to adjust the height and location of the 3D scanner to make the scanned image on the screen match with the real object/body.
 |
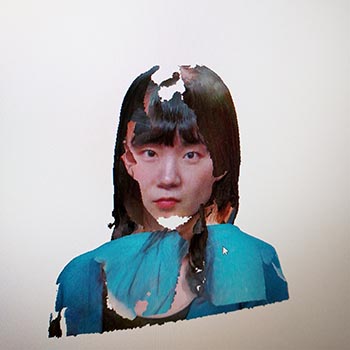 |
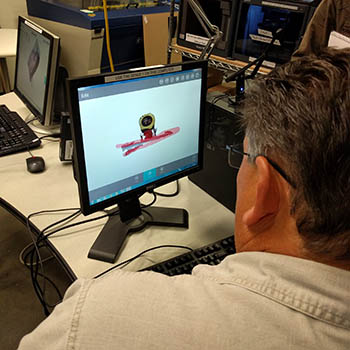
You can see and download (if you want ;) ) the 3D STL file in Thingiverse.
 |
 |
 |
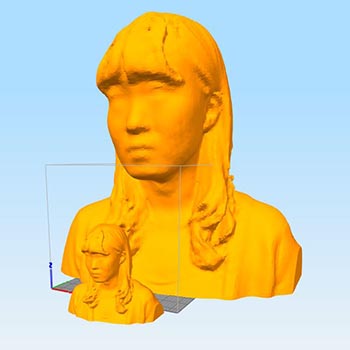 |
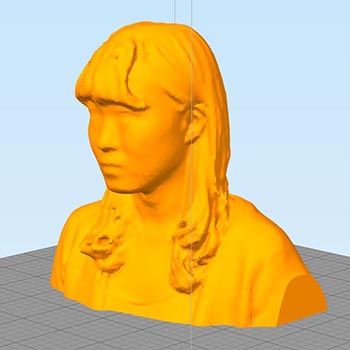
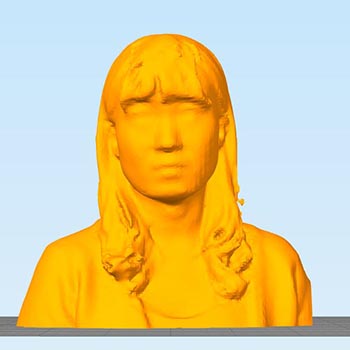
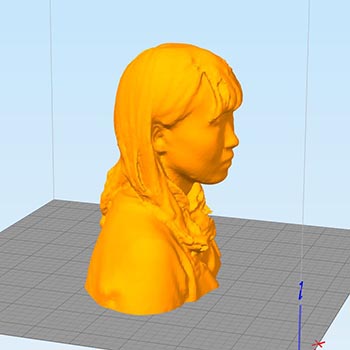
3D object in Simplify 3D (%20 Scale down)
3D Printing My Head
 |
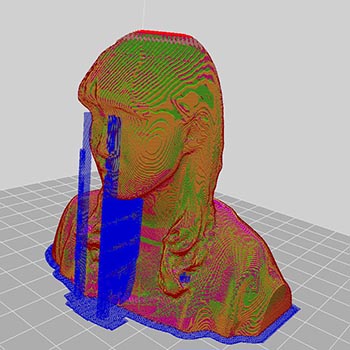 |
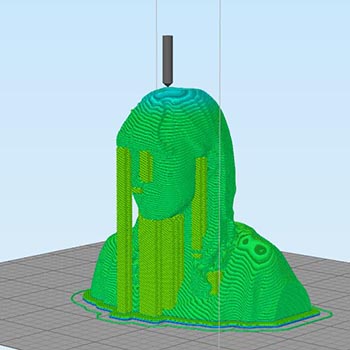
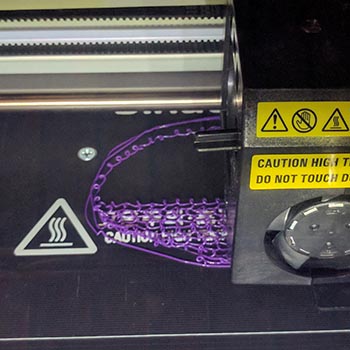
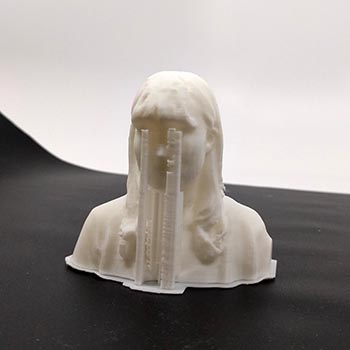
Left figure shows the sliced model using the Simplify3D with support material and the right shows the one with using the slicer software offered by 3DWOX. When I first tried to print the model using the Simplify3D on a 3DWOX DP200 (FDM 3D printer), the first layer was printing with twisted filament and didn't stick on to the printing bed. So first I thought that it might be the problem with the G-code generated by the Simplify3D but it turns out that the printer I used had a bad z-aixs calibration. The gap between the nozzle and the printing bed was too large that the extruded filament was not able to directly stick on to the bad and made twisted lines.
 |
 |
 |
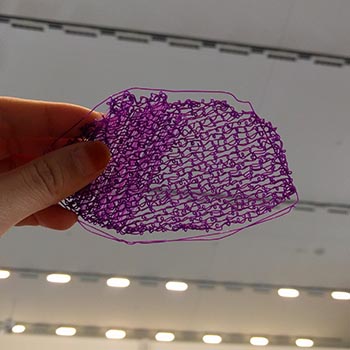 |
The bad z-axis calibration made this very interesting layers. It looks like fabric, lace.
 |
 |
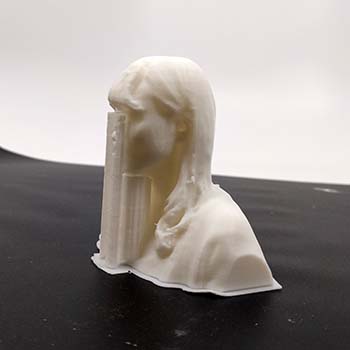 |
Those supports! I look like crying 😭
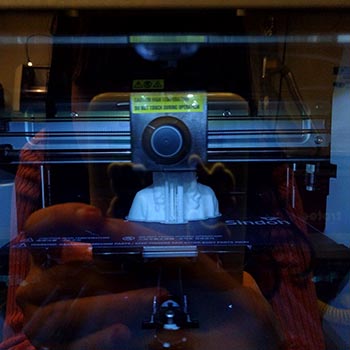
So I just used the other printer but the same model and it started to print the first layer stiking well on to the bad.
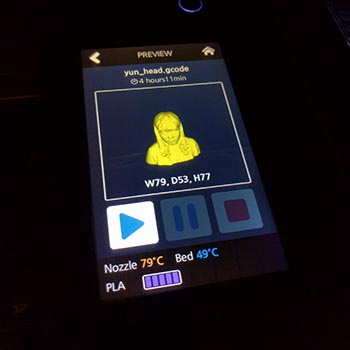
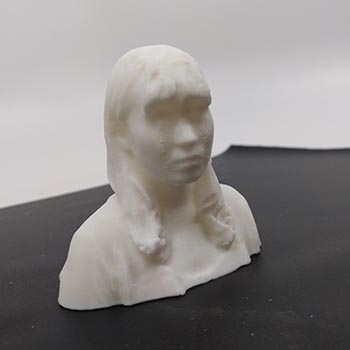
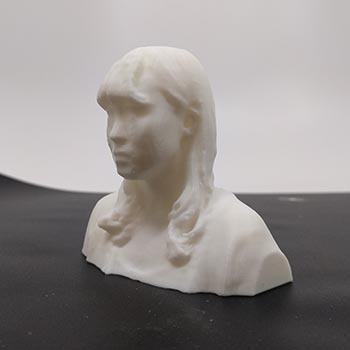
I used PLA filament and it took about 4 hours and 10 min for printing a 15% size of my head.
After removing the support material around the eyes, chin and neck, the 3D printed my head part seems pretty clean and seamless.
 |
 |
 |
 |
 |
 |
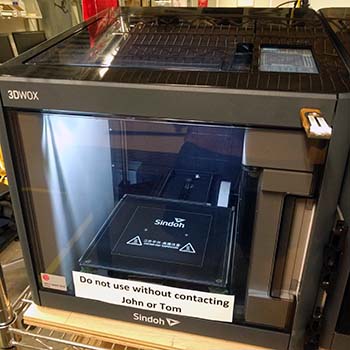
I've tried different types of consumer level FDM 3D printers such as Ultimaker, Makerbot, M2, Zortrax, Lulzbot, but it was my first time to try the 3DWOX printer. I like the printing quality (resolution, speed) and the UI and touch display of the printer. The slicer software was also easy and simple to use but it has lack of freedom to customize the printing setting and G-code. Also I found that when I was printing my part, the printer next to mine was printing some parts with PLA and it was printing in the mid-air since the raft was not sticking on to the bed. So I think this printer has also some issue with stiking the raft and the first layer of the part on the bed.
 |
 |
 |
Epic Fails
 |
 |
Where is the head?
 |
 |
 |
feat. Taka
3D Printing
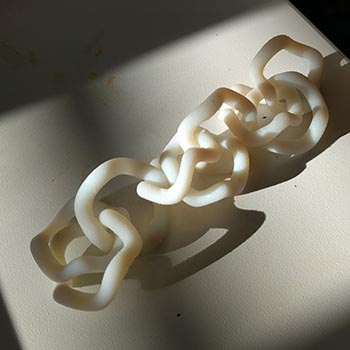
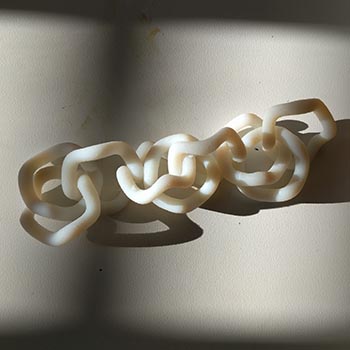
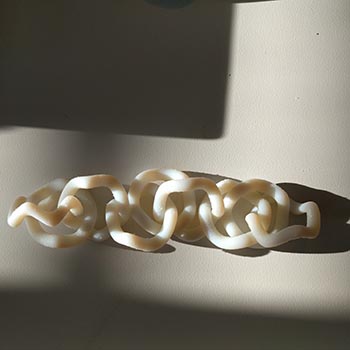
CAD Model
 |
 |
 |
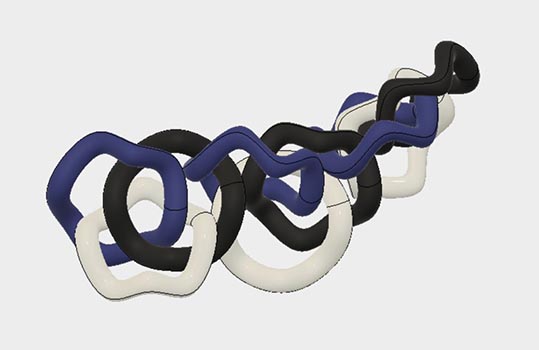 |
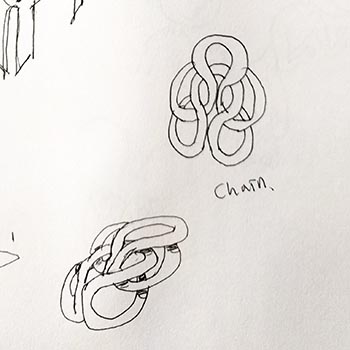
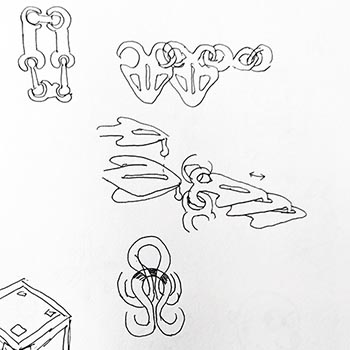
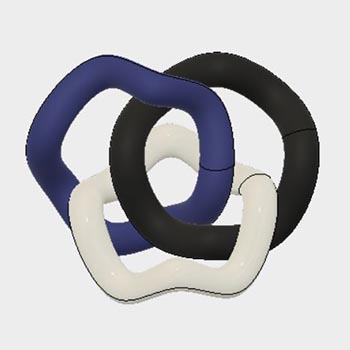
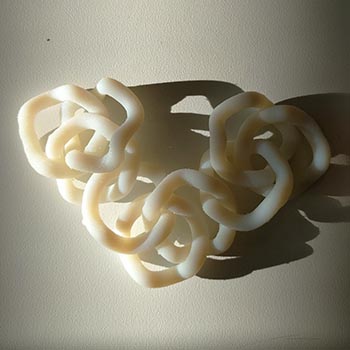
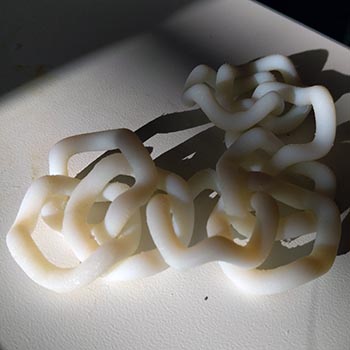
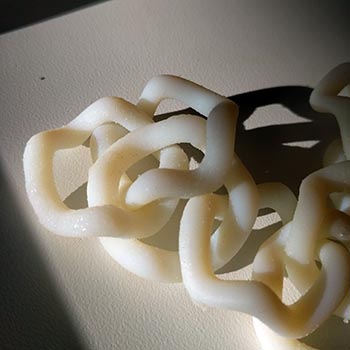
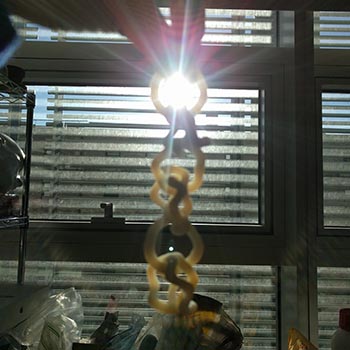
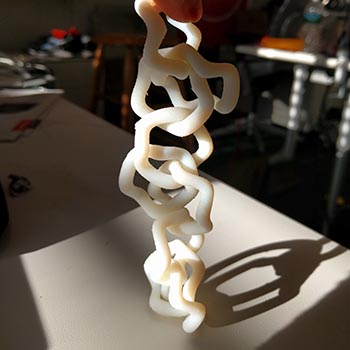
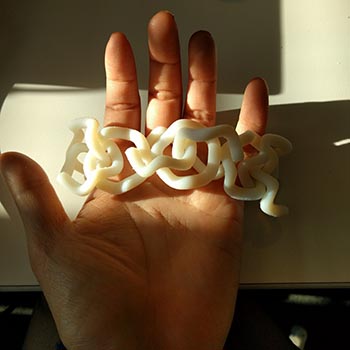
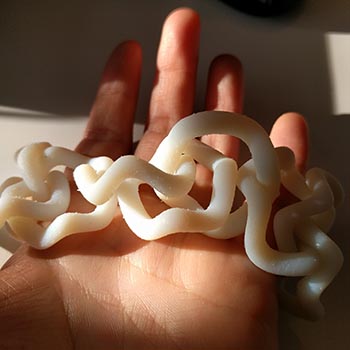
I designed this chain model using Fusion360 in sculpting mode. I wanted to print a one-piece model that I don't have to assemble them later to take an advantage of 3D printing. I asked Tom to print this model on the Object Eden (PolyJet). The overall dimension of this model is 100 x 35 x 35 mm. You can download and view the STL file in Thingiverse.
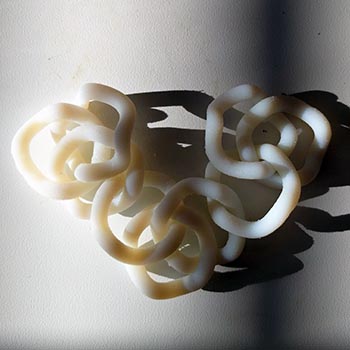
Post processing
 |
 |
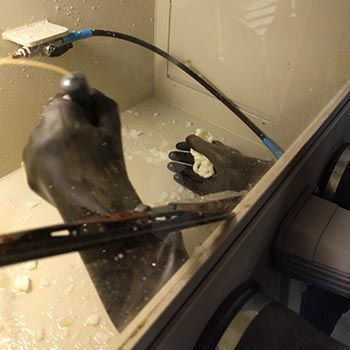 |
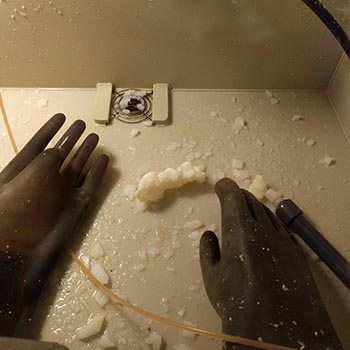
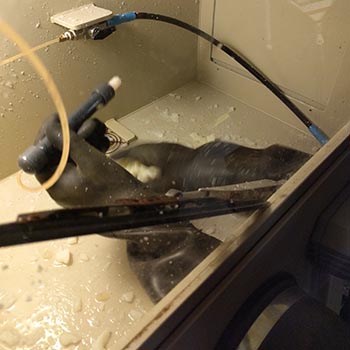
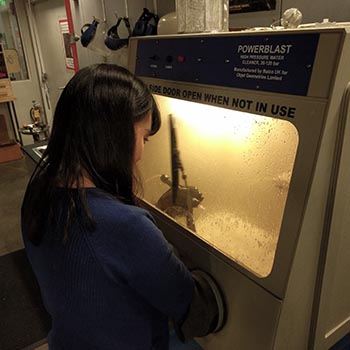
Cleaning the support material using the high-pressure waterjet
 |
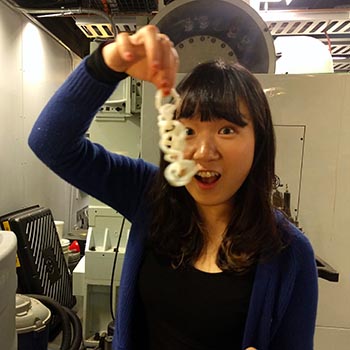 |
3D Printed Part!
 |
 |
 |
 |
 |
 |
 |
 |
 |
 |
 |
 |