Molding and Casting
Week 8: Molding and Casting
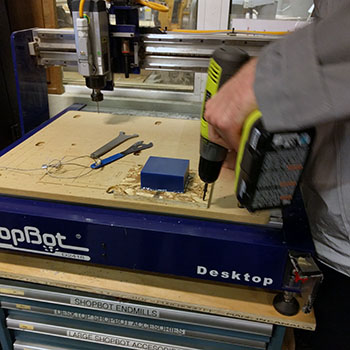
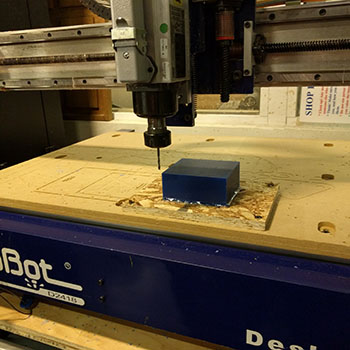
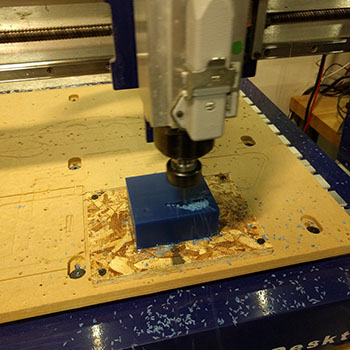
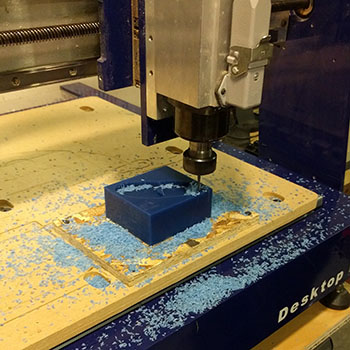
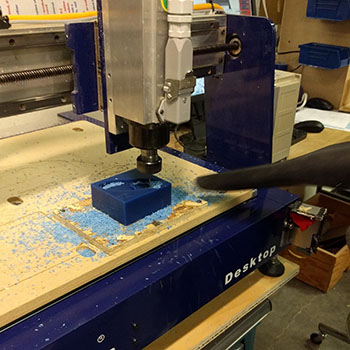
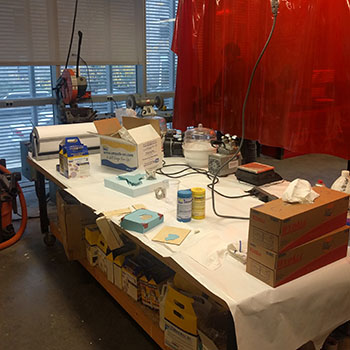
This week I learned how to use the ShopBot (Desktop) to milling the mold made of wax and cast the plaster (Drystone and Hydrostone).
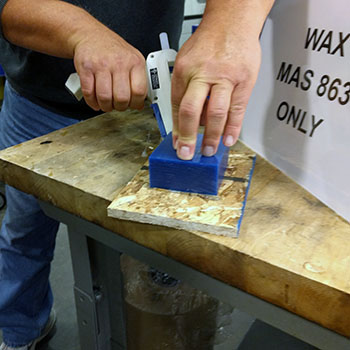
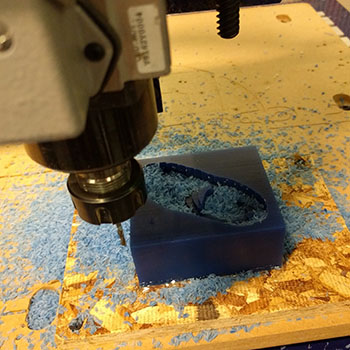
ShopBot: Milling a wax mold
 |
 |
 |
 |
 |
 |
|
 |
 |
 |
|
 |
 |
Training: Molding anc Casting
 |
|
 |
 |
 |
|
 |
 |
 |
|
 |
 |
 |
|
 |
 |
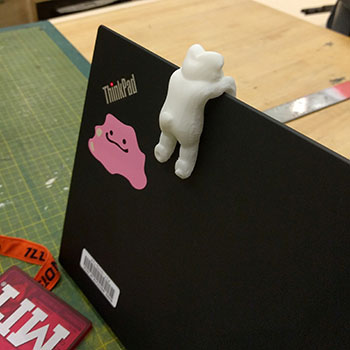
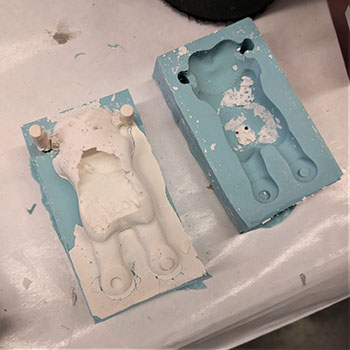
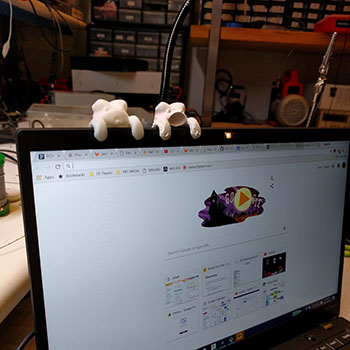
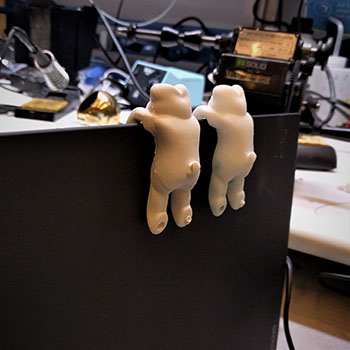
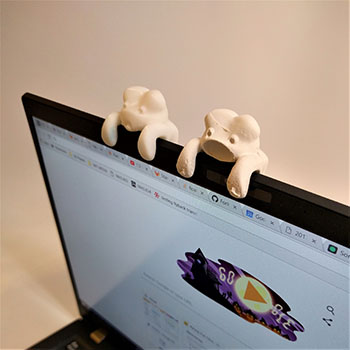
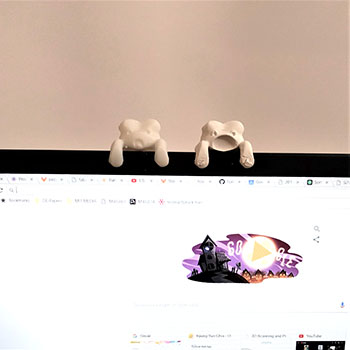
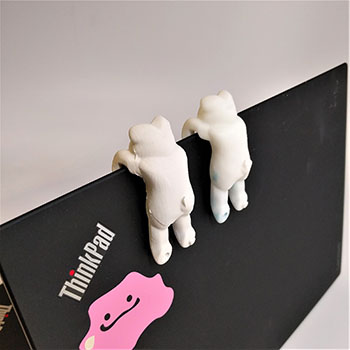
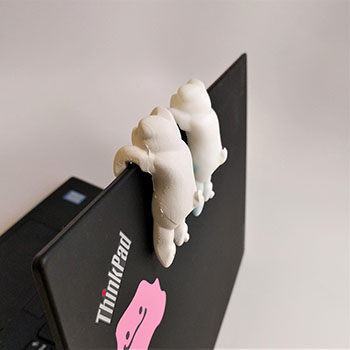
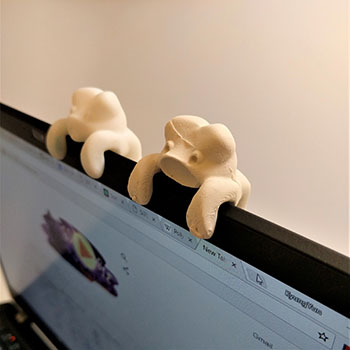
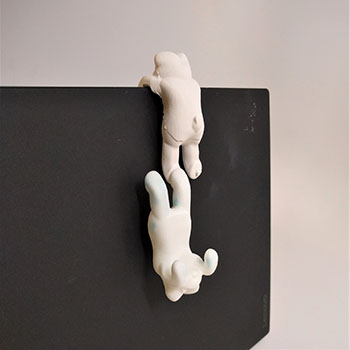
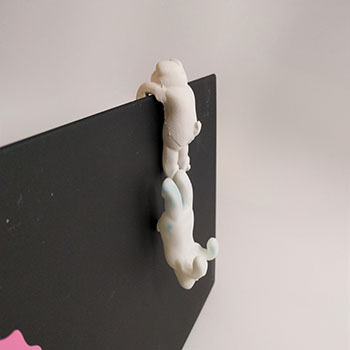
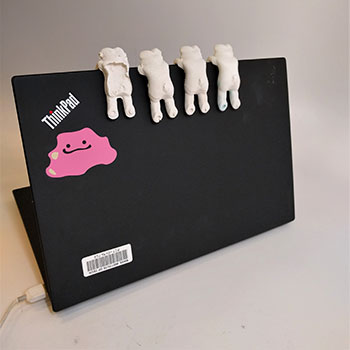
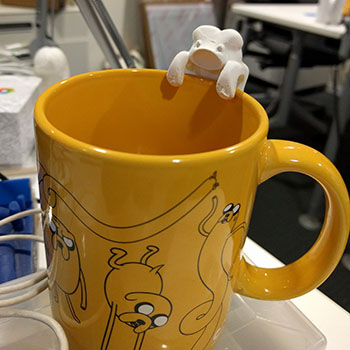
Miserable Bear
Inspiration
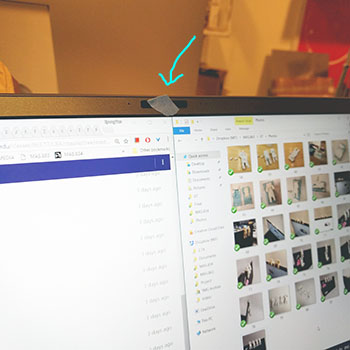 |
I found that lots of people put a sticker or tape on their laptop's camera for security reason and I thought that it would be cute/fun to put something on it which is better than the boring tape.
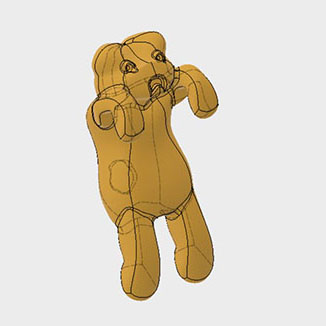
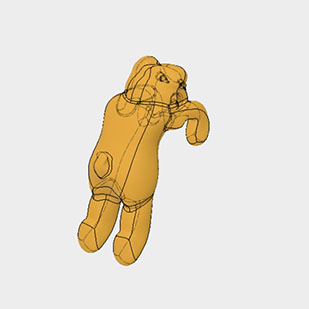
CAD model
 |
|
 |
 |
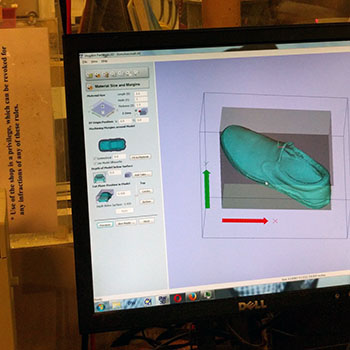
I designed the CAD using Fusion360 and modeled the mold as well by slicing the bear part in a half to make two pieces of molds.
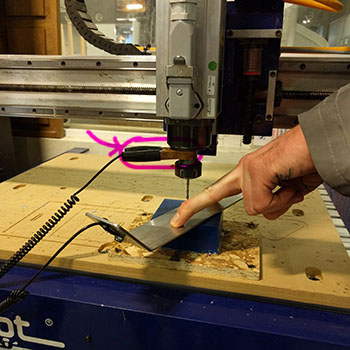
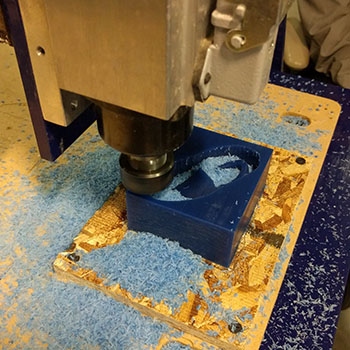
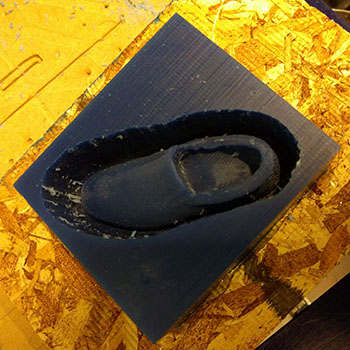
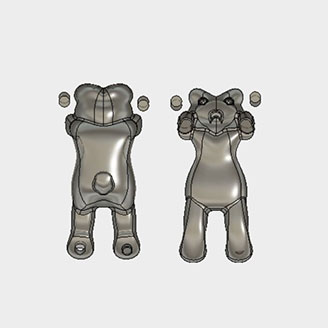
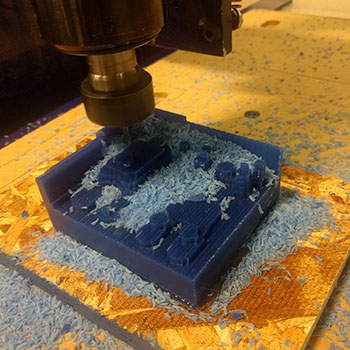
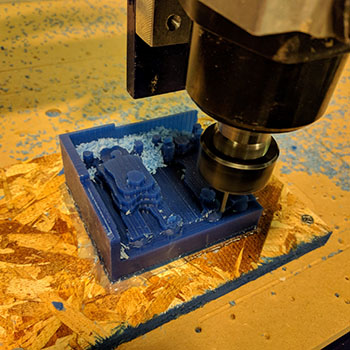
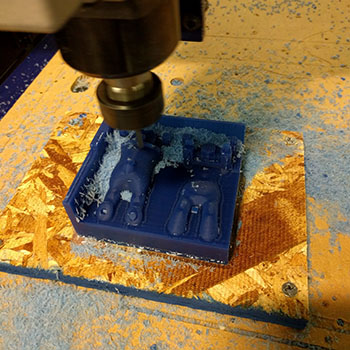
Milling the wax molds
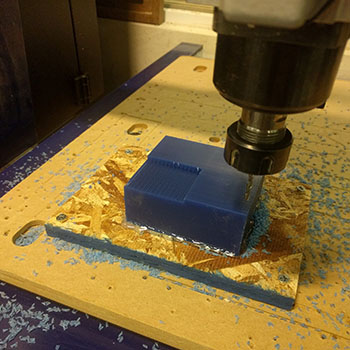 |
First trial, I made a mistake to set the origin at the middle top surface of the material which I should have set as the bottom left. So the machine started to mill the wax from the shifted location.
 |
|
 |
 |
Rough toolpath
 |
|
 |
 |
Smooth finishing toolpath and the result.
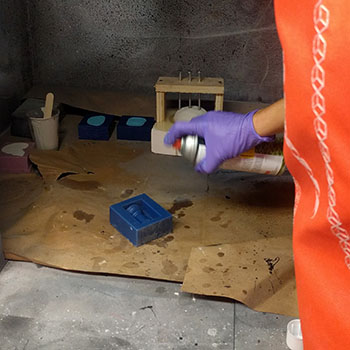
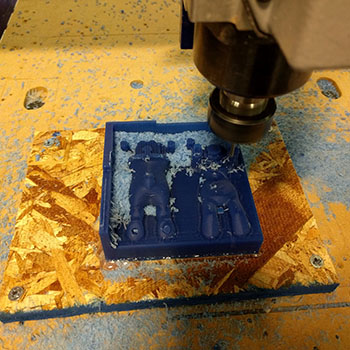
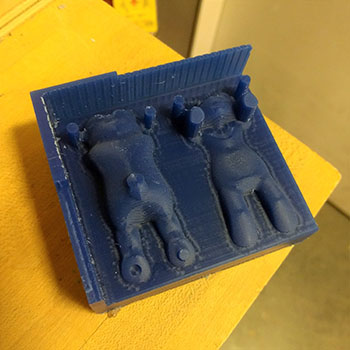
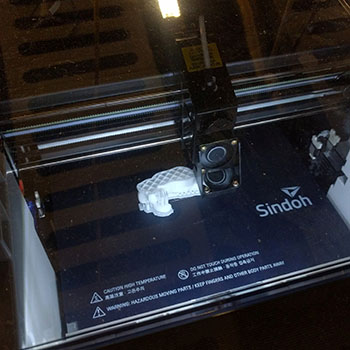
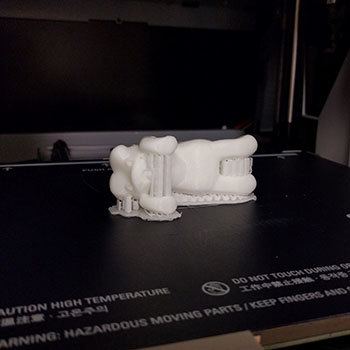
Other version of making a mold: 3D printing the cavity
 |
 |
 |
|
 |
 |
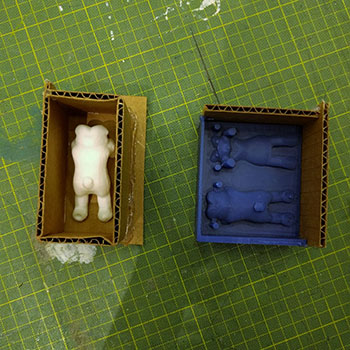
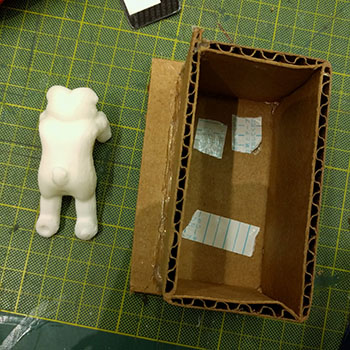
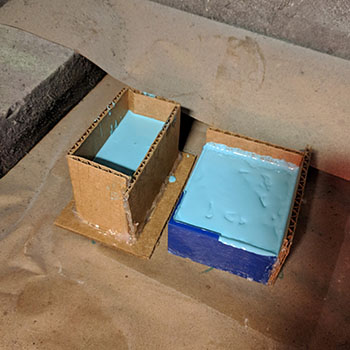
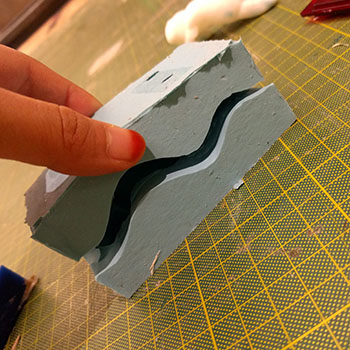
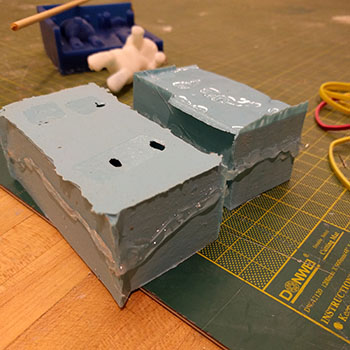
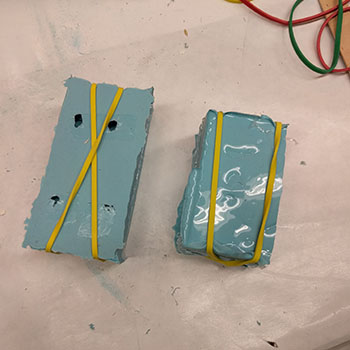
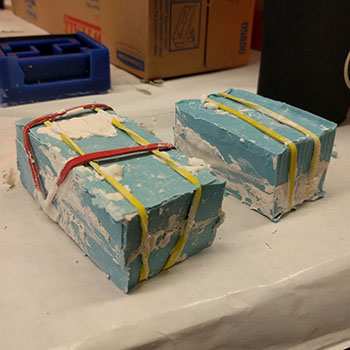
Making mold walls
 |
|
 |
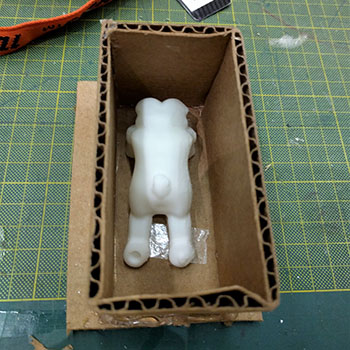 |
Used cardboards
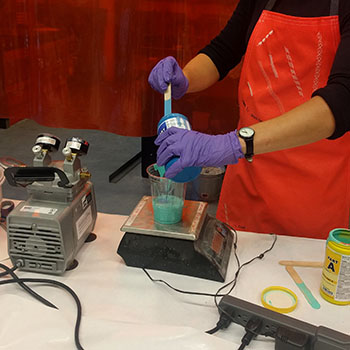
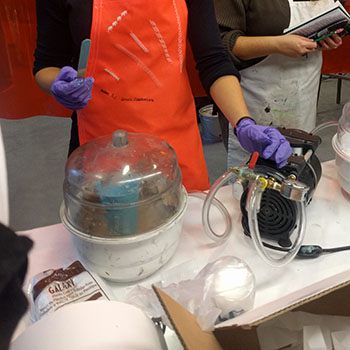
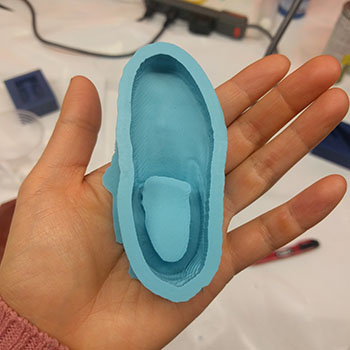
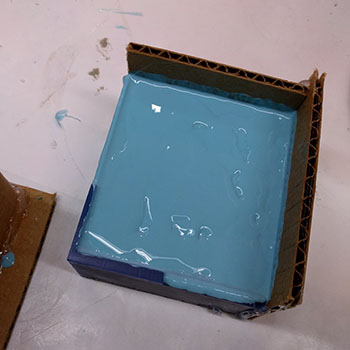
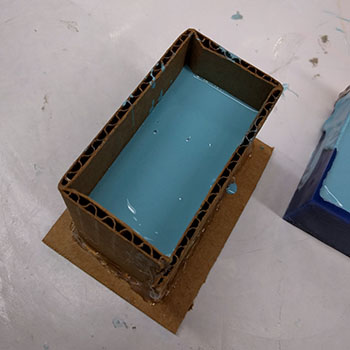
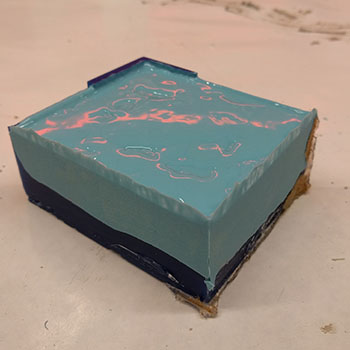
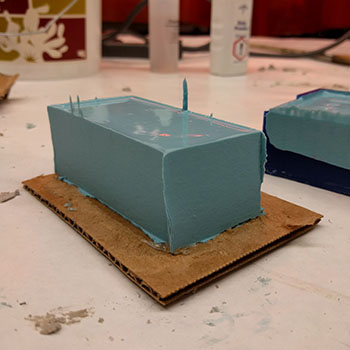
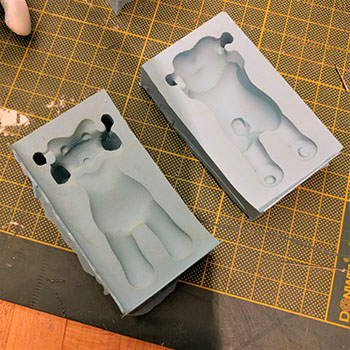
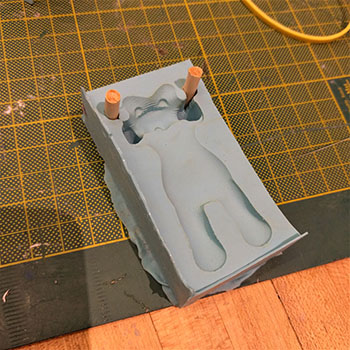
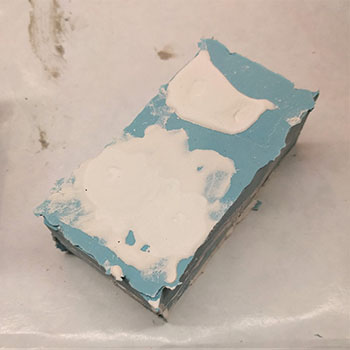
Casting OOMOO
 |
|
 |
 |
 |
 |
 |
|
 |
 |
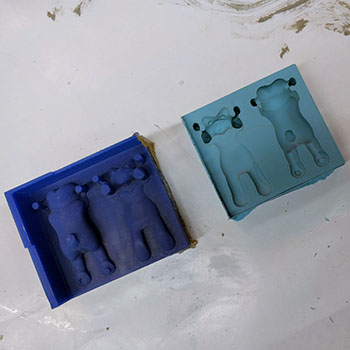
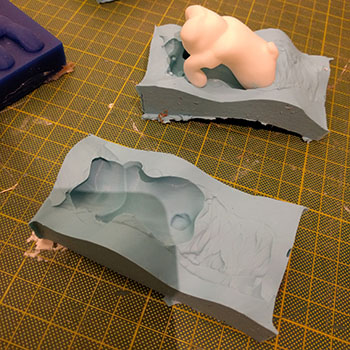
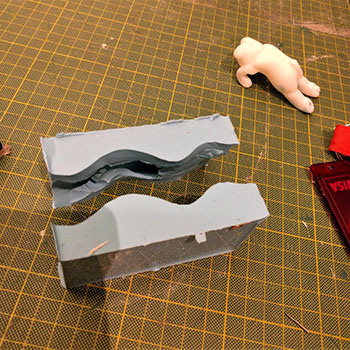
Cut in a half to put them together
 |
|
 |
 |
 |
 |
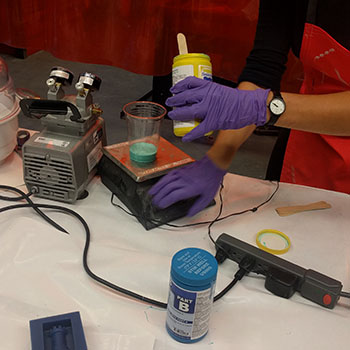
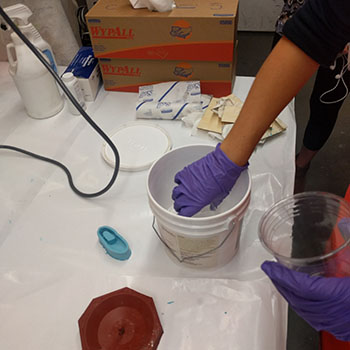
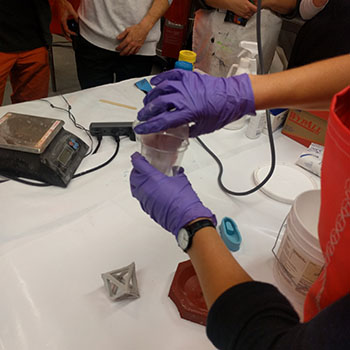
Casting Drystone
 |
|
 |
 |
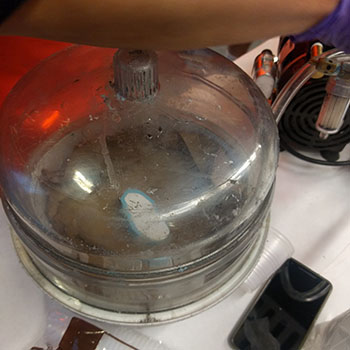
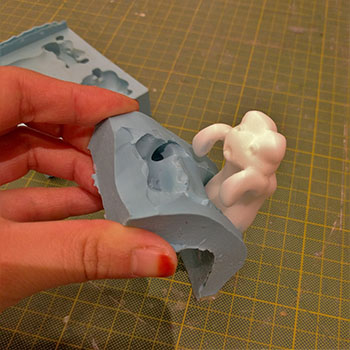
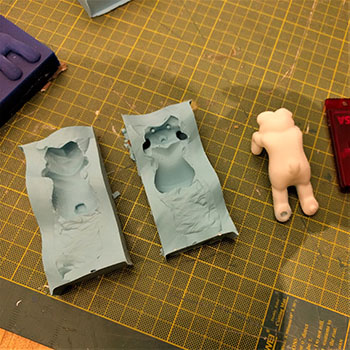
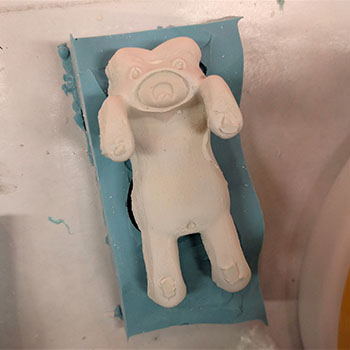
Demolding
 |
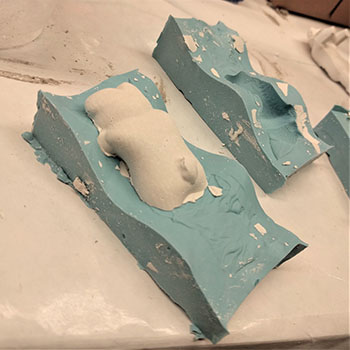 |
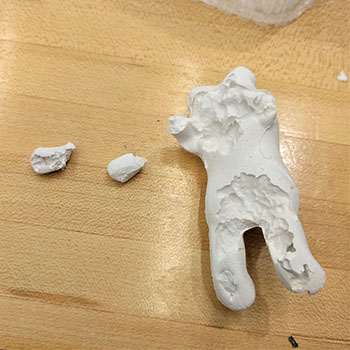
Result 1 : Failed
 |
|
 |
 |
I think there were lots of air bubbled trapped inside of the molds and made a huge empty space which made this zombie-like bear.
Second trial
 |
 |
 |
|
 |
 |
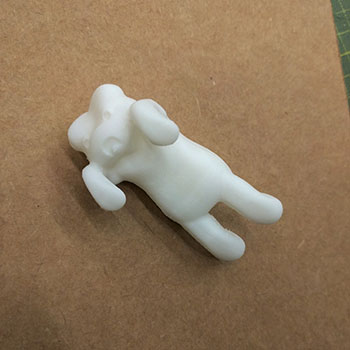
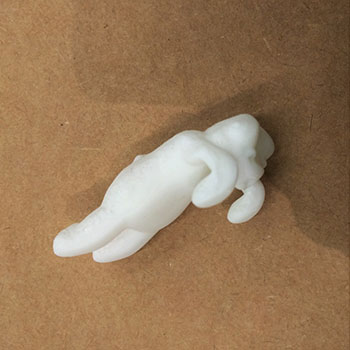
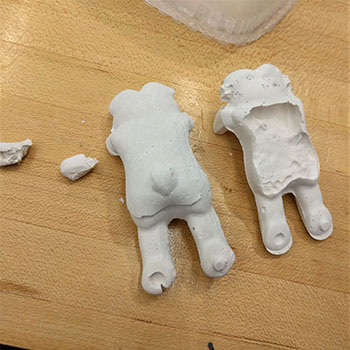
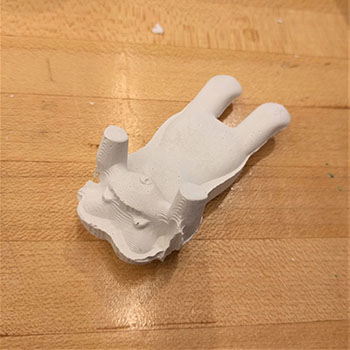
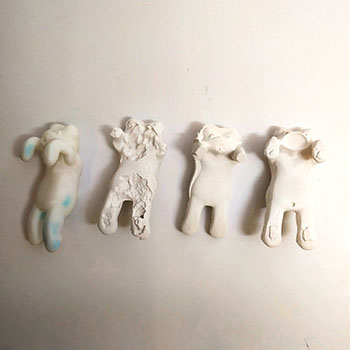
Final Results
 |
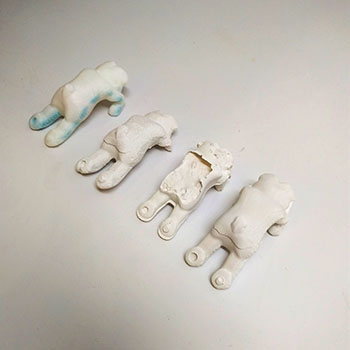 |
Miserable bears....!
 |
 |
 |
 |
 |
 |
 |
 |
 |
 |
 |
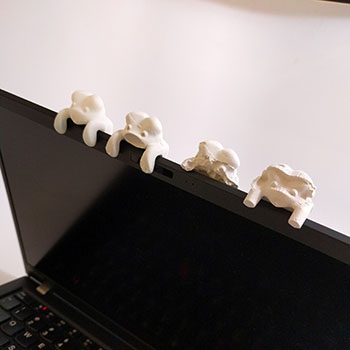 |
Other applications
 |
 |