Week 13: Composites
"Priyanka Learns HOW TO MAKE Composites from Fabric and Epoxy!"
For my thirteenth (and final!) class assignment for How to Make (Almost) Anything, I created a practice composite "coupon" with some of my labmates and then went ahead and did the same process for making my high heel shoe's outsole as a composite.
Group Assignment: Create Composite Coupons with Foam, Epoxy and Heavy Burlap
For the group project assignment this week, TA Sam took me, Elysa, and Xin through the steps of mixing Epoxy, lathering it onto the coarse, porous burlap, layering on the various layering pieces on top of the foam "coupons" and then vacuum sealing the coupons to let it sit and then cure into a composite. Here is what it looked like on a fine Sunday morning:

Figure 1: Materials Laid Out on Table

Figure 2: Elysa demonstrating the Requirement of Wearing Gloves for Making Composites

Figure 3: TA Sam preparing the Epoxy
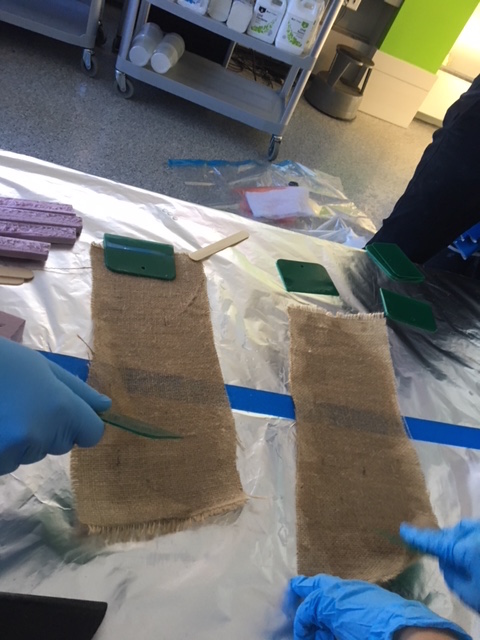
Figure 4: Spreading the Epoxy
We then layered the burlap onto a rectangular piece of foam core and then wrapped that with other porous materials to suck out the excess epoxy when the vacuum is being pulled. Below you can see Sam setting up the bundled composite in the vacuum bag to be then vacuum pulled and set to cure.

Figure 5: Vacuum Setup

Figure 6: Air Sucking Pump
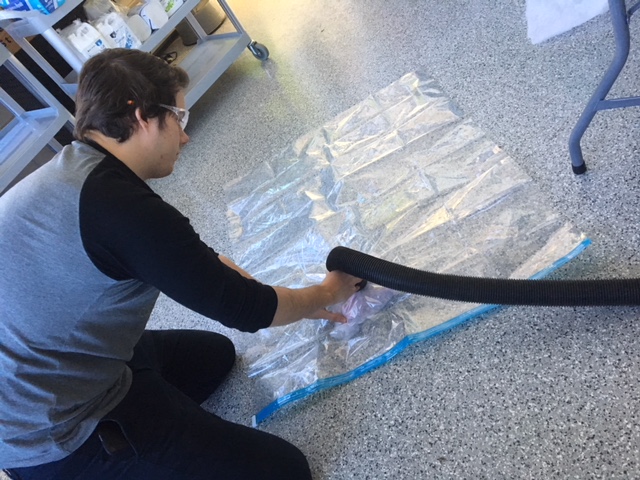
Figure 7: Pulling the Vacuum
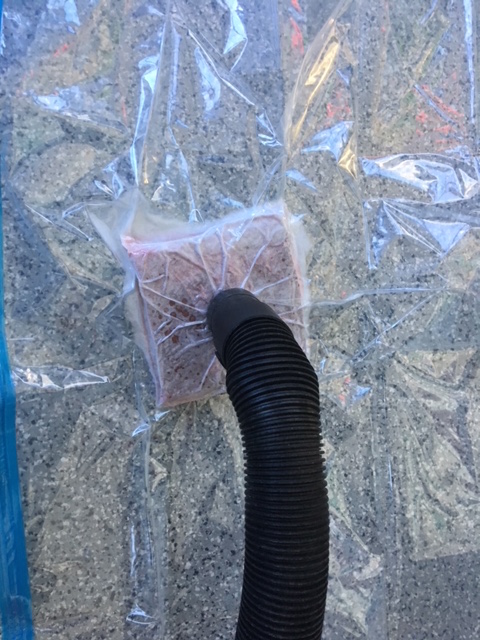
Figure 8: Can see the Epoxy Leaking out of the Vacuumed Layers
Individual Assignment: Making My Shoe's Outsole as a Composite
This week was a really fun experience, so I went ahead and made a very integral part of my final project -- the outsole for my actual high heel shoe. Typically, to make a high heel, the shoe is treated with a slow-to-harden solvent and then left to set for about 2 weeks after a cobbler has worked on it and molded the design in leather and other durable fabrics. Well, I definitely don't have that much time (at least at this point in the semester!) So I was able to use some creativity by working around the typical high-heel shoe-making process and instead creating a rigit high heel outsole by making it as a composite using light guage burlap, epoxy, foam, and duct tape!
Here below is me taking my outsole paper cutout and creating a duct tape transfer to then mold into the correct shape (with foam supports)
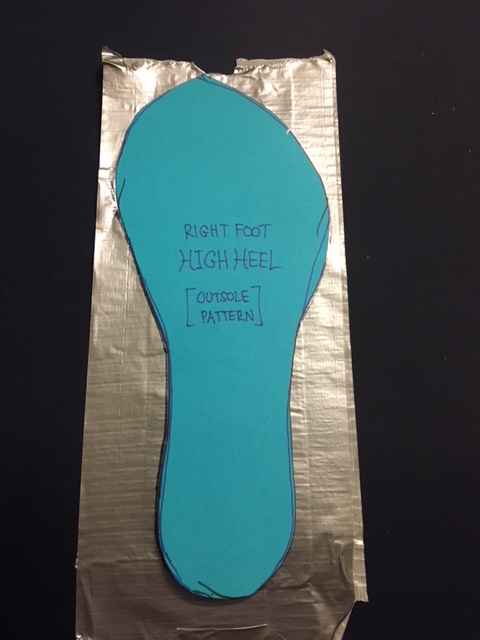
Figure 9: Outsole Paper Cutout
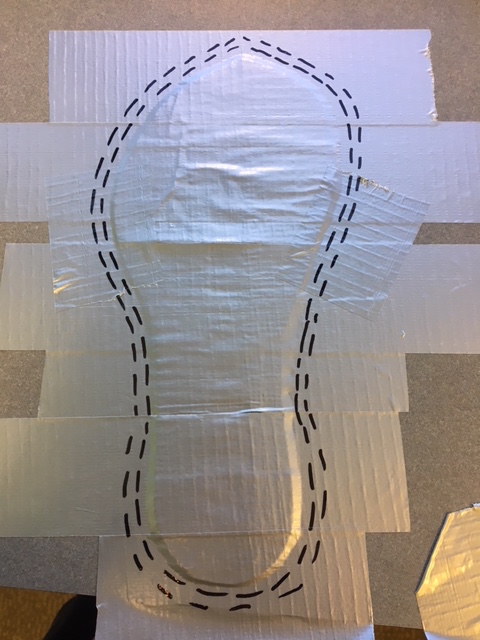
Figure 10: Duct Taping for Support
Here below is me designing the foam wedges to hold the outsole shape:
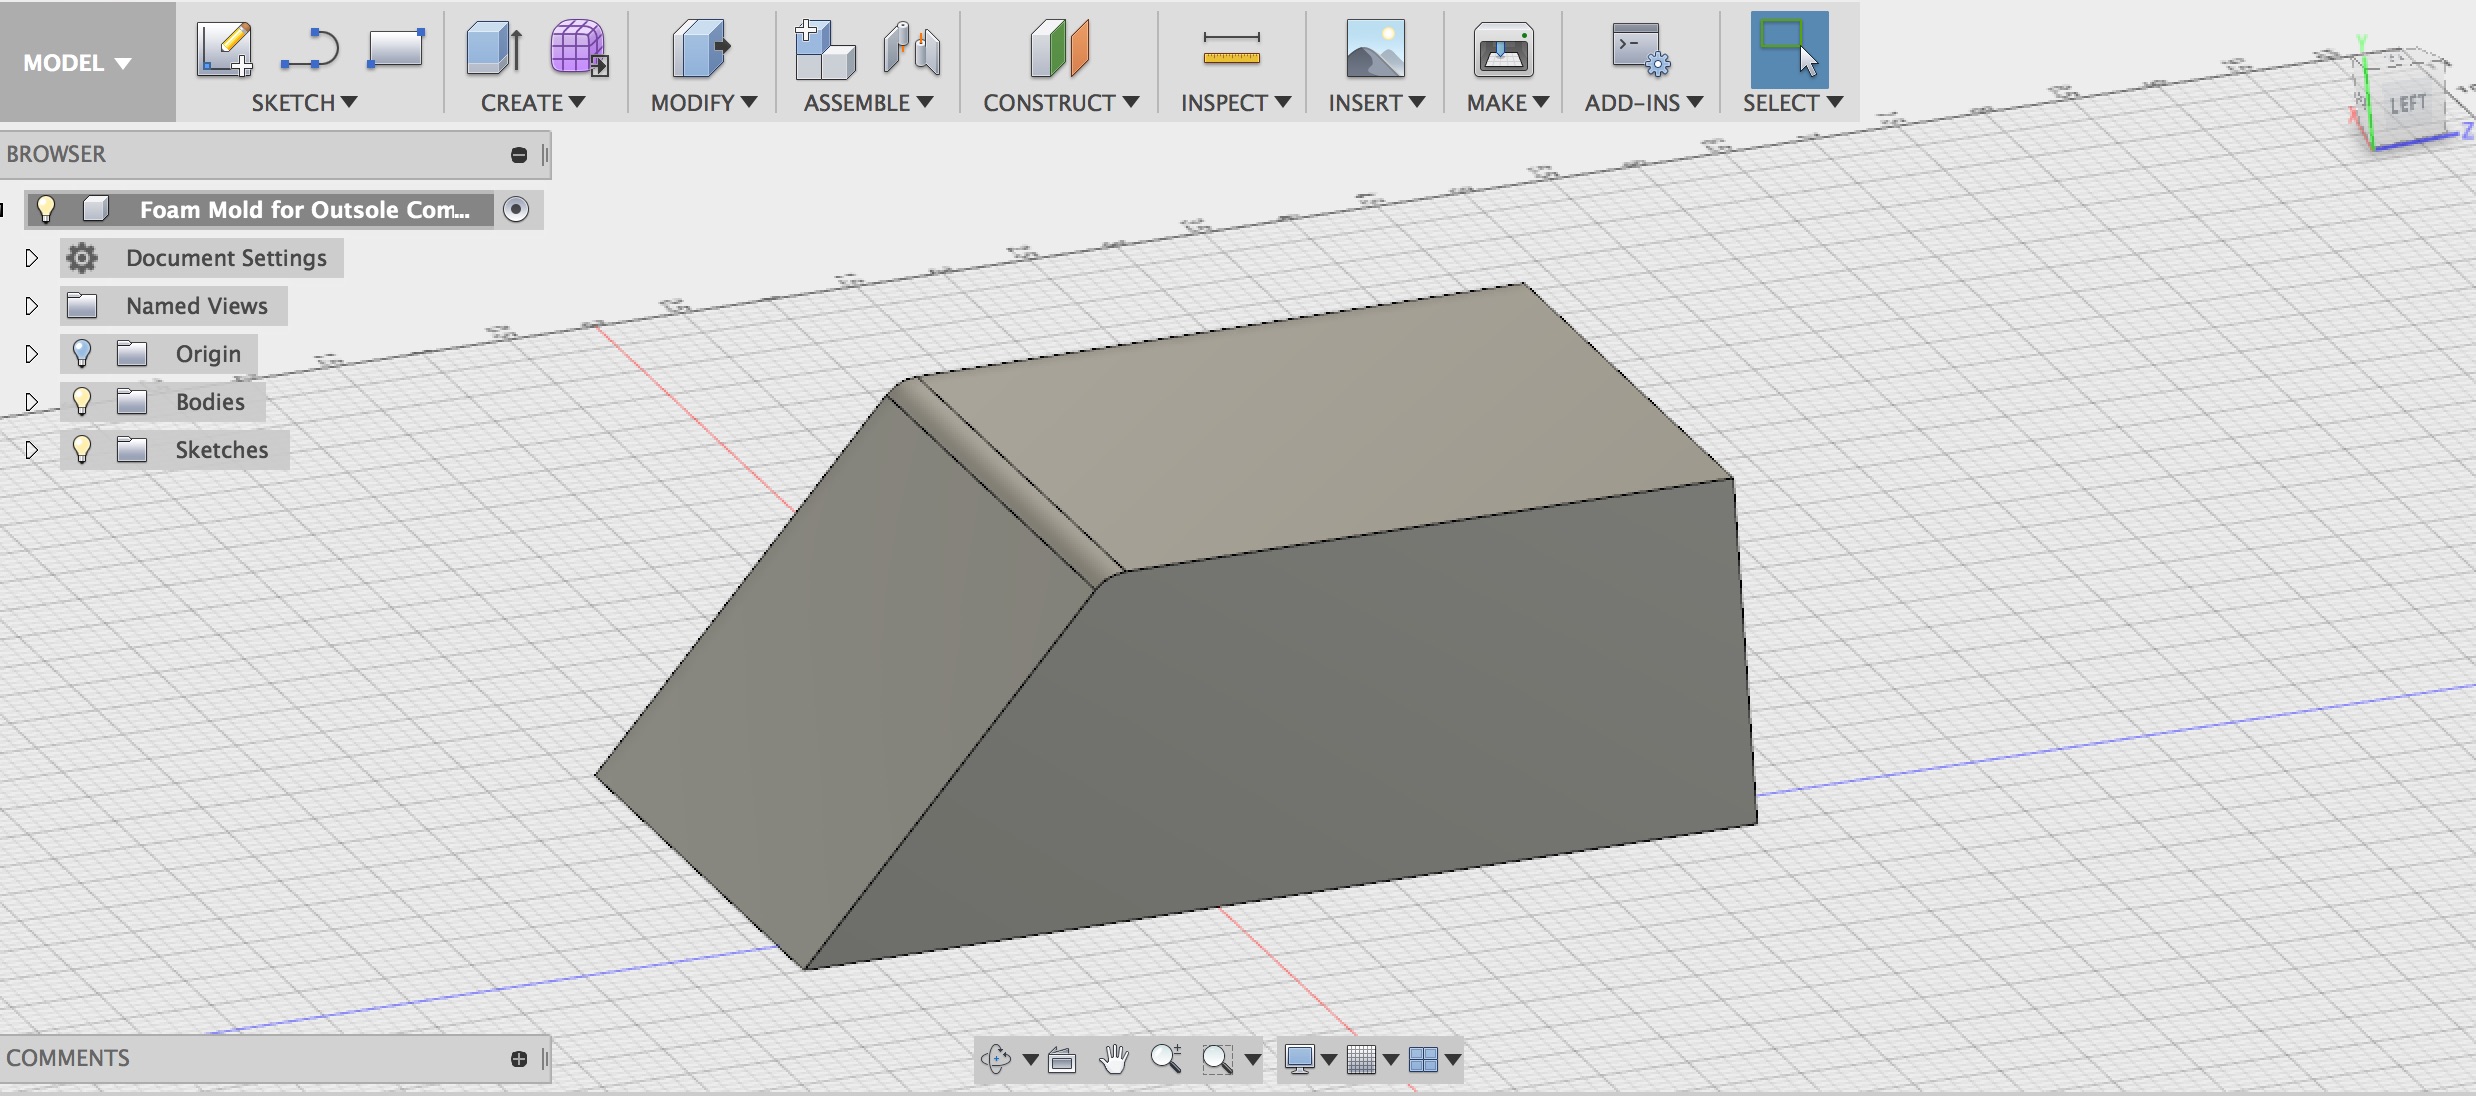
Figure 11: Finished CAD Model of Foam Support
I then uploaded the CAD File onto the Sharkbot Machining Software and then cut out a piece of foam to position onto the Sharkbot bed to prepare to mill:
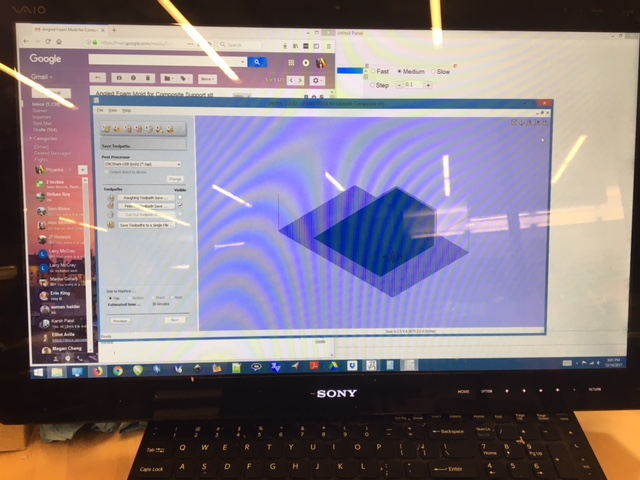
Figure 12: Layer Visualization on the SharkBot Software
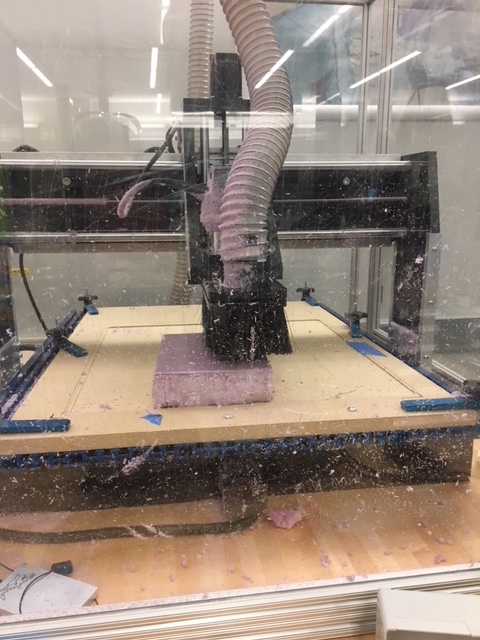
Figure 13: Foam Setup on Bed
Here below is the foam being milled out:
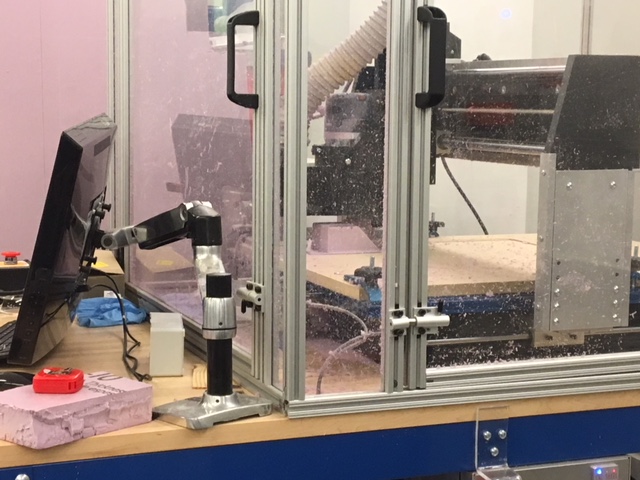
Figure 14: Milling Foam on the SharkBot
Unfortunately the SharkBot was being finicky when milling out my 2nd foam support, so I decided to move on and just use a few scrap cardboard pieces from my laser-cut shoe display case trial run to hold as top supports for my shoe.
Here below you can see my outsole fabric layers drenched in epoxy and wrapped in plastic wrap on top of my foam model ready to be covered with more support material and then vacuum bagged to set overnight.
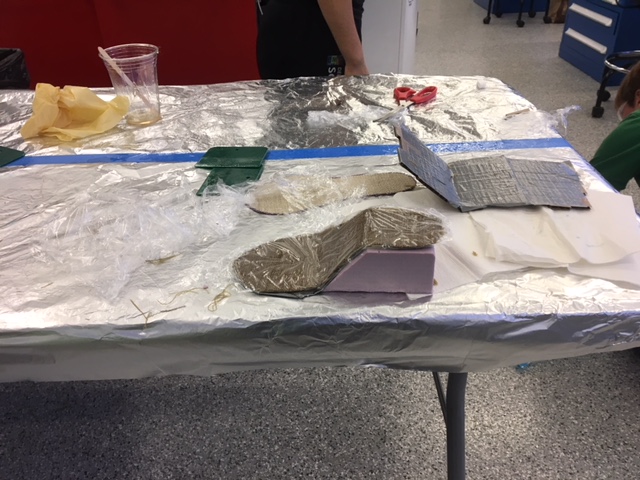
Figure 15: Composite Layers Expoy-ed and Wrapped on Top of Foam Block
I finally went through all the steps of wrapping with additional aerated plastic wrap and cotton ball sheet material to finally putting the whole composite setup into a vacuum bag, pulling the vaccuum, and letting it set into a final composite.
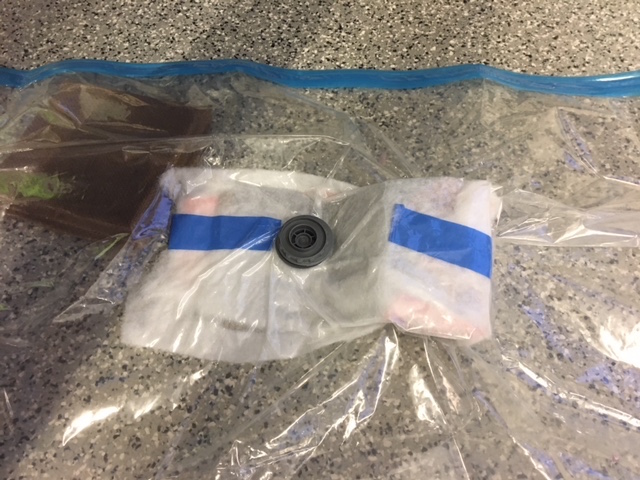
Figure 16: Vacuum-Bagging
The next day, I came back and unwrapped the layers to reveal the final outsole design. There was definitely room for improvement in the creation of this composite, but cheers anyway to a first try at making a composite outsole! Here below is the the finished product!
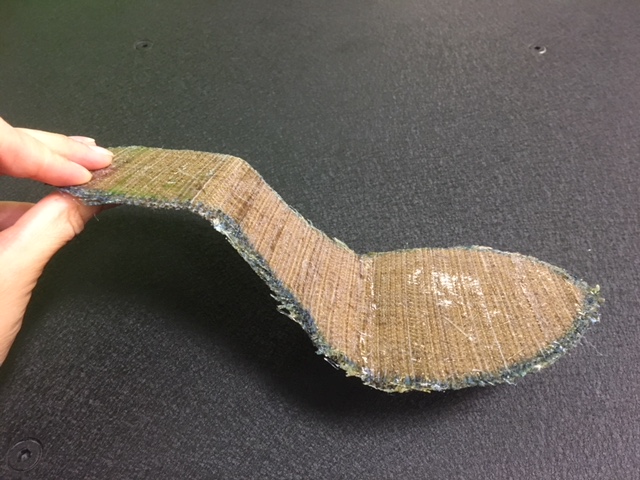
Figure 17: Final Outsole Composite Design -- Right View
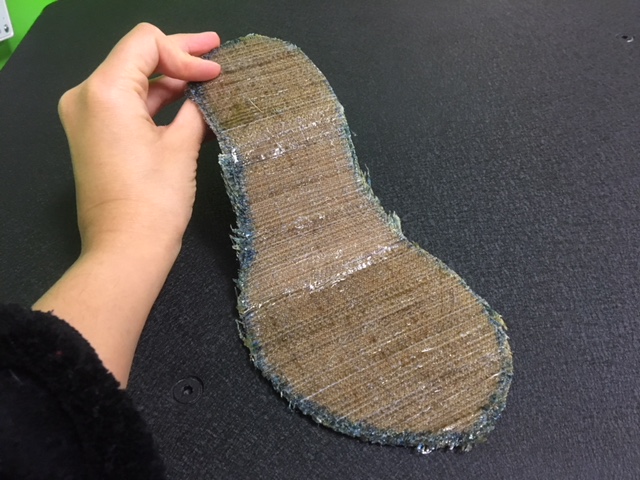
Figure 17: Final Outsole Composite Design -- Front View
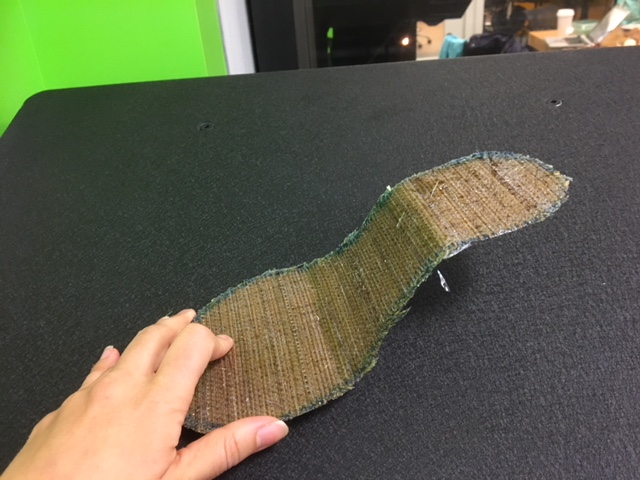
Figure 17: Final Outsole Composite Design -- Left View
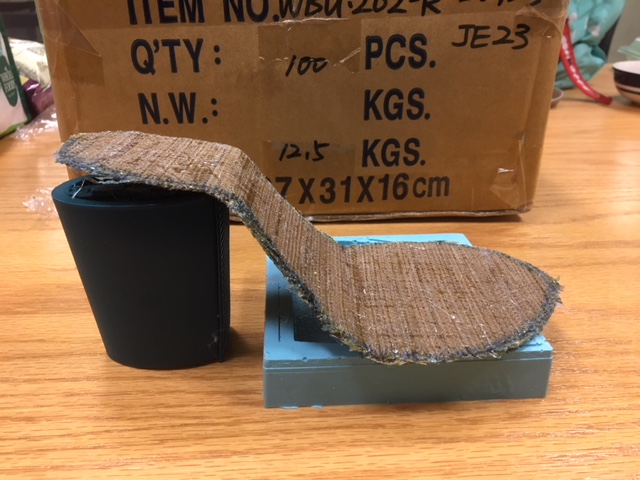
Figure 17: Combined Design to be Continued!
Here's to a fun, final class assignment week!