Assignment: Create a laser cut parametric press-fit construction kit, and use the vinyl cutter to make something.
Laser Cutter
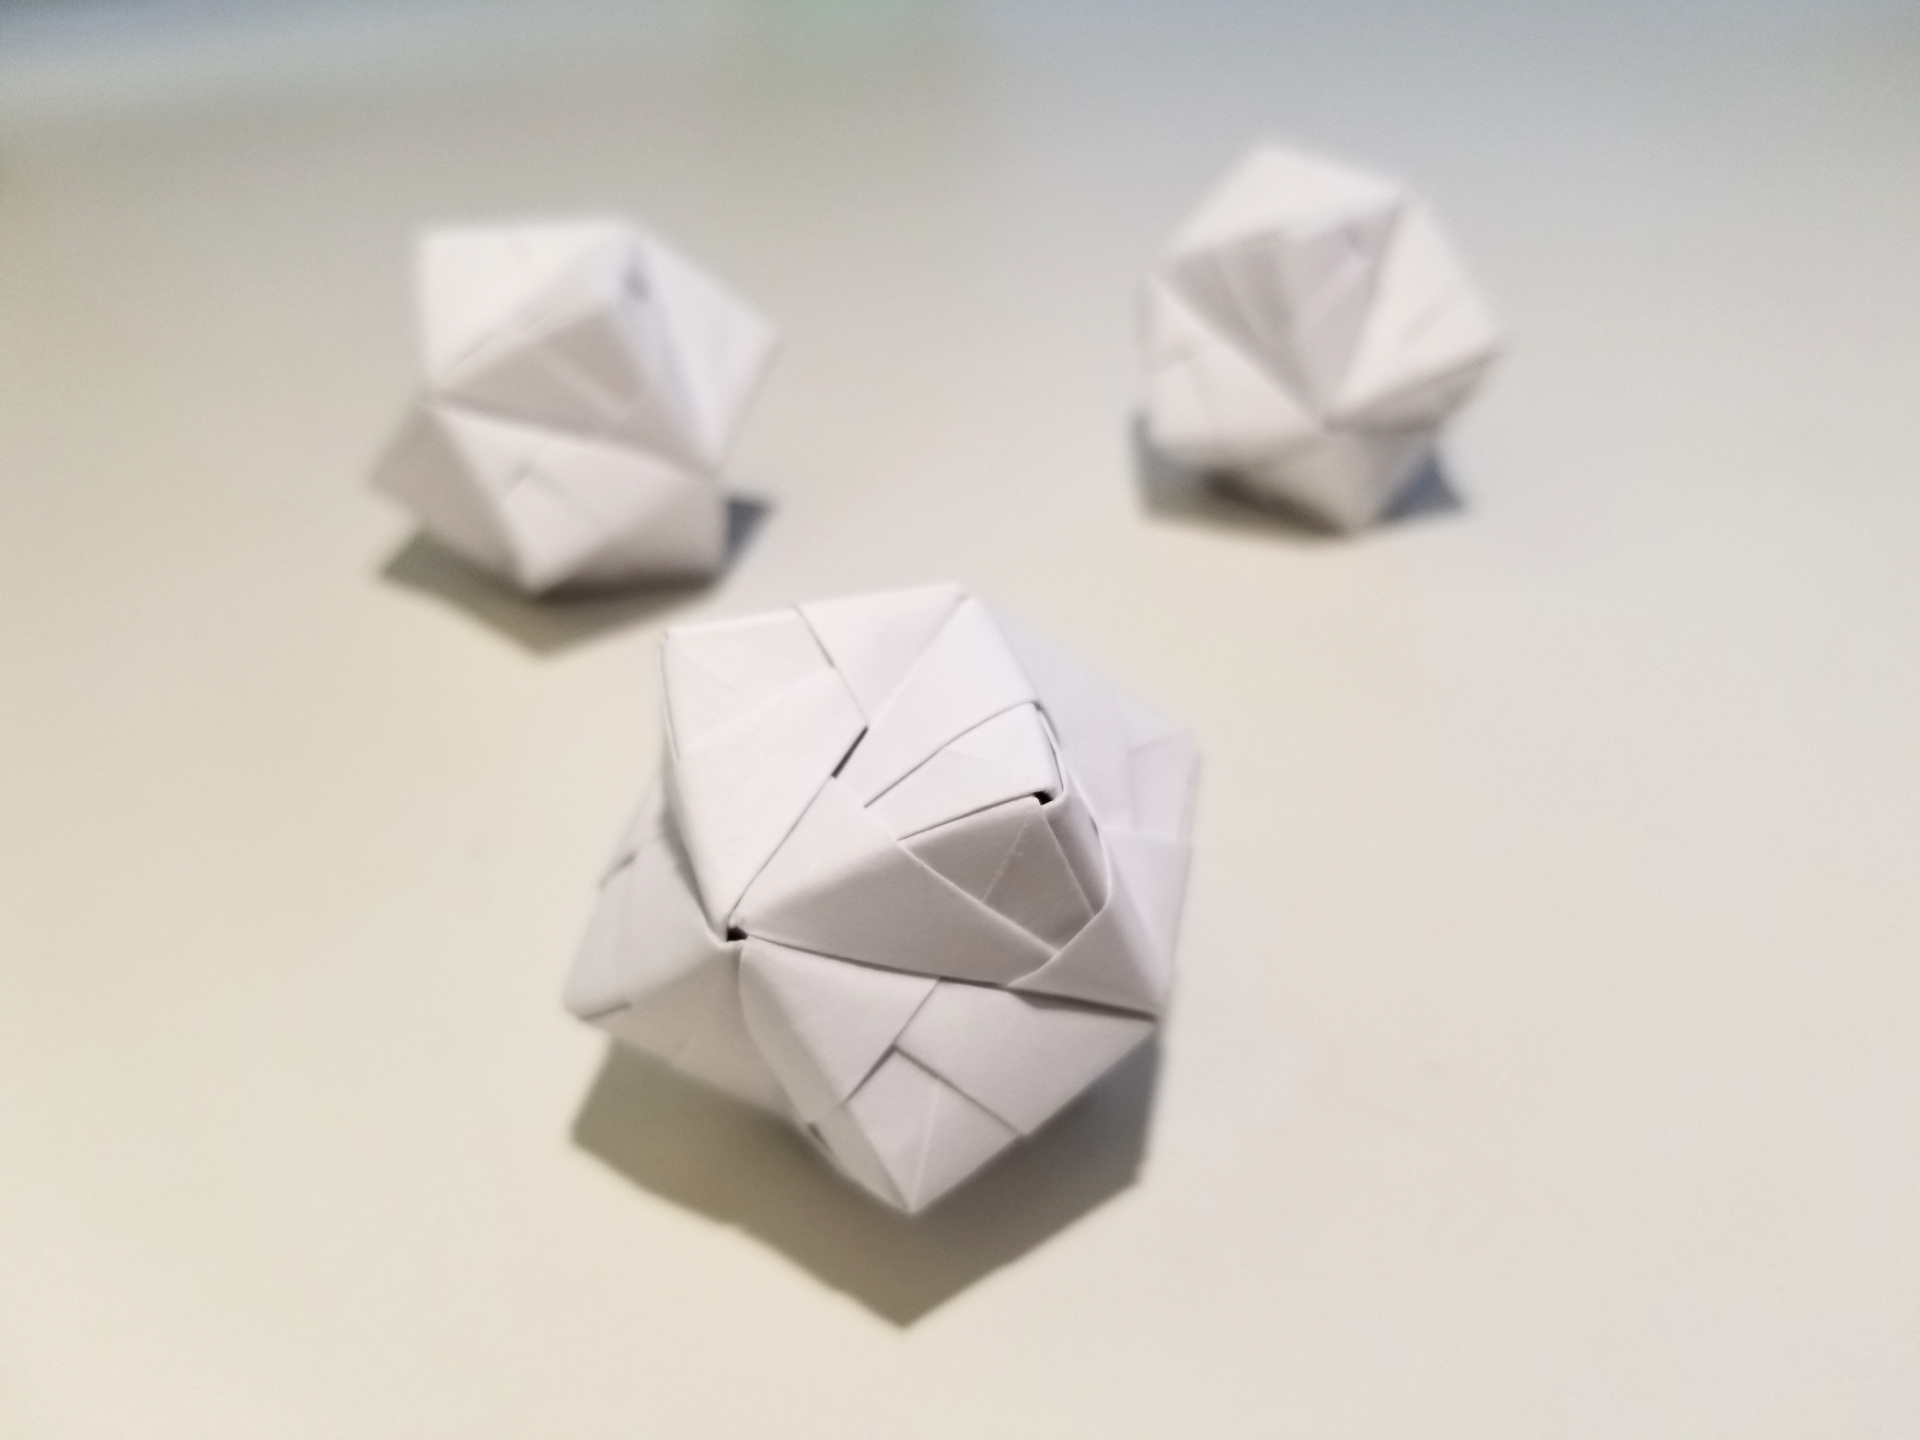
For my laser cutter kit, I created a set of three different parts that can be assembled into different polyhedra. This was inspired by my interest in modular origami. I particularly enjoy making stellated polyhedra, like the origami stellated octahedron in this picture.
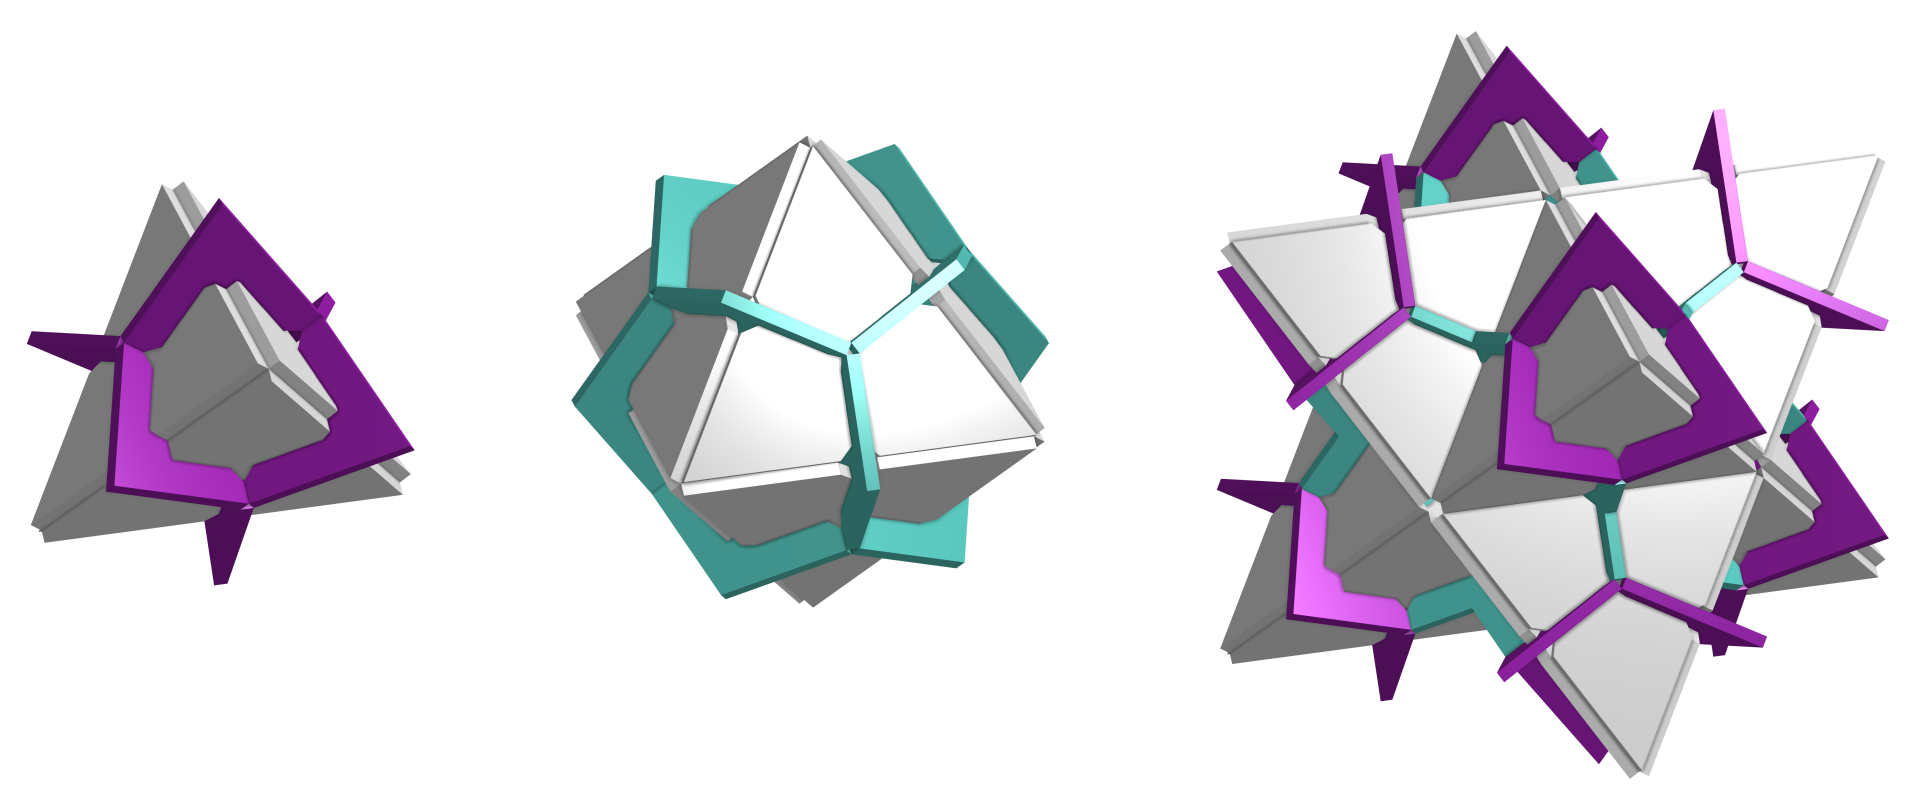
I realized that the geometry of the pressfit parts could get tricky, since things don’t lie on nice orthogonal planes. So I decided to design the whole thing in CAD first, then export faces to get parts to laser cut. I used OnShape again, since I’m starting to get the hang of it. You can find the OnShape workspace here. I started by creating a regular octahedron, creating the stellations on it, and then adding the face plate on top of it. This was probably easier than trying to do the whole things in a 2D vector program but still required scraping the back of my brain to remember middle school geometry. There are three parts to this design:
- Face plate: equilateral triangles with notches for connectors (gray)
- Acute connector: for creating stellated points, with convex angles (purple)
- Obtuse connector: for connecting the points to form the polyhedron, with concave angles (teal)

In designing this, I learned about creating new planes and learned how to deal with a lot of odd issues that came up with the parametric design. This is parameterized by the length of face sides, the stock thickness, and the depth of the connectors (i.e., how far they stick up from the polyhedron surface). I also had to deal with a lot of boolean operations to prevent intersections between the parts. I also remembered to chamfer the intersections to make it sturdier and easier to assemble.
One of the cool things about these parts is that they can be assembled into a lot of shapes beyond the originally intended stellated octahedron; the equilateral triangles are a very versatile shape and can be used with the existing connectors to make a regular octahedron and tetrahedron. By simply creating a different obtuse connector with a larger angle, it would also be possible to create the much larger stellated dodecahedron. Unfortunately, I didn’t have the time to create that for this week.
Once I had my pieces, I could right click on an object face and export as a DXF. I then imported the three DXF files into Inkscape and arranged them on a 32” x 18” page. I saved it as a PDF which I could then import into Rhino on the laser cutter computers.
Cutting
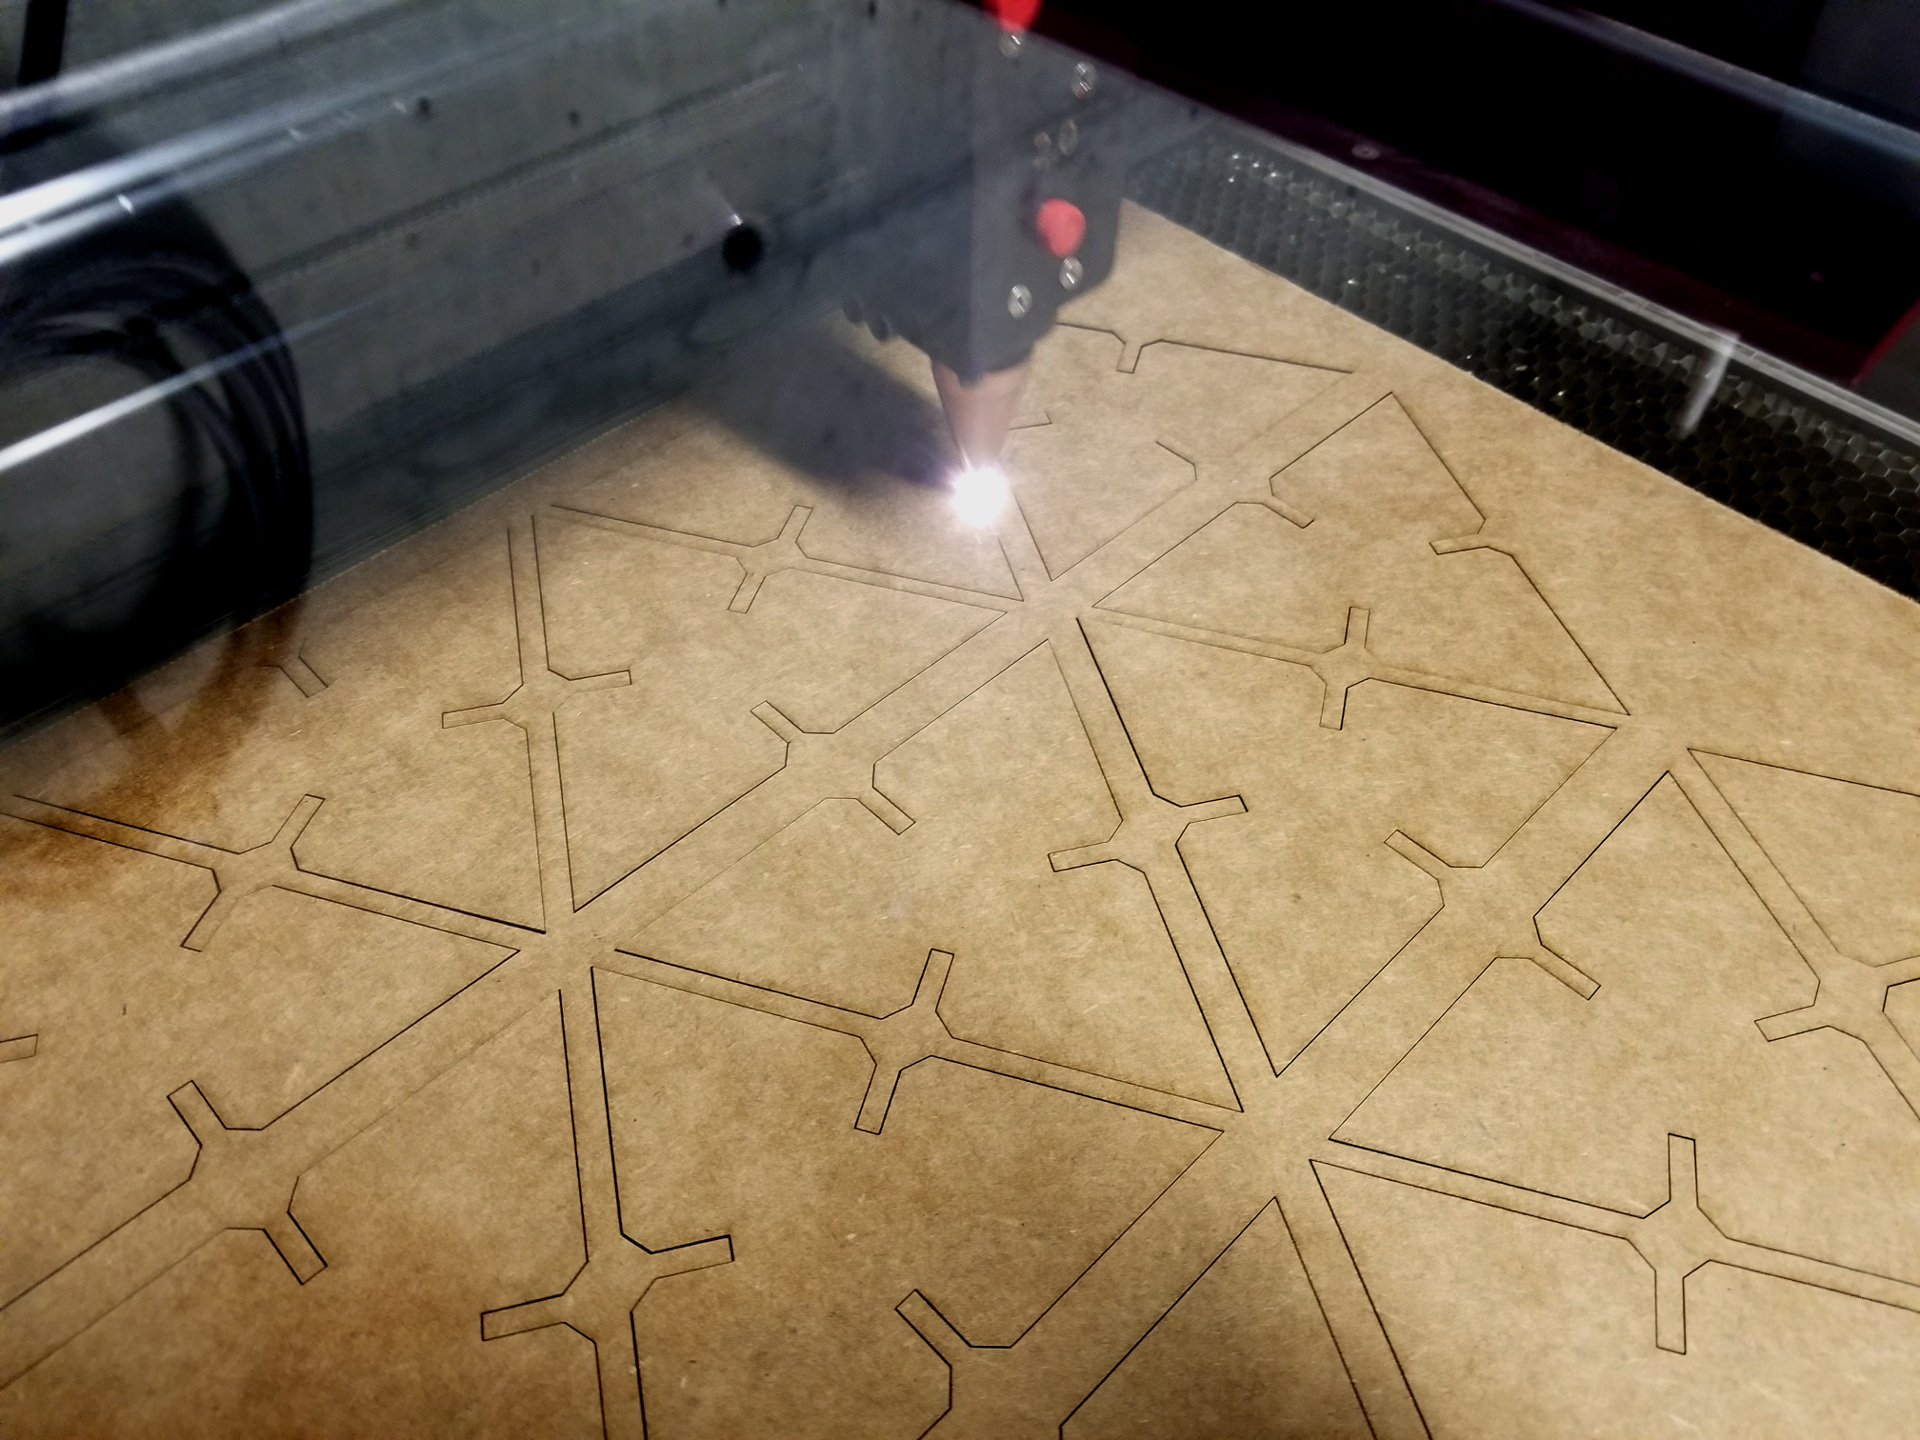
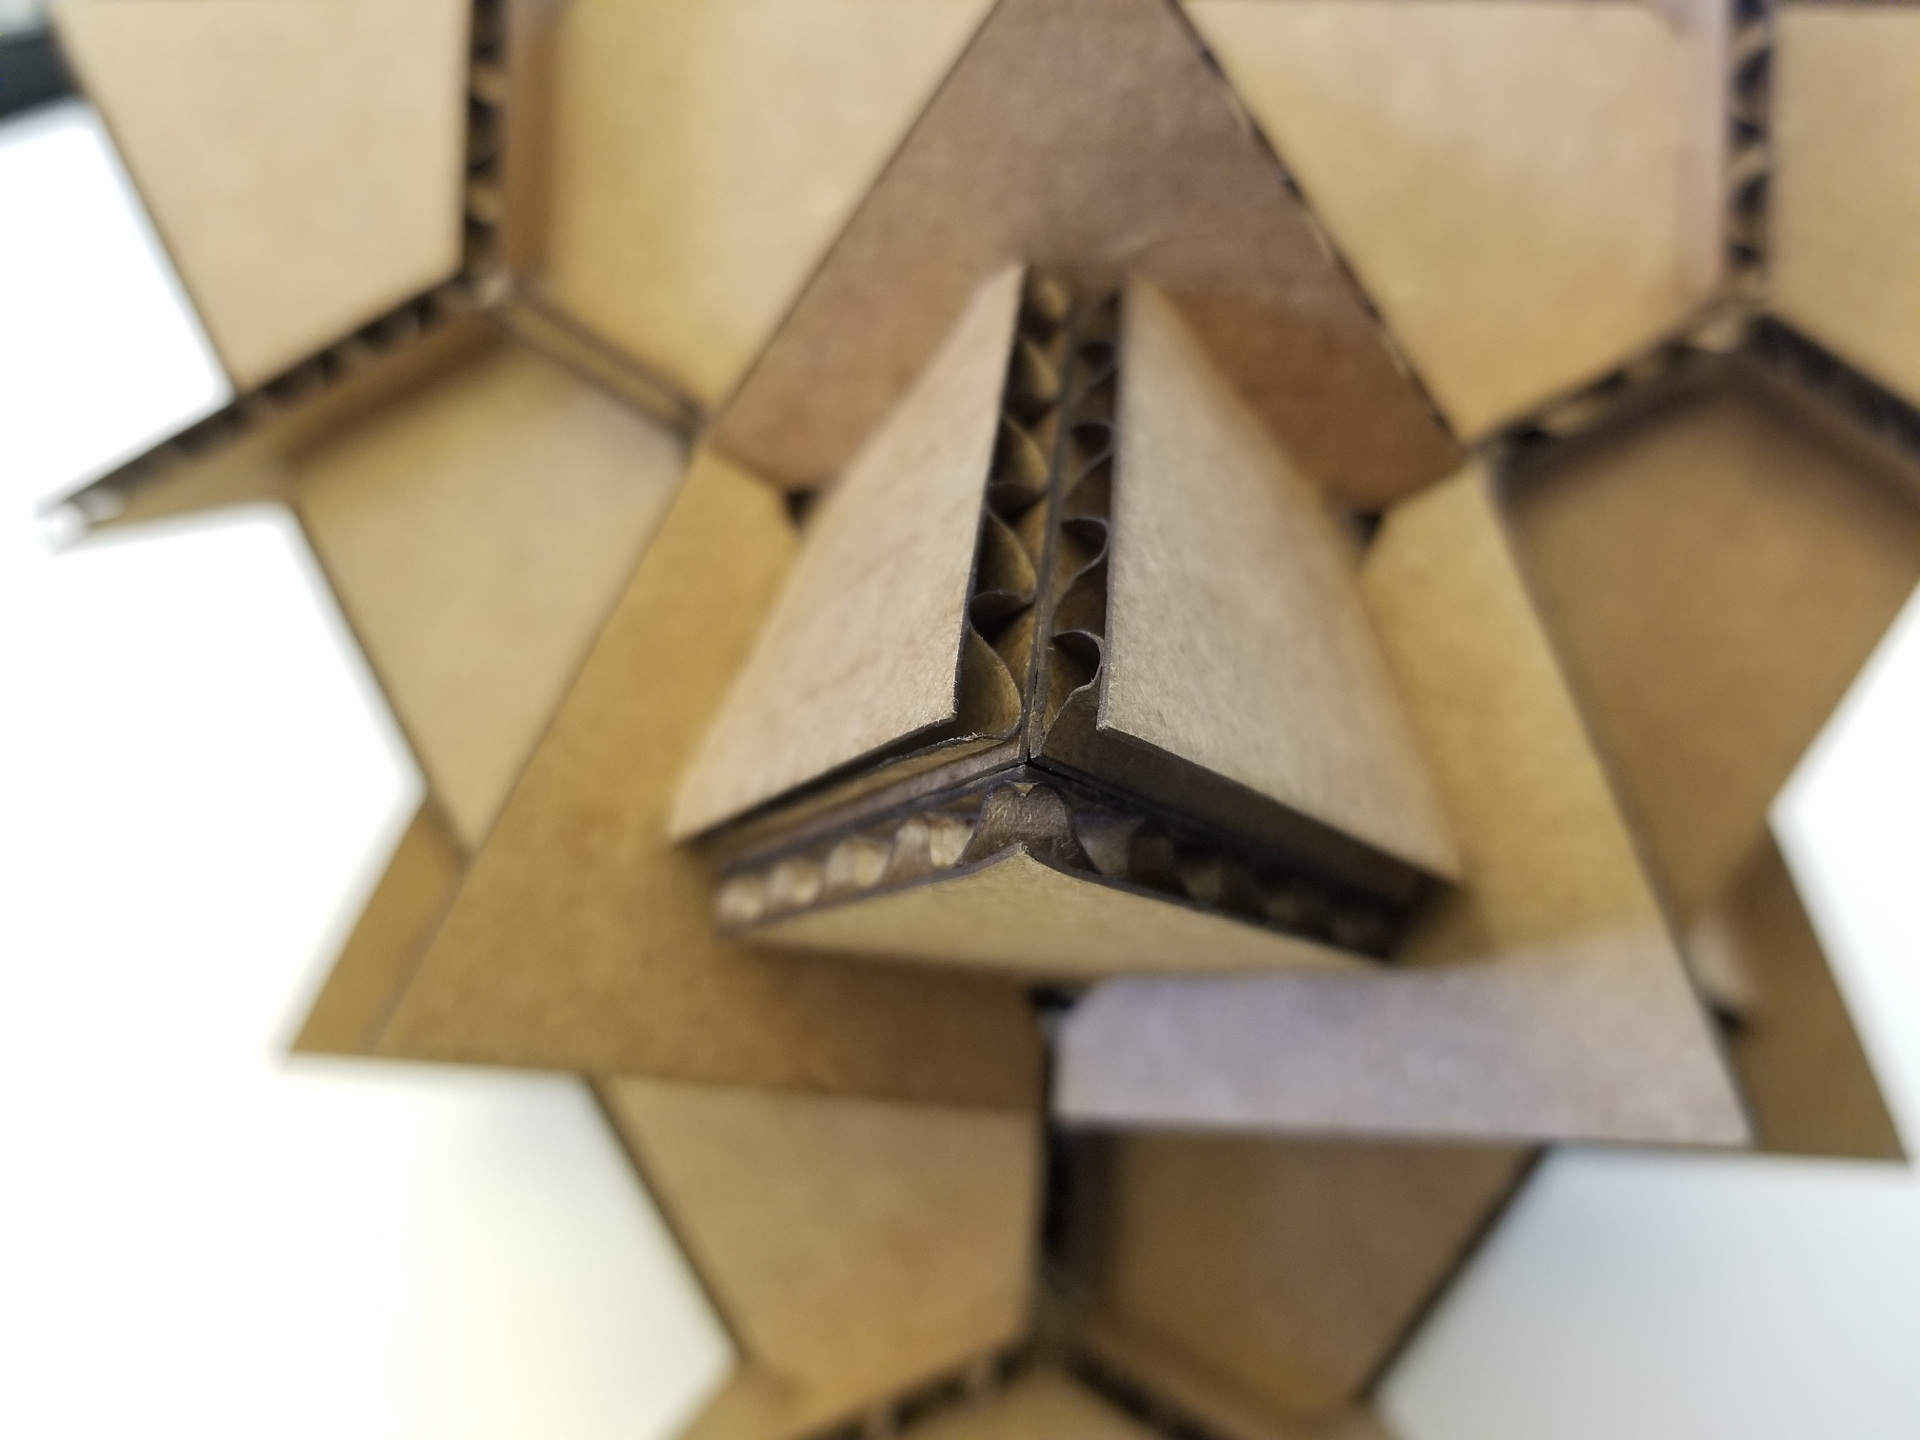
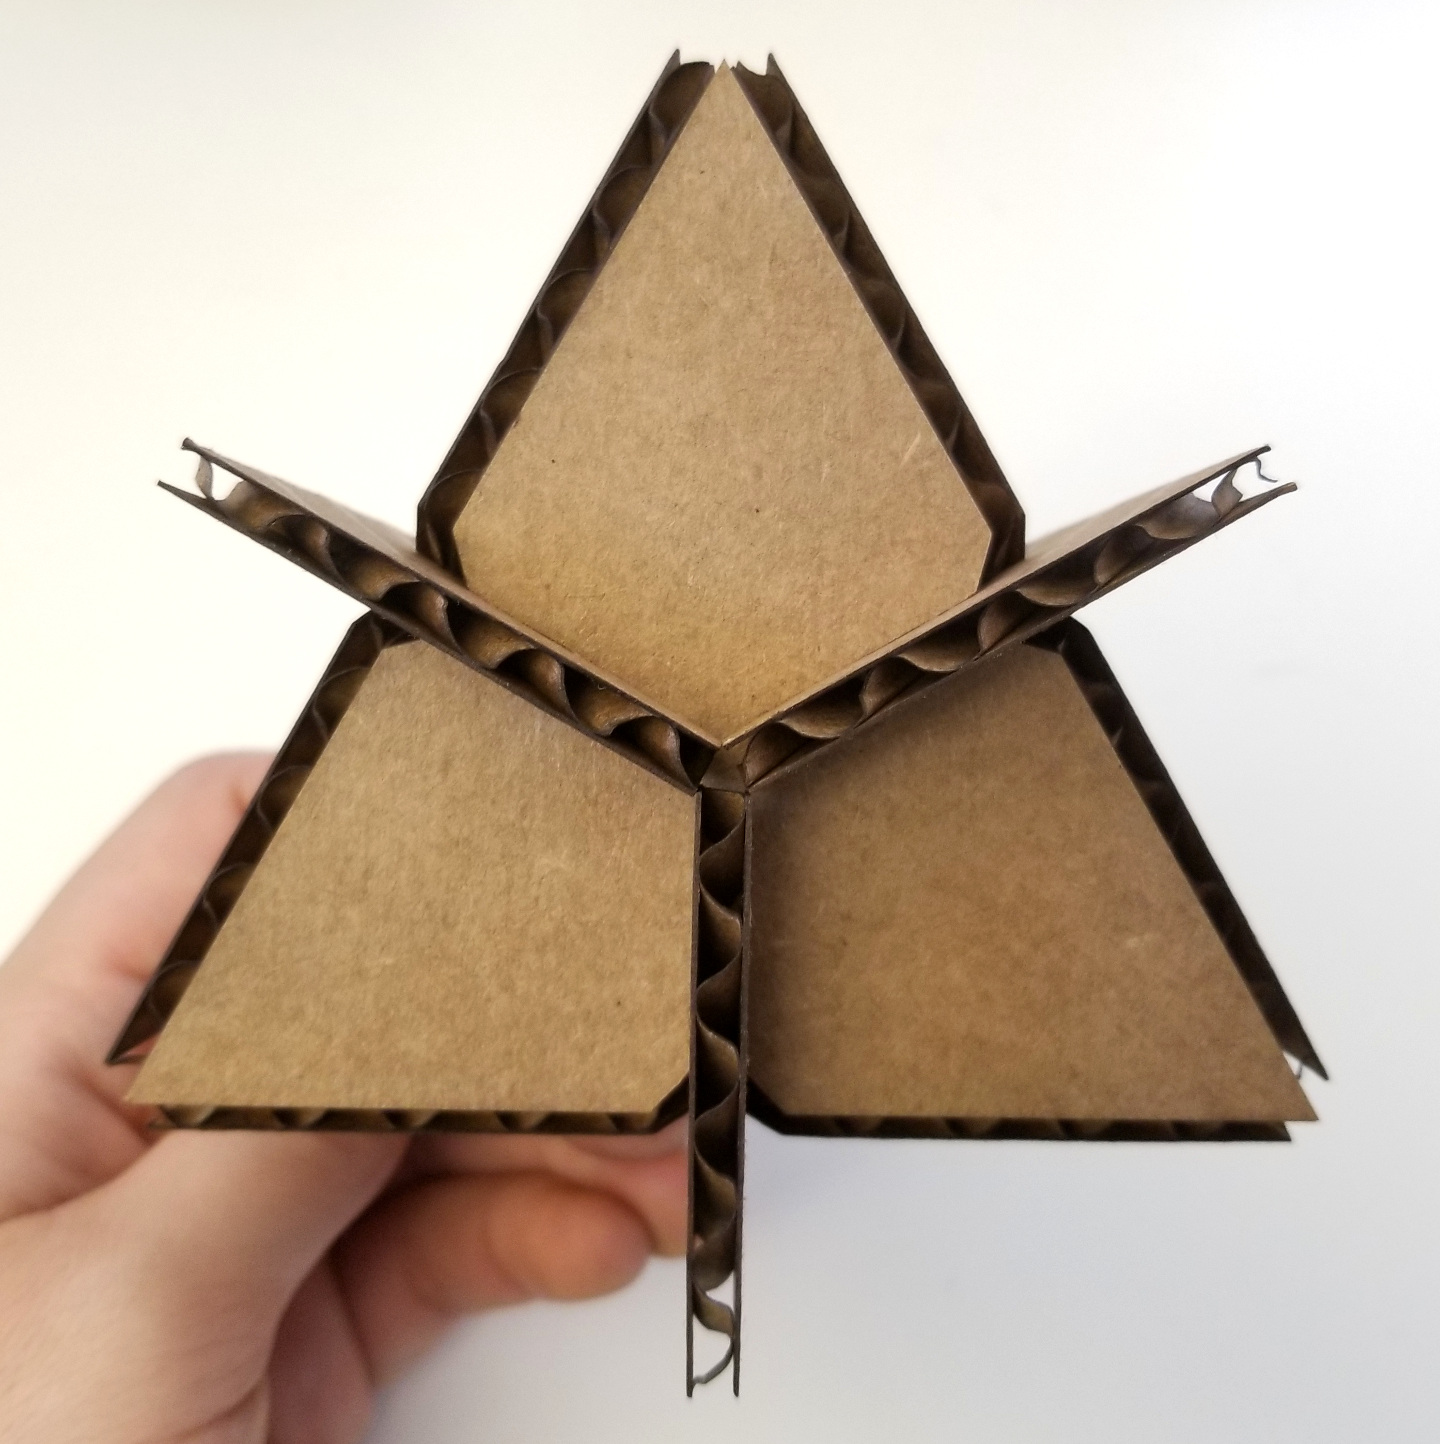
I cut my pieces on the GSD laser cutters, following the settings for 8-ply chipboard. I used a stock thickness of 3.7 mm and started by only cutting one of each of my pieces. Surprisingly, it fit together very snugly on my first go, so I went ahead and printed all the pieces. It was pretty cool to pick up the remaining frame and have all of my pieces laid out perfectly in the bed of the laser cutter.
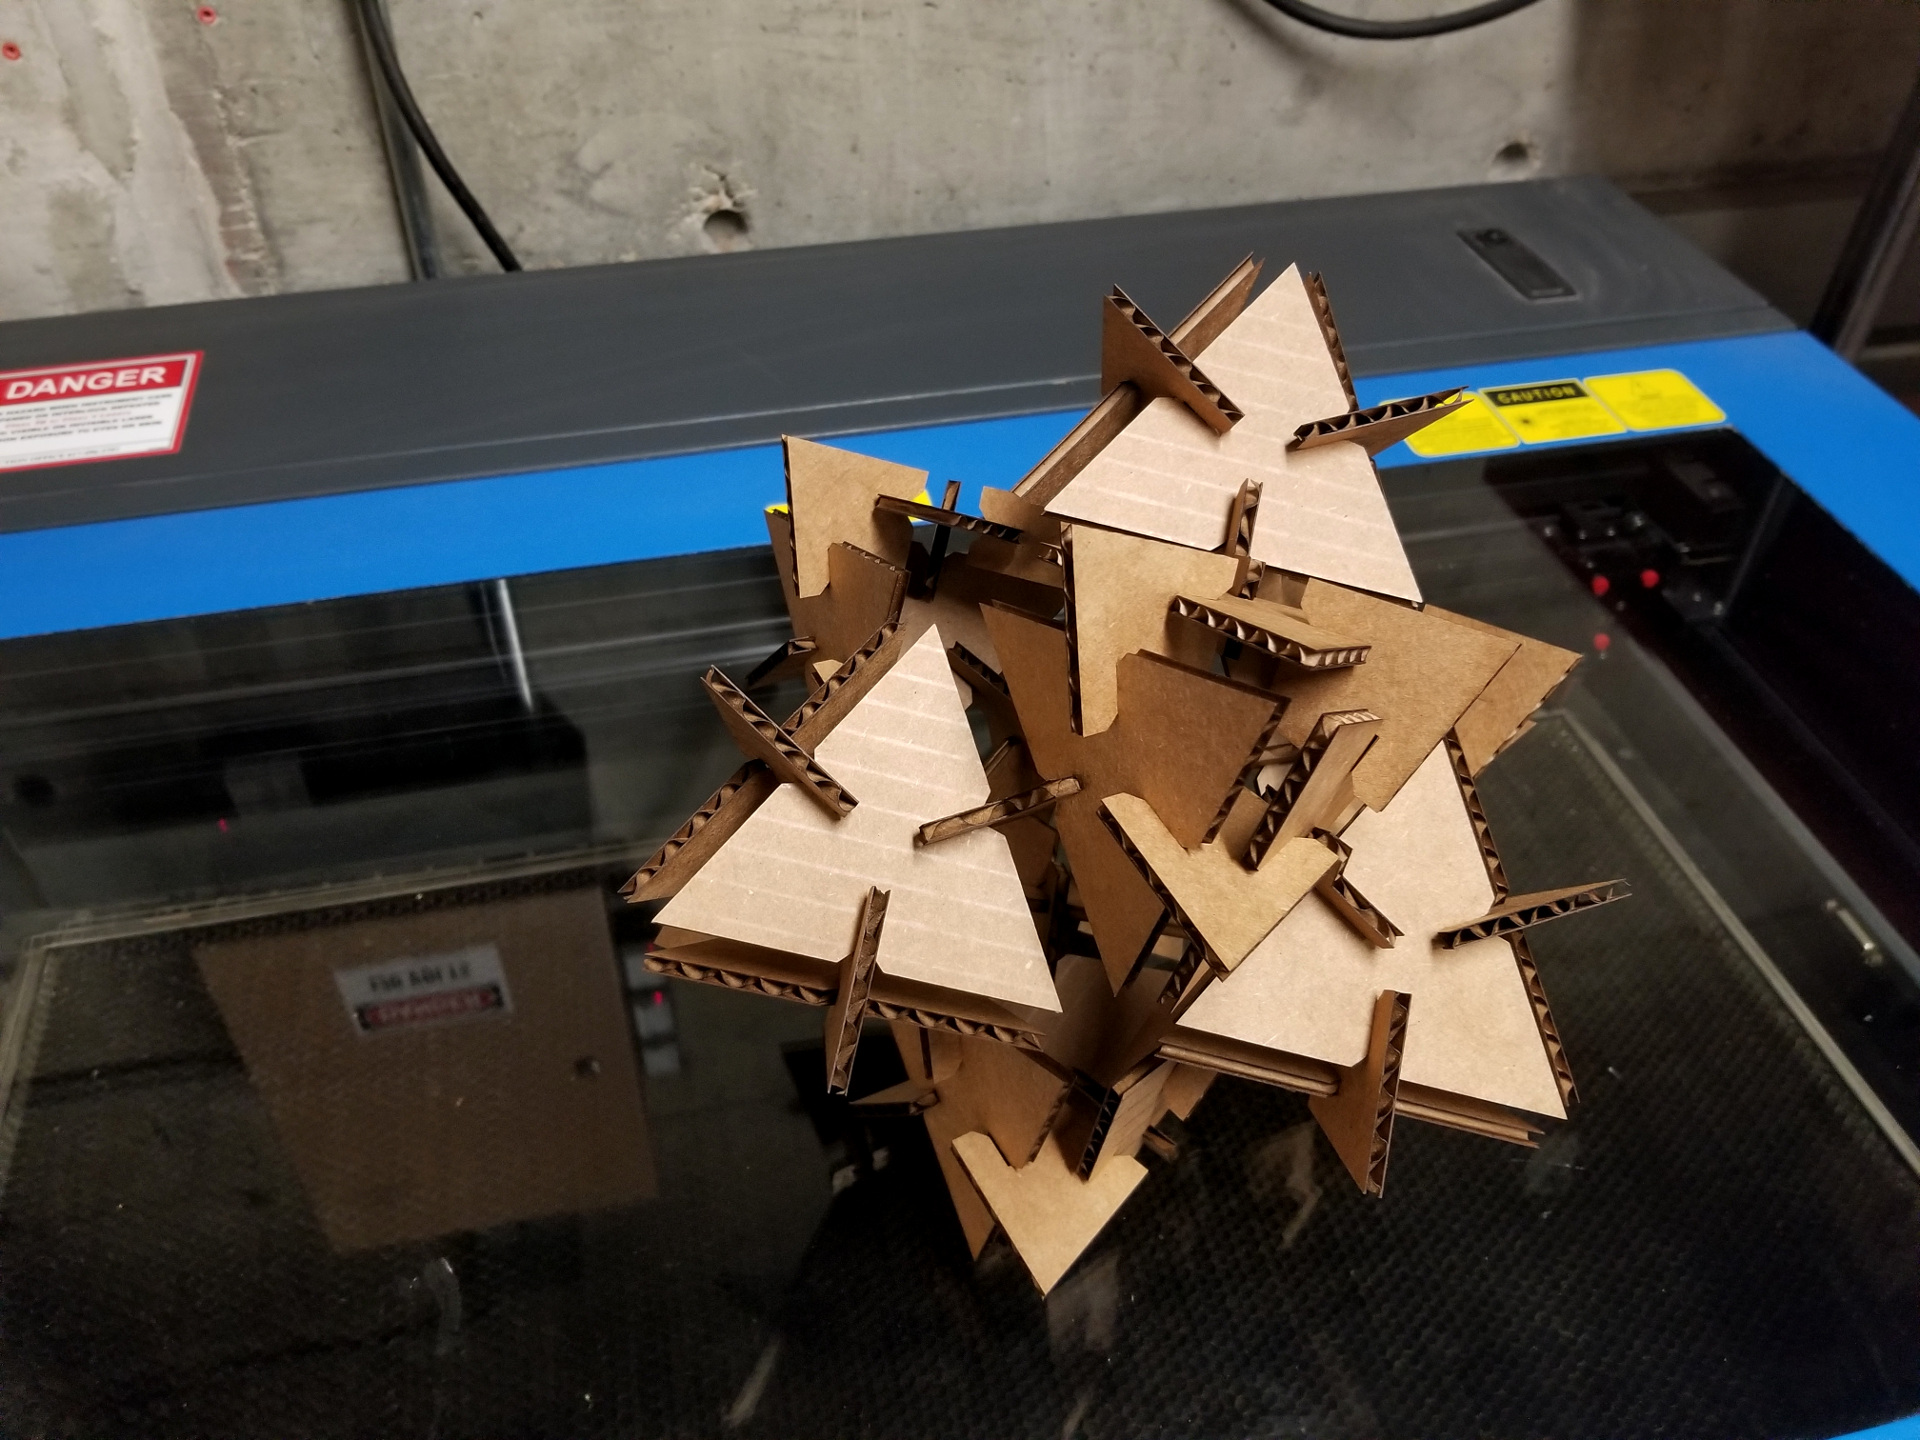
One of the challenges turned out to be assembling it: if I tightly fit together two sides of the tetrahedron, for example, it was impossible to put in the third side. I ended up starting by loosely assembling my whole stellated octahedron (just enough for the pieces to not fall apart) and then incrementally tightening everything up.
Once it’s put together, it’s incredibly sturdy. (The power of triangles!) And all the points fit together so nicely, even where there are four coming together on the octahedron! I’m incredibly pleased how well the whole thing fit together, especially for my first real attempt at CAD and laser cutting. I think it was definitely worth taking the time to properly make the whole thing in CAD and export the faces, rather than trying (and failing) to do all the geometry in 2D in Inkscape.
The interesting part is the smell. The whole thing smells like smoke. I stuck the pieces in my backpack to take them back to my office, and now both my backpack and the shared office smell strongly of smoke. When I was cutting, I could see the smoke coming out of the corrugation at the ends of the sheet, which seems like a lot of smoke. But nothing ever seemed to start catching fire, and my pieces don’t really look charred. Hopefully the smell will dissipate before someone think we’ve started Maxwell Dworkin on fire.

Vinyl Cutter
![]()
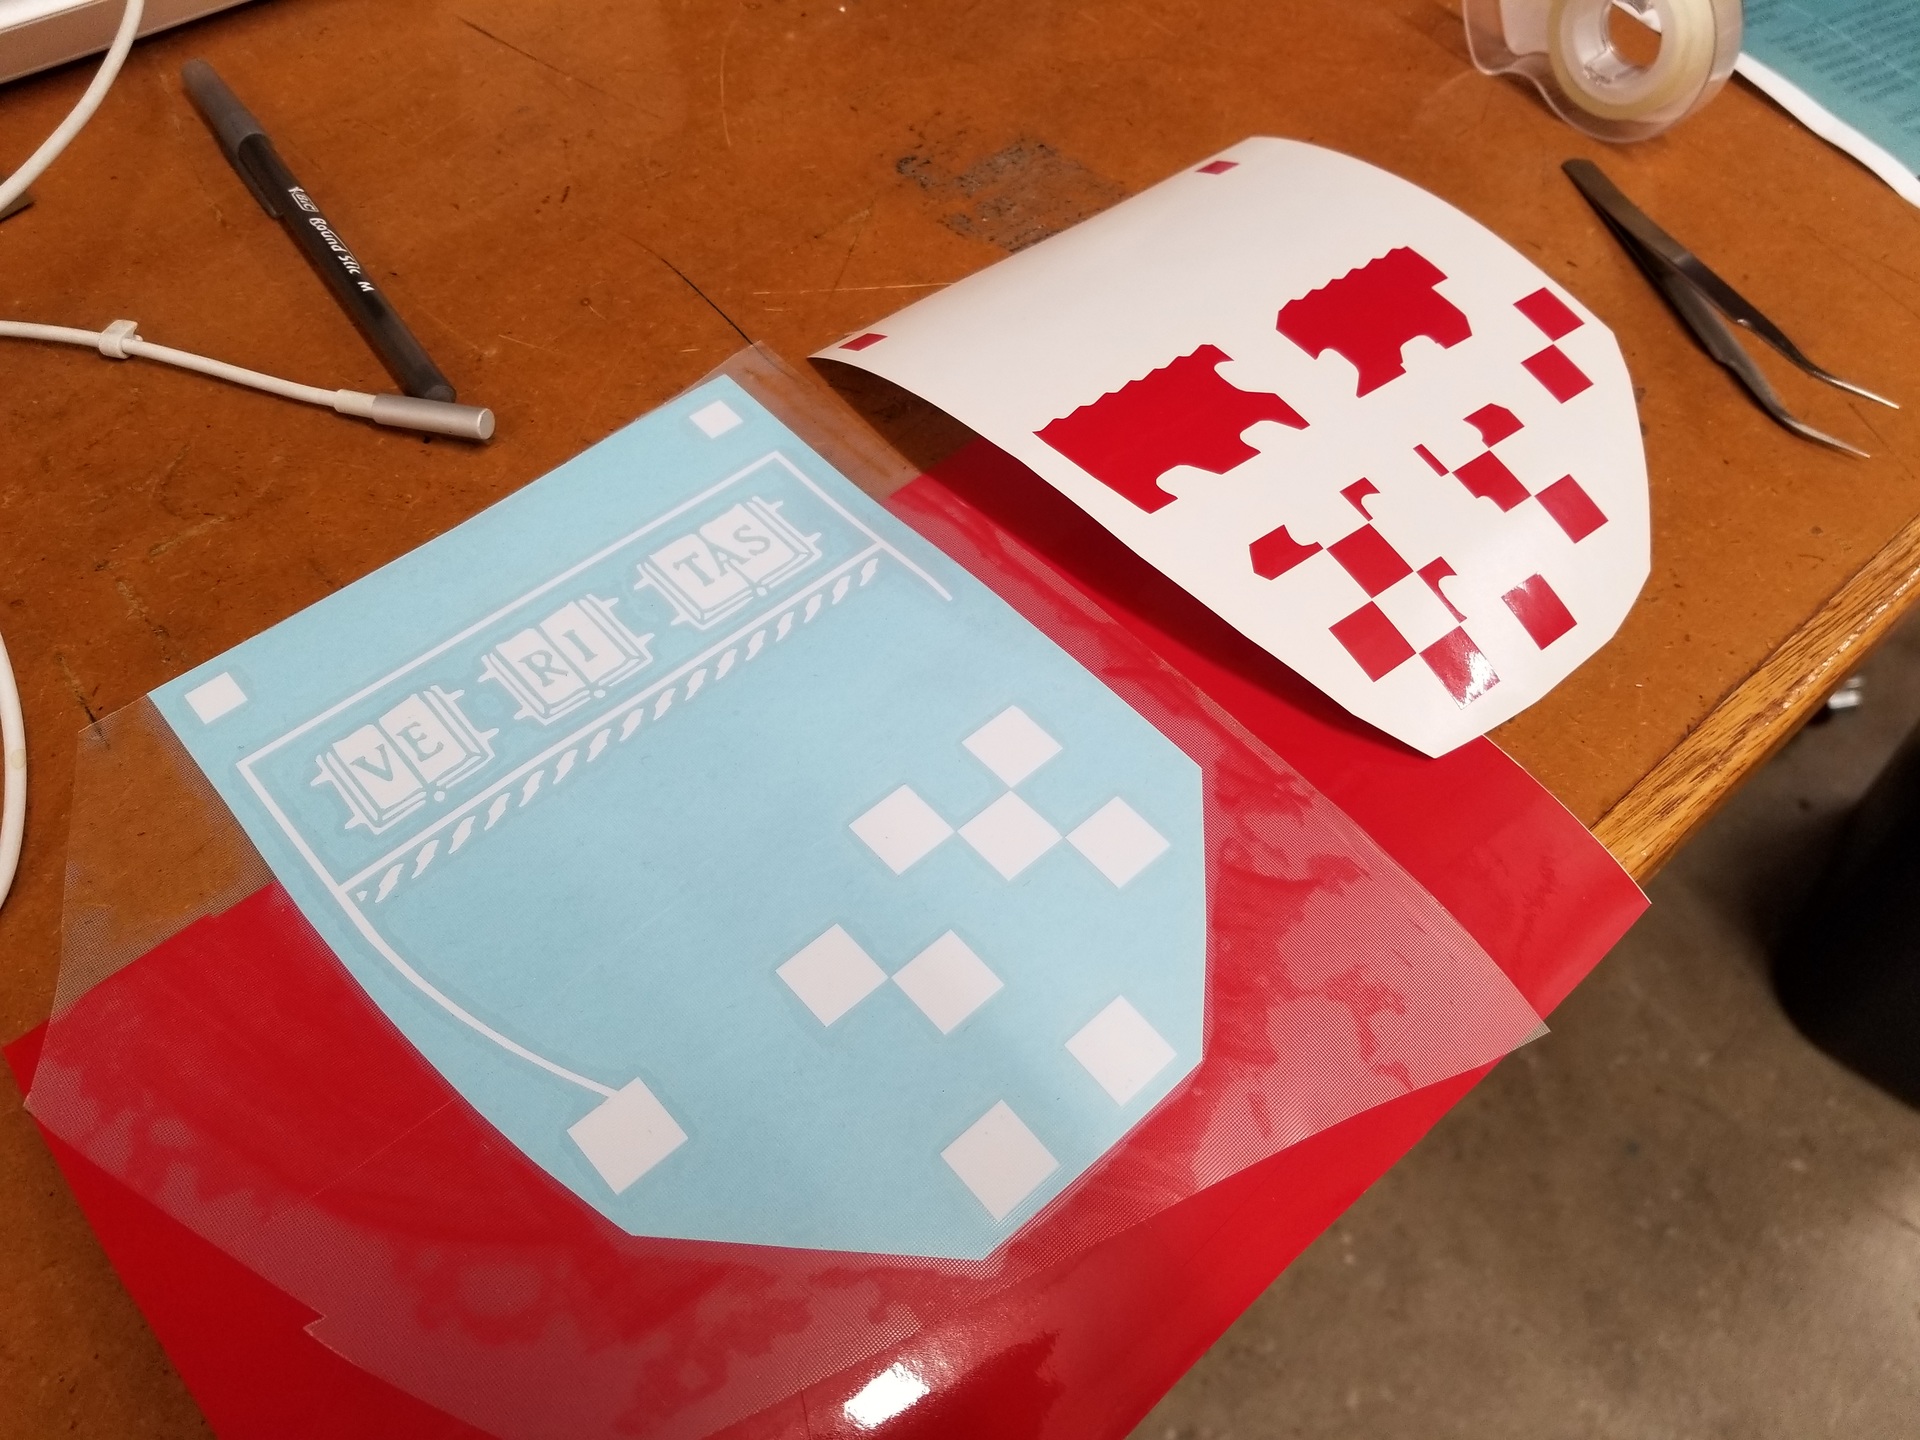
For vinyl cutting, I decided to make a sticker out of my research group’s logo (Self-Organzing Systems Research). I thought this would be an interesting challenge since it contains both larger and smaller parts, and it’s a two-color logo. I wanted to put it on my dark laptop (classic vinyl cutter project). Due to a fit of procrastination last semester, I already had a vector version of the lab logo. I did some clean-up on the image and generated two images to vinyl cut: one for red, one for white. I also added small boxes in the same location at the top to align the pieces when I layer them on top of each other. (This suggestion came from a YouTube video. Thanks, YouTube.)
At some point I’d like to figure out how to use the vinyl cutter for screen printing; I want to try out making shirts for the curling team.
![]()
![]()
Cutting
I followed these instructions to use the Harvard physics shop vinyl cutter.
Unlike the laser cutter, things did not magically work on the first try. At first I thought I’d use the SVG mods package for the vinyl cutter, since my image was an SVG. But I realized that this just converted the vector image to a PNG anyway, and trying to change just wreaked havoc on the image conversion, so I went back to the PNG program.

In this mode, the first thing I realized was the size: from the resolution of my image, the sticker was going to end up a gigantic 11 inches tall. By changing the DPI from 90 to 150, I was able to reduce it to a more reasonable 6.5 inches tall. (Any smaller and I discovered that it was basically impossible to pick apart the resulting tiny pieces.) Next were the cutting settings. The default force of 50 (I don’t remember the units) was too little and didn’t even cut through the vinyl. 100 cut through nicely. However, with all of the tight turns and little details in my design, the default speed of 2 cm/s resulted in a lot of corners not quite cut through, so I reduced this to 1 cm/s. Lastly, the blade thickness: the default 0.01 inches produced a result most true to the original image, but I ended up using a thickness of 0.02 inches in my final sticker; it made the parts (particularly the book pages) just enough thicker that I didn’t want to yank out all my hair when trying to remove the extra vinyl. Unsurprisingly, it turns out it’s a lot easier to take tiny pieces out of a large piece you want to leave behind than the reverse.
Here’s my full process for creating the two-color logo sticker.
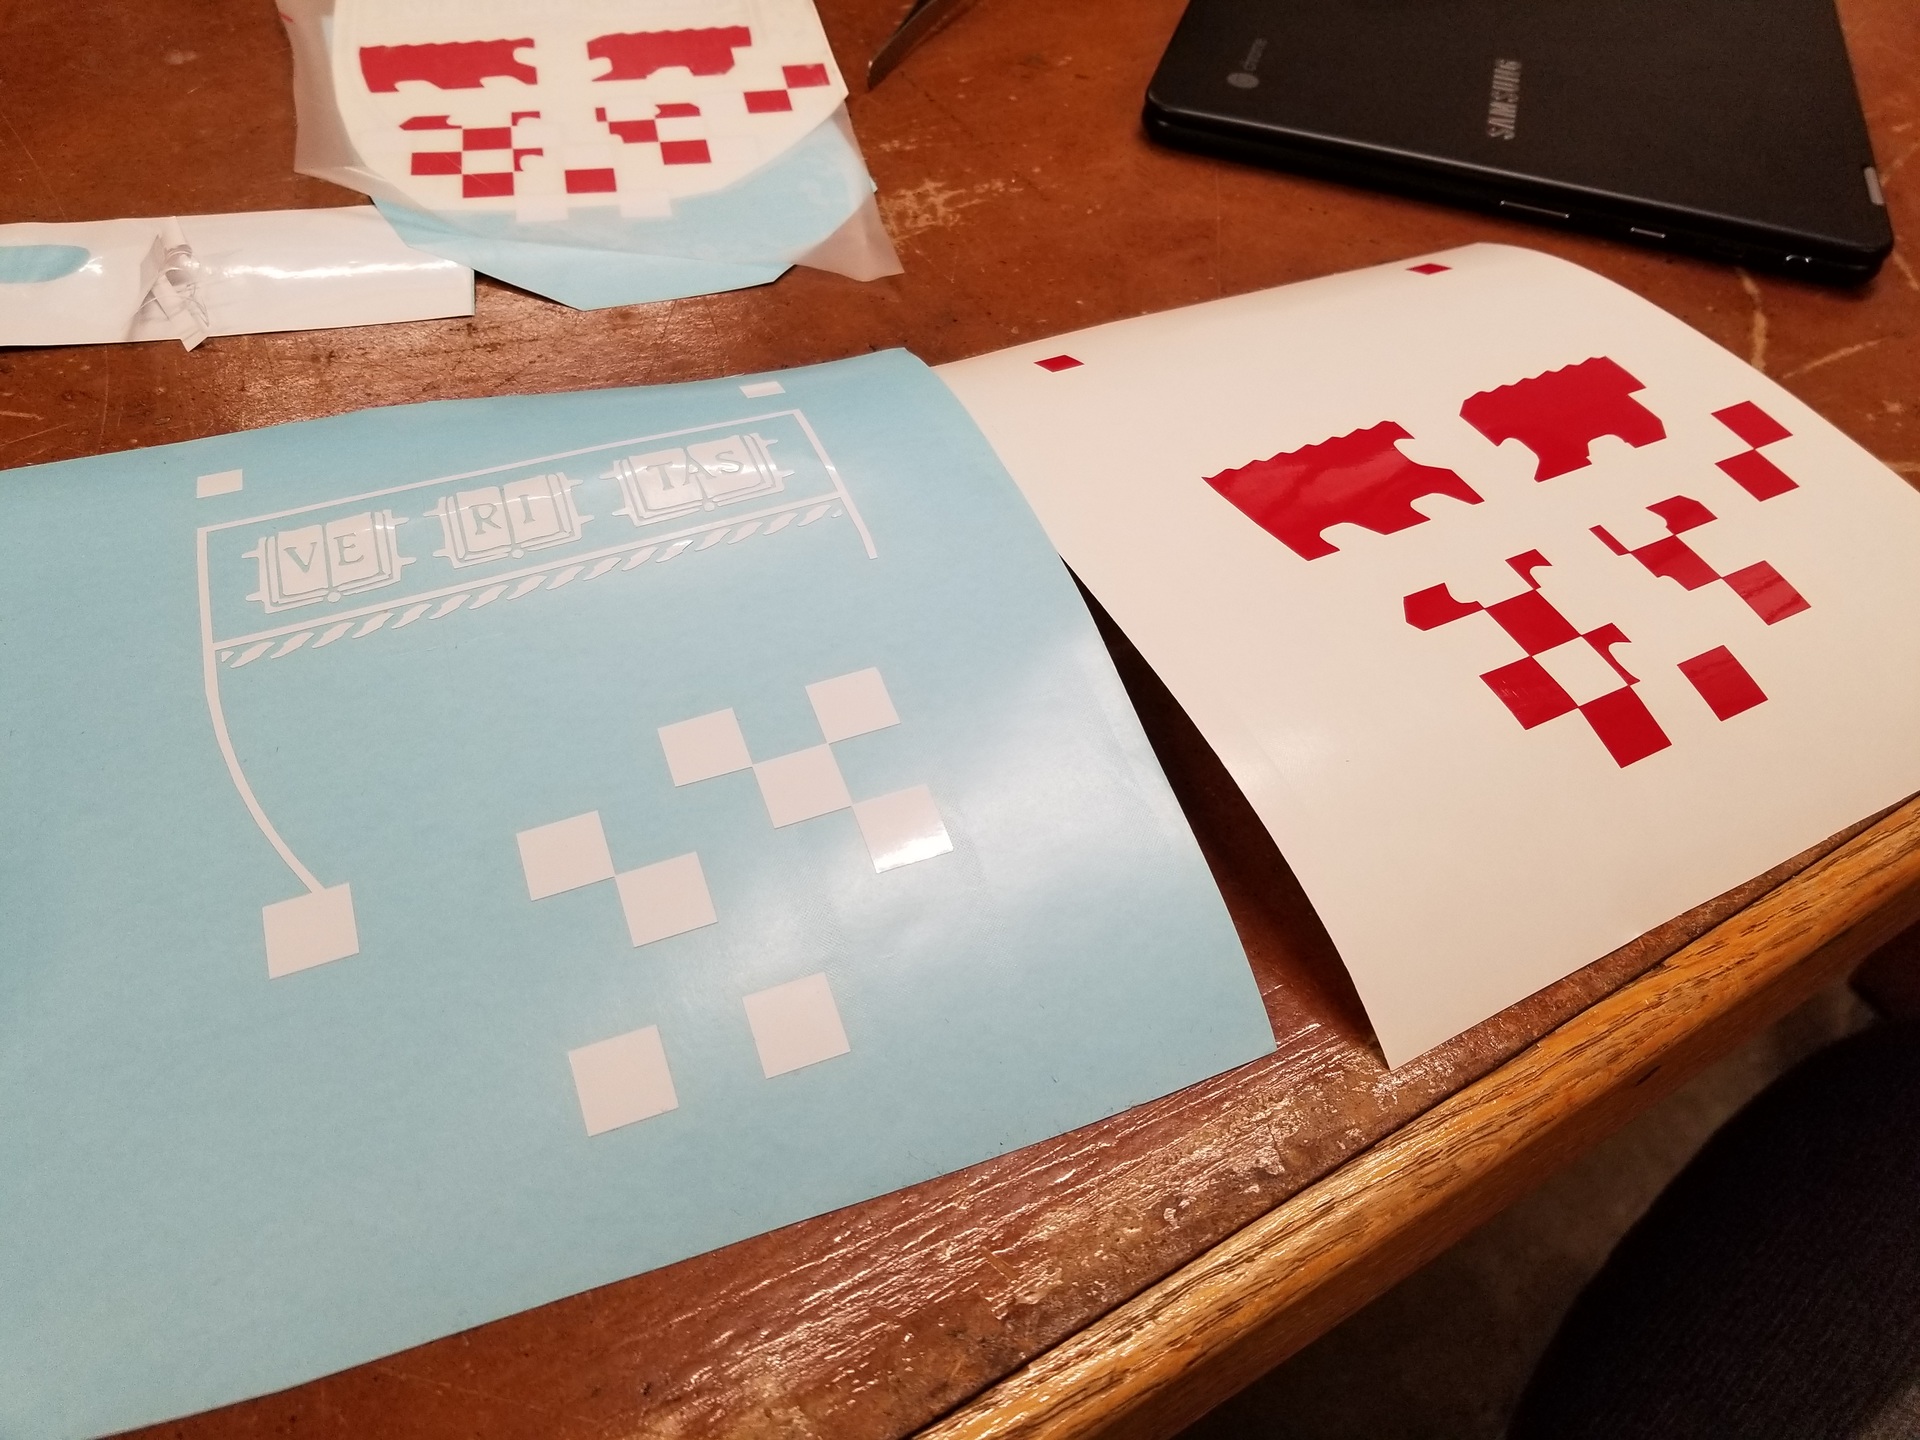
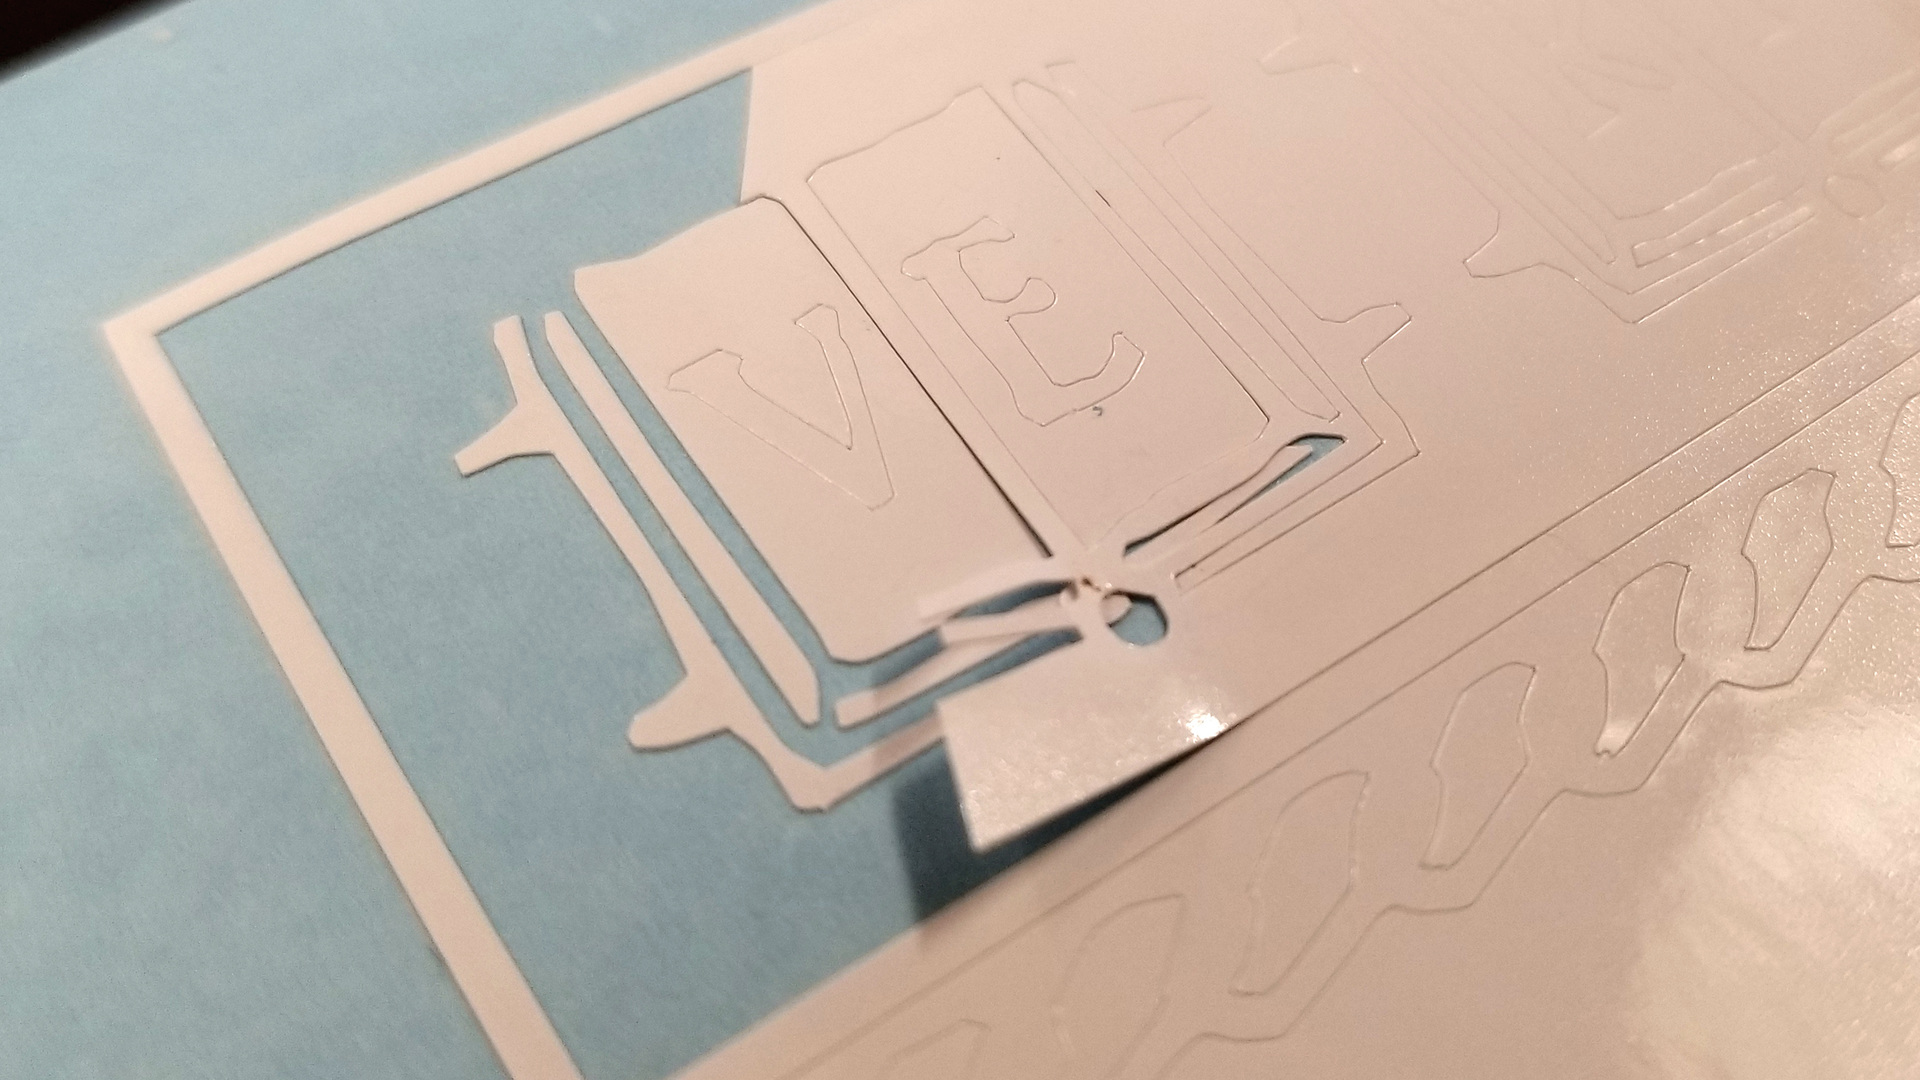
First I cut both the white and red vinyl pieces and removed all the negative space vinyl.
Next up: transfer tape on the white piece. This stuff is super sticky. (In this picture I’d made the mistake of laying it over a scrap piece of vinyl and it was not fun to get off.) At this point I also tried to get the vinyl to adhere to the transfer tape as much as possible by running over it with the long edge of my ID card.
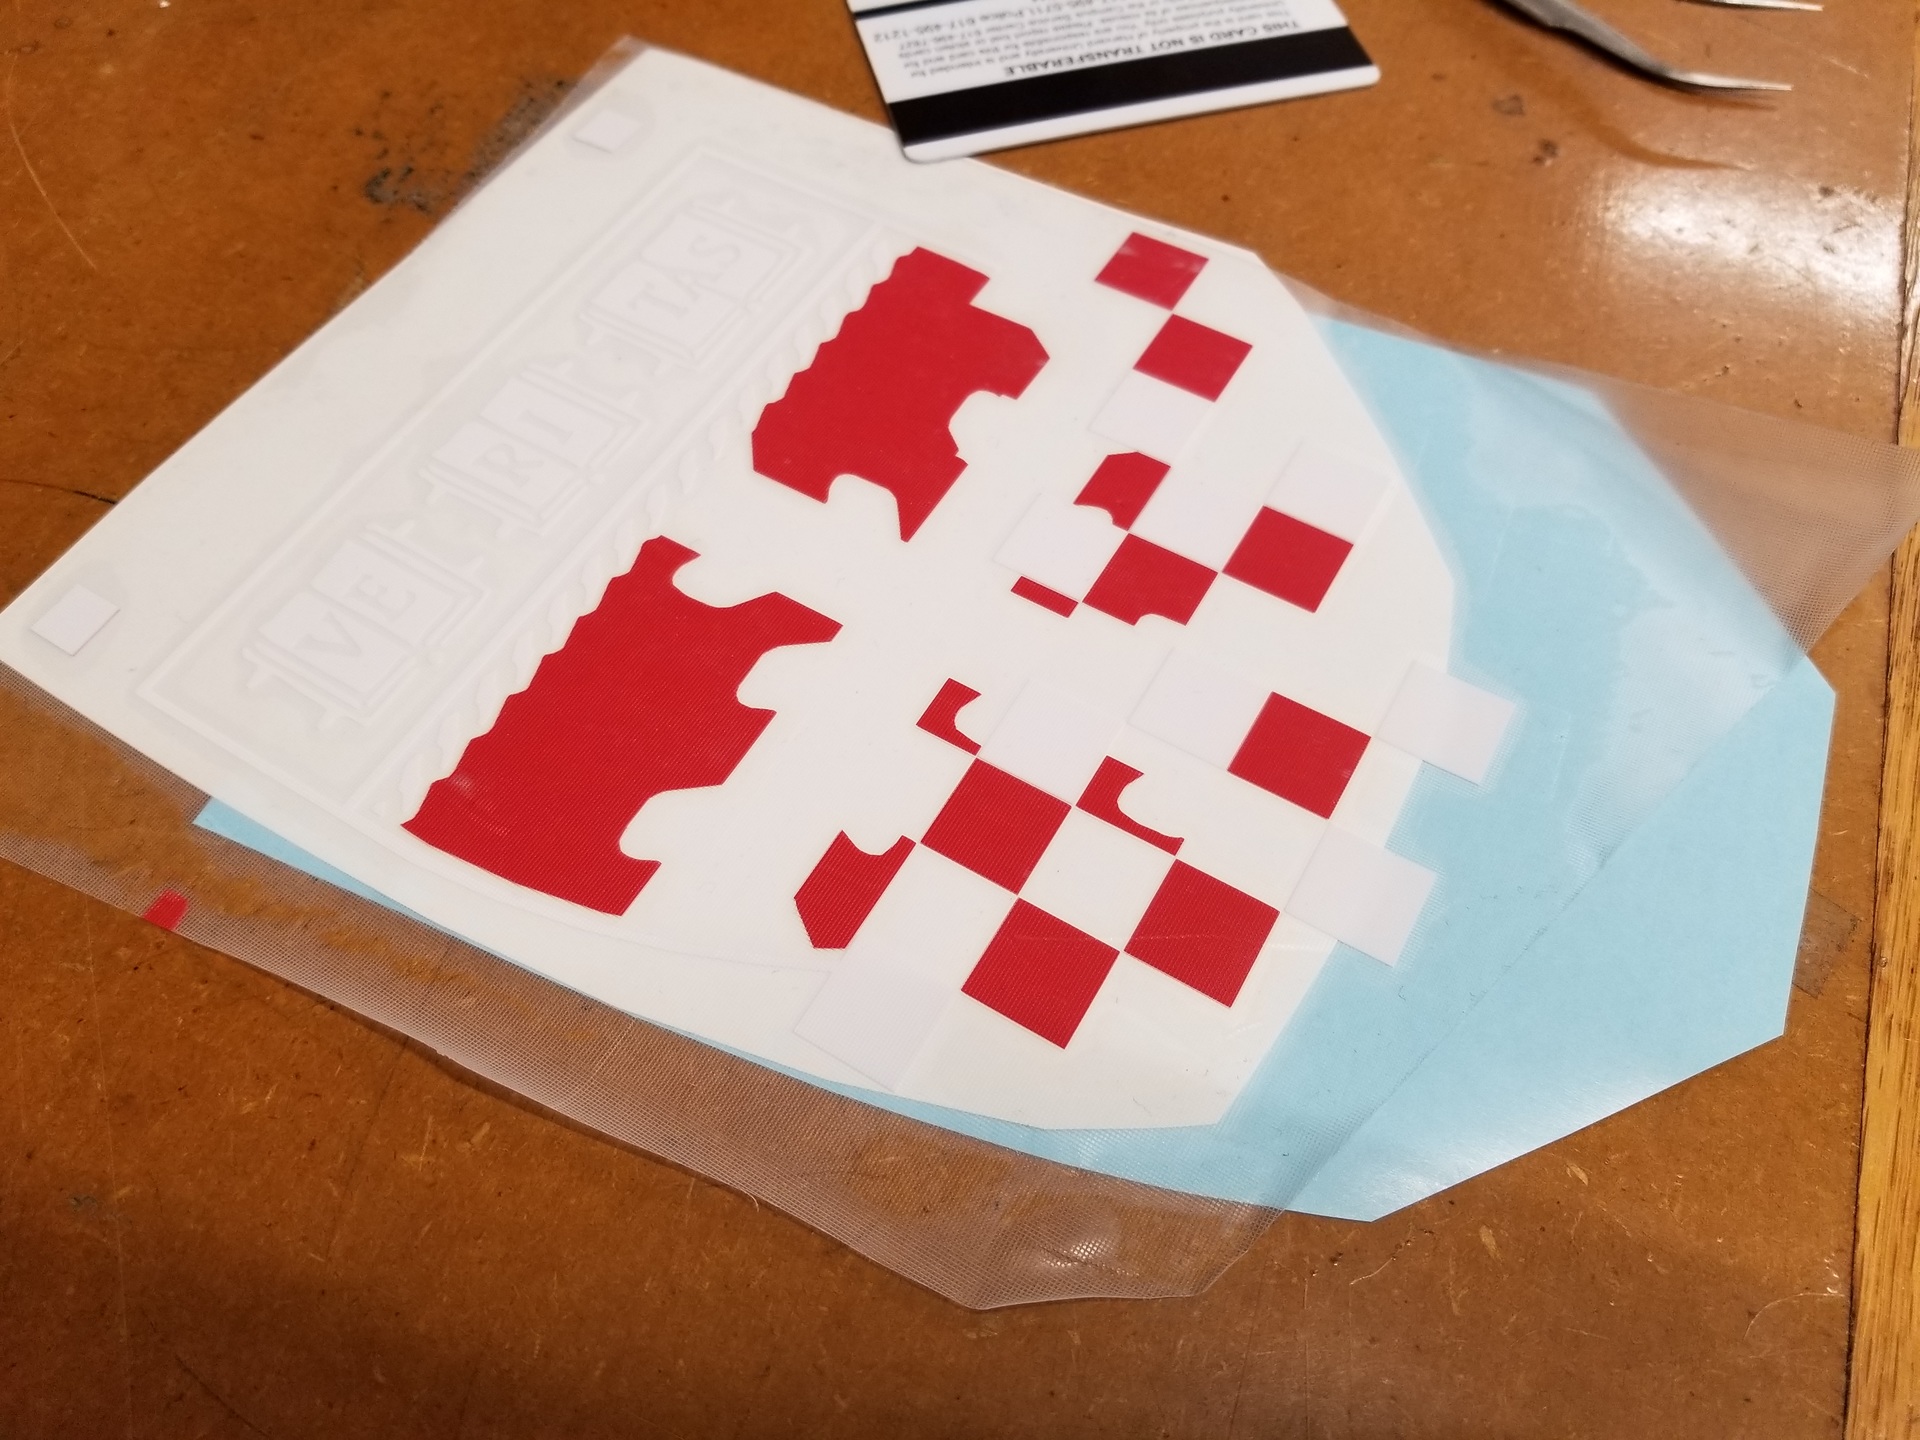
I peeled the white piece off its backing and then carefully layered it over the red piece, lining up my little marker squares at the top. I’m actually surprised at how well I was able to line things up from these two little marks. Again, I squeegeed it with my card to get it to stick and come off of the backing better.
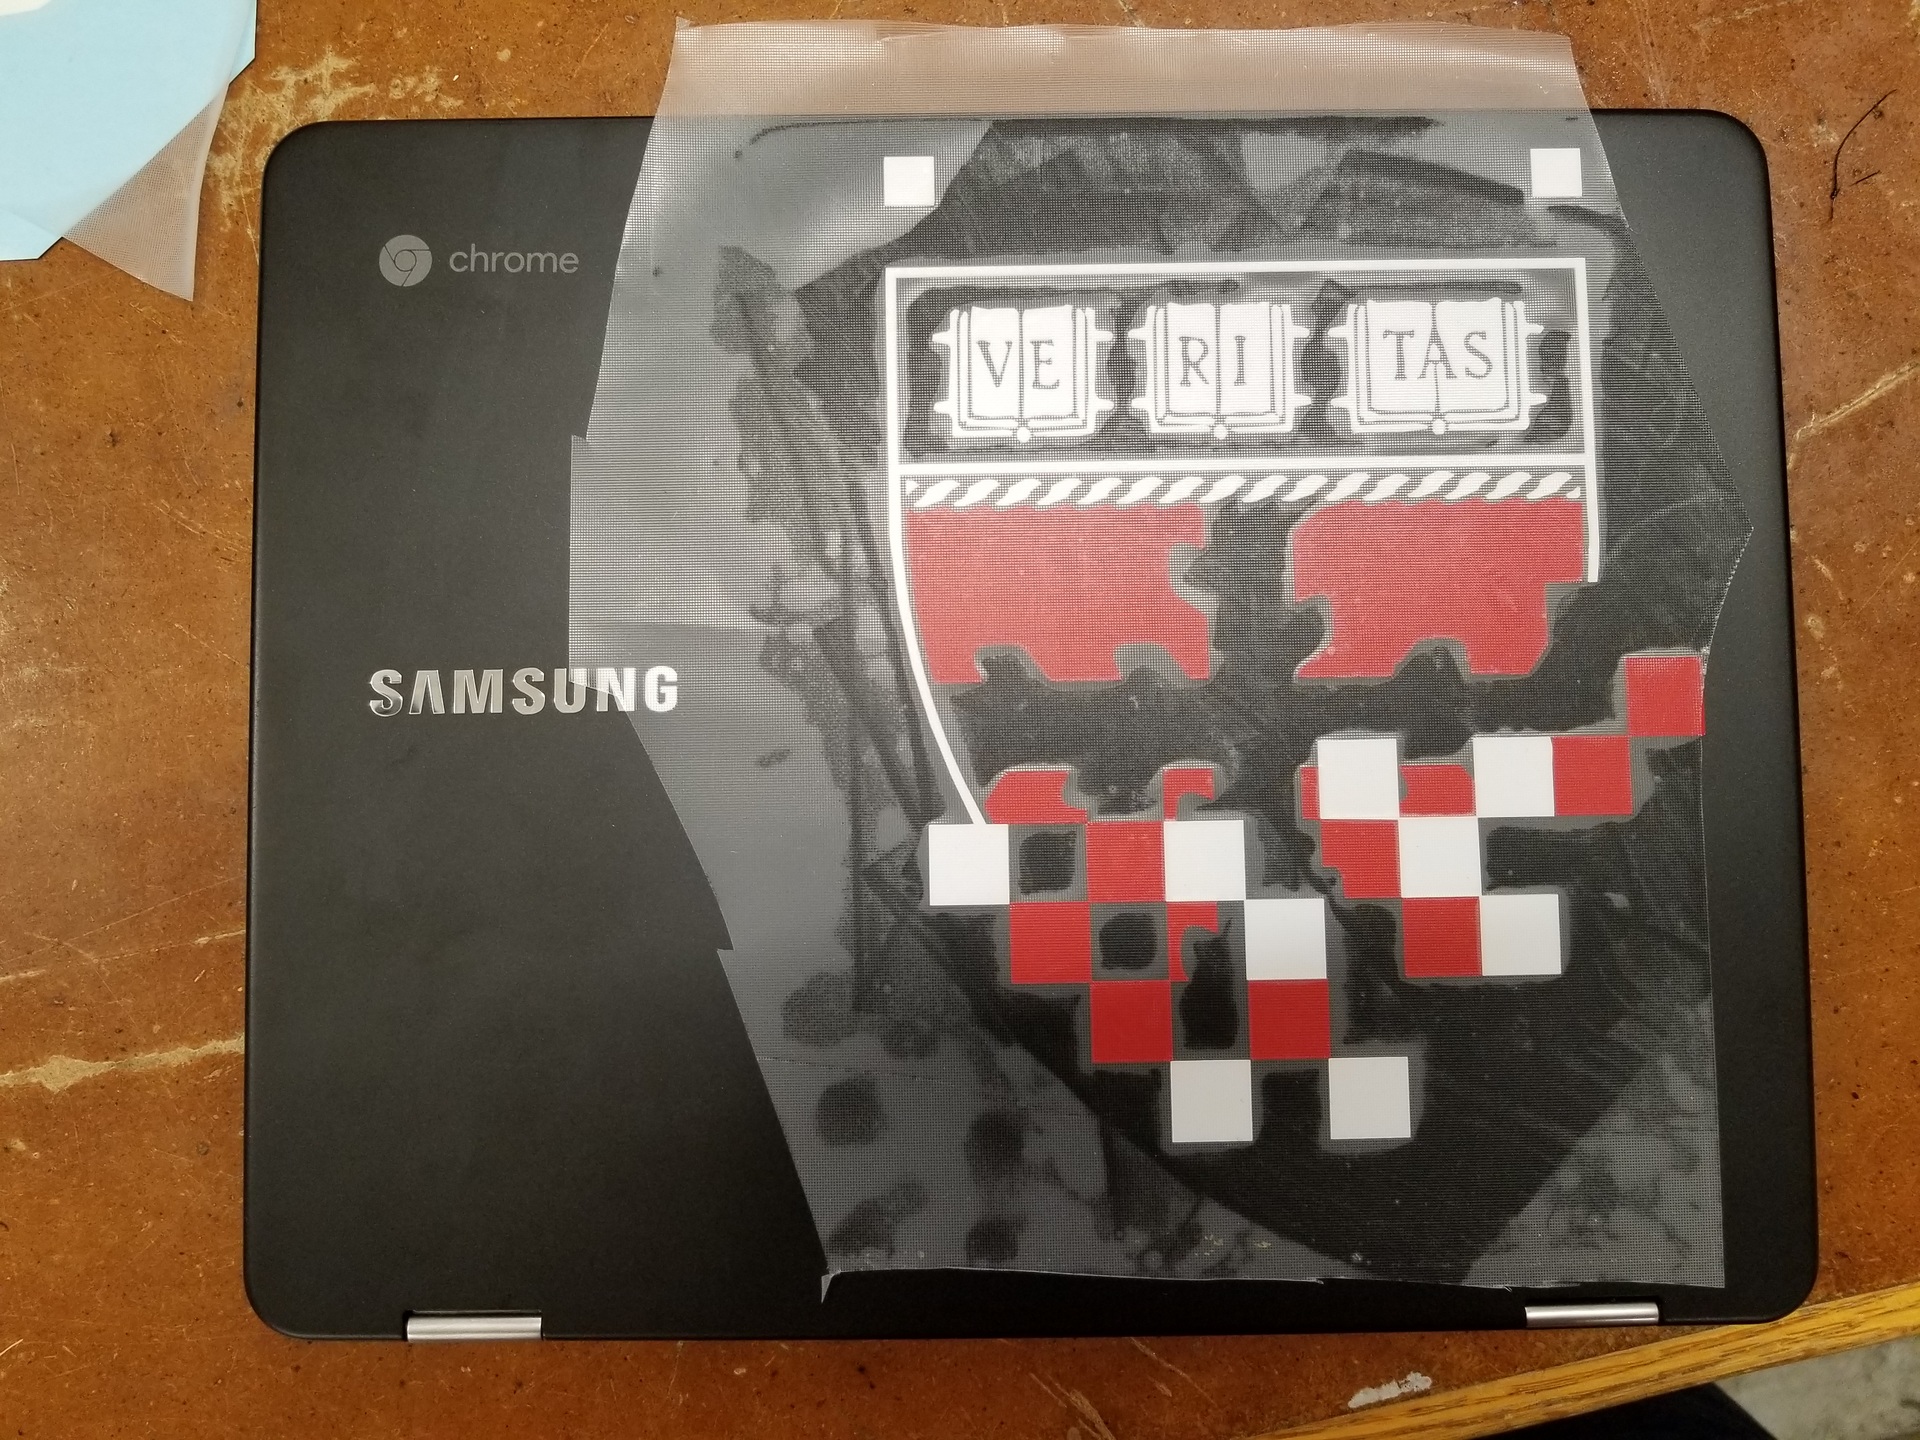
Almost there! I pulled it off the backing for the red vinyl and did my best to align it straight on my laptop. Once it touched, though, it stuck, so no repositioning at that point. Again, I squeegeed to adhere the sticker to the laptop. In spots where I didn’t do this as well, the vinyl started to come up with the transfer tape and I had to go over it again with the card to stick it on better. When I pulled off the transfer tape, it was most effective to lay it back across itself and pull horizontally – less likely to pull up the sticker.
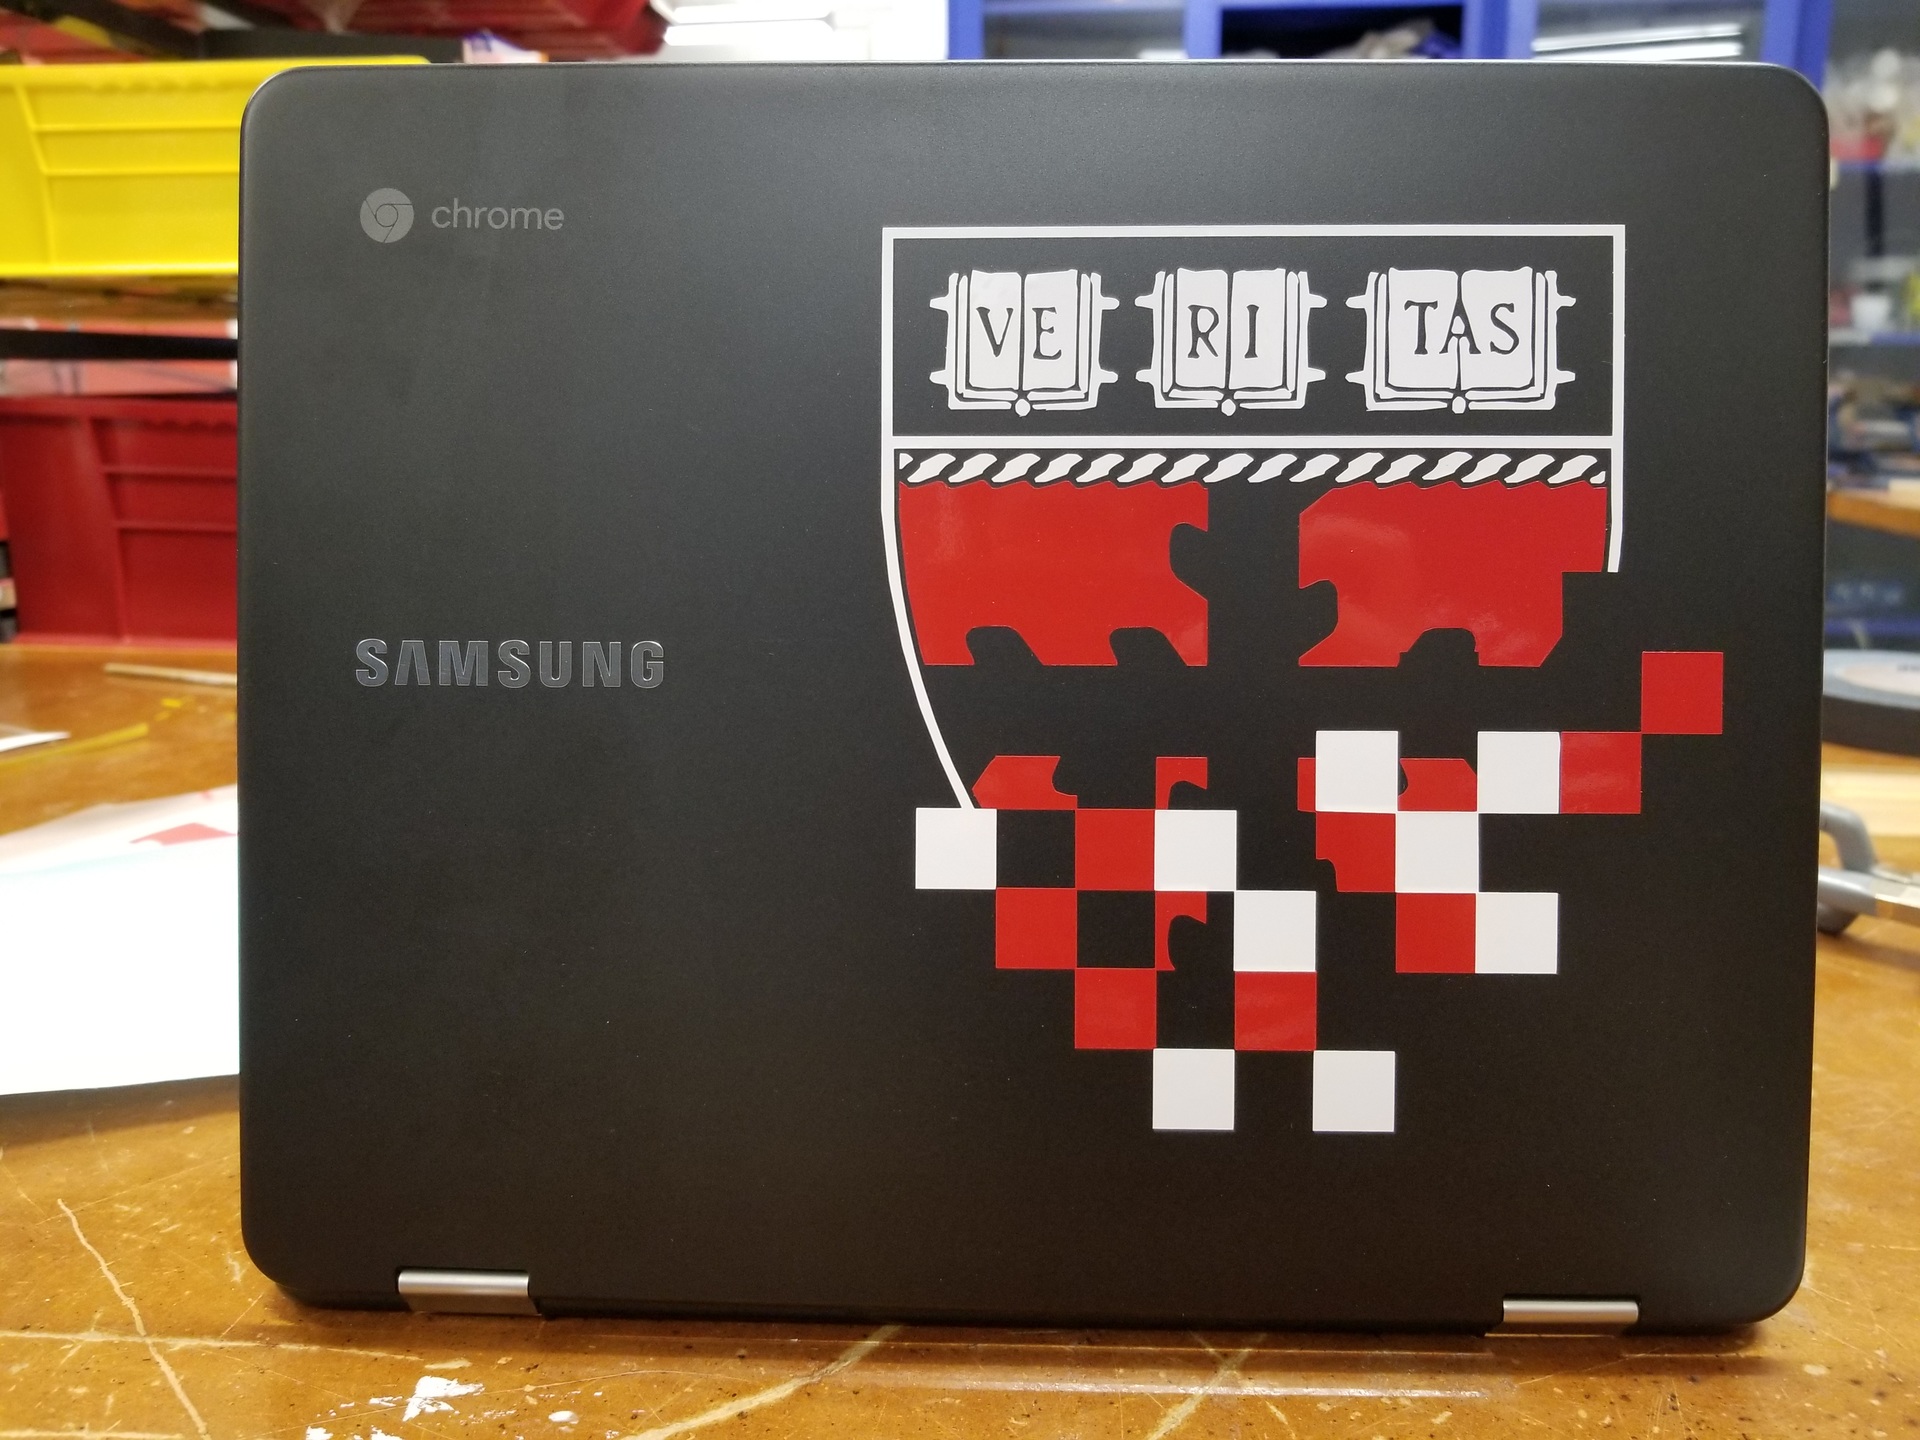
Transfer tape off, and the result is super slick. Unfortunately, my labmates didn’t seem to appreciate it because it wasn’t free food. It looks even better in person than the picture. I’ve also got an extra to put up somewhere in the office.