Assignment: Design a 3D mold around the stock and tooling that you’ll be using, machine it, and use it to cast parts
Design
I decided to make a scaled-down model of my robot for this week’s casting. That way, I can make a bunch of them and have a way to demonstrate how I want them to move. (Making a bunch also makes it a prime candidate for molding instead of 3D printing.) Another option I considered was molding treads for my actual project robot. I decided against this because I think it might end up being far too time-consuming to make my own tracks. I’d also need to design and make the track guides, make sure they mesh together well and don’t slip, and figure out the very precise spacing between the track guides. Considering that my robot has a lot of complex and moving parts, my time is probably better spent on the rest of the robot.
But I digress: a model! I made a copy of my OnShape document for my model and stripped out all the unnecessary parts like screw holes and struts. I then added a parametric scale factor to all the major dimensions (i.e., excluding things like thickness of the top plate). This means I can make an approximately-to-scale model of my robot and adjust it based on the size of the machinable wax block. After playing around a little, I made it at 30% scale. I didn’t make the thicknesses of treads and the thin top layer to scale, because they would end up being too thin, especially for casting with Drystone. I then created an approximation of the tracks and track guides and filled a bunch of support material underneath the chassis to make all the pieces connected and well-supported for a brittle material. I’m still a little concerned that the thin parts of this are too thin for Drystone. If that ends up being true, I might find a different material to use for making a bunch of models.
After making my model, I have to turn it into a mold. This is where things get tricky, since it has to be machinable. First, I’m not sure where to split the mold into multiple pieces. Second, all the parts have to be reachable in machining (i.e., no parts to be cut out underneath). And lastly, there’s some mental manuevering to make a positive mold to create a negative mold.

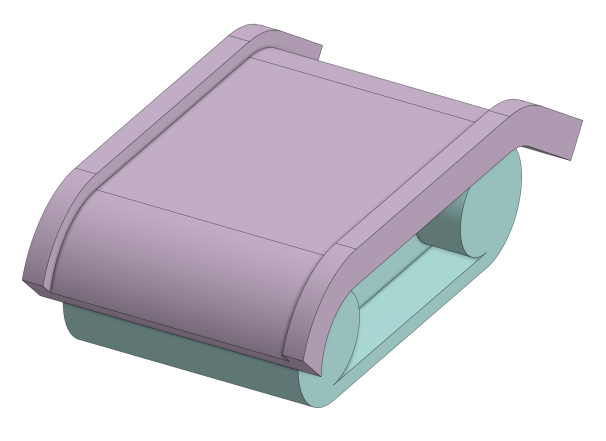
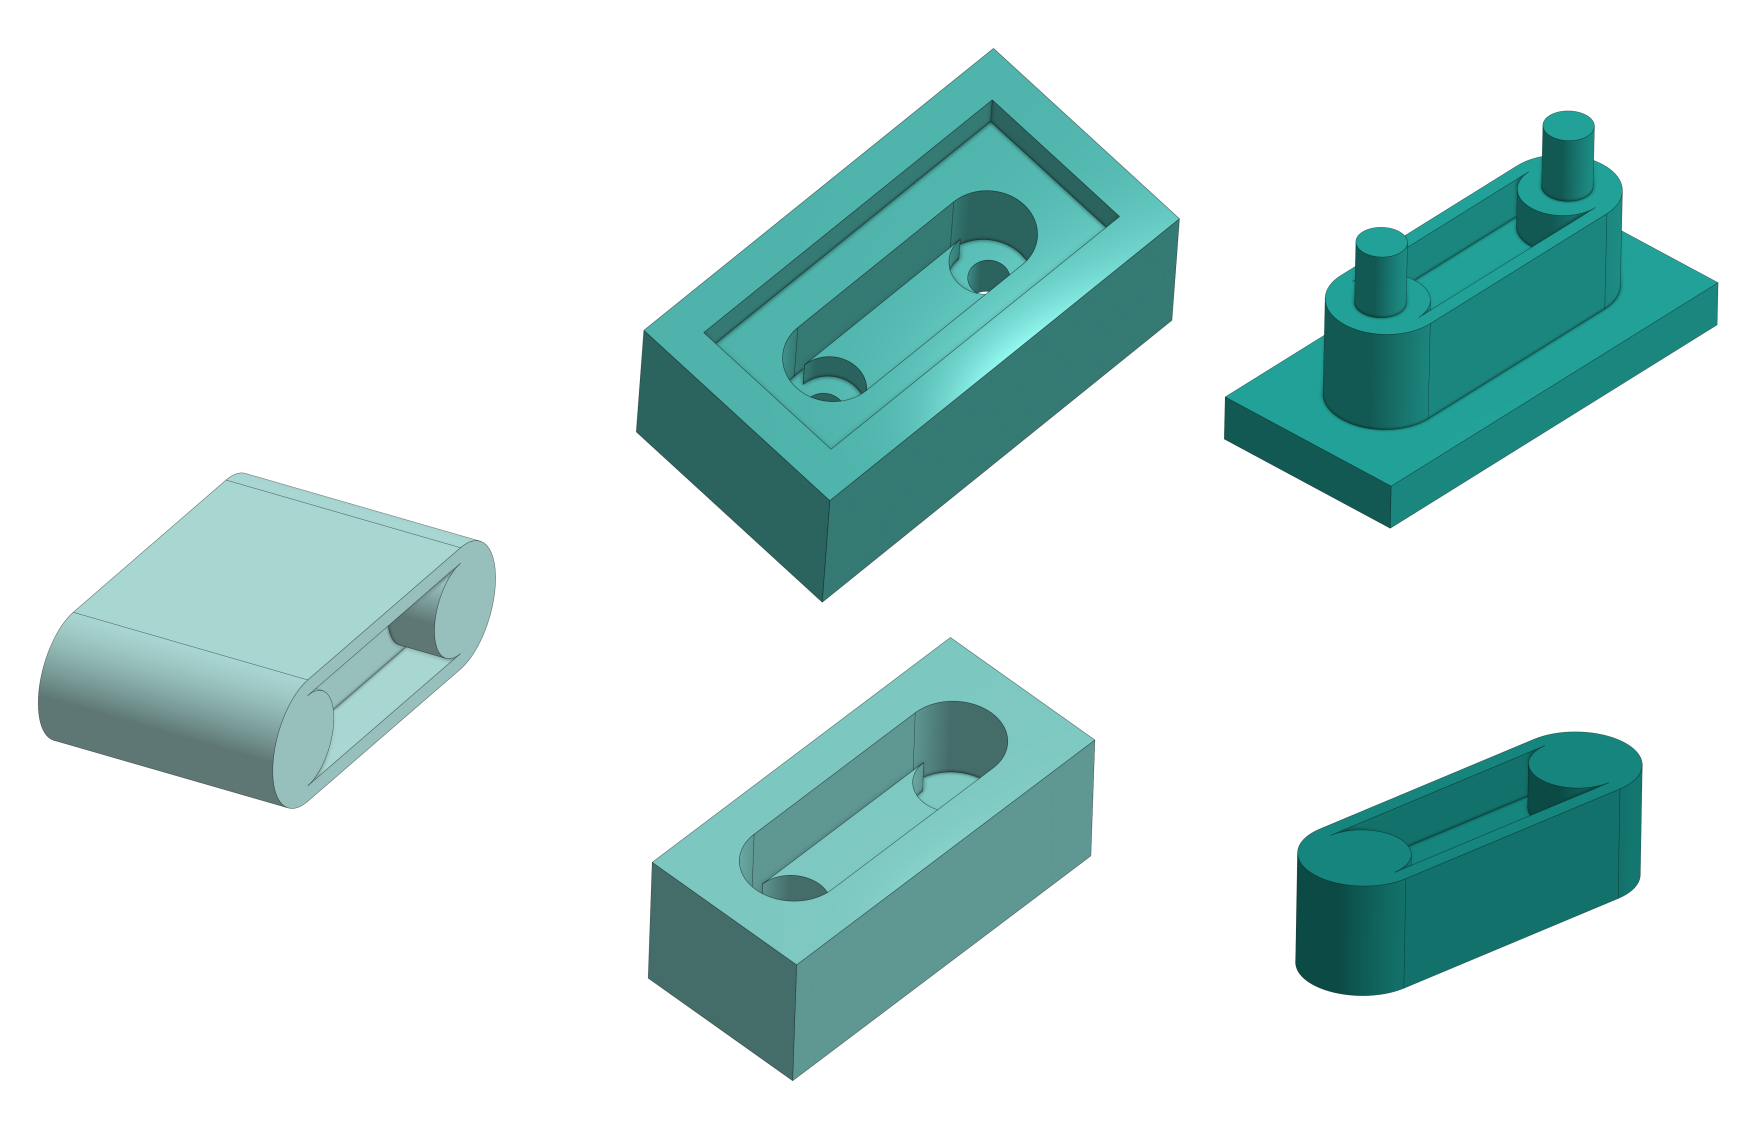
Joe Negri suggested turning this into a two-part model, since that part with the ramp is especially tricky. I separated it into a cover part (purple) and wheels (teal). To work through the mental gymnastics of creating the positive mold, I worked backwards from these final parts. First, I created the negative mold (the part that will be cast out of Oomoo). I did this by creating a rectangular prism and boolean subtracting the cover piece from it. I added extra prisms to create sides and a lip that will register the top and bottom parts over each other. I also have to add sprue holes. To prevent air bubbles from forming, these have to be at the highest points in the part, which leaves the lip of the cover. From my mold parts, I can then create the positive mold parts that I will mill out of wax. After creating the negative mold, this was pretty easy: just create a block the size of the mold and boolean subtract the negative mold.
Mold Making
We’re milling our mold-making molds out of machinable wax on the desktop ShopBot. I started with the wheel part, because it seemed easier.
The first pain was setting up the cuts in VCarve. First, I made the width and depth of the material the size of the negative mold piece (what I want to make out of Ooomoo) so it would cut out everything necessary. The problem came when I imported my part, which I’d made in metric. VCarve uses imperial units. Translating between the two turned out to be a pain because STL files are unitless. (I now really appreciate the PNGs keep track of this.) I set up my rough cut and finish cut, but the finish cut in this particular case ends up being worse than the rough cut because there are no curved surfaces along the z-axis. The rough cut will cut around the curved parts in x and y, but the finish cut doesn’t. So it might make sense to just skip the finish cut altogether, except for one problem: the rough cut only cuts at fixed depths (in this case, I had it set to 1/8”). That means the finish cut was necessary to cut features that had horizontal parts in between these 1/8” passes. There’s probably a way to change the way VCarve does this, but for my first go at 3D machining (and on a relatively unimportant part), it was good enough.
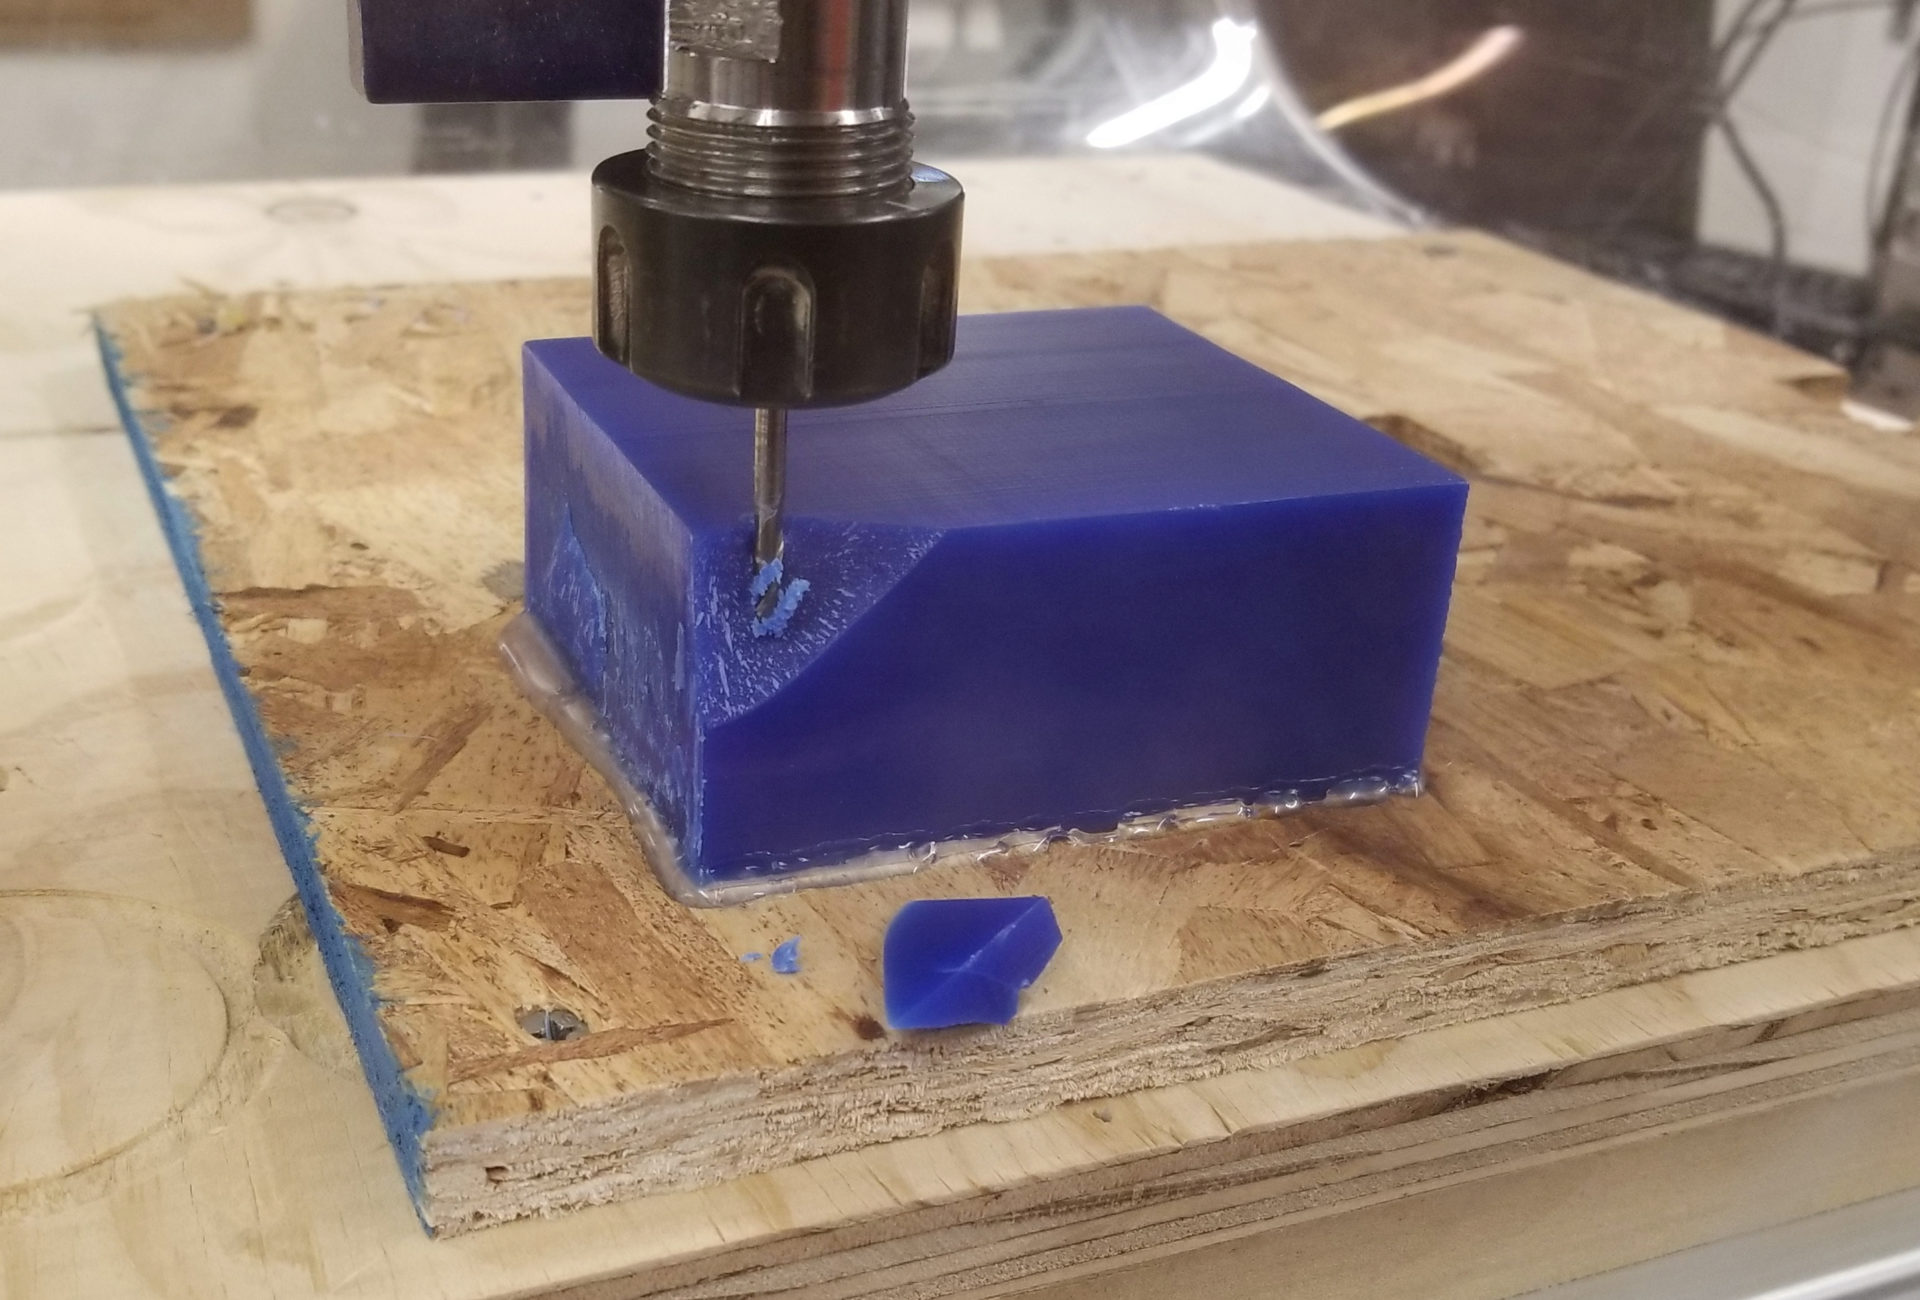
I zeroed my axes on the ShopBot, re-zeroed the z-axis up 2”, and did an air cut. It looked good, so I lowered Z down to -2”… and the endmill promptly went half an inch into the wax. Good thing we were only working with wax, or that could have done serious damage to the endmill or machine. I’m still not sure why this happened. Since I stopped the aircut with the endmill down 1/2”, I wondered if somehow the ShopBot mentally reset this as zero. Rob suggested that the machine just doesn’t handle negative numbers well. Either way, the damage to the wax block was minimal enough that I could still cut my mold.
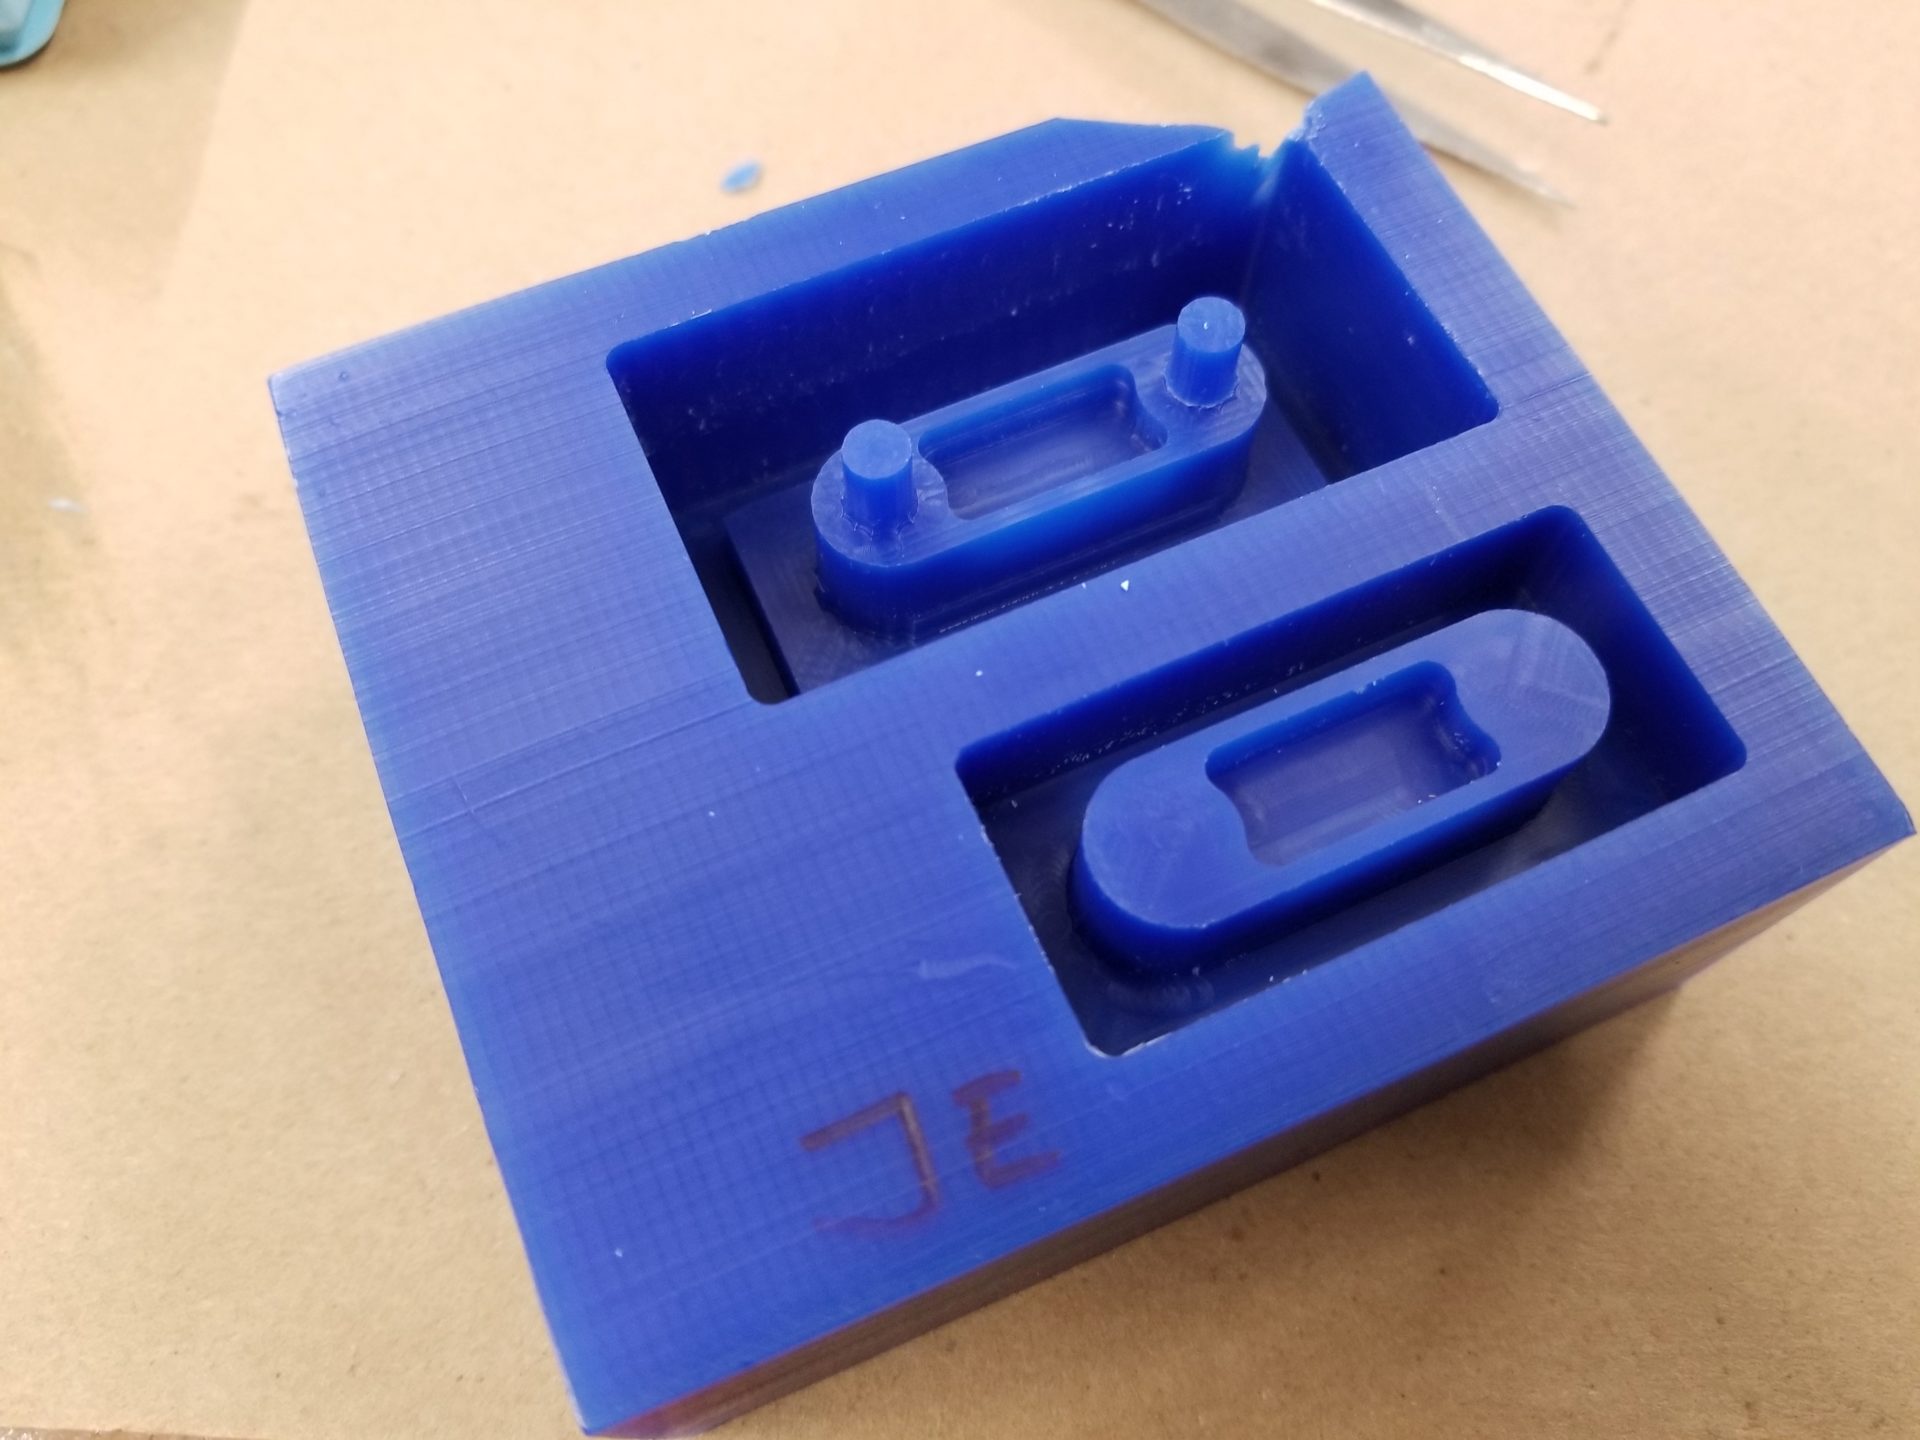
I milled out both parts, but realized I’d made a mistake when cutting the mold for the bottom half of the wheel mold: I didn’t leave any space between the surface of the wax and the top of my mold positive. That means no space to fill with Oomoo on top to create the negative mold. Luckily, my part is small and Oomoo is pretty high viscosity, so I could just pile it on top.

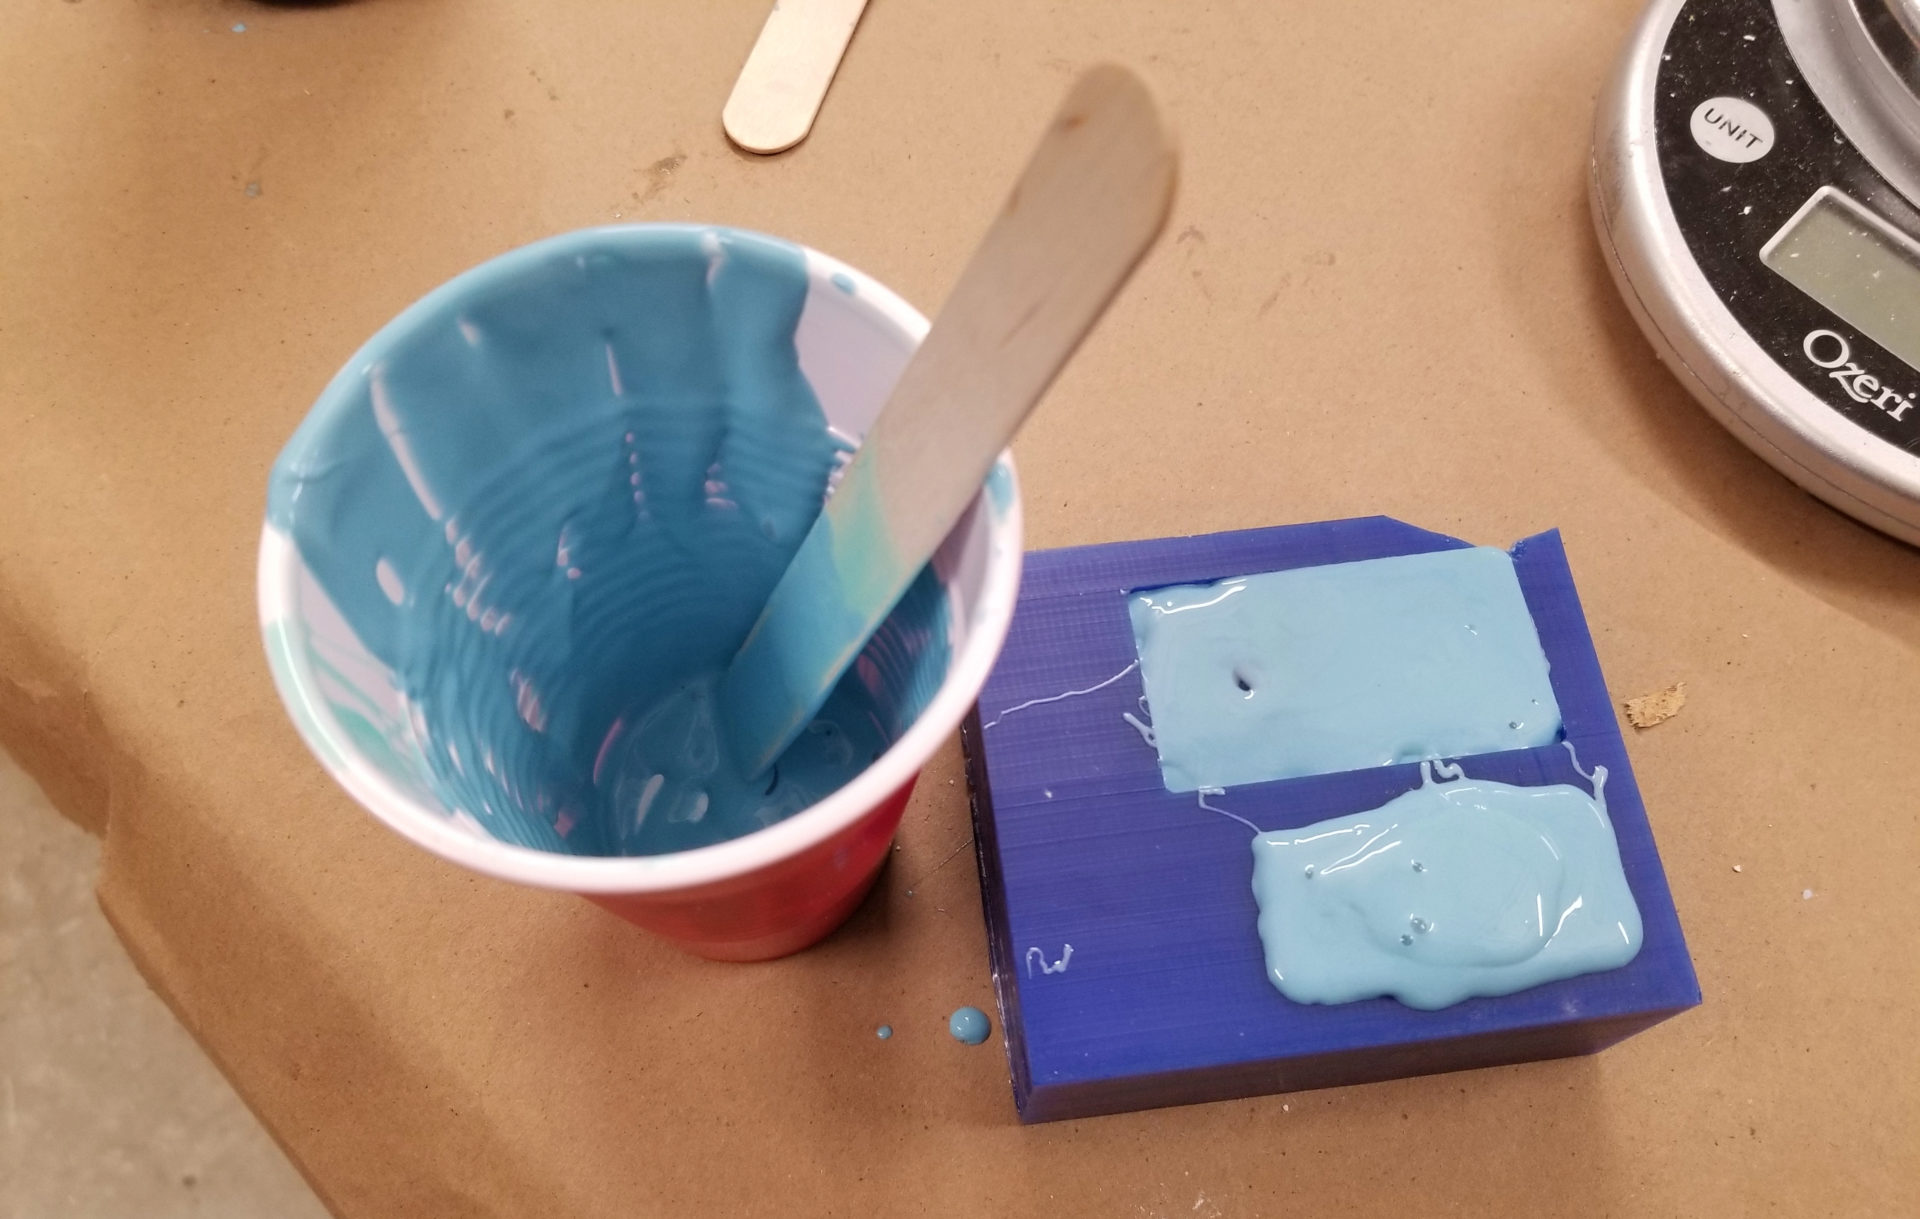
The Oomoo silicone from making the negative molds was pretty easy to work with. Just mix a 1:1 ratio of the parts and stir thoroughly. Before pouring into my wax, I degassed with a vacuum chamber. This is an incredibly satisfying process, watching the contents foam up and then collapse. You don’t realize how much air is trapped in there until doing this. When I poured my Oomoo, I had exactly the right amount. I’ve got mad estimation skills. I came back the next morning to retrieve my molds, which turned out nicely bubble-free. The challenge was getting the silicone out of the wax. The smaller part (where I piled extra silicone on top) was a lot easier to get out, since it wasn’t as deep and I could use that overflow as a lip to grab onto. The deeper part was trickier, because I had nothing to grab onto and had to wiggle it out incredibly tediously over a few minutes.
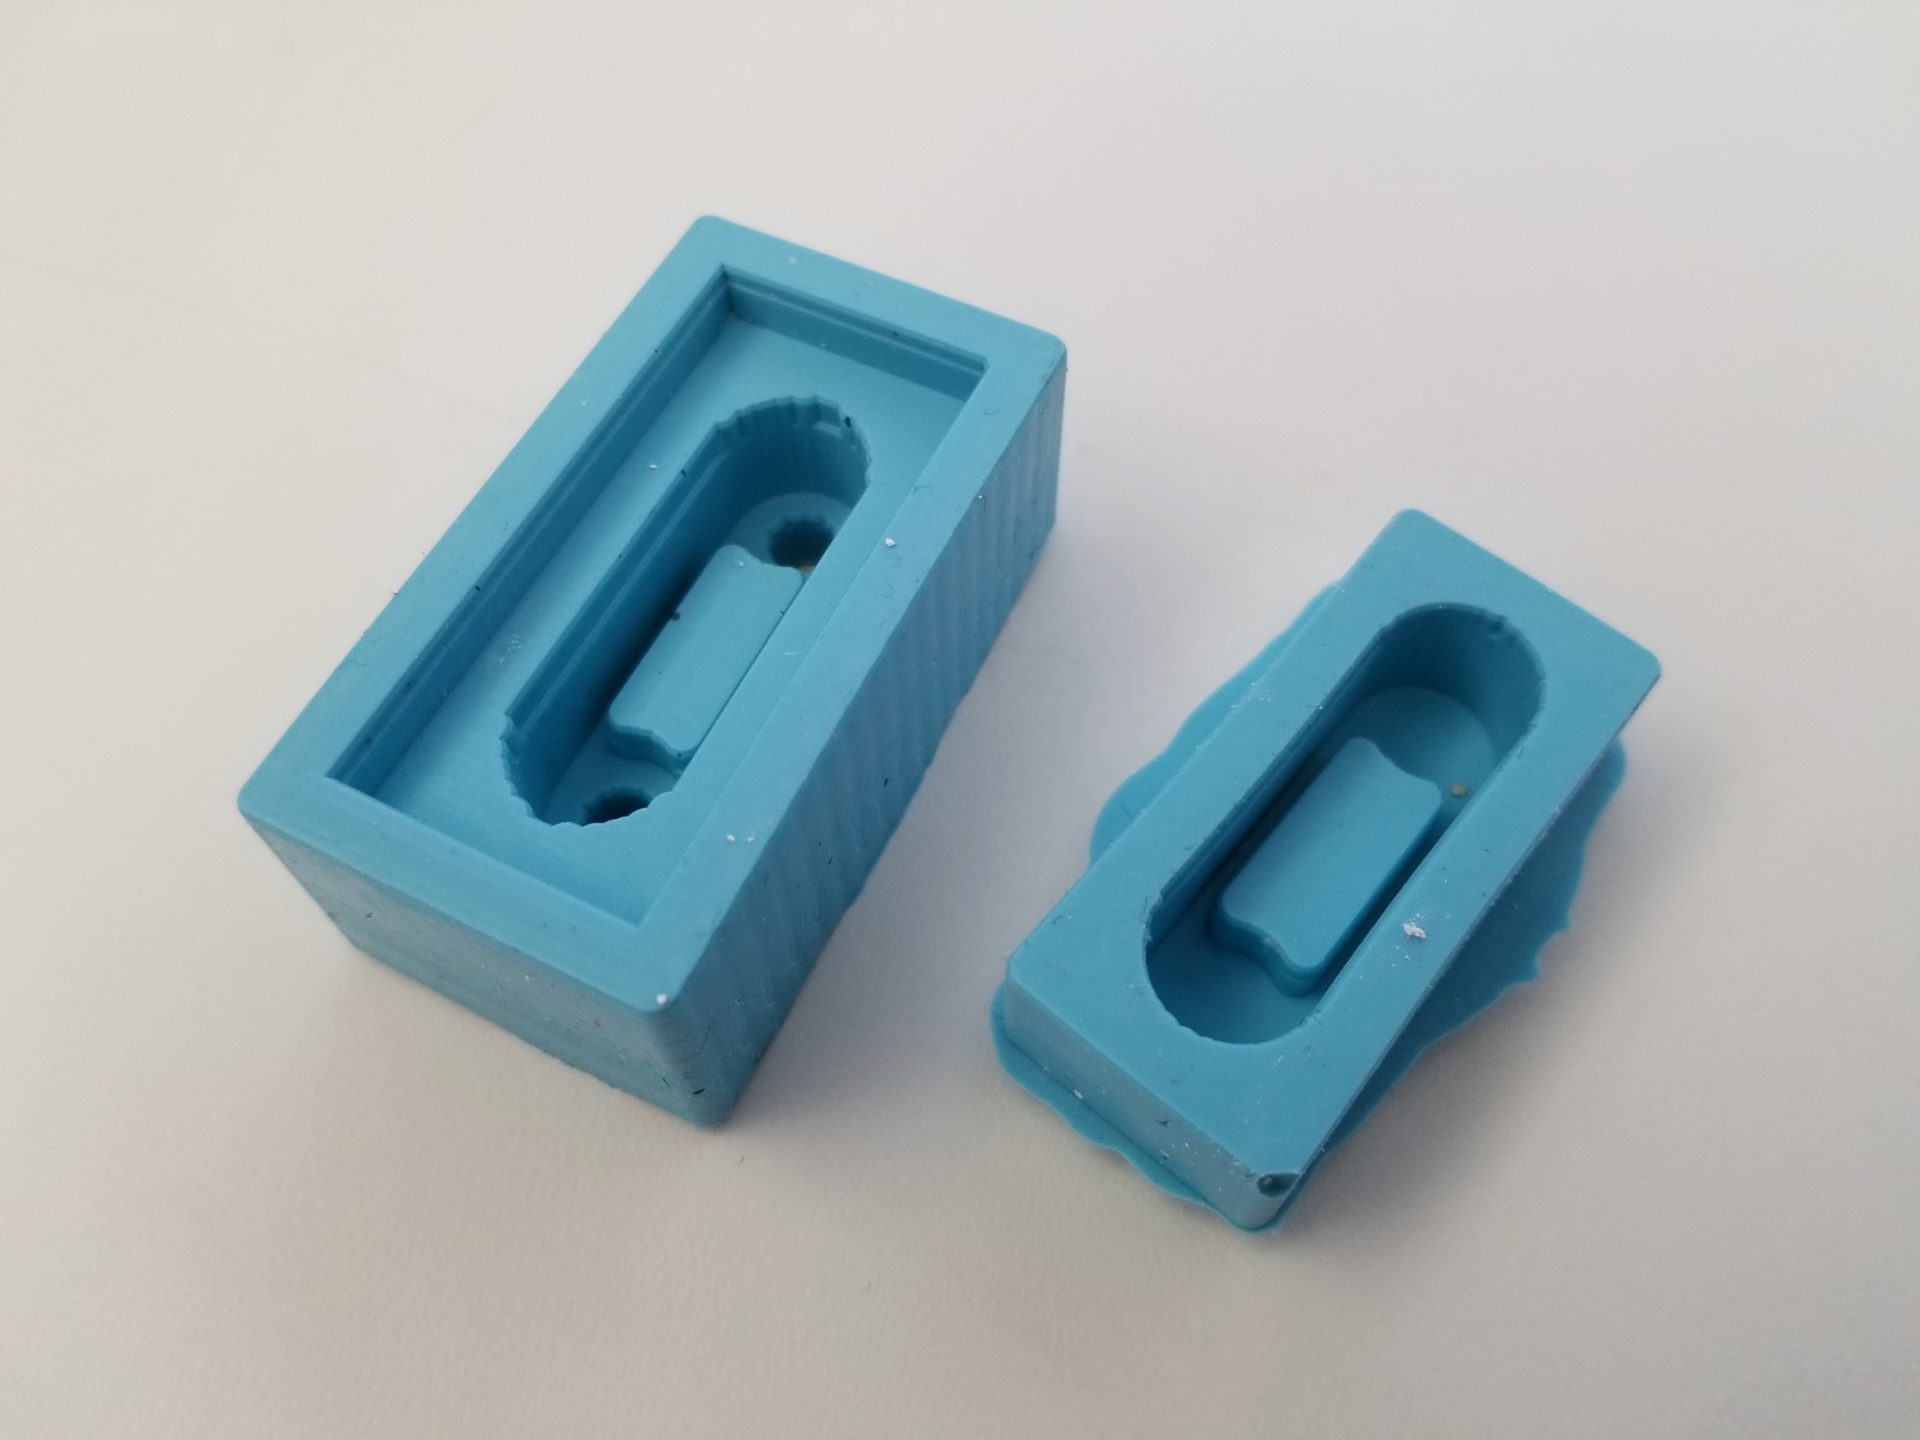
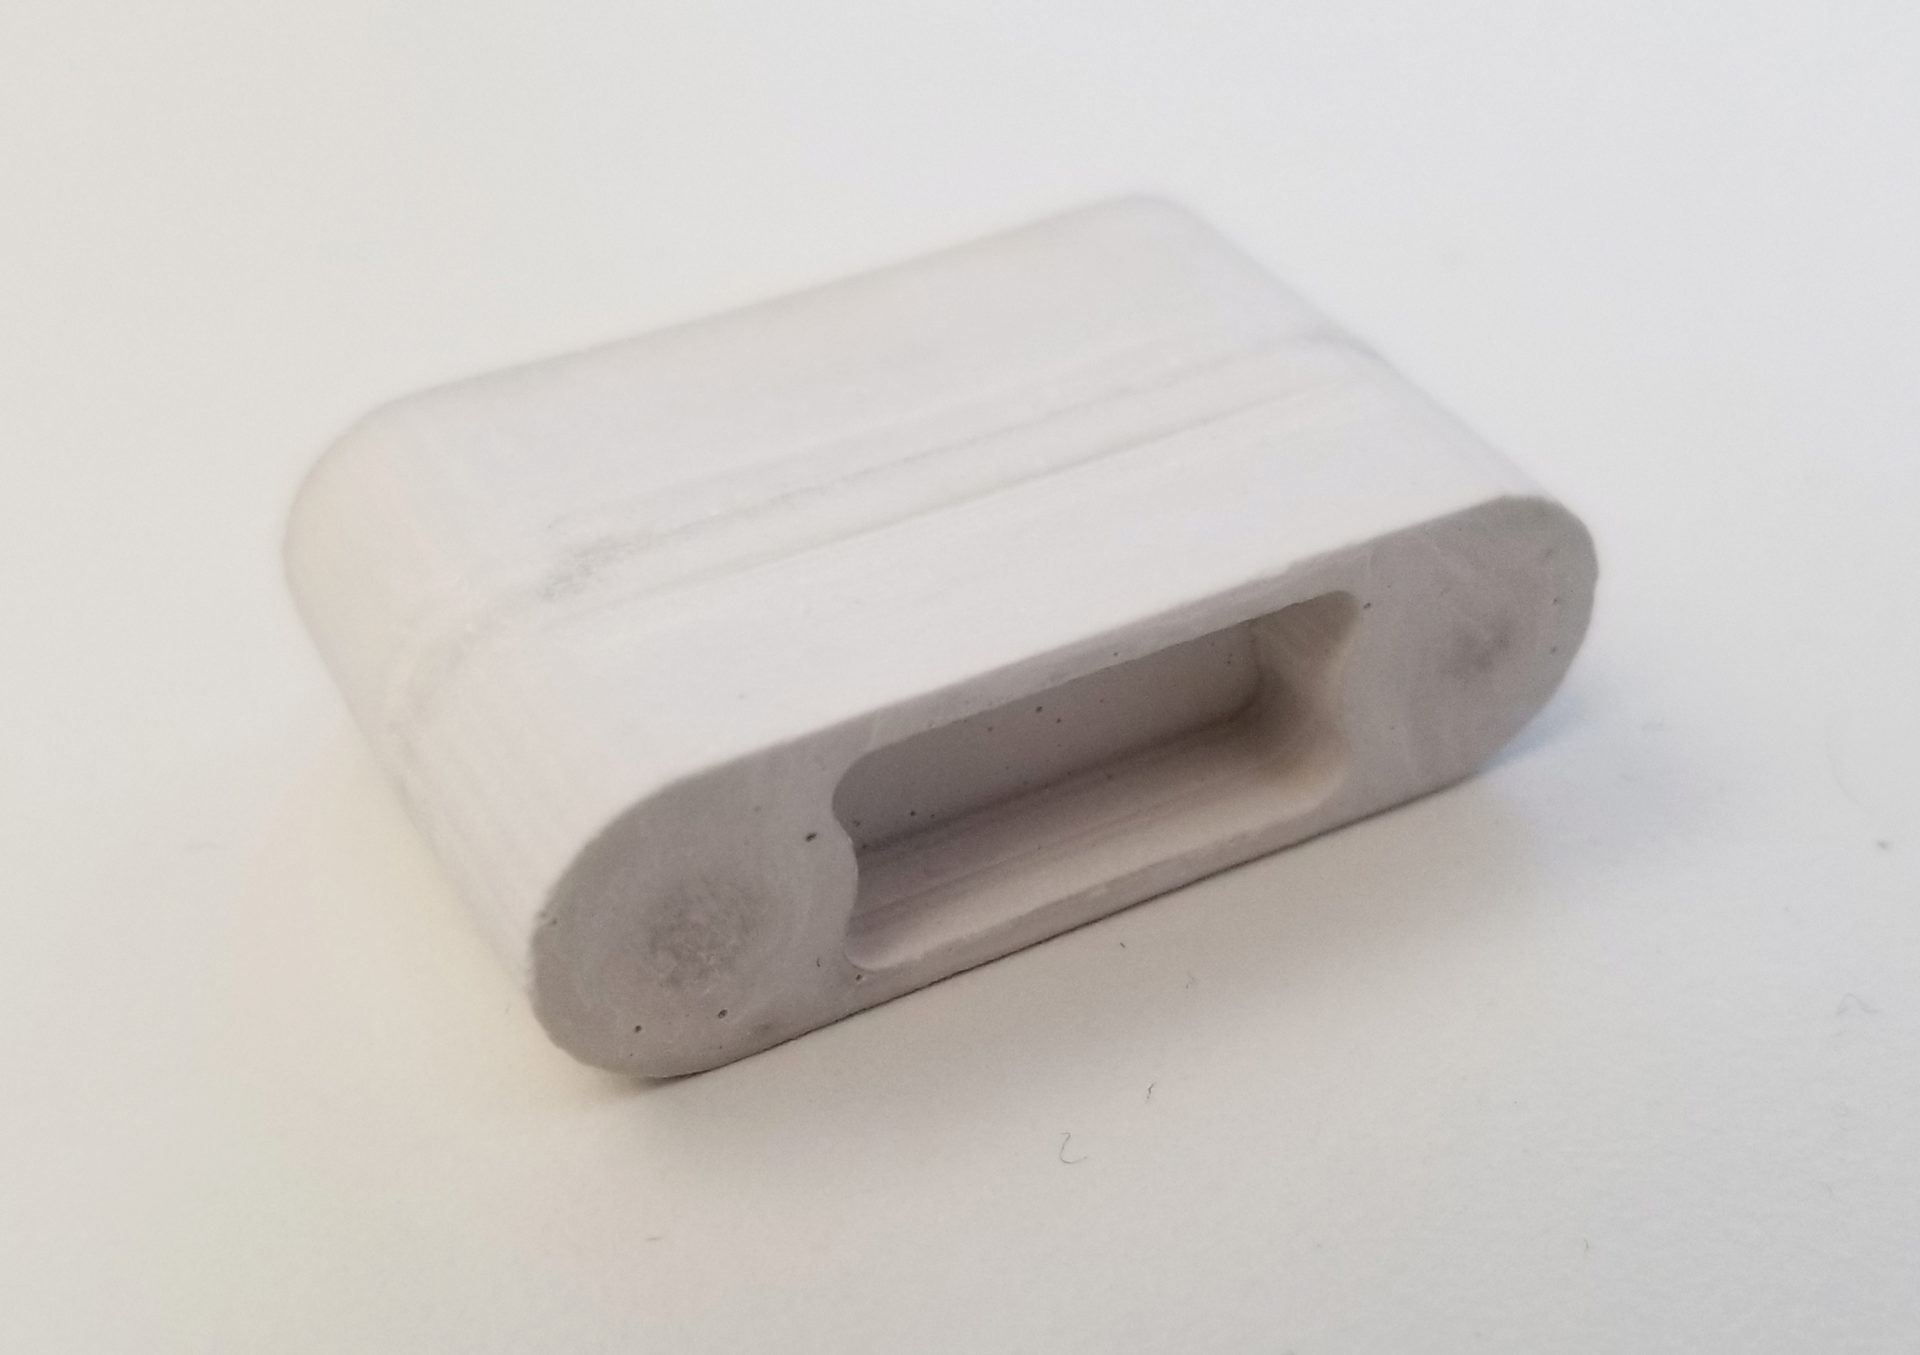
And behold: I have a mold!
Casting
First up: making a model out of Drystone. I actually used this earlier this week for Project Night and was impressed by the level of detail I could get. (More about that lower on this page.) My first mistake this time was getting the ratios mixed up. Instead of doing 100 parts powder to 20 parts water, I did the reverse. At least I realized that it was way too runny before trying to cast with it, and I just started over. Having multiple holes on the top of my parts was definitely a good idea, since it helps prevent air bubbles from getting trapped near the top.
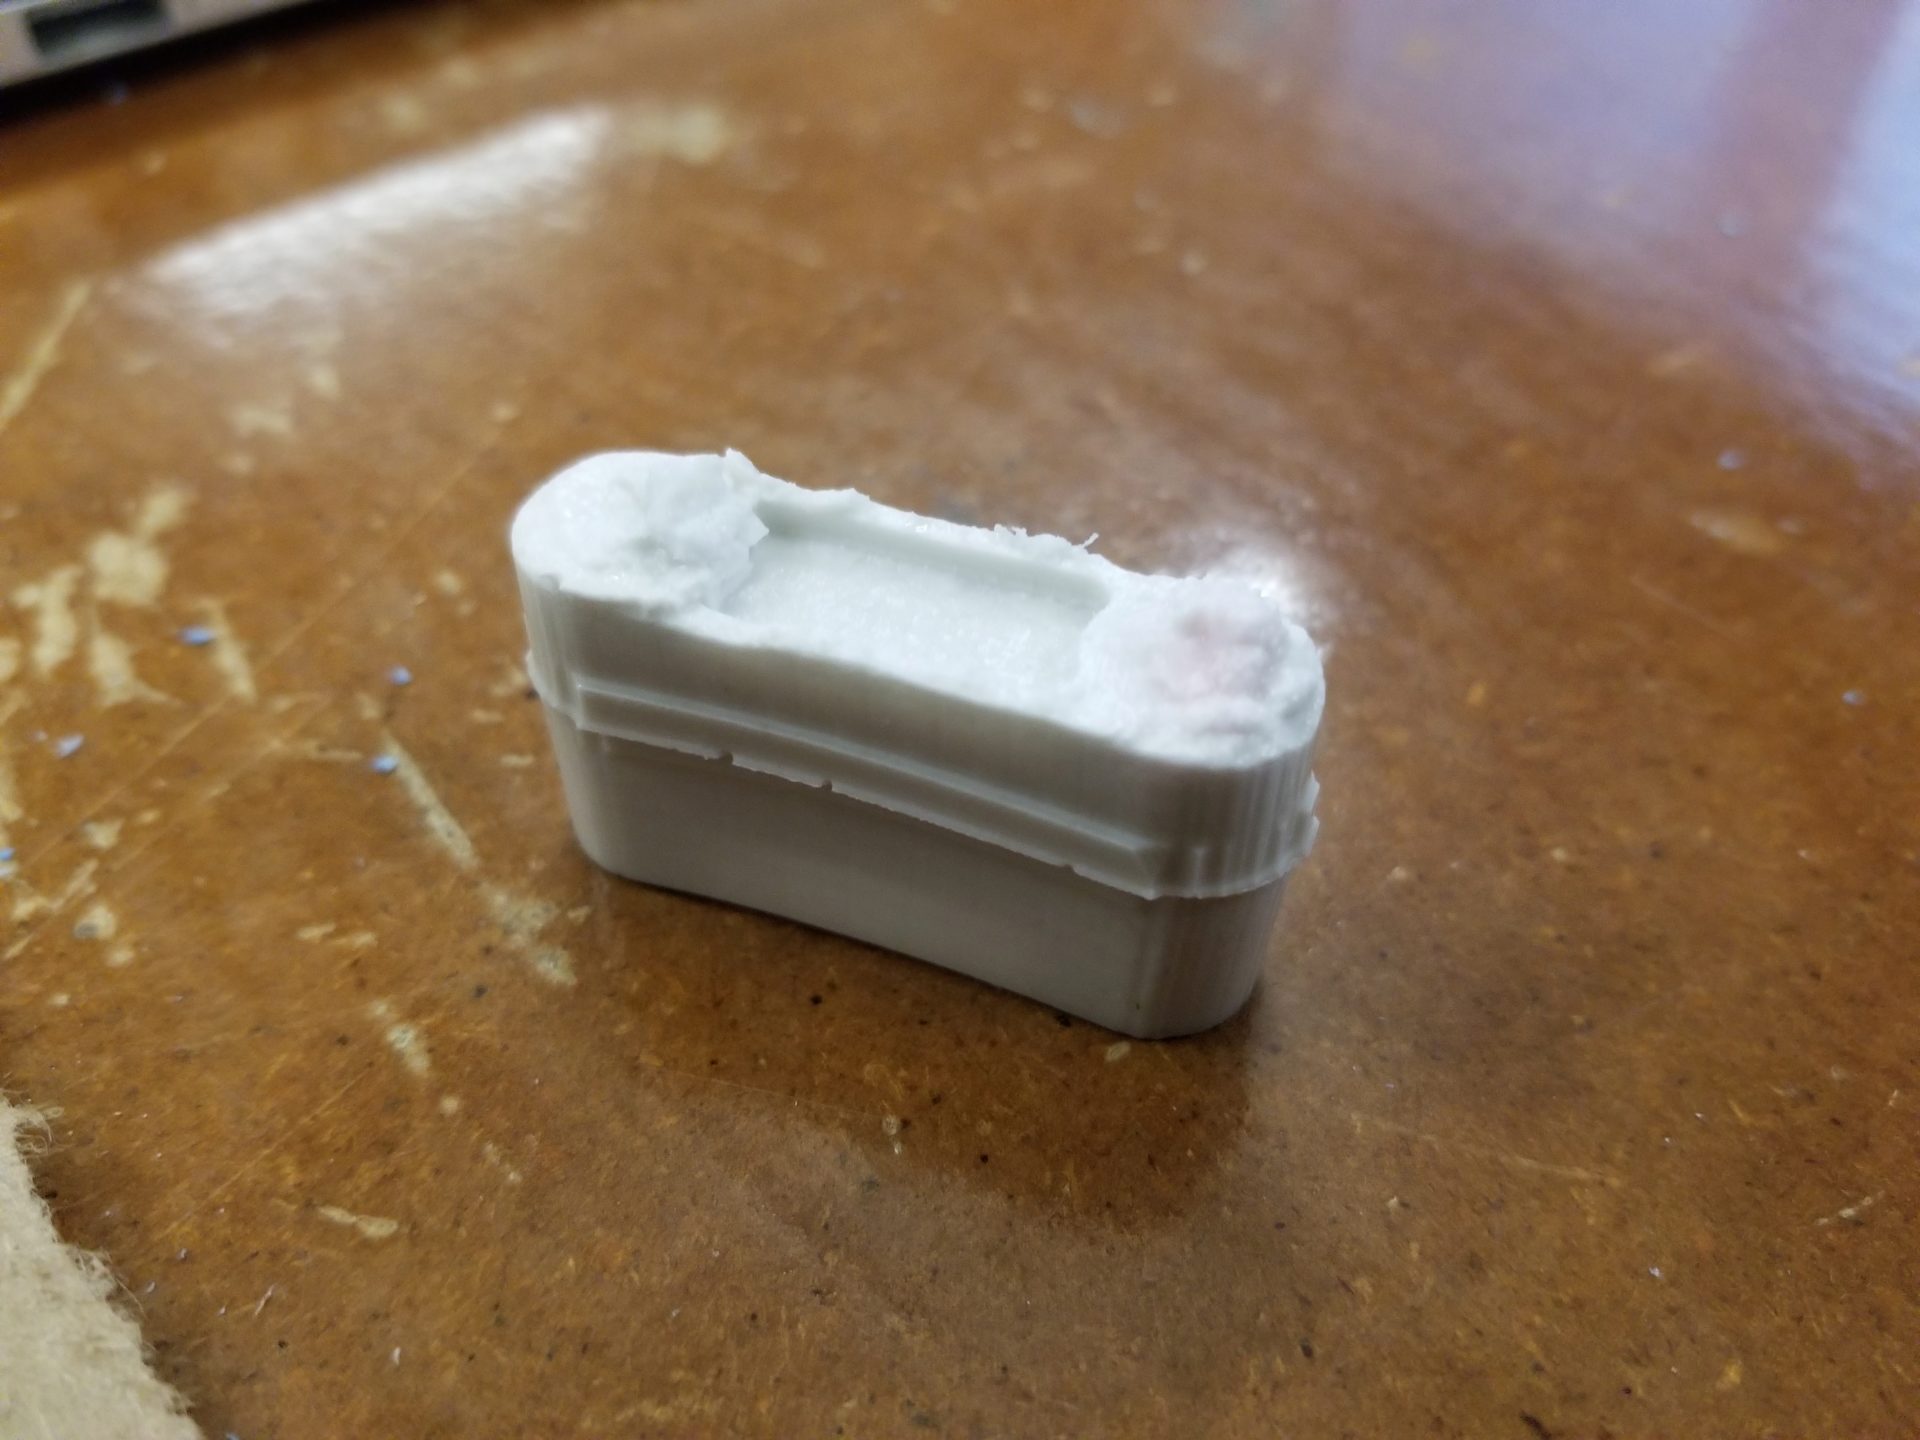
My first attempt at drystone casting was on objective failure. Out of laziness, I decided to ignore the instruction to only add water to the powder, and did the opposite. I’m not sure if this is what messed things up or if I failed at getting the ratios right. When I came back the next day after casting, the bottom part of the cast was fine, but the top was still wet and mushy: too much water. Also, I had masking-taped the parts of the mold together. This mostly resulting in squishing the sides together so that the tread parts were concave instead of straight.
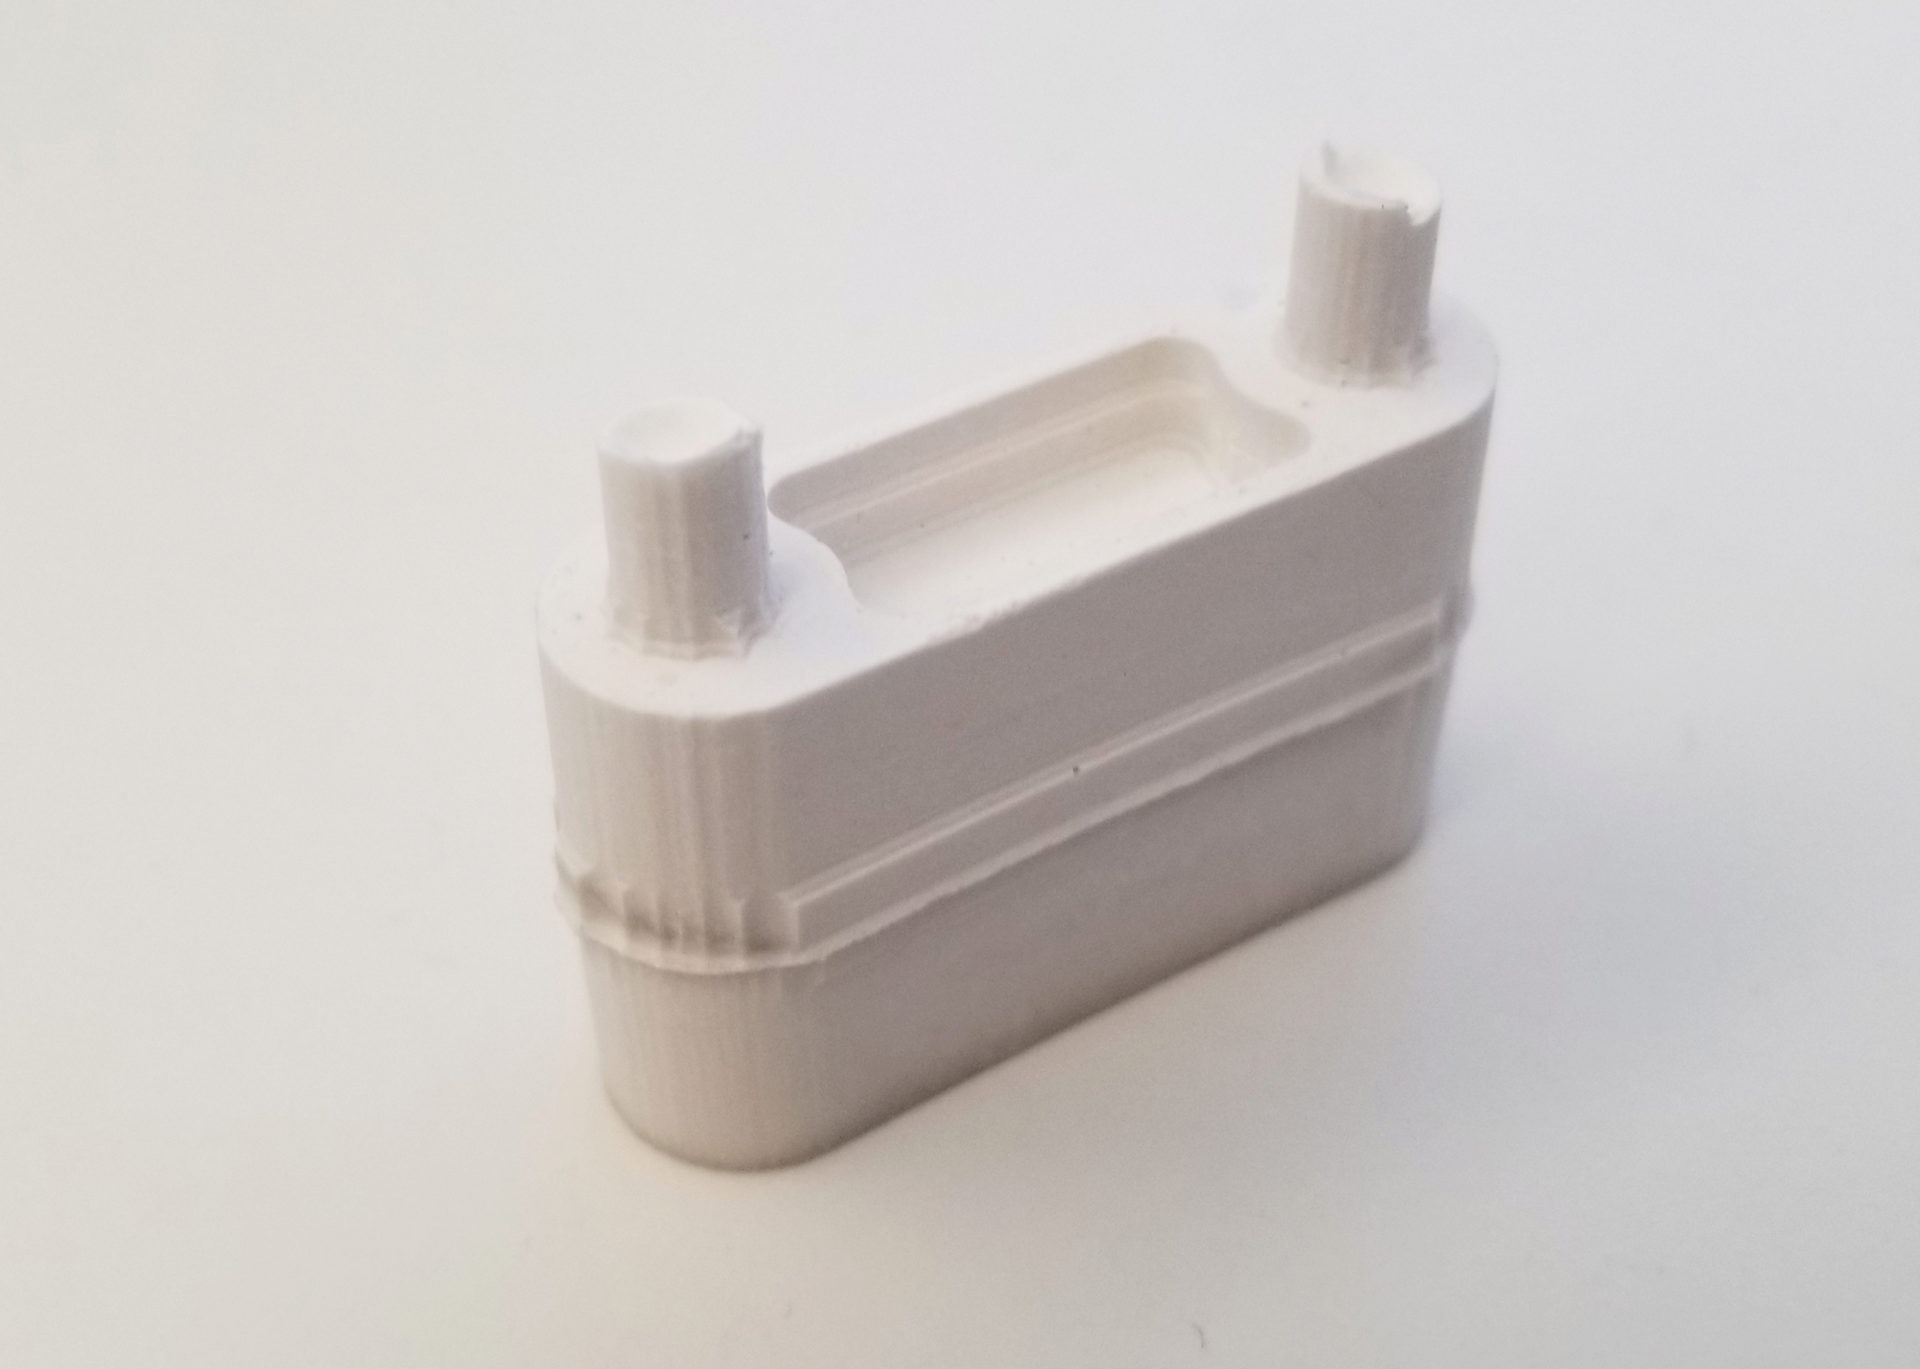
On my second attempt, I actually followed the instructions, and the resulting mix was much thicker. I also skipped taping the mold together. There was some flashing and roughness on the resulting piece, but it did cure properly. The 25% stepover finish cut on the upper part of the mold looks really obvious here.
I removed the casting posts with a utility knife and smoothed everything out with a small file. The casting joint is still noticeable, and it would have been better to put this at an edge of the piece, but I didn’t think the endmill was long enough for this. I was skeptical when I first took the piece out of the mold, but after doing some cleanup, I’m really pleased with how it looks.
At some point, I’d still like to make a mold for the second part of the robot and put the pieces together. We’ll see if that actually happens.
Bonus Molding and Casting
At Harvard’s Project Night last week, we also did molding and casting. Unfortunately, I couldn’t cheat and use that for my assignment this week because we didn’t mill our molds. I decided to make myself extra thumbs, just in time for Halloween. The idea was to duplicate a thumb and attach it to the un-thumbed side of the other hand.
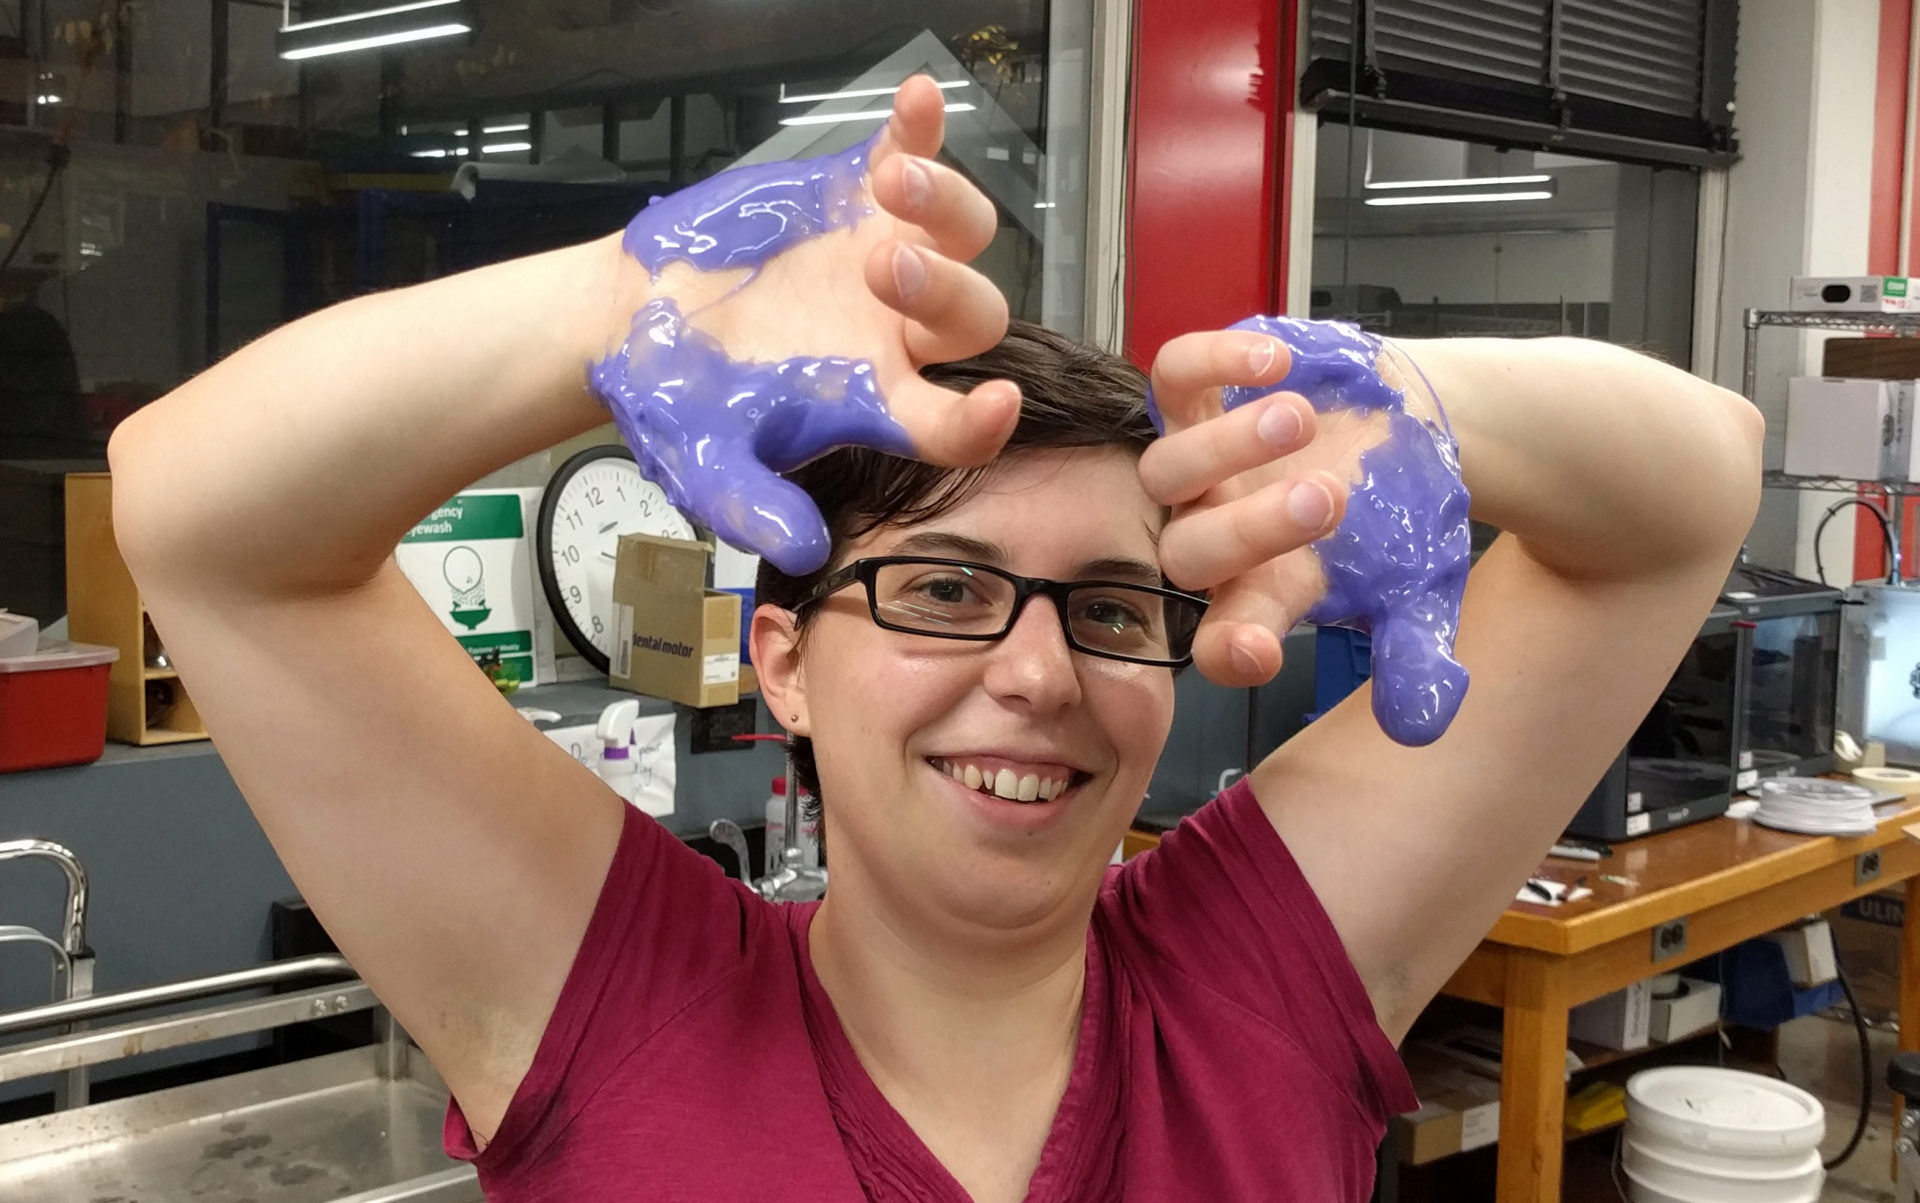
With the help of Chastity Li, I used Smooth-On Body Double to cover both of my thumbs and the sides of my hands. After it cured, we attempted to add plaster bandages to the silicone parts for reinforcement, but they didn’t stick at all.
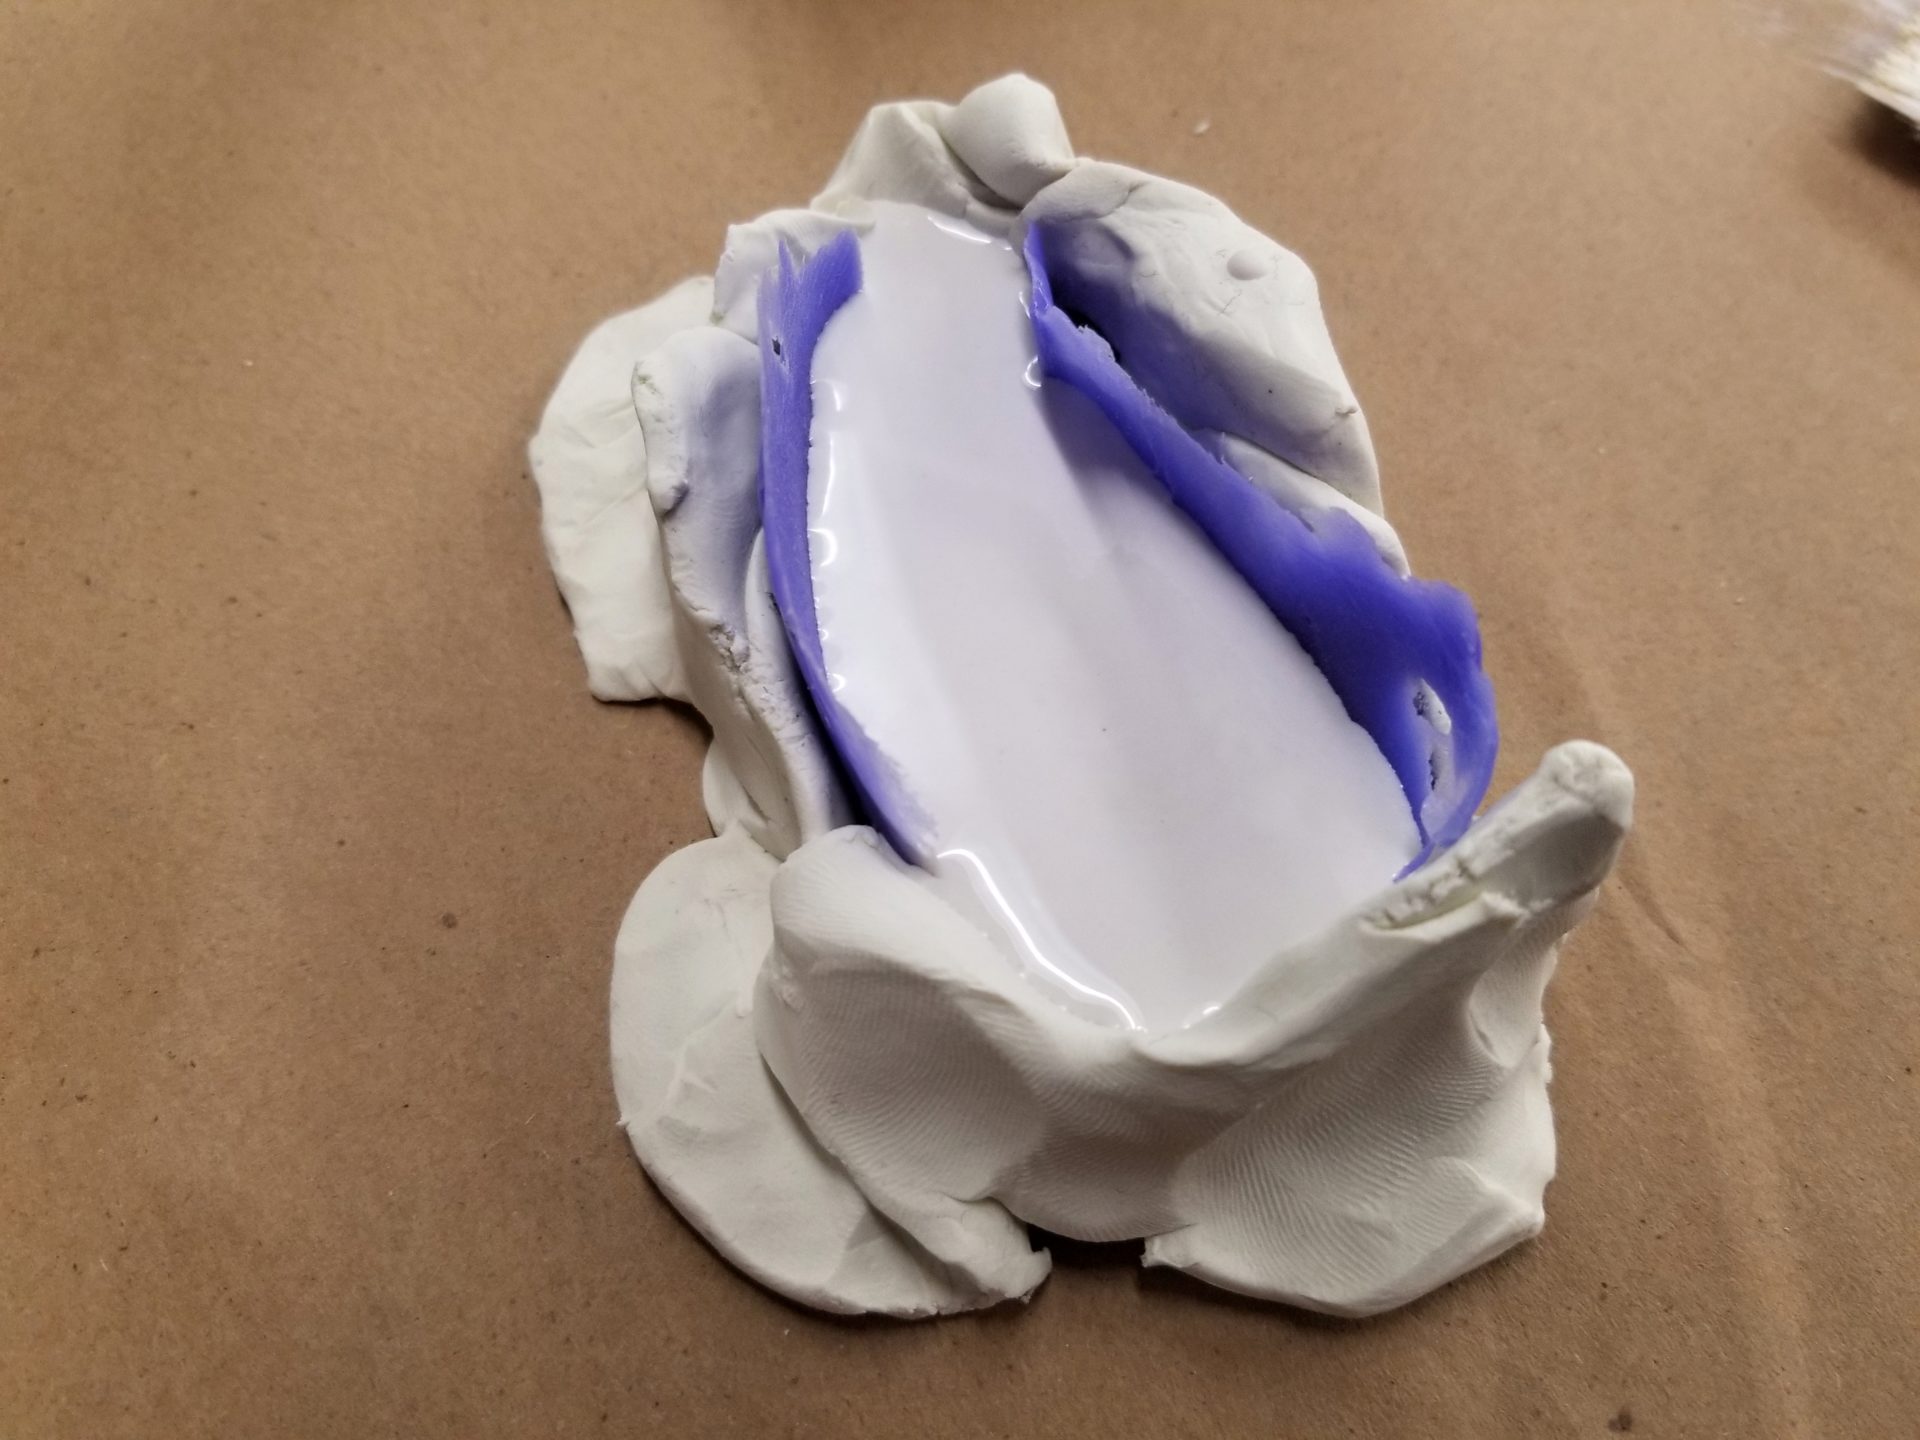
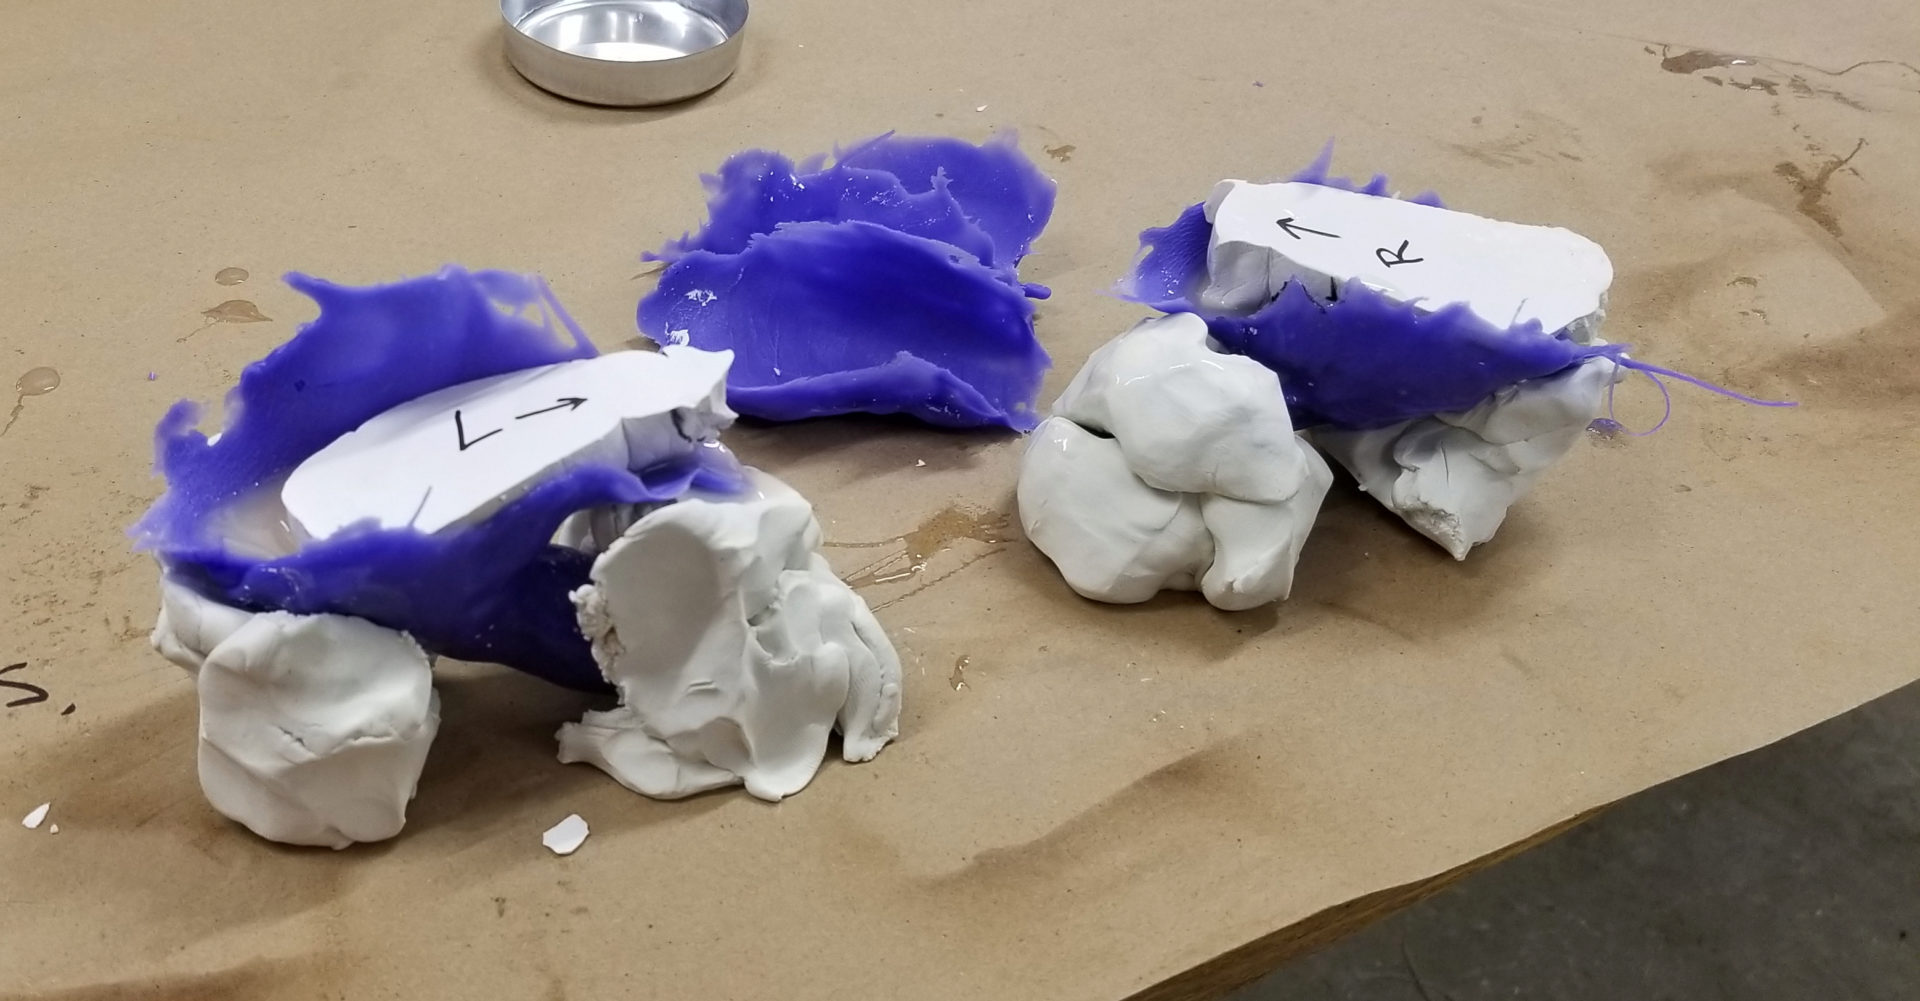
I wanted to cast the thumbs in silicone, but I needed to leave an indent on top shaped like the side of my hand. So I needed a replica of this part of my hand. I used the Body Double silicone mold to make this double out of Drystone. There floppy molds didn’t have any stability on their own, so I built up supports with clay to hold it in place (and close off the ends) for my Drystone casting. I was impressed with how much detail I got on the hand doubles from this process.
With my hand doubles made, I built up similarly ad hoc supports for my thumb molds. I mixed Exoflex 00-50 with Silc Pig pigments (mostly flesh color, with a little blood and brown). It’s crazy how little pigment it takes to color the silicone. I sprayed mold release into my thumb molds, poured in the Ecoflex, and added my hand doubles on top. It turns out I should have made just a little more Ecoflex, since it didn’t quite go up as high in the mold as I wanted. That means less overlap with my hands for attaching.
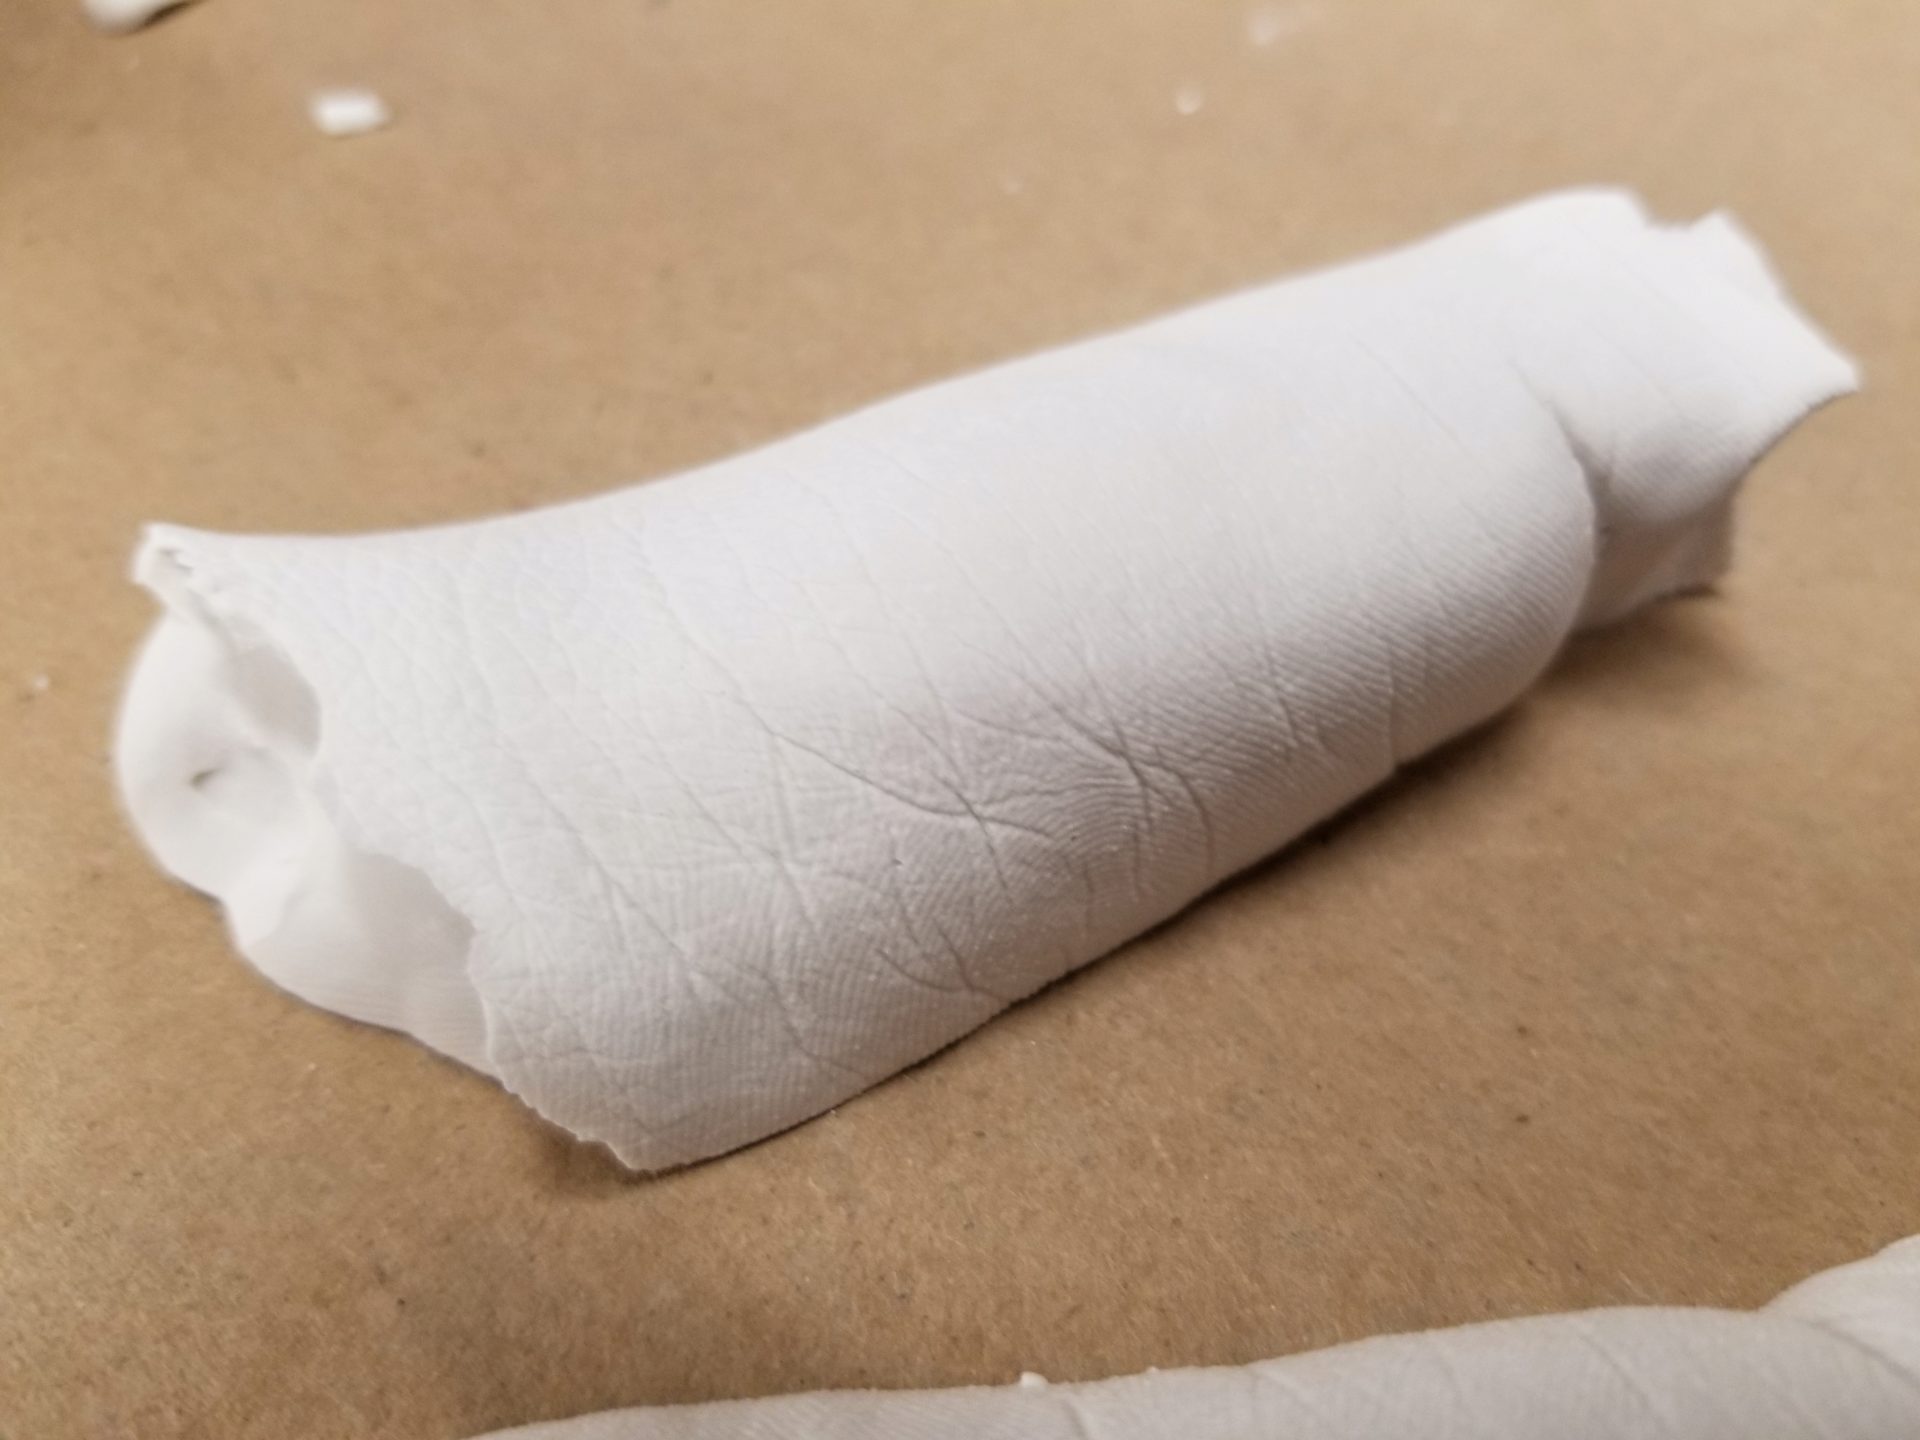
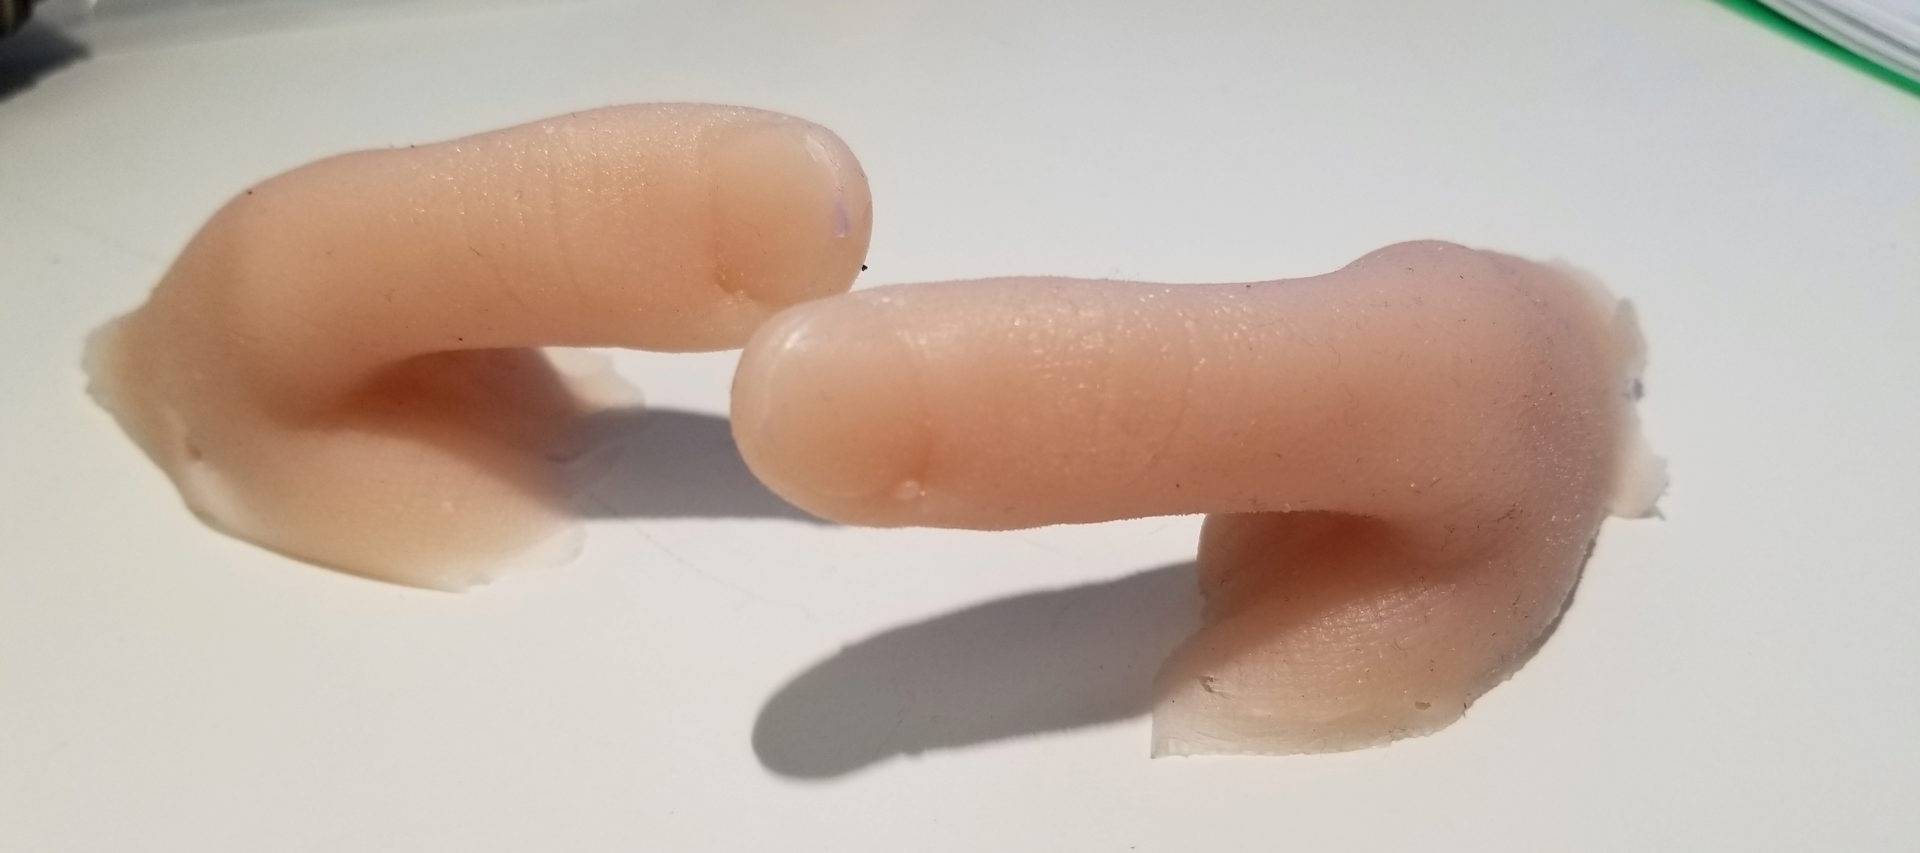
When I took the cured thumbs out of their molds, it turned out that I didn’t get the mold release quite all the way down into the mold, so it was tricky to get them out at the ends. I ended up with some of the mold stuck under the fingernail of the right thumb. But behold: thumbs!
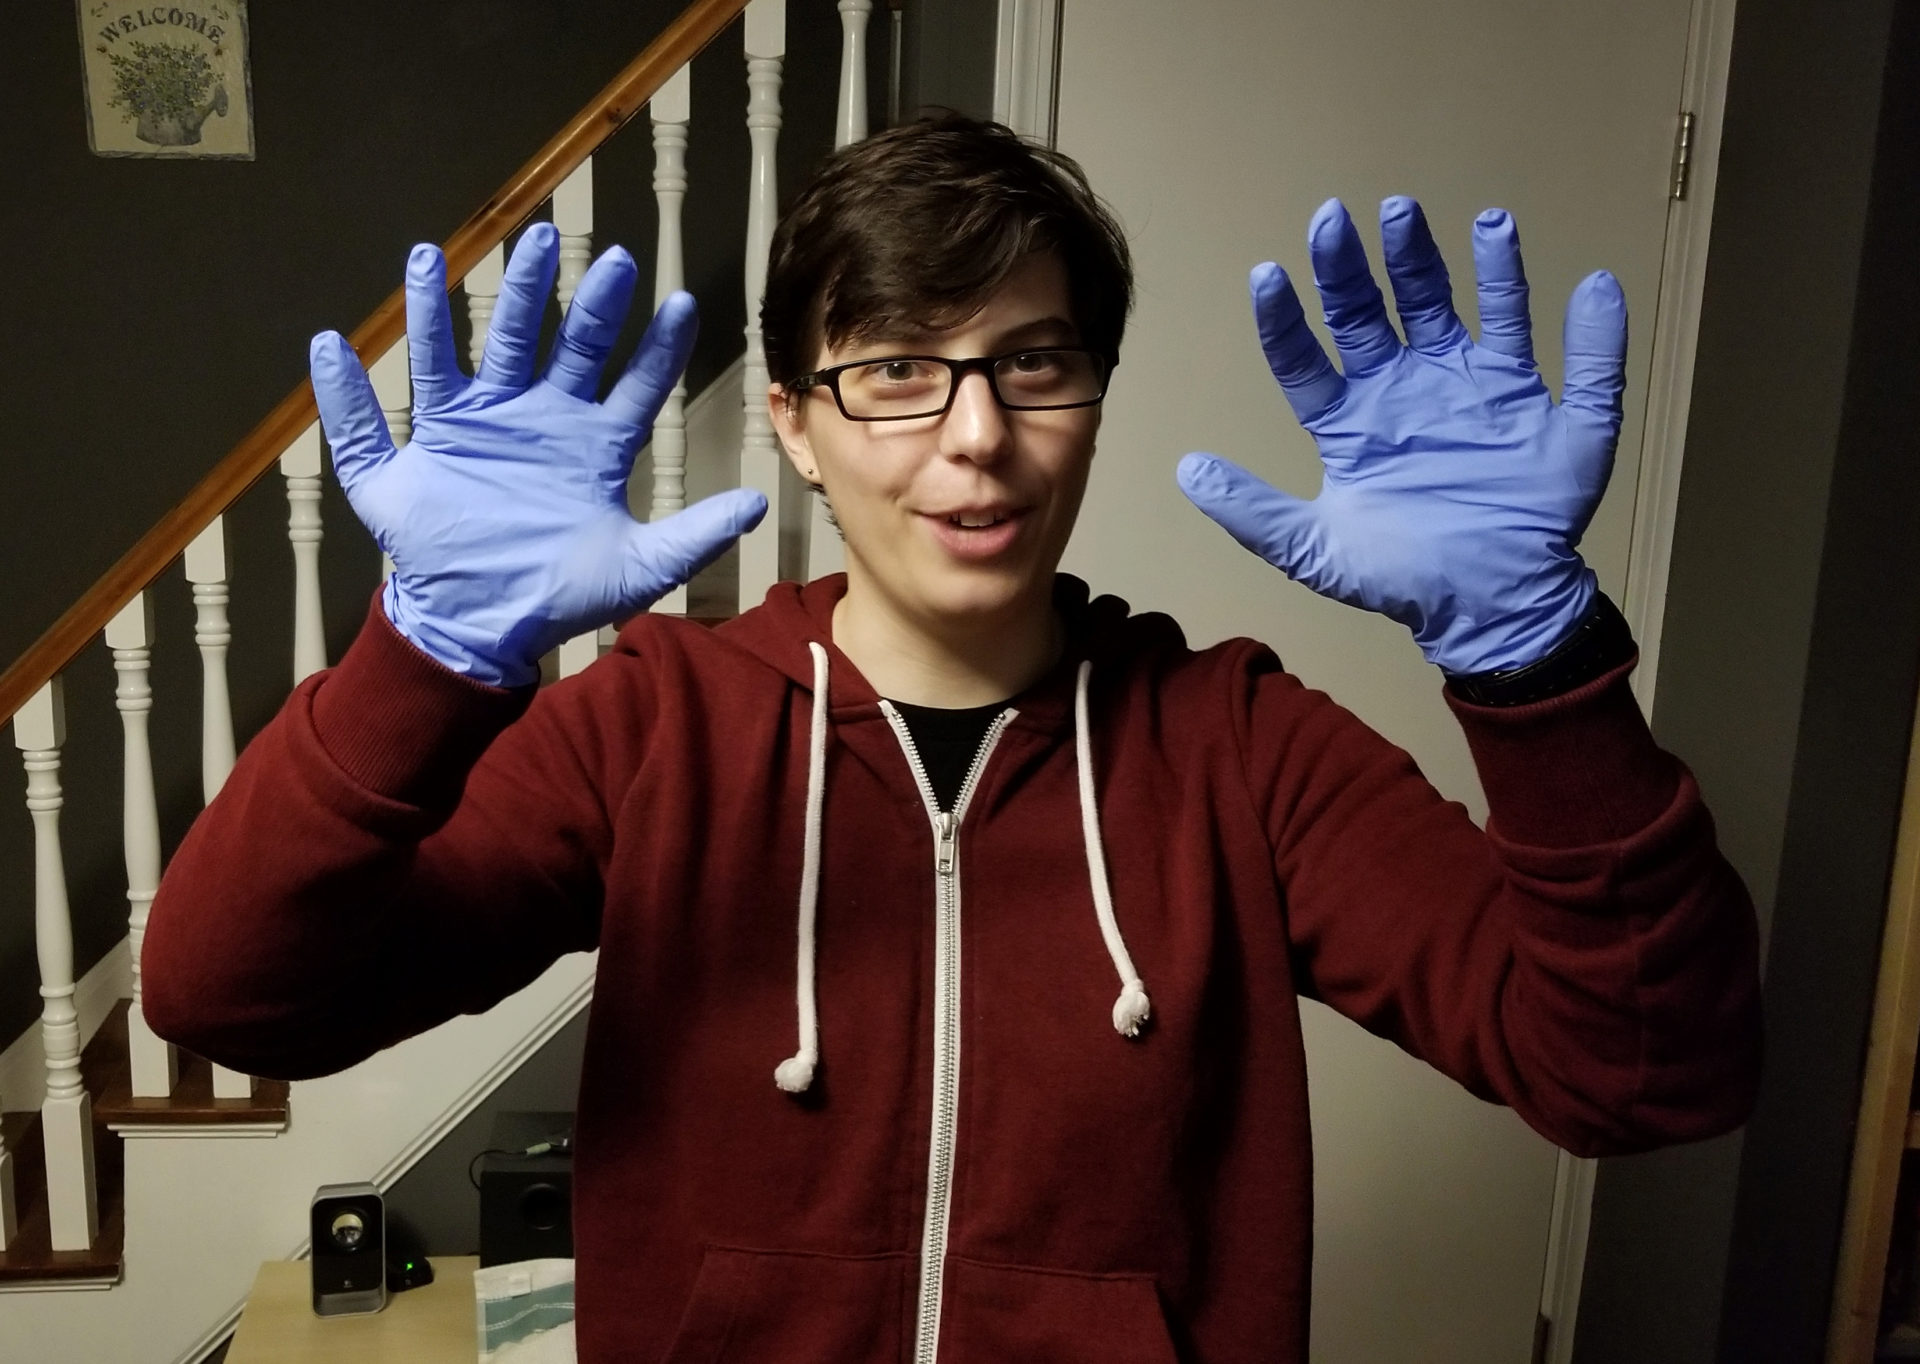
But how do I attach them. Someone suggested spirit gum, but Google told me this doesn’t stick to silicone. Smooth-On makes Skin Tite for this purpose, but it costs $20-30, plus I have a Halloween party in two days. My roommate suggested being a mad scientist with a lab accident: in other words, use lab gloves. It would have been better to use something that showed off my thumb casts, but this will do:
Bonus: Google Photos made an animation of me using my new thumbs!