Machine Design
This week’s assignment was to collective actuate and automate a machine. Our group decided on building a chocolate extrude.
I have contributed to different parts of the process. Initially, I joined the group responsible for designing and building the chocolate extruder itself. The first step was to research what kind of chocolate would most suitable for this purpose, as well as the ideal temperature for it to melt and be extruded. I have referred to previous projects or machines working with the same purpose to have a reference of what has worked best before. I have visited the following websites:
https://www.3dmaker.systems/en/home/145-choco-extruder-set-3drag-in-kit.html
https://www.instructables.com/id/Chocolate-Extruder-for-Ultimaker/
http://imprimalia3d.com/noticias/2016/01/02/005616/impresora-3d-chocolate-rusa
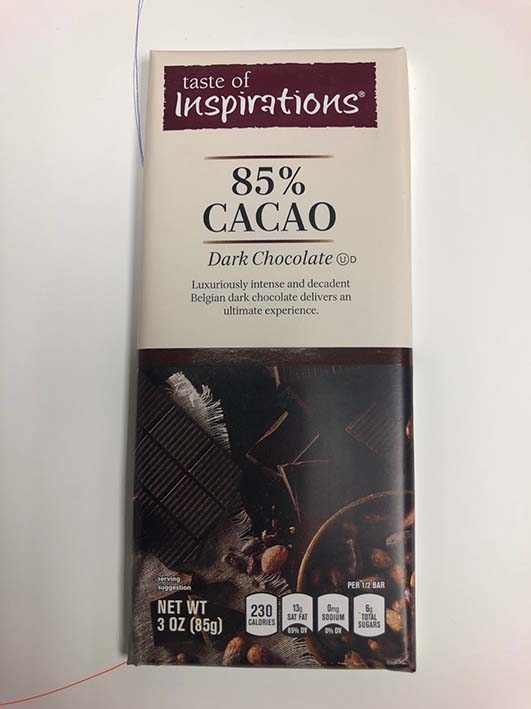
Through this research, I have found out that the best chocolate to be used is dark chocolate, with high percentage of cacao, without palm oil and that it should melt around 33 degrees celcius. Therefore, I have bought the following one for our first try.
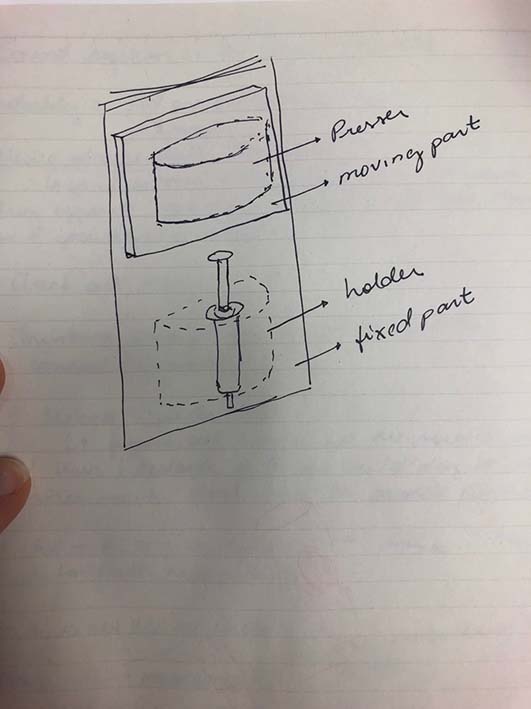
After this initial research, I contributed to the design of the chocolate extruder. Since Filippos Tourlomousis had already worked on the development of the concept of the extruder itself, we already had a good idea of how the design would be. We needed a syringe, with a heating system around it to keep the chocolate melted, as well as a holding body to embrace the syringe and a pressing body to press the plunger. This system would be attached to a vertical axis, the syringe would be permanently fixed, inside the holding body, and the pressing part is the one which would move up and down to press the plunger.
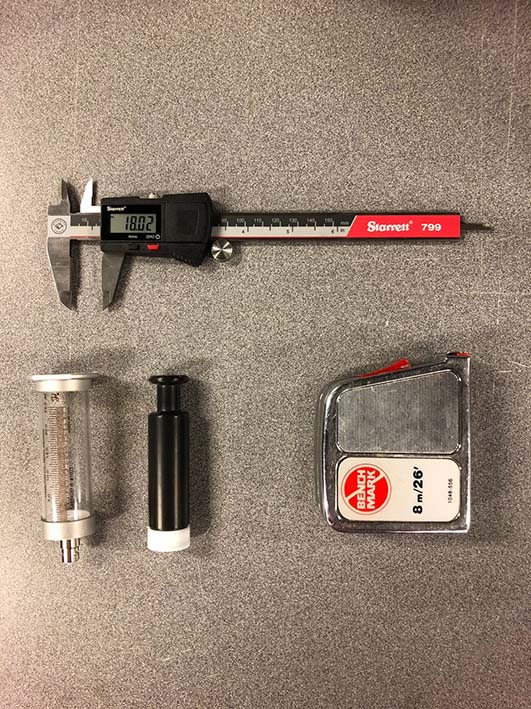
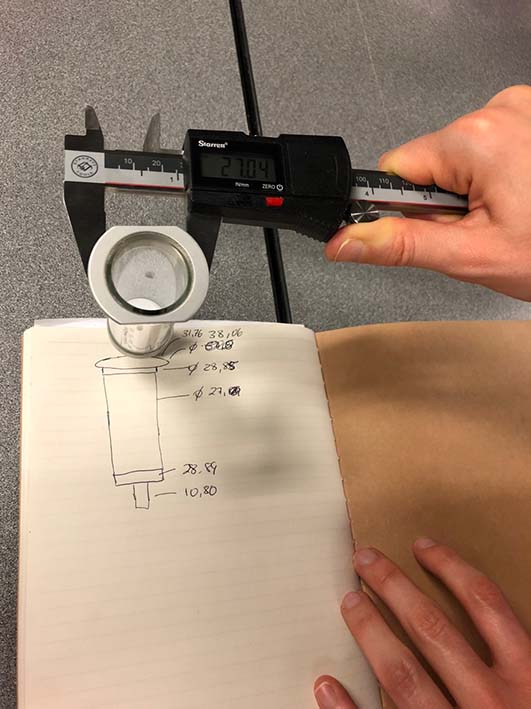
We began with modeling of the syringe itself, so that the holder and the presser could be modeled around it. The first step was to measure it by using the pachometer.
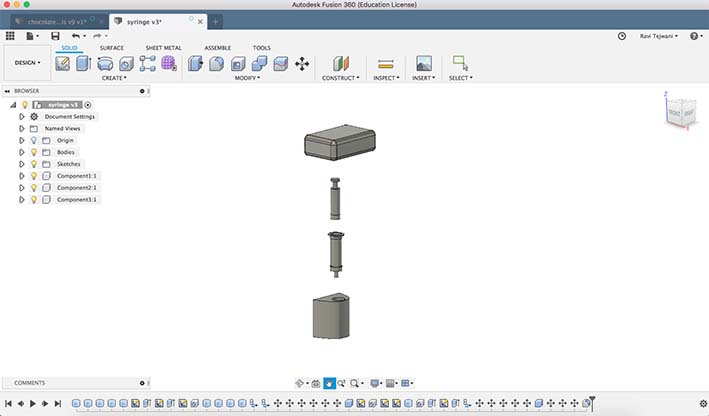
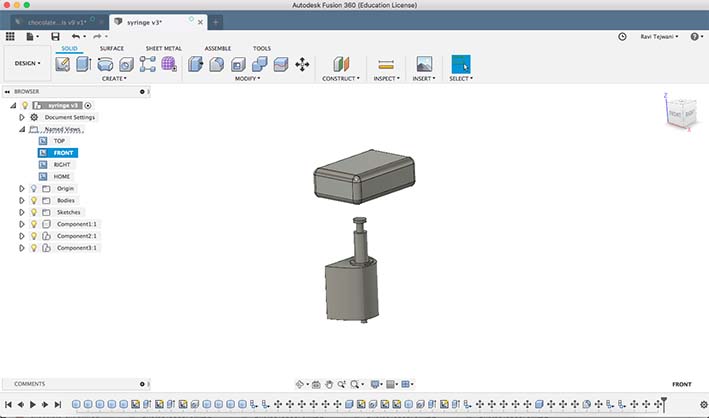
After that, using fusion 360, I have modeled the syringe, its holder and the upper moving part that is supposed to press the syringe and extrude the chocolate.

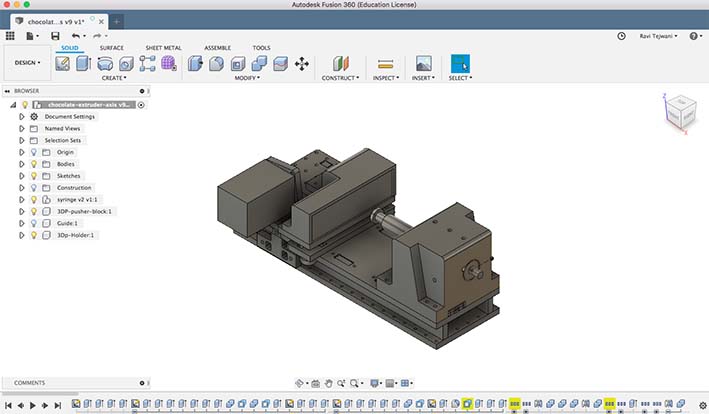
These parts were later on modified by Fillippos in order to better suit the strengh and pressure needs of the extruder. Filippos has also designed the axis where this parts would be attached to. The following image shows the final design made by Filippos Tourlomousis.
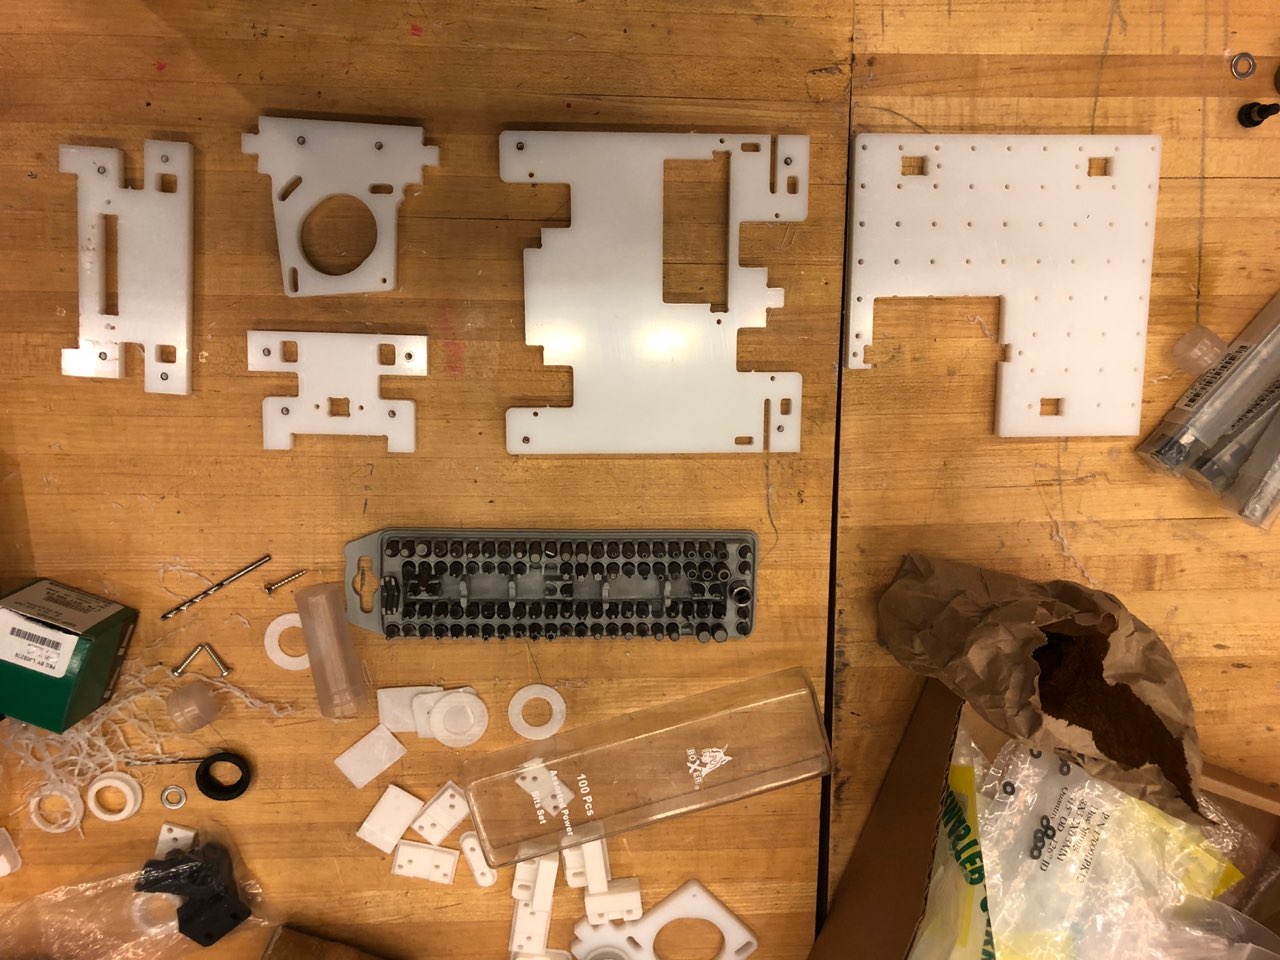
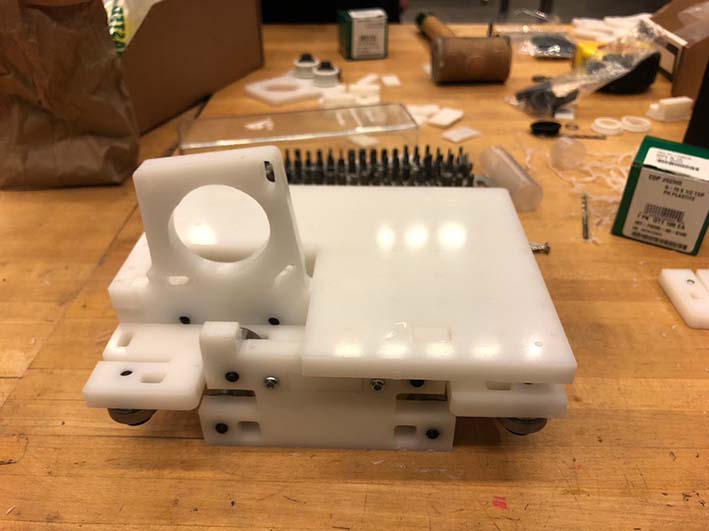
The syringe holder and the syringe presser have been 3d printed and the remaining parts of the axis have been milled in HDPE. After that, the parts have been assembled.
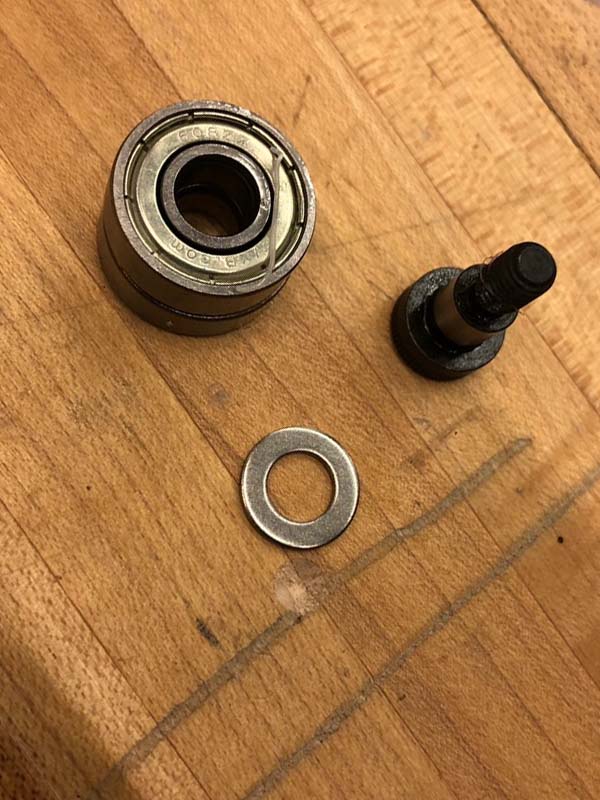
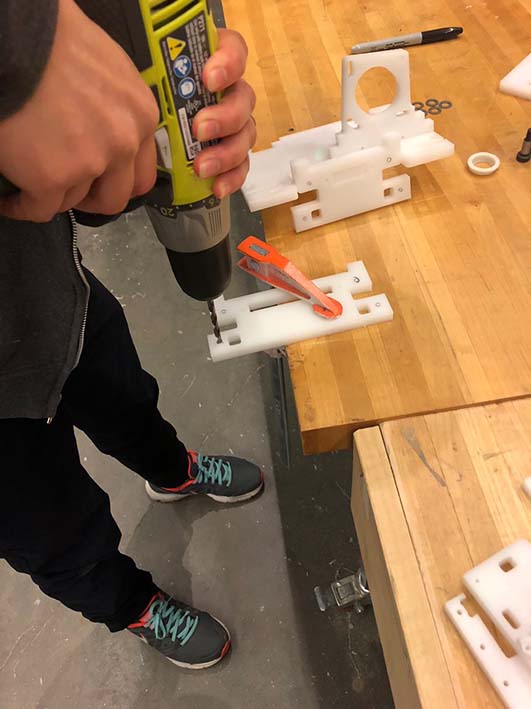
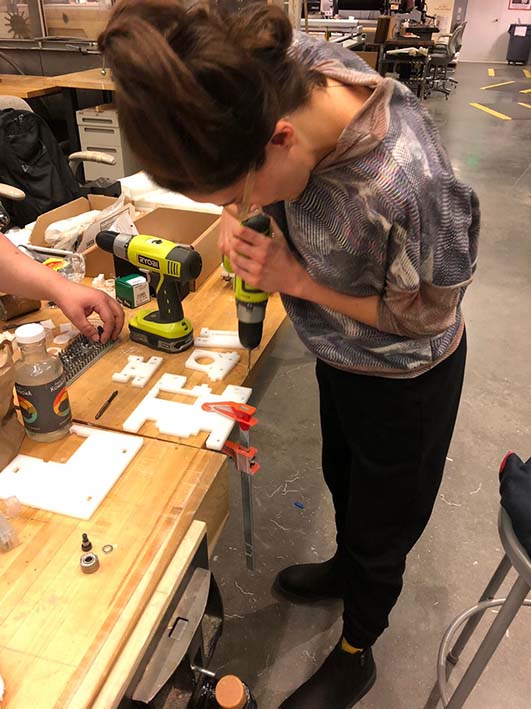
After contributing to the design, I have also helped with the assembling of the machine in the Mars Lab. The main task I have helped with was assembling HDPE boards to build parts of the machine. Some holes at the HDPE pieces were not threaded, so I have worked enlarging-drilling and tapping them to the diameter of the shoulder bolt. After that, I have attached to those HDPE pieces sets of bolts, shims and ball bearings, and connected the parts with screws.

Later on I have also contributed to the testing of the chocolate and if the way we thought for it to melt would work out.
This week’s assignment was to collective actuate and automate a machine. Our group decided on building a chocolate extrude.
I have contributed to different parts of the process. Initially, I joined the group responsible for designing and building the chocolate extruder itself. The first step was to research what kind of chocolate would most suitable for this purpose, as well as the ideal temperature for it to melt and be extruded. I have referred to previous projects or machines working with the same purpose to have a reference of what has worked best before. I have visited the following websites:
https://www.3dmaker.systems/en/home/145-choco-extruder-set-3drag-in-kit.html
https://www.instructables.com/id/Chocolate-Extruder-for-Ultimaker/
http://imprimalia3d.com/noticias/2016/01/02/005616/impresora-3d-chocolate-rusa
Through this research, I have found out that the best chocolate to be used is dark chocolate, with high percentage of cacao, without palm oil and that it should melt around 33 degrees celcius. Therefore, I have bought the following one for our first try.
After this initial research, I contributed to the design of the chocolate extruder. Since Filippos Tourlomousis had already worked on the development of the concept of the extruder itself, we already had a good idea of how the design would be. We needed a syringe, with a heating system around it to keep the chocolate melted, as well as a holding body to embrace the syringe and a pressing body to press the plunger. This system would be attached to a vertical axis, the syringe would be permanently fixed, inside the holding body, and the pressing part is the one which would move up and down to press the plunger.
We began with modeling of the syringe itself, so that the holder and the presser could be modeled around it. The first step was to measure it by using the pachometer.
After that, using fusion 360, I have modeled the syringe, its holder and the upper moving part that is supposed to press the syringe and extrude the chocolate.
These parts were later on modified by Fillippos in order to better suit the strengh and pressure needs of the extruder. Filippos has also designed the axis where this parts would be attached to. The following image shows the final design made by Filippos Tourlomousis.
The syringe holder and the syringe presser have been 3d printed and the remaining parts of the axis have been milled in HDPE. After that, the parts have been assembled.
After contributing to the design, I have also helped with the assembling of the machine in the Mars Lab. The main task I have helped with was assembling HDPE boards to build parts of the machine. Some holes at the HDPE pieces were not threaded, so I have worked enlarging-drilling and tapping them to the diameter of the shoulder bolt. After that, I have attached to those HDPE pieces sets of bolts, shims and ball bearings, and connected the parts with screws.
Later on I have also contributed to the testing of the chocolate and if the way we thought for it to melt would work out.