computer-controlled cutting
an old friend
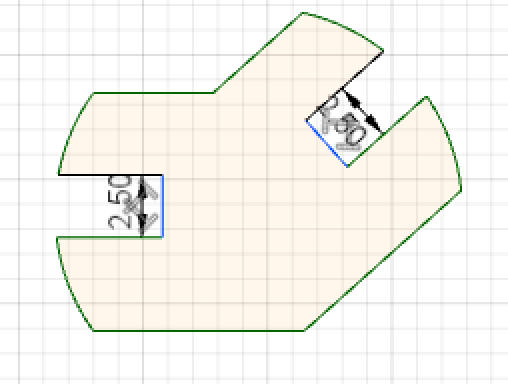
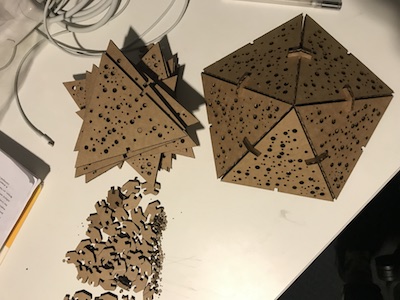
i've played around with acrylic on the lasercutter before, so i was excited to make this assembly kit with a different material (~3.8mm thick cardboard). while designing the assembly kit, i wanted to begin visualizing what the final project structure would look like. interesting geometric shapes stuck out in my mind as a good place to begin when visualizing a network of nodes, therefore this icosahedron lamp shade was born.

d20 lamp shade: modeling in fusion360
i'm relatively new to Fusion360, so this was an experience. in the spirit of diving head first into learning how to use the platform, i decided to *try* to render the basic shapes and animate the structure.
even though i started in Fusion360, i got frustrated by the awkward use of tooling and constantly having to google my every move on the platform, so i went to Adobe Illustrator and then CorelDraw for laying out the assembly pieces...
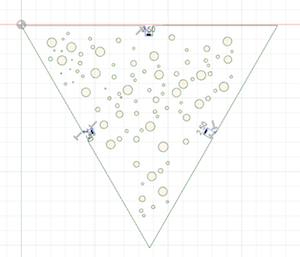
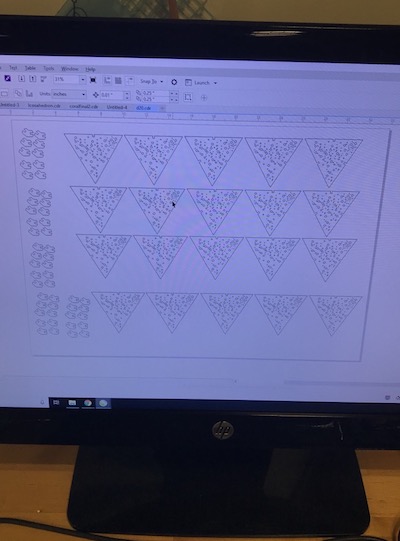
time to cut!
settings used on the GCC Laser Pro: speed=2.5 | power=100% | PPI=200...
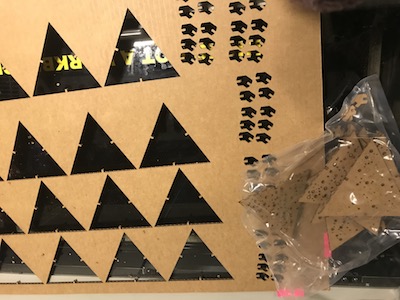
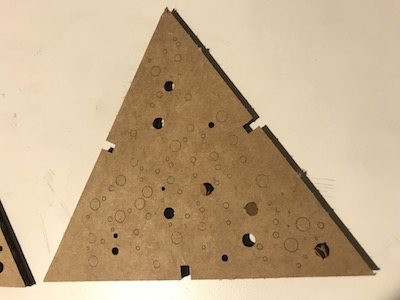
not to self: tiny circles require slower speeds to fully laser cut through the cardboard....
--------------------------------------
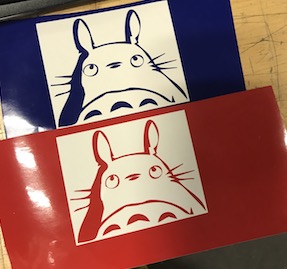
new friendbeing my first time on the vinyl cutter, i was excited to try all the things (ie circuit design for flexible stickers), but decided to start small, so i began where most good images live: the internet
below is a simple jpeg file that i imported into Adobe Illustrator

...where i removed all the gradient colored bits, since that would be of no use to the vinylcutter. i also made the file an .ai file by using the image logo trace tool in AI, which vectorizes the image
i uploaded the .ai file into CorelDraw, settings used on the Roland CAMM-1 GS-24: cutting speed=20cm/s | force=80gf...and voilá! totoro decals are born.