week 7/project 7 go back

Molding & Casting

background

group assignment: review the safety data sheets for each of your molding and casting materials, then make and compare test casts with each of them
individual assignment: 
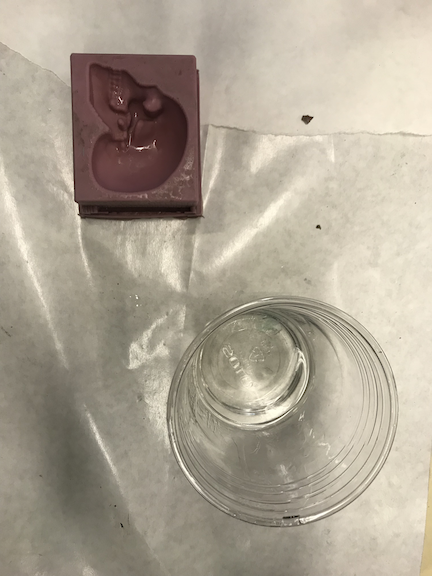
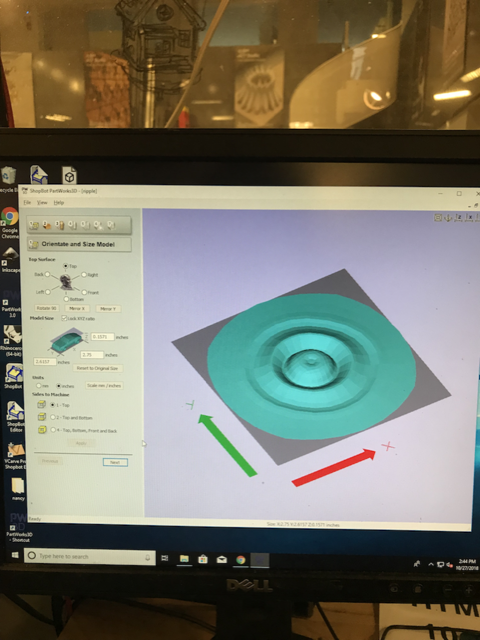
design a 3D mold around the stock and tooling that you'll be using, mill it, and use it to cast parts


finaleee
        
        "the glory is fallen out of
        the sky the last immortal
        leaf
        is dead and the gold
        year
        a formal spasm
        in the

        dust
        this is the passing of all shining things..."
        ee cummings

testing casting materials & molds

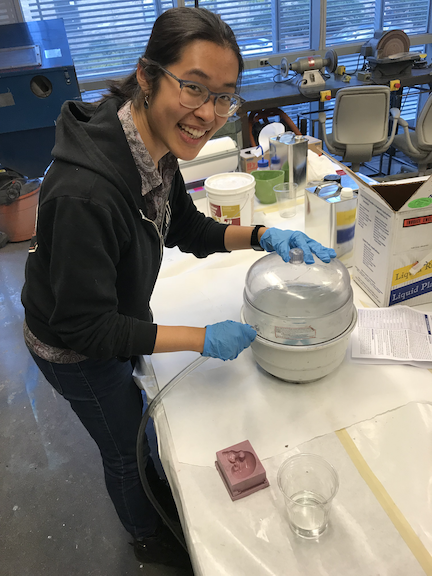
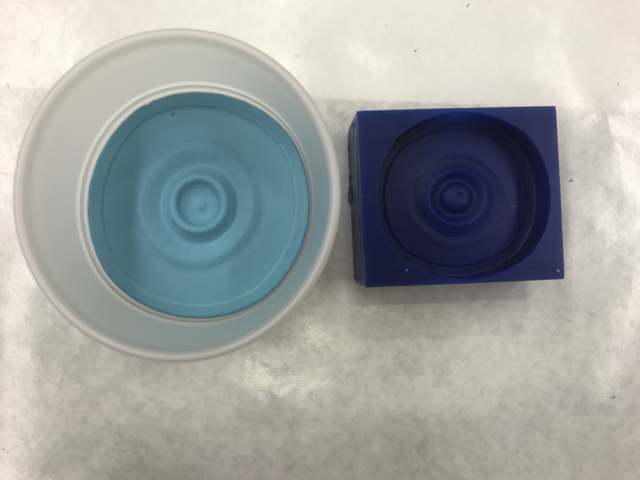
Tina and i were looking forward to experimenting with materials we had yet to use. SmoothOn Epoxy 202 was a fun place to start. we were so dern excited, that we forgot to read the saftey guides.
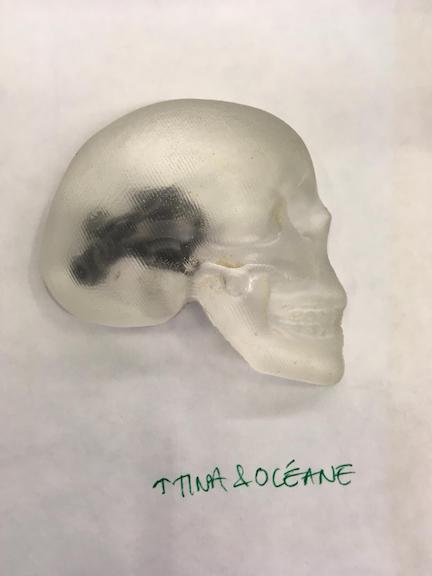
notably, "Crystal Clear™ 202 is intended for casting in thin sections. Developed for casting thicknesses of no more than ½" was a guide we missed. regardless, our pieces came out a-ok.

skull Tina!
skull pouring skull
fig 1. depiction of "in-chains in the membrane"

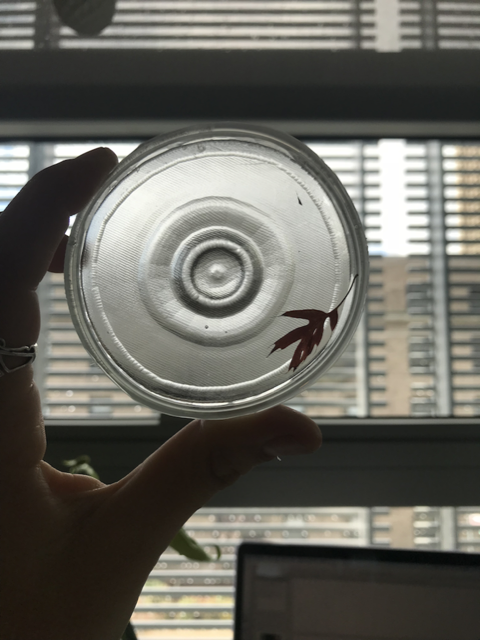
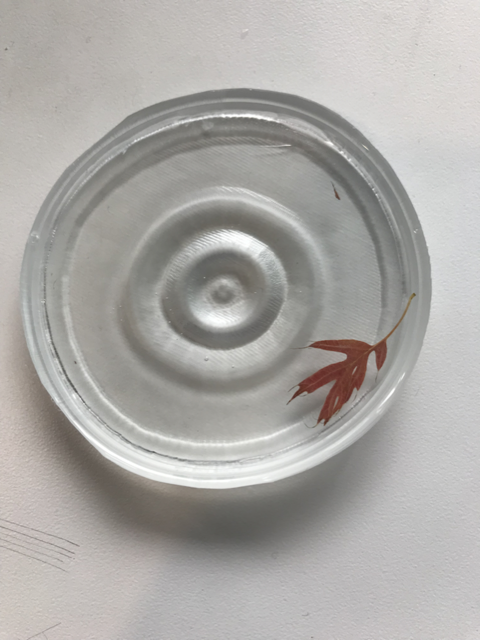
time to begin machining! this week I wanted to capture fall (this is my first fall and it is simply magleafique). since i'm running out of pages to store them in my journal, it's time to lock one of these leaves in an O2-less environment as a leafsake.

mold machining

3D Model Docs

orientation rough toolpath
fig 2. settings for orientation (left) and roughing toolpath (right) on vCarveDraw
save
fig 3. don't forget to save the .stl files for the finishing toolpath, rough toolpath and the overall file!

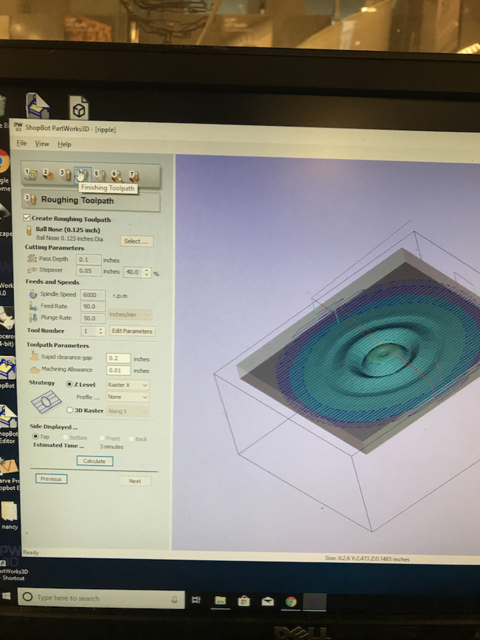
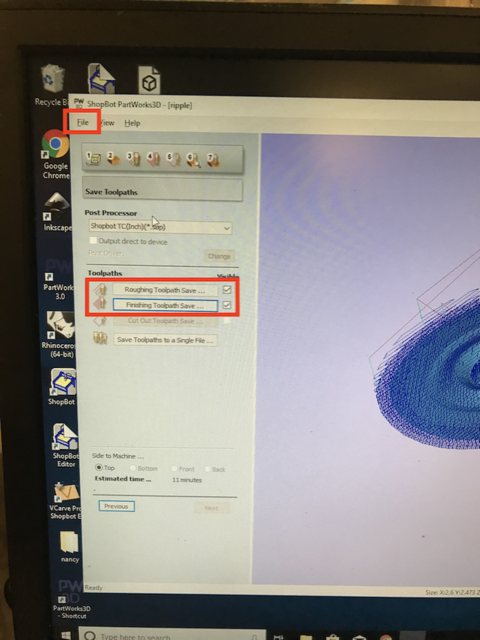
off to the ShopBot3 we go...

finish finish
fig 4. the result of the machined wax after the roughing toolpath (left) and finished toolpath (right) are complete (~15m total machining time)

mold casting

mold
fig 5. time to pour the Oomoo! i rationed the amounts of Part A and Part B accordingly (follow the box) and started mixing.

mix mix mix

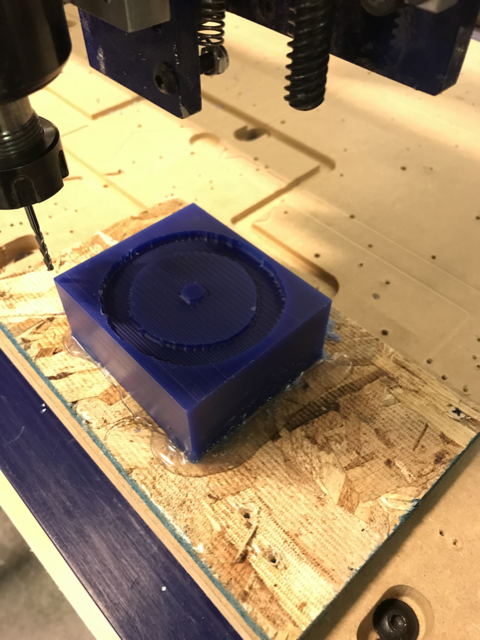
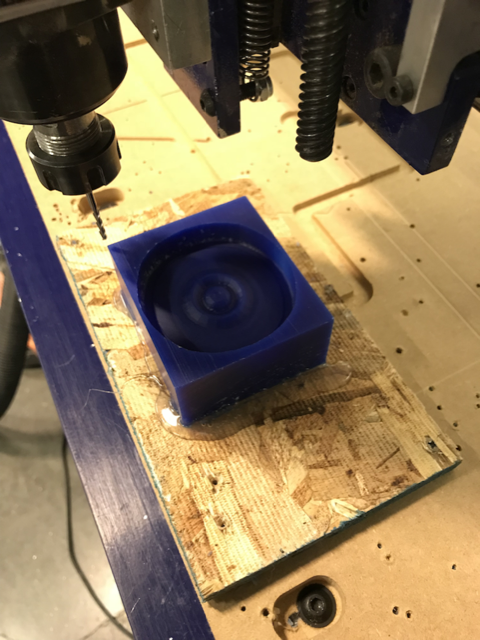
after about 2ish hours it should be ready. since my mold was very shallow, it was probably finished curing after an hour or so.

mold
fig 6. silicon mold complete! I had forgotten to make suitable walls for the puddle, so i placed it in this plastic cup to give the resin some depth as it was curing.

resin casting

fail
fig 7. after intially pouring the resin unto the mold and plastic cup, i placed the cup into the sealed vacuum set at -25 PSI to remove air bubbles. since i'd neglected ot poke holes in the bottom of the cup, it contracted and caused the silcon mold to slip, slipping the resin into the cup.

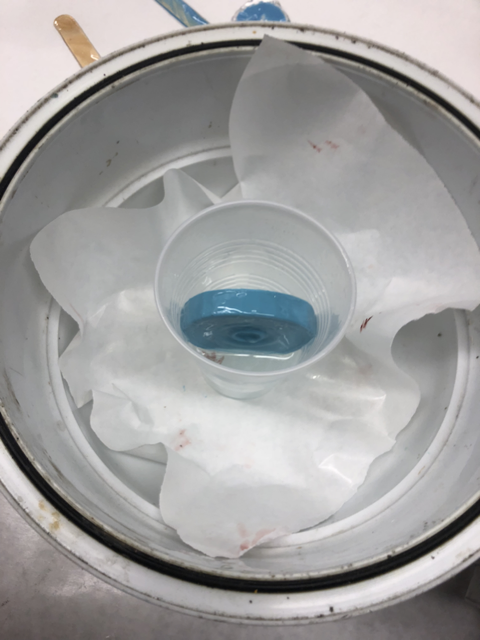
placing the leaf inside the resin in the cup (note to future self: wear gloves). a few hours later and voilà...

final
fig 8. mission "capture fall"::complete

go back