mystery
this week is wildcard week! super exciting because we get the opportunity to pick from a variety of topics:
- Machine knitting
- USB profiles
- VR/AR applications
- Bioprinting
- Composites w/ Rob Hart
- Embroidery w/ Tom Lutz
- Fluidic actuators
- Inflatables
- Laser micromachining
- Sheet Metal
- Soft Robotics
- Vacuum Forming
- Waterjet w/ John DiFrancesco
- Wire EDM
- Wire plotting
So many amazing topics, I couldn’t limit myself to learning about just one. I bolded the trainings that I attended.
Composites
Background
Composites are fibers in a matrix. They are easy to form, very strong, very lightweight, and are quite affordable. They can withstand tension due to the fibers, and compression due to the matrix. Some examples of composites include reinforced concrete (rebar is the fiber and the concrete is the matrix) and wood, which is made from long cellulose fibres (a polymer) held together by a much weaker substance called lignin. Boats, surfboards, and airplanes are great applications of composites because they seek light and strong materials.
Project
Inspired by Sam Calisch’s composite paddles, I wanted to try to make ping pong paddles for my dad!
Design
I asked him which paddles he liked and he sent me these ones. Butterfly Mizutani Jun Super ZLC xiom zetro quad
Rather than model these through CAD, I decided to use an existing cad model off of GrabCAD.
Materials
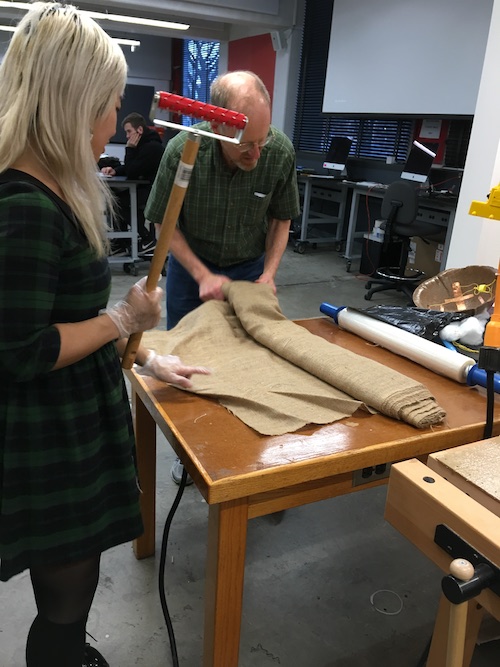
The lab supplies entropy resins, which are high bio-content epoxy & have low volatility. The lab also has a variety of fibers that may be used, but duck canvas was the one that was recommended based on experiments done by students/researchers of the Center for Bits and Atoms.
- vacuum
- bag to vacuum seal
- resin
- canvas fabric
- plastic wrap (release)
- cotton pads (breather)
- sheet of plastic with holes in it (bleeder)
- Note you can make your bleeder by punching many tiny holes in a square sheet cut off a trashbag
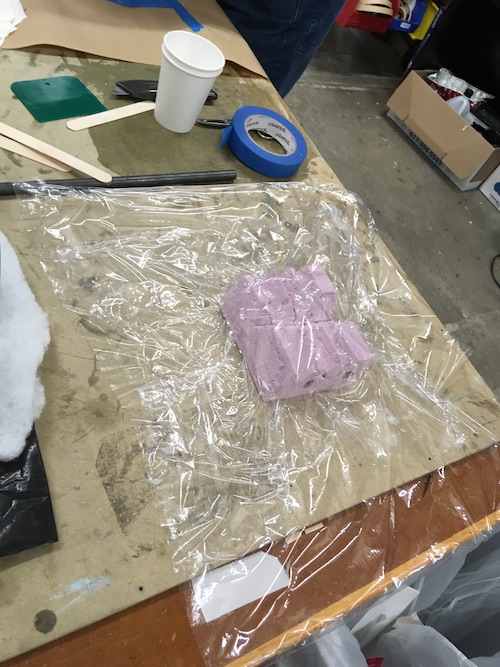
- form to mold (as a bonus, you can also keep the negative for a better squeeze when using a mold that has many bumps/holes or irregular shapes)
Steps
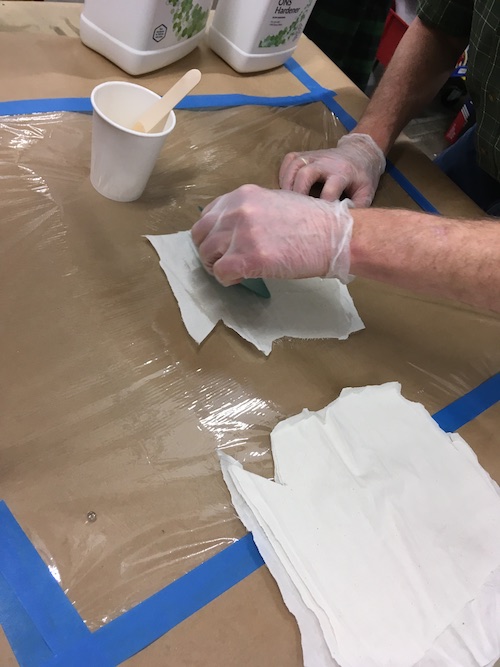
- prepare two stations. Station 1 will have plastic wrap taped to (large sheet of paper on ) the table; it will be used for saturating the canvas sheet w/ resin. Station 2 will be for layering the saturated canvas on the mold.
- cut the sheets of canvas that will form the layers of the composite.
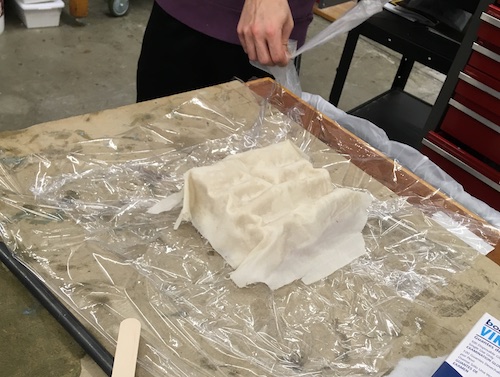
- put release on the table. put the mold on the center of the release. put another layer of release on the form to mold.
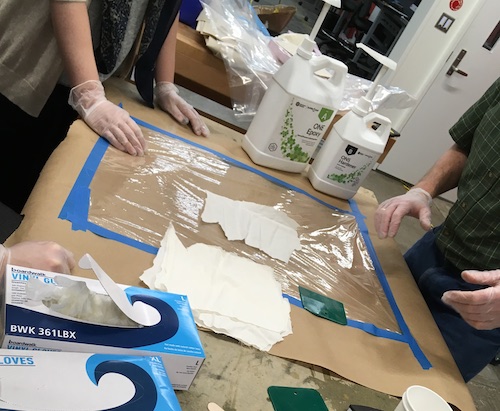
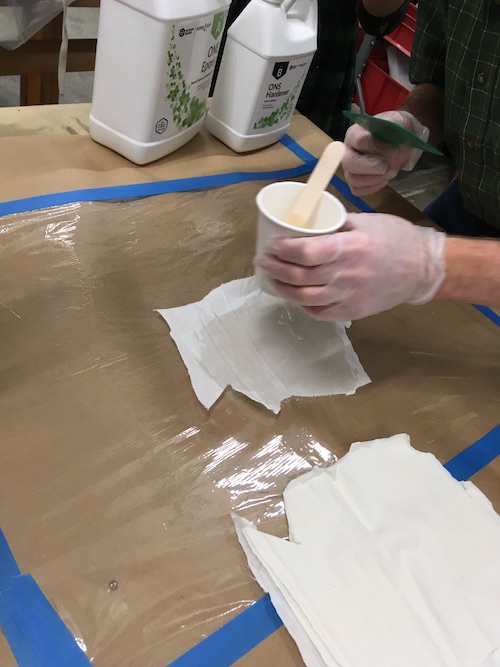
- prep and mix the resin, pour some onto the center of a single sheet lying flat at station 1. Use the scraper to push the resin along the canvas.
- layer the resin sheets and press them ont the mold as best you can.
- put the bleeder on top of the resin sheets.
- add the breather layer. protip, the vacuum hole should be able to have direct contact with the breather.
- add another layer of release.
- stick this all inside the vacuum bag and make sure the vacuum bag is sealed tightly except for where the air will be sucked out.
- vacuum!
- wait 6 hrs until composite has hardened!
Embroidery
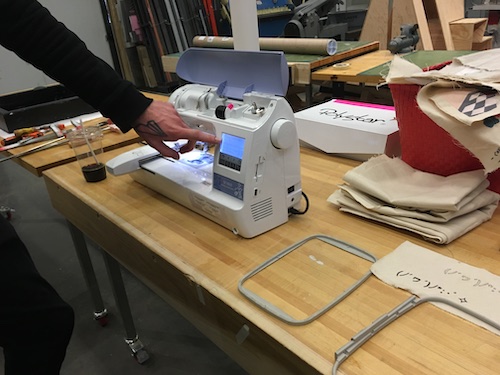
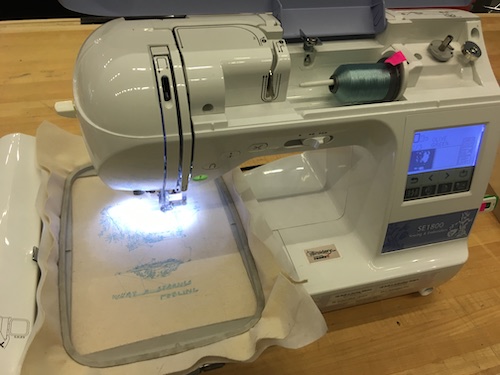
Tom Lutz walked us through creating toolpaths for custom embroidery using the Brother PE-Design software suite and then running them on a Brother SE-1800 sewing/embroidering machine.
Materials
- Brother SE-1800 sewing/embroidering machine
- Brother PE-Design software suite
- embroidery thread
- embroidery bobbins
Steps
prepare the data/instructions
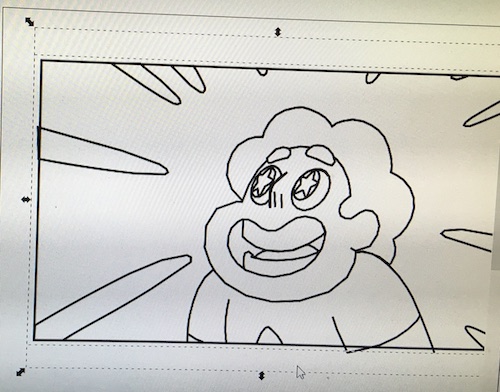
- have a high quality line drawing or flat image (not a photo) to process using the PE Design software.
- in the software you click the parrot with lines and dots to convert the image “to figure”. From here, you will want to use thin settings and fine detail. once the result has been generated, you can also modify the image by deleting and moving certain nodes or shapes.
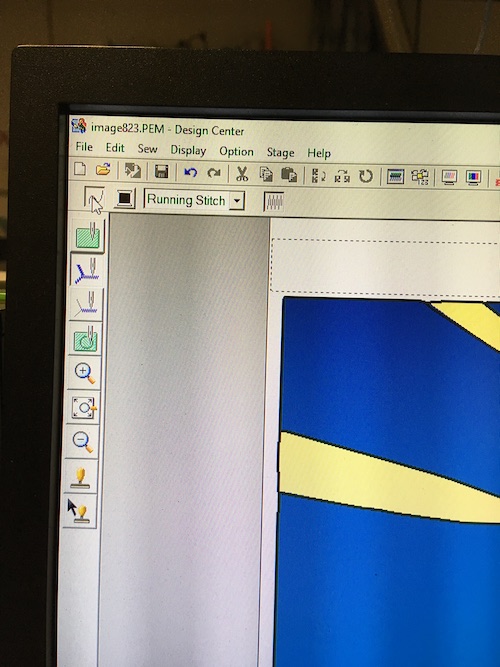
- in the software, set sew settings as well as colors.
- you will also want to set the order in which each of the colors will be sewed. this is important to make sure that details don’t get hidden (for overlapping colors)
- load output in the PE layout software to generate the code to load into USB and supply to the embroidery machine.

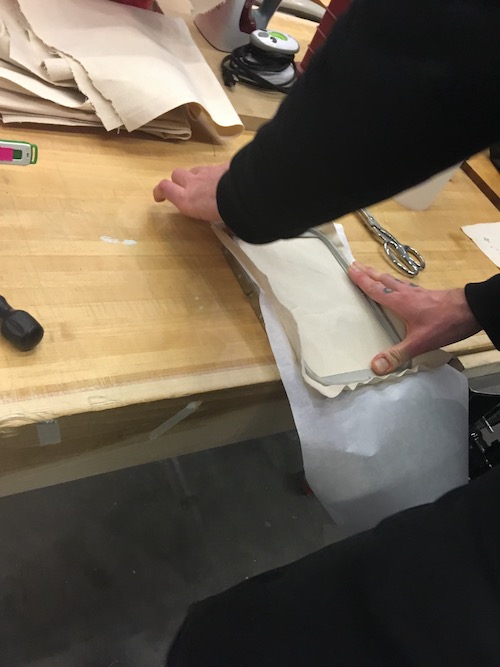
prepare the material
- iron your fabric
- stabilize the fabric to prevent wrinkles and other problems. The method of stabilizing depends on the type of machine, the fabric type, and the design density. For example, knits and large designs typically require firm stabilization. There are many methods for stabilizing fabric, but most often one or more additional pieces of material called stabilizers or interfacing are added beneath or on top of the fabric, or both. Stabilizer types include cut-away, tear-away, solvy water-soluble, heat-n-gone, filmoplast, and open mesh, sometimes in various combinations. The lab provides iron-on stabilizer that works better than the lose kind that doesn’t attach to the fabric.
- place the fabric in a hoop and attach it to the embroidery machine.
prepare the machine
- for the embroidery machine, thread the machine with the first color. You do this by following the numbers. The only difference is that Tom recommends switchings steps 8 and 9: Instead of cutting the thread and then putting it through the needle w/ the lever, thread the needle and then cut the thread. Note also that the threading of the needle works better when you set the needle to be at its peak height.
run the machine
- once it has been threaded, you can press the green-lit button to start the job. when a color is done, the machine will automatically cut the thread and you can load in the next color and continue the job.
post-processing
- cut any undesired travel threads
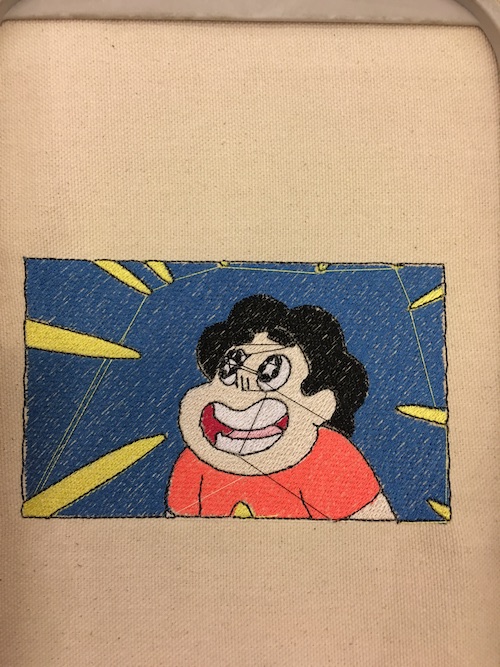
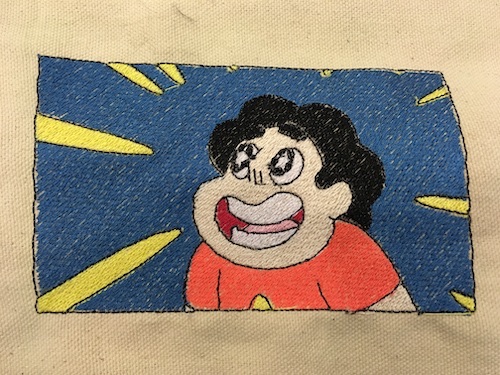
Idea
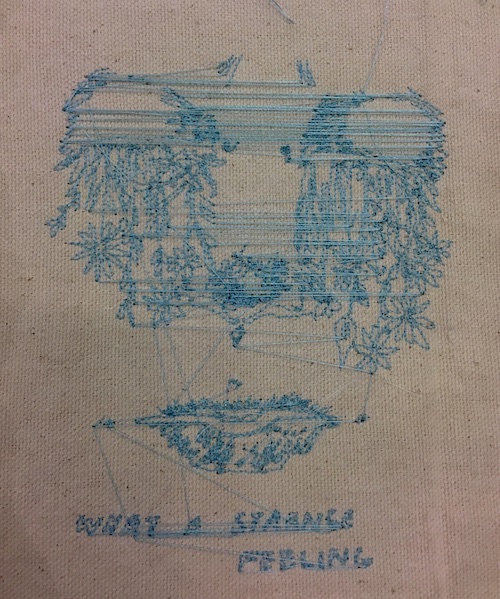
I would like to try to bring my “what a strange feeling” image from molding and casting to life on my shirt.