lasercutting & vinyl cutting
vinyl sticker
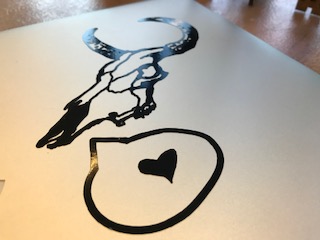
One of our assignments this week was to cut anything we wanted on the vinyl cutter, so I made a laptop sticker of a cow skull. I sketched the skull in photoshop (based on a Google Images search result), added a speech bubble, and thought long and hard about what feature dimensions could be easily removed from the cut vinyl, only to later (arbitrarily) resize the image. Everything turned out alright though; I think there's one chunk of negative space that for all intents and purposes is just a line, though.
And the original image is below.
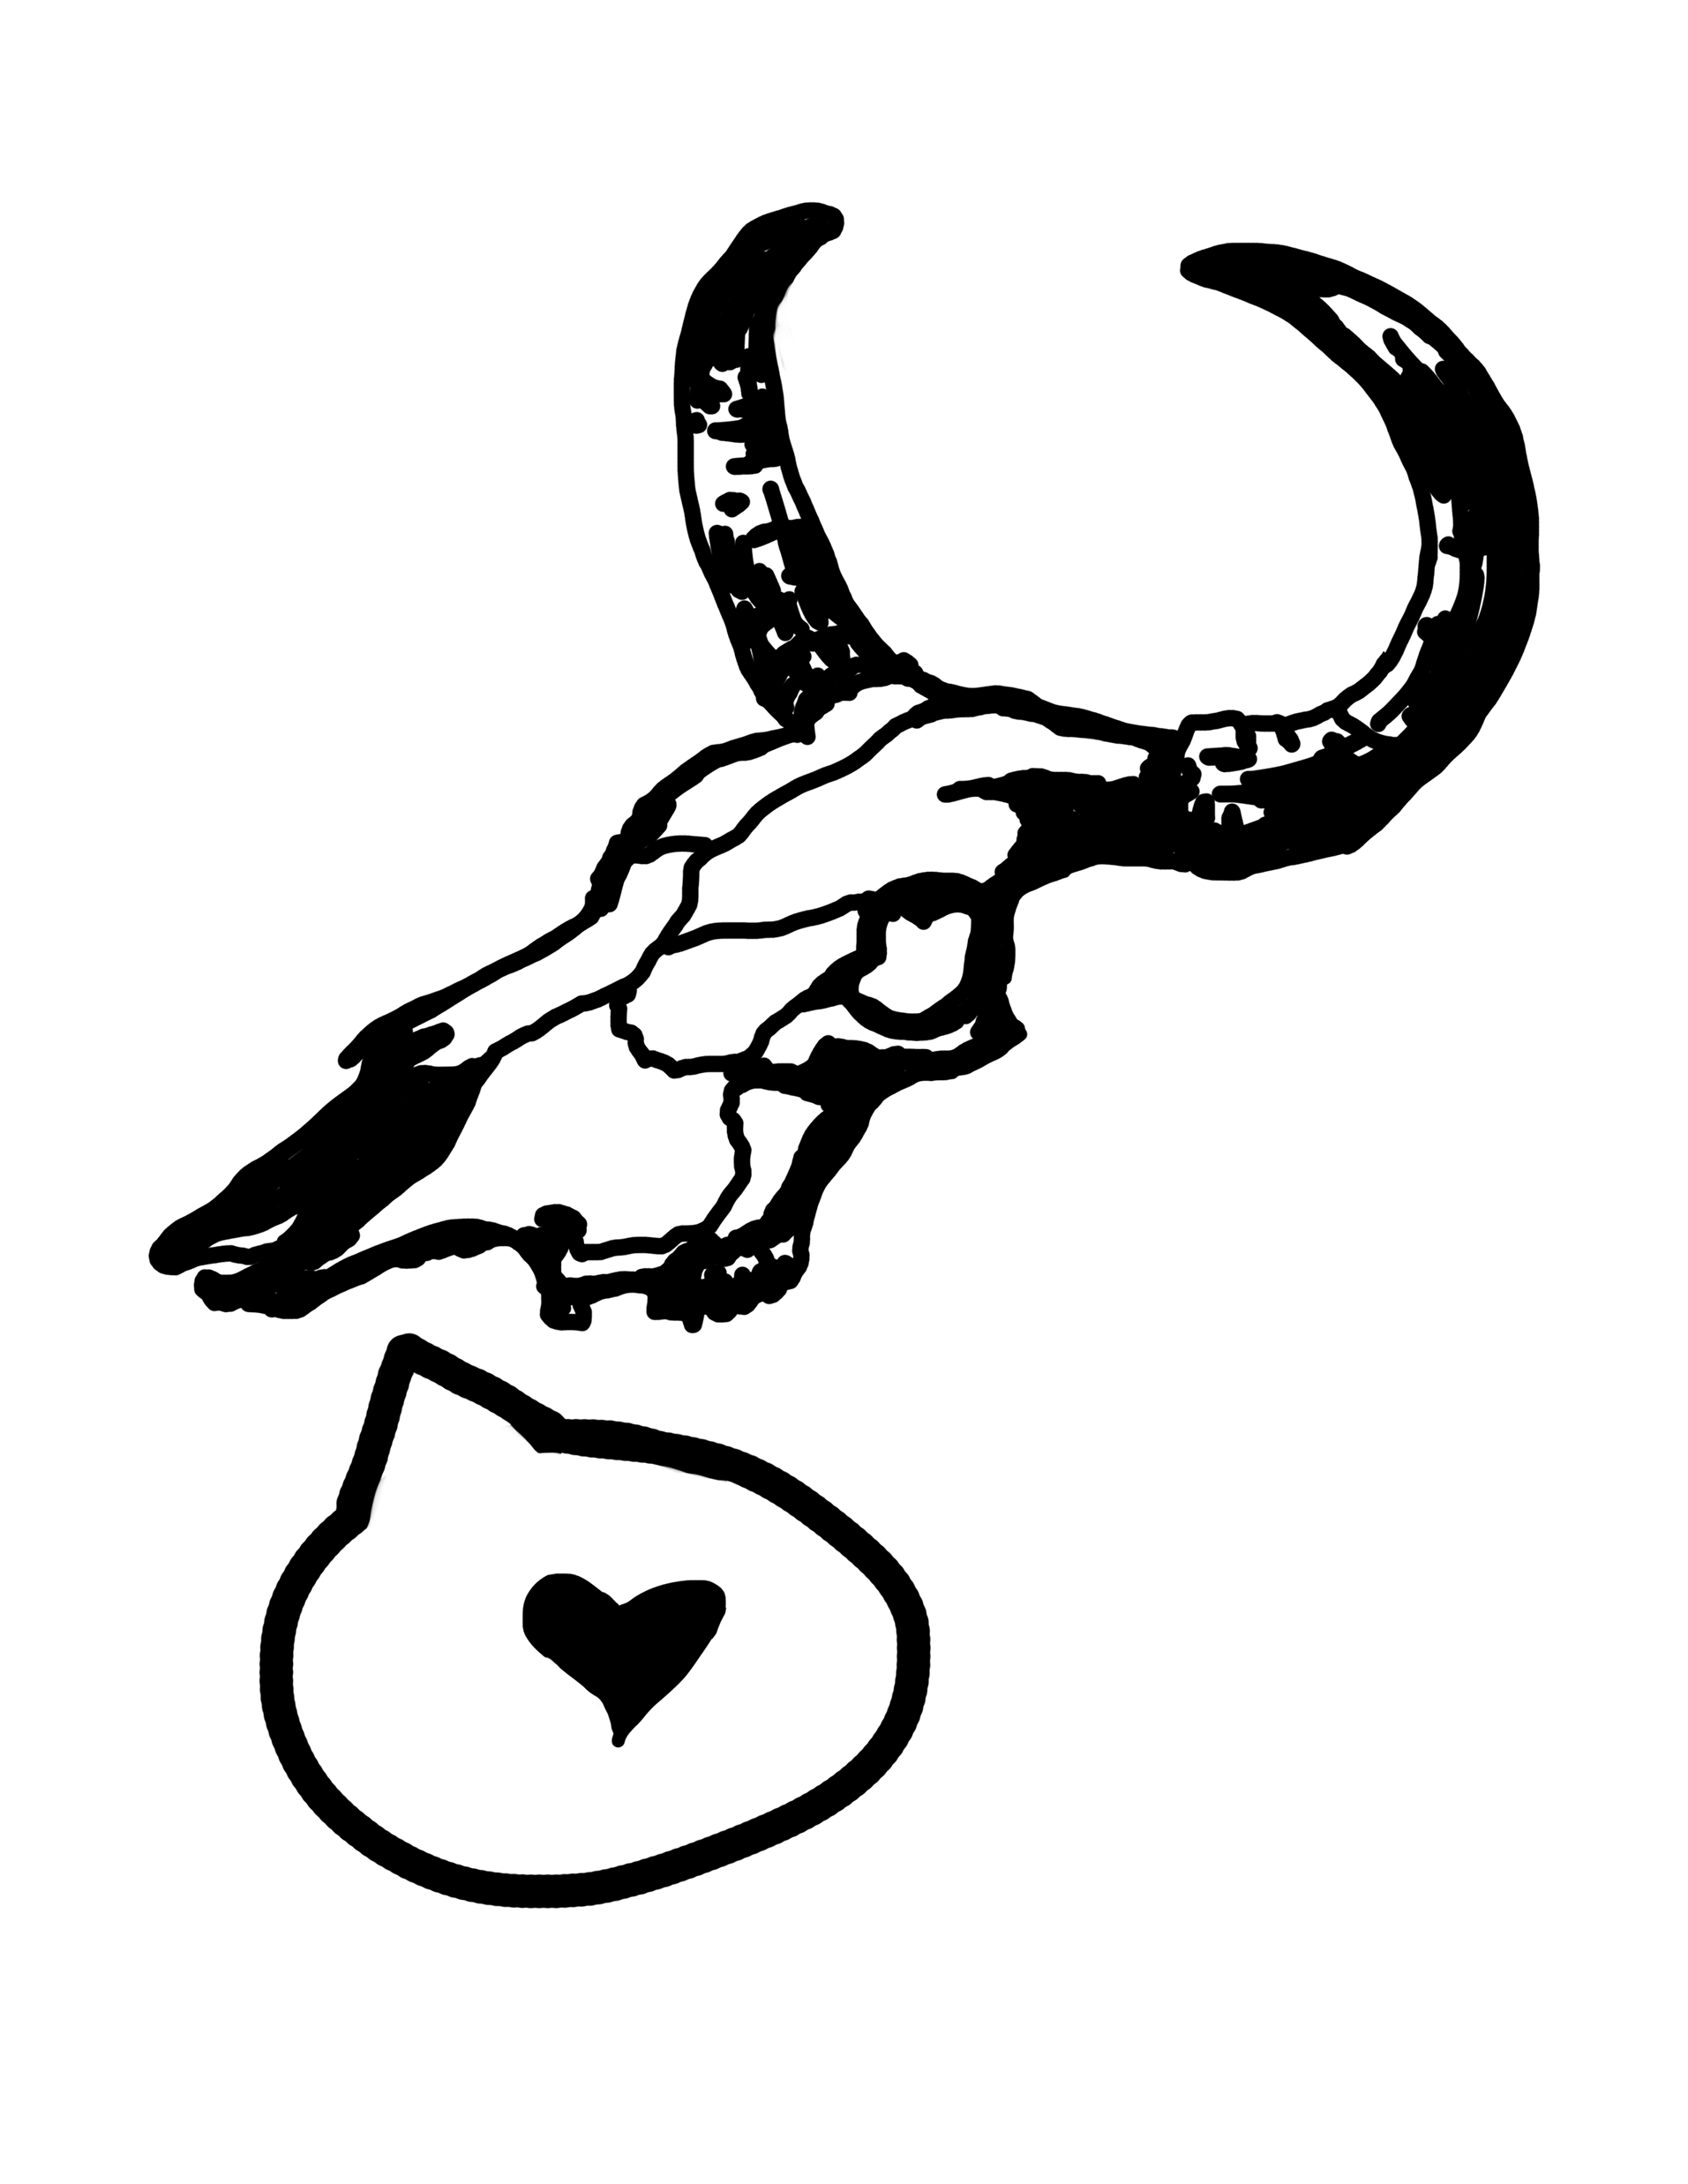
You can just barely see the tiny details that didn't cut in the original. I kinda think it looks better without them, so I guess this was a good thing.
press-fit construction kit
Our individual assignment for the week was to lasercut a press fit construction kit that could be assembled in multiple ways. But before that, we did a group project (as the EECS shop section) where we characterized the lasercutter.
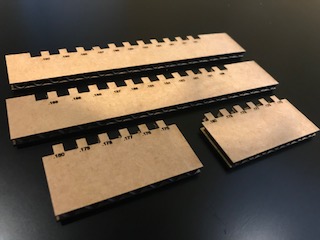
The objective of the group assignment was to determine the laser cutter's kerf (the width of the cut, basically), under different power settings (and also how the behavior of laser-cut, laser-engrave, and raster-engrave changed). Additionally, we wanted to see how well the joints fit together by varying the width of each slot by a thousandth of an inch (we went from 0.160" up to 0.190"). The above picture shows some of the parts from that test. Tests for the kerf gave an average cutting width (beam diameter) of ~0.014".
For my press-fit kit, I made my slots 0.15" inches wide and 0.2" deep. 0.15", accounting for the kerf, becomes 0.162" wide, which for 0.185" yields a tight, stable fit, even after a few assembly/re-assembly processes. The depth I picked somewhat arbitrarily; I thought 0.2" would result in enough stability for my needs. I filleted the edges of the slots in one element of my kit, but not for the others, because I did not find the filleted edges to confer enough of an assembly-time advantage to account for the slower speed that the laser cut takes to make a round corner.
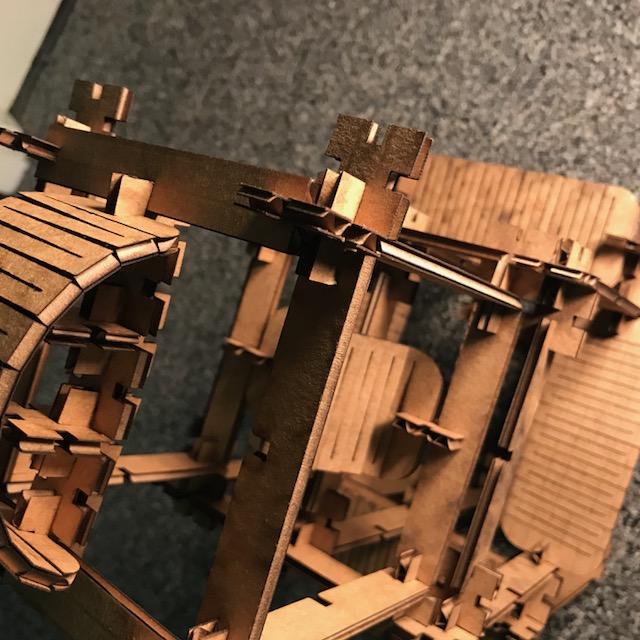
The press-fit kit consists of three different parts, and was originally conceived as a Build Your Own Stata! kit. To deal with off-angles and curvatures, I made the simplest bi-directional flexure I could, a 4-way joint, and some longer legs. I'm not sure that the kit as-is can make an identifiable Stata Center, and I ended up making a pagoda-type structure. I think that the flexures, specifically, turned out surprisingly well, and I'd like to keep testing them out with some different materials and powers.
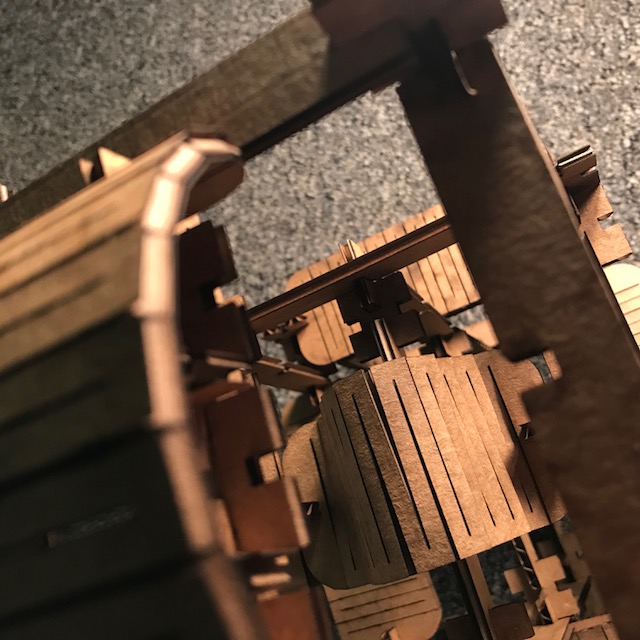
These are just photos of the structure.
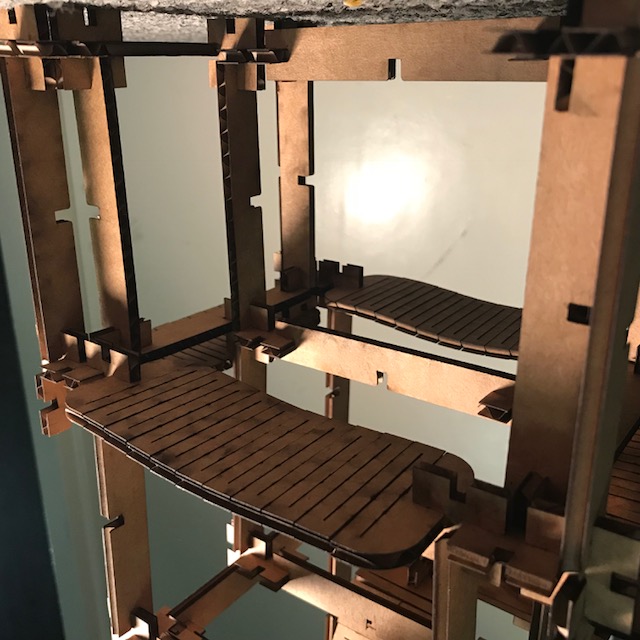
Look at this intentional lighting, wow.
I made the parametric design files in Fusion 360. And then edited the DXFs in AutoCAD a bit, because I realized I'd left a hole in the drawing, and I'm fairly comfortable using AutoCAD.
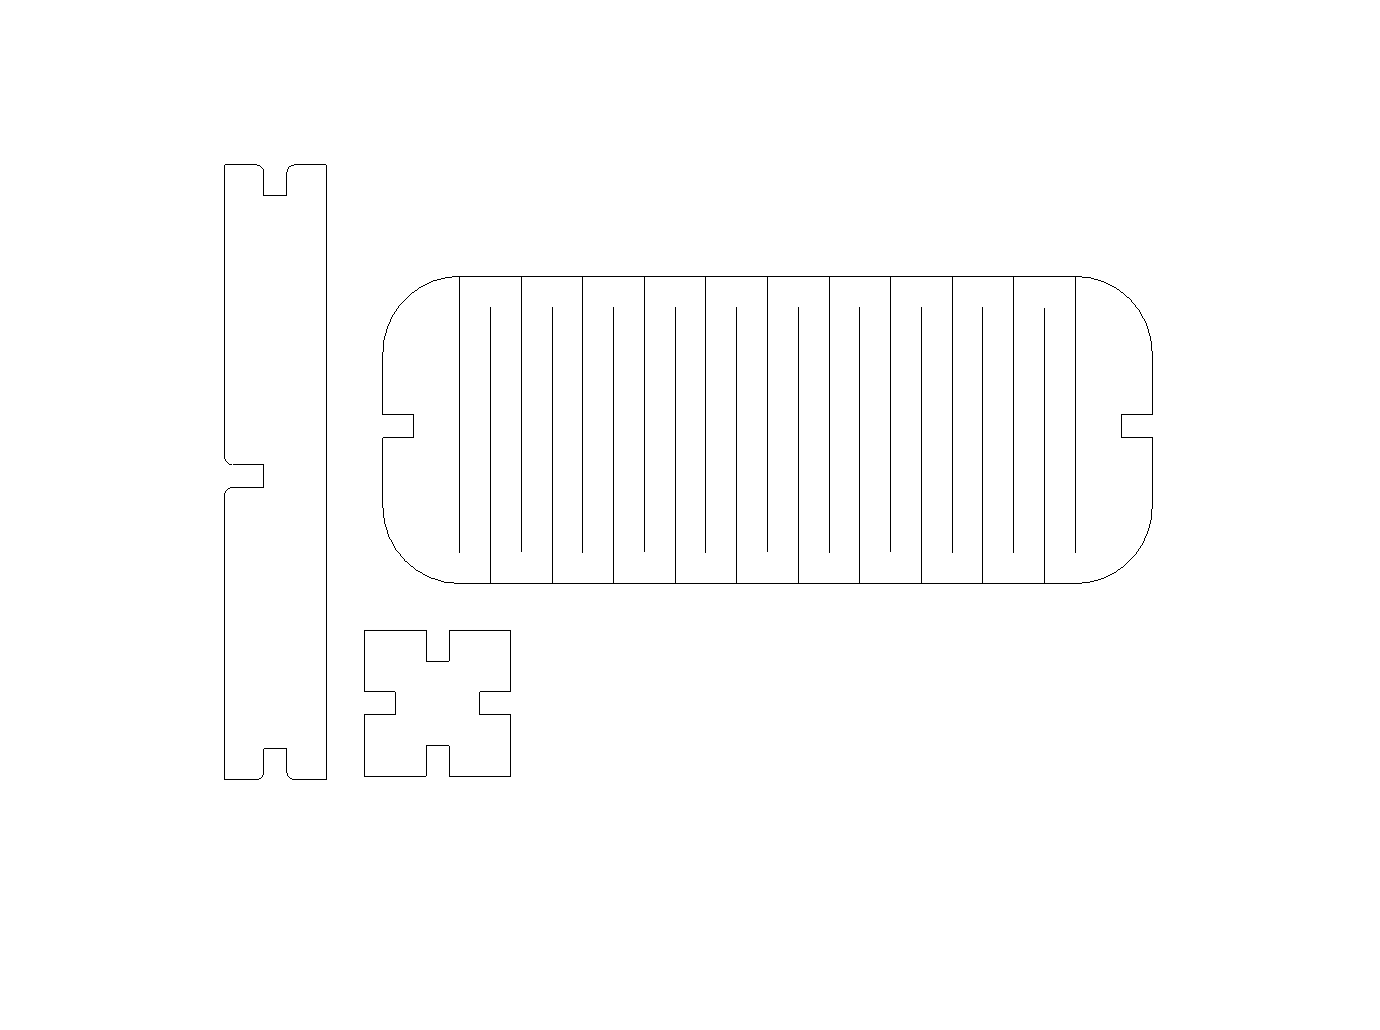
Here's a screenshot of the cut file outlines. Here's the file: here . You'll have to change the colors/line weights to whatever corresponds to vector cut for your laser cutter.