
Week 3 - PCB Milling & Soldering
This week we made a real PCB-board! The board is first milled by monoFab SRM-20 3D milling machine. Then I used solder to attach the electronics on the board.
PCB
The PCB design will be Week 5. This week we used the provided PCB design for ATtiny45 Programmer.
To setup the monoFab milling machine, here are some tutorials videos.
Some notes from the training:
Get started
- Stick the PCB board on sacrificial layer. And open webserver on the desktop
- Open http://mods.cba.mit.edu/ and select programs -> open server program -> PCB -> Roland SRM 20
- Select trace.png, change the dpi to 1000
- Select 1/64” trace milling and calculate
- Open the Websocket
- Clike “move to home” and change the 1/64” end-mill carefully.
- Write the x y z and click “move to origin” (0,0) is the left-bottom of the base. y is pointing towards the machine. Change z to 15 initially
- After finding the desired position (the left bottom of the png file), decrease the z to 10 (or 8). But make sure the end-mill have enough space.
- Then make the end-mill to touch the board with a plier.
- Re-calculate the traces
- Press “send”
- Do the same for the “outline”
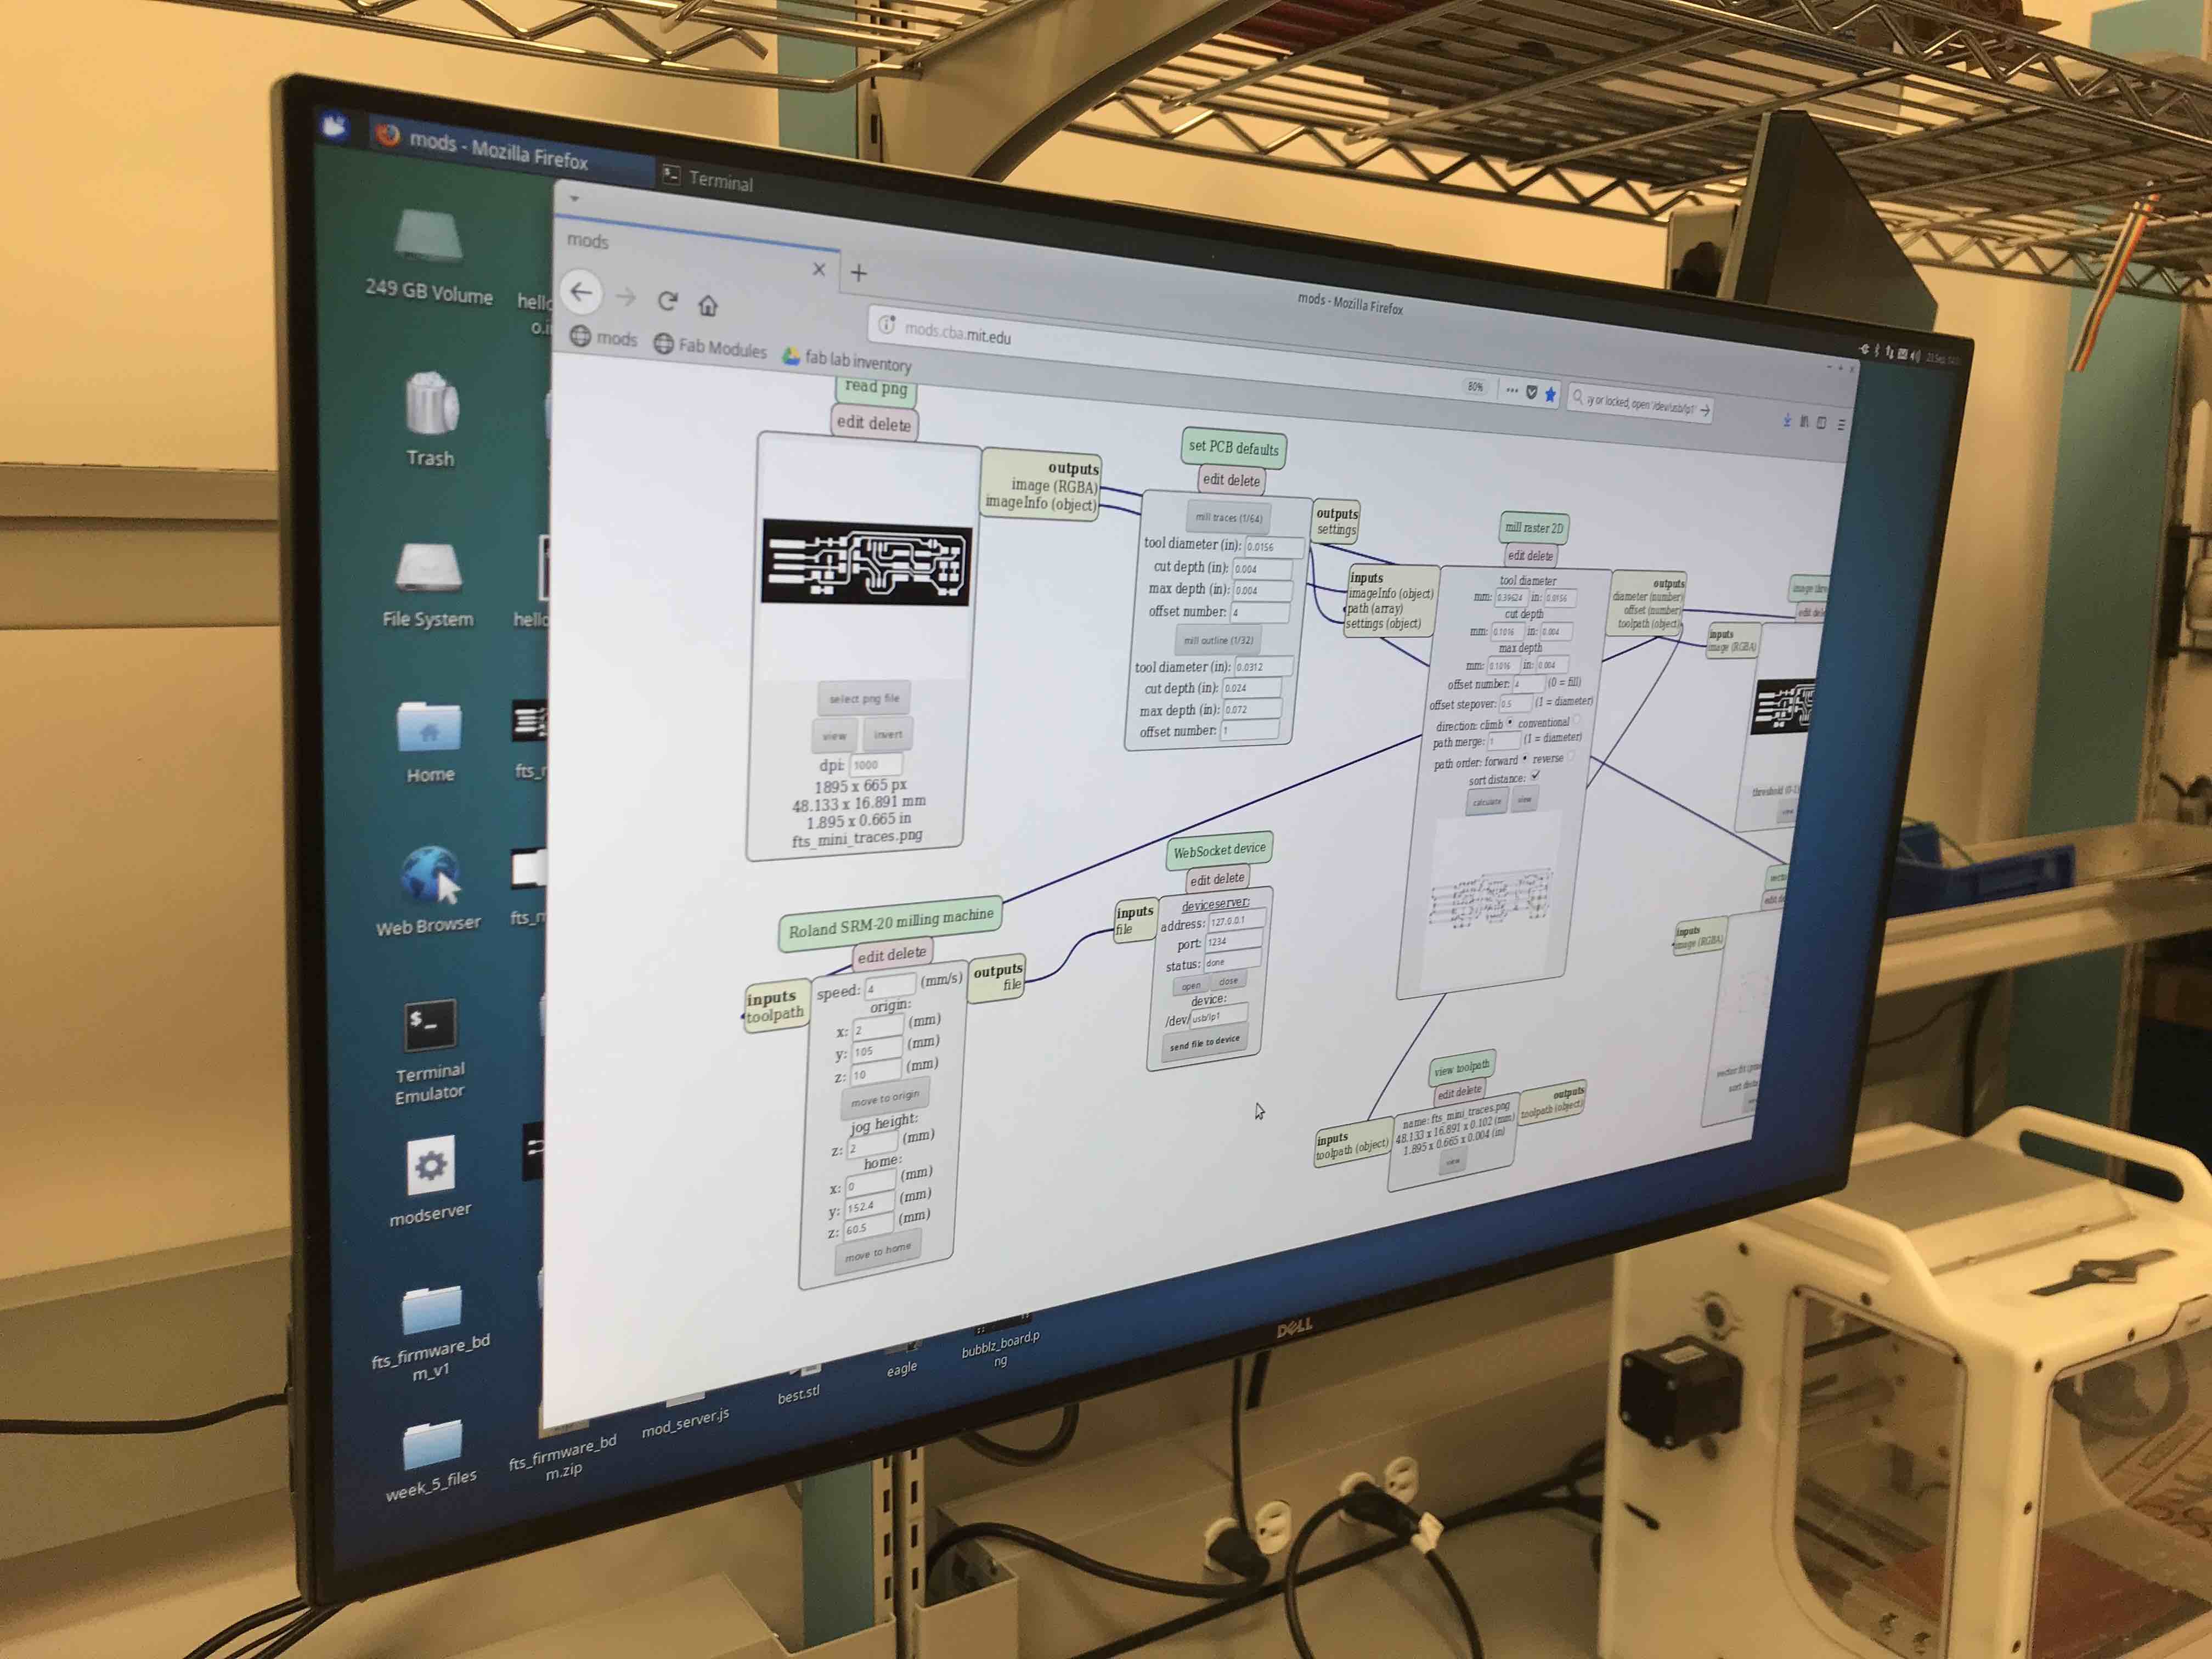 mods driver setting
Tips
- Using 1/64” end-mill for traces carving, and 1/32” end-mill for outline cutting.
- The end-mill is very brittle (especially the 1/64”) So when install/change the end-mill, remember to holding the end-mill while loosening the screw. This is to avoid the end-mill from falling and break itself.
- Change the Z axis from 15->10->8 to make sure the end-mill is touching the board.
- When carving the traces, use a plier to push down the end-mill to make sure the depth is approriate. Otherwise there will remain some shiny parts.
- If the motor doesn’t response, restart the machine.
- The trace will take ~10 minutes for the ATtiny45 board. And the outline will take ~2 minutes.
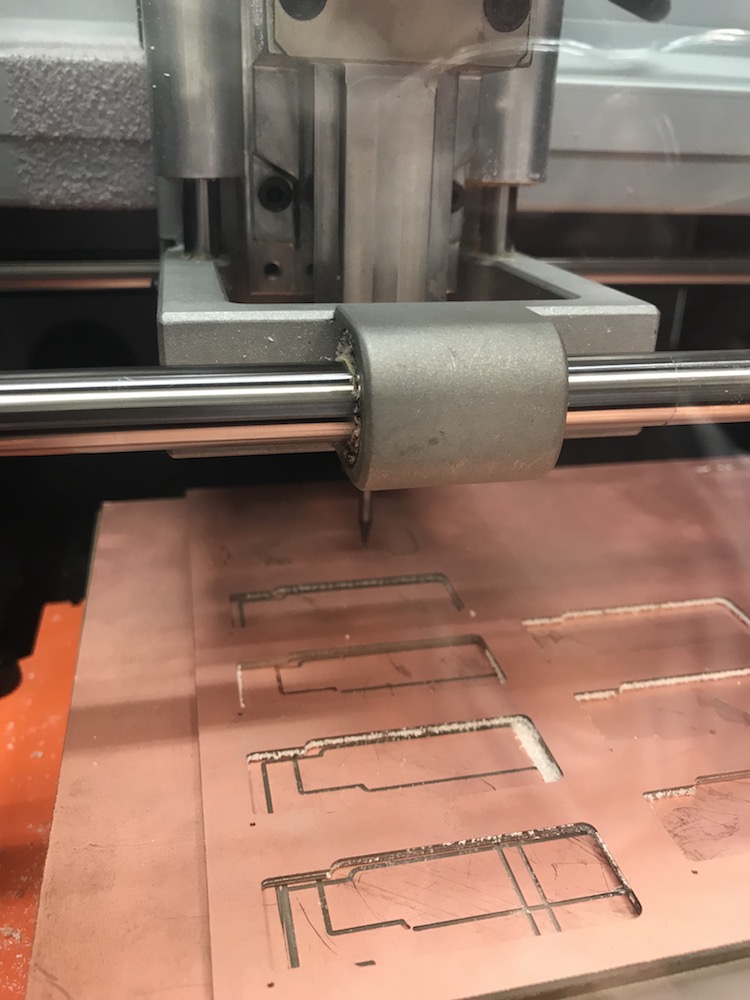 monoFab carving the traces
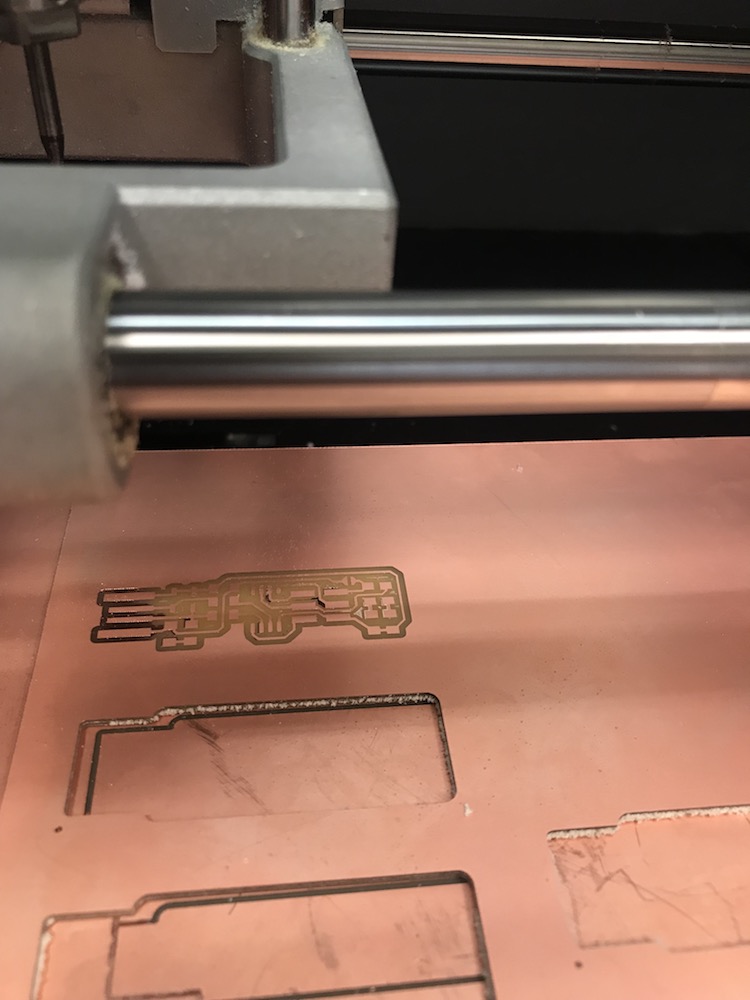 Failure case: if the end-mill is not pressed down thoroughly, there will be some shiny parts
And we press the end-mill down again and finally get the beautiful pcb board:
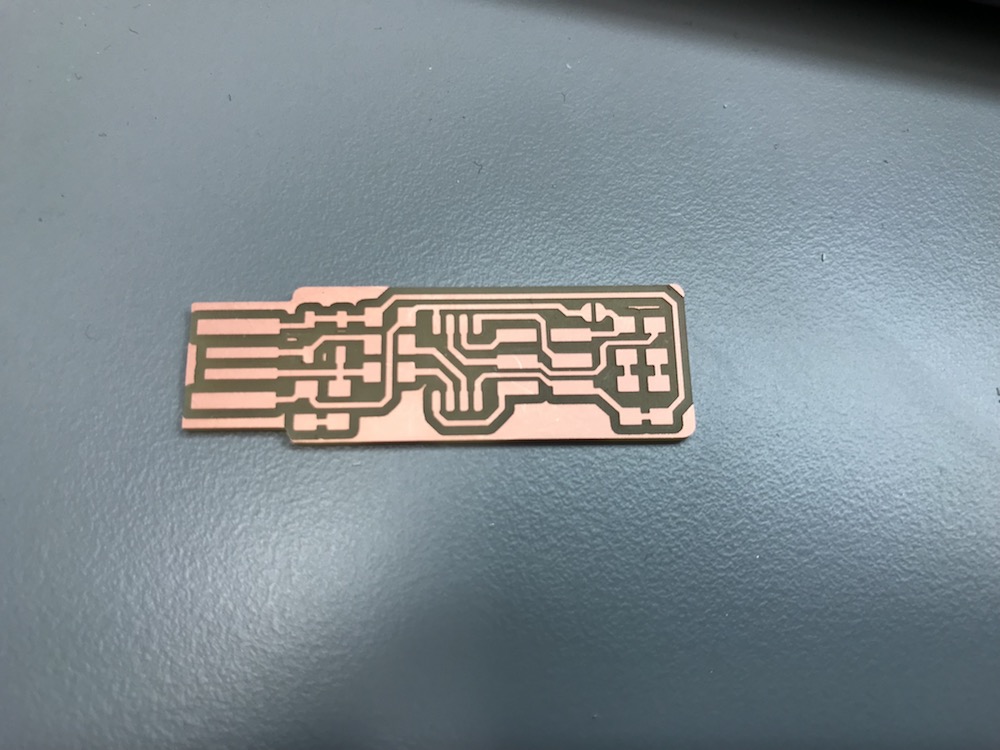 PCB board (after milling)
Soldering
Notes
- Soldering: Heat the board and the component together for few seconds and push solder then let it flow for 1 second and remove the iron.
- Desoldering: Use braid to cover the undesired solder, and heat the braid until the solder is obsorbed.
- Use solder as glue: To attach small components, heat the board and add some solder on board. Then use tweezer to move the component to correct position. Heat the solder and make it like glue. Add solder to the other side. Finally come back to the ‘glue’ and add some more solder.
- The best performance is shiny and smooth
- Soldering order: Beginning with the most tricky/important components.
Collect the needed components:
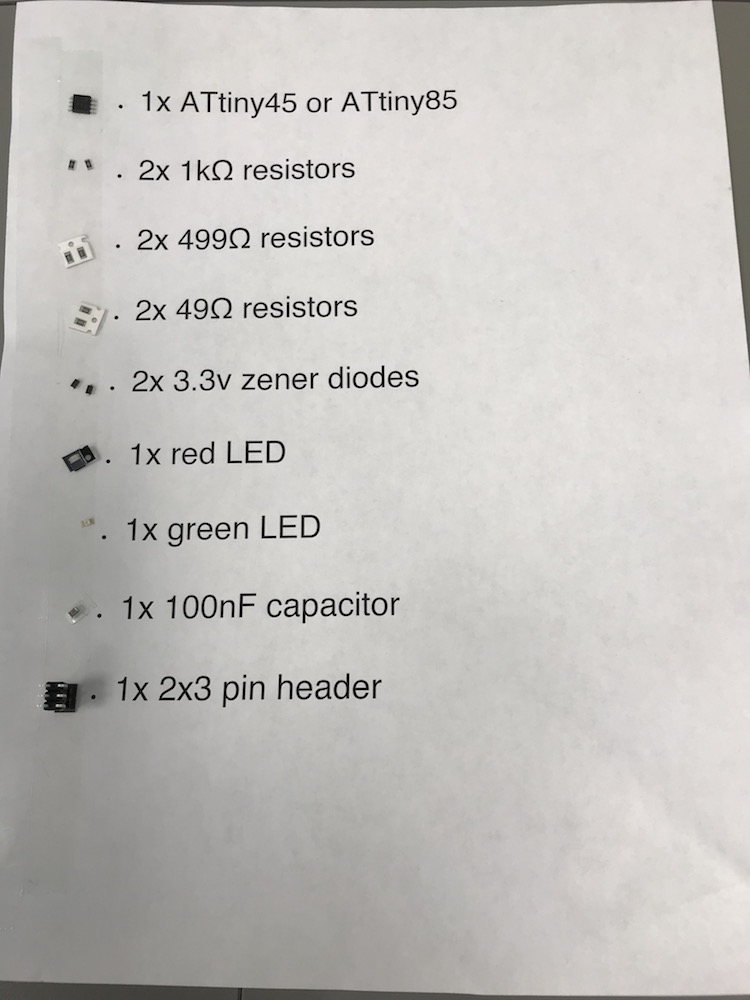 Collecting all the components with a double-sided tape
After about 2.5 hours, the PCB is finally finished!!! Yay!!
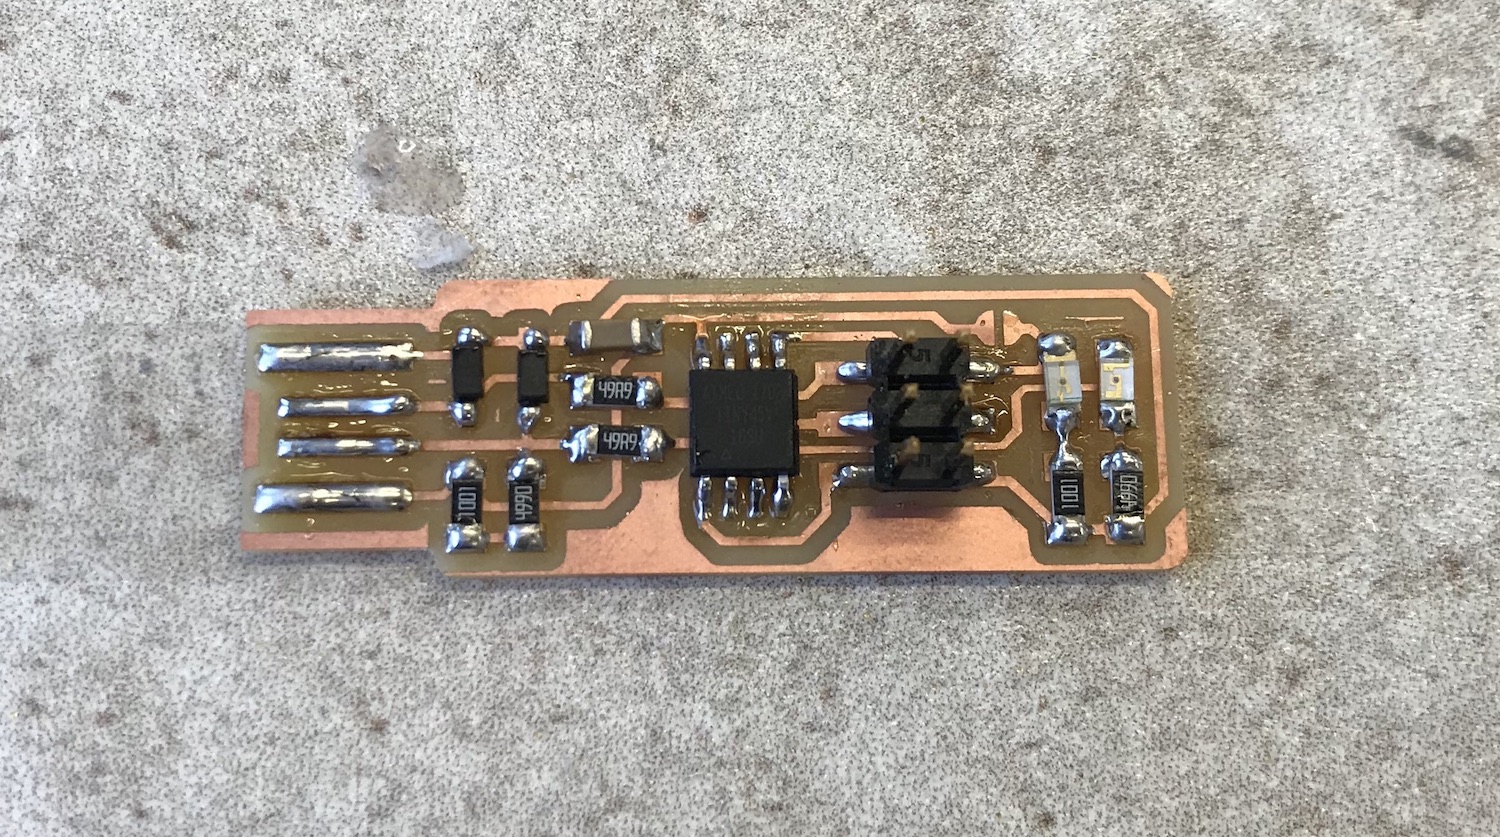 finished Atiny45 Programmer