Assignment
-plan and sketch a potential final project-model (raster, vector, 2D, 3D, render, animate, simulate, ...) a possible final project, and post it on your class page
Goal
I am keen to have my projects be dinosaur-based when possible. In turn, my vision for a final project is a dinosaur with some level of functionality.Initial Ideas…
Cast soft-robot
Programmable actions?
Skin variations?
Responsive skin?
Responsive to ‘I’m sad’ or ‘I’m happy’ or other inputs
Swarming capabilities with other dino friends
Potentially an entire army of dinosaurs!
BRANCH ONE
Steps - Starting + Random Additions
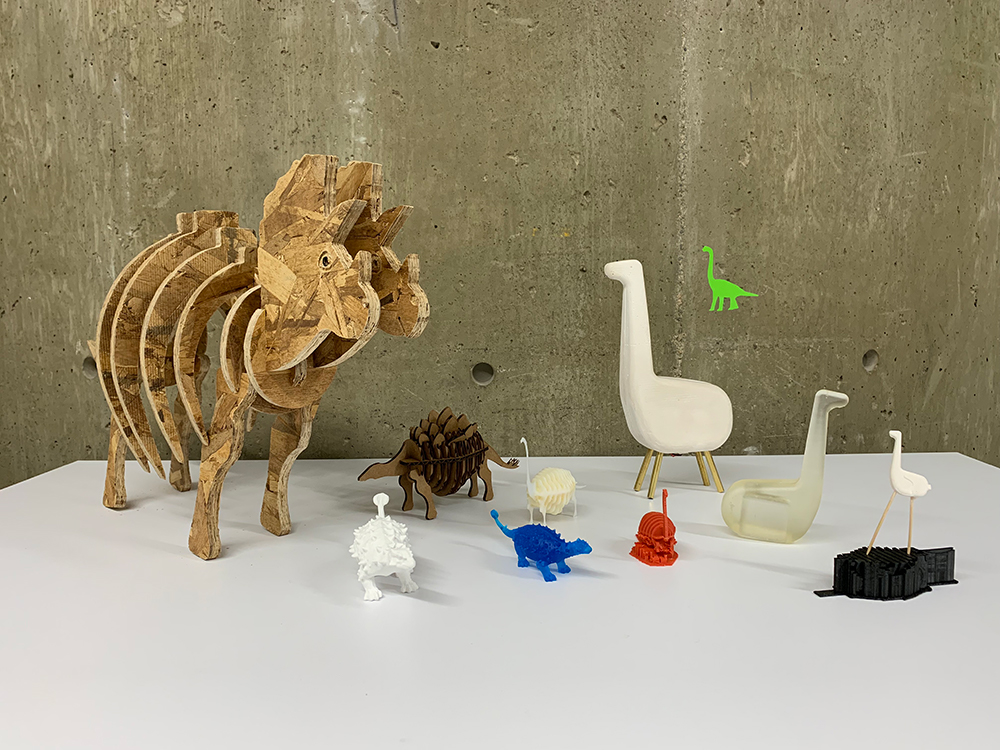
1. To start, I rendered four of the potential dinosaurs! I started by drawing an outline of four individual dinosaurs (triceratops, ankylosaurs, stegosaurus, and brachiosaurs) in Illustrator. I kept the body and legs the same and changed just the tail, head, and spike design. I then imported the drawings into Rhino to form a three dimensional version of each dinosaur. In anticipation of the parametric design, I kept the drawings more like an internal structure as opposed to covered in a skin. I then rendered the drawings using VRay! But I imagine them in more realistic form and with the ability to perform some sort of task! I am currently researching two areas to pursue, the first is the open source 1000 Kilobot Swarm (https://www.youtube.com/watch?v=G1t4M2XnIhI) and the second is optimal ways to have two agents communicate and potentially respond to an environmental stimulus of some kind.2. To begin I looked at how a small dinosaur will be able to recognize me within an environment, but I need to figure out what it will actually do after a communication link is established.
3. I created a dino study model to understand how to best create the mold as well as fit in all of the components. The belly of the dino will be a great place to hide electronics in order to maintian a clean, Scandinavian toy appearance.
4. A deep foray into utilizing two nRF24L01s for my dino/friend sensing combo led to a 328P-based board. The RF sensors were quite difficult (code + consistency) to work with so I spent some time working on how to improve the signal strength of the IR light and IR phototransistor. I found that I could significantly increase distance by changing the following: increasing power (via bigger battery, change in resistor, etc), channelizing the LED, and in the code! I was able to go from 8 in out to 5 ft!
Struggles
Smoothing and rendering between Grasshopper and Rhino takes time, especially if you aren't a pro. I asked for alot of help, made a lot of failures, and am not sure if I could recreate this file! Coding the interaction is currently the big struggle. Figuring out the best way to 'see' another thing is still a work in progress as there are so many choices when it comes to sensors!Tools
RhinoGrasshopper
VRay
Source Files
Link to Parametric Dinos in RhinoBRANCH TWO
Steps - Final Plan Outline
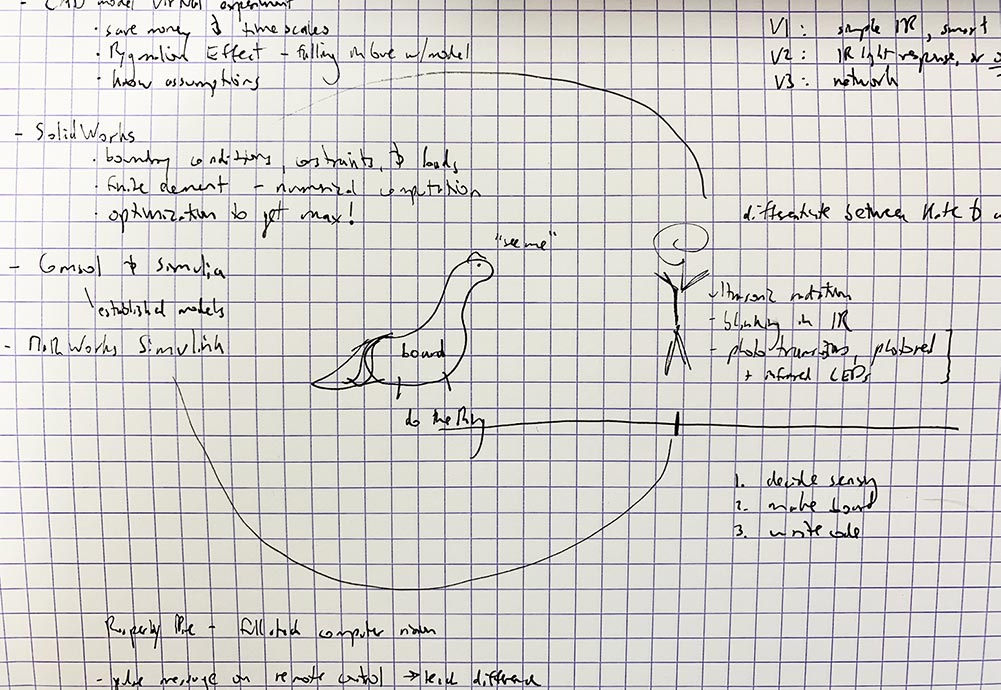
1. Model- joyful shape, 3D print, negative, positive
- space to embed both input board, output board, sensor, and speaker
- clear vs. solid, little wheels in the feet? sink boards or make removable
- location of power source
2. Input Board
- IR sensor incorporated into form, check distance/angle
- program to be able to identify IR light patterns
3. Output Board
- translate IR light to output a specific dinosaur sound
- library of noises?
- speaker?
- power?
4. Network
- connect input to output
5. IR Light ID
- Design small IR light board, just a light and an on button, but embed or make an artifact, potentially a vegetable
Dino Stickers too!
Struggles
The network is absolutely going to be the biggest challenge, that and getting all of the components to fit into the belly of the dinosaur!Tools
ALLSource Files

BRANCH THREE
Steps - All the Work
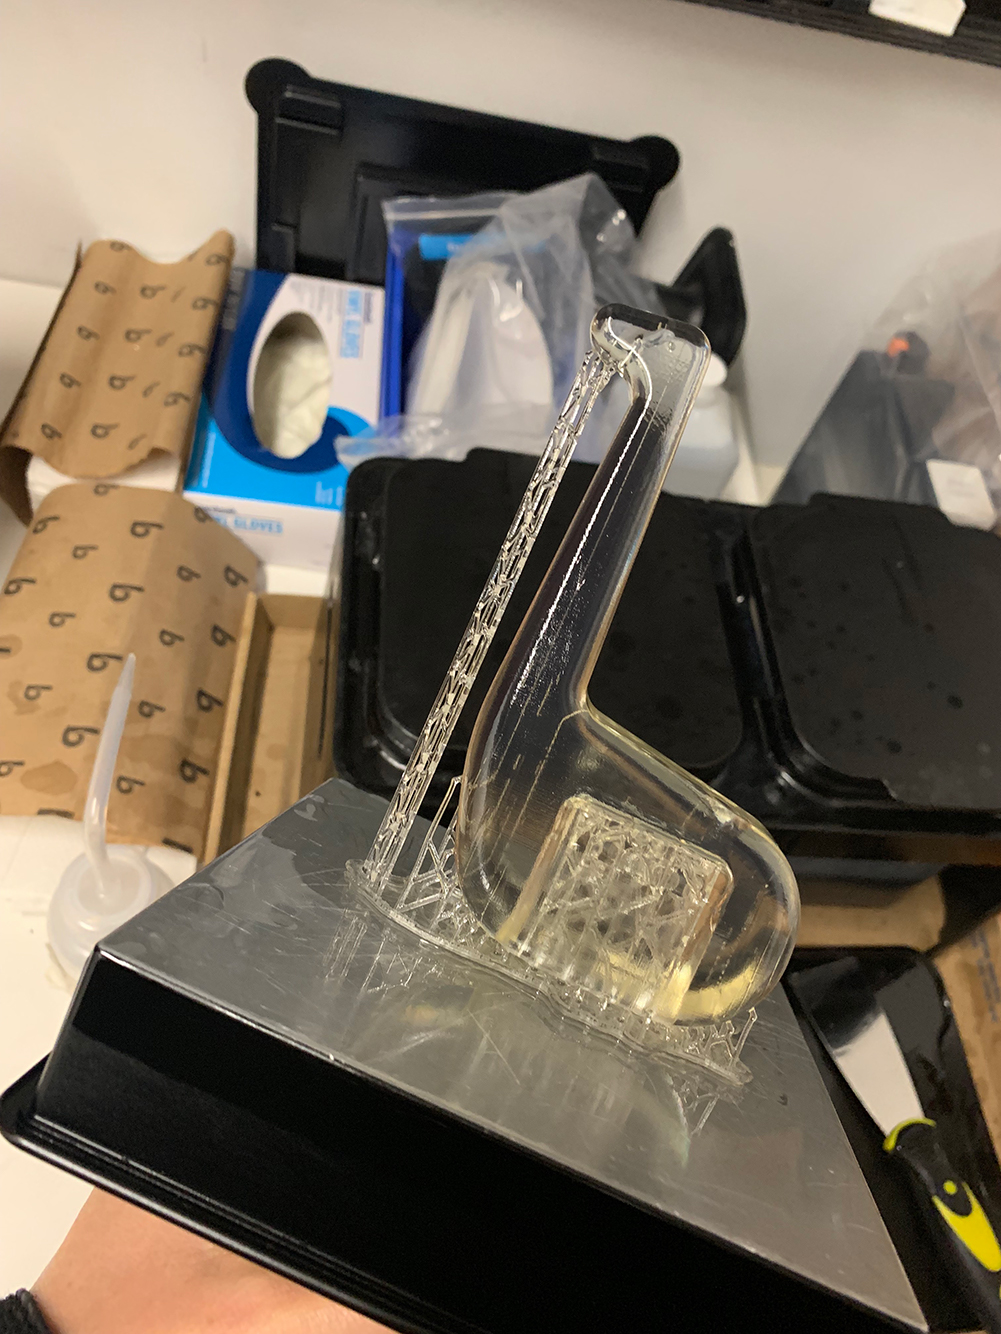
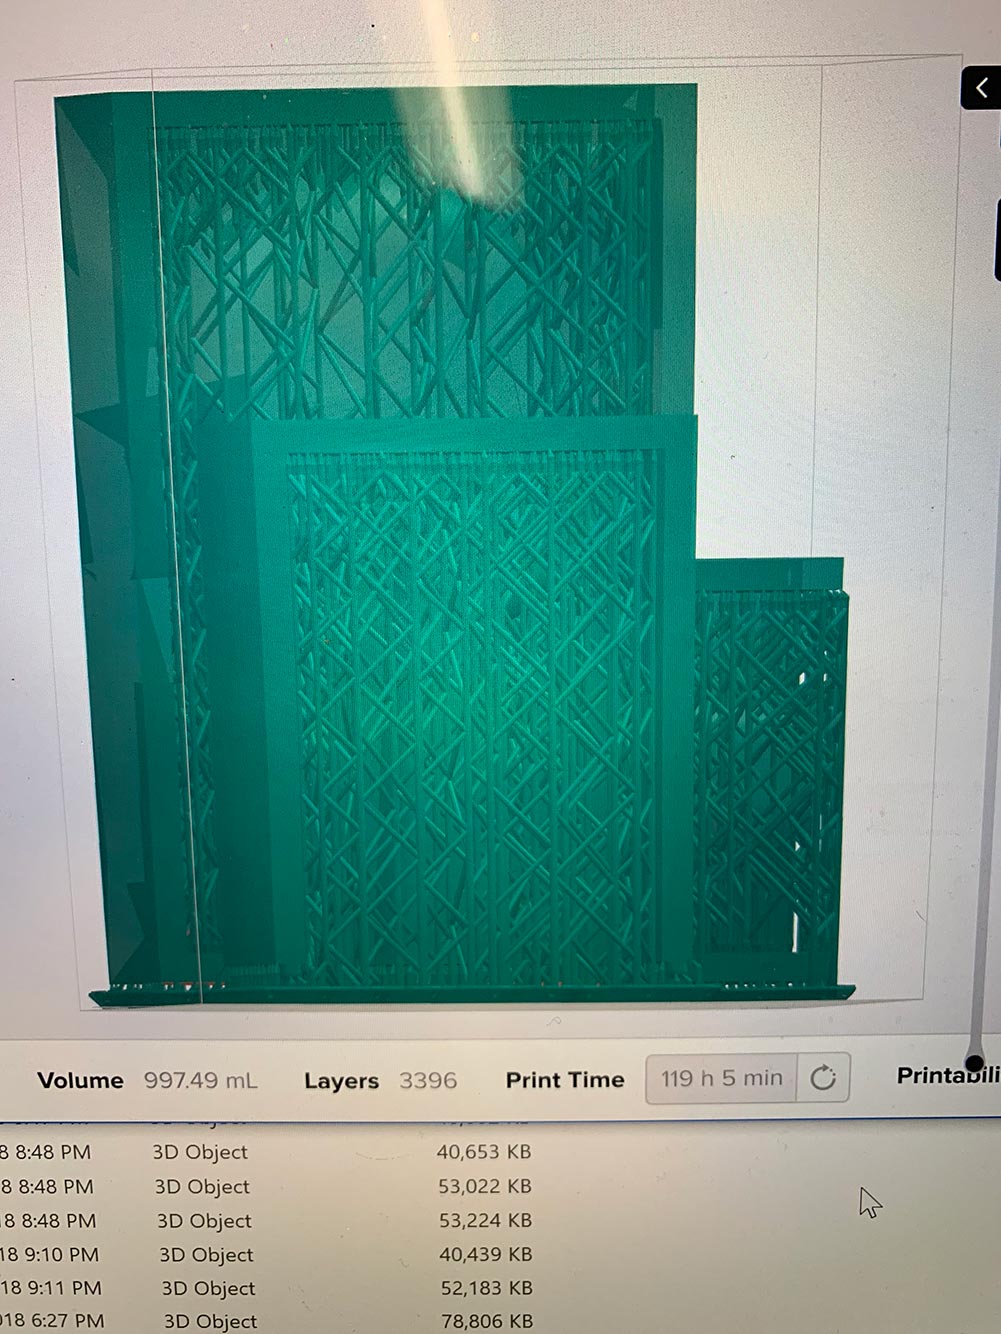
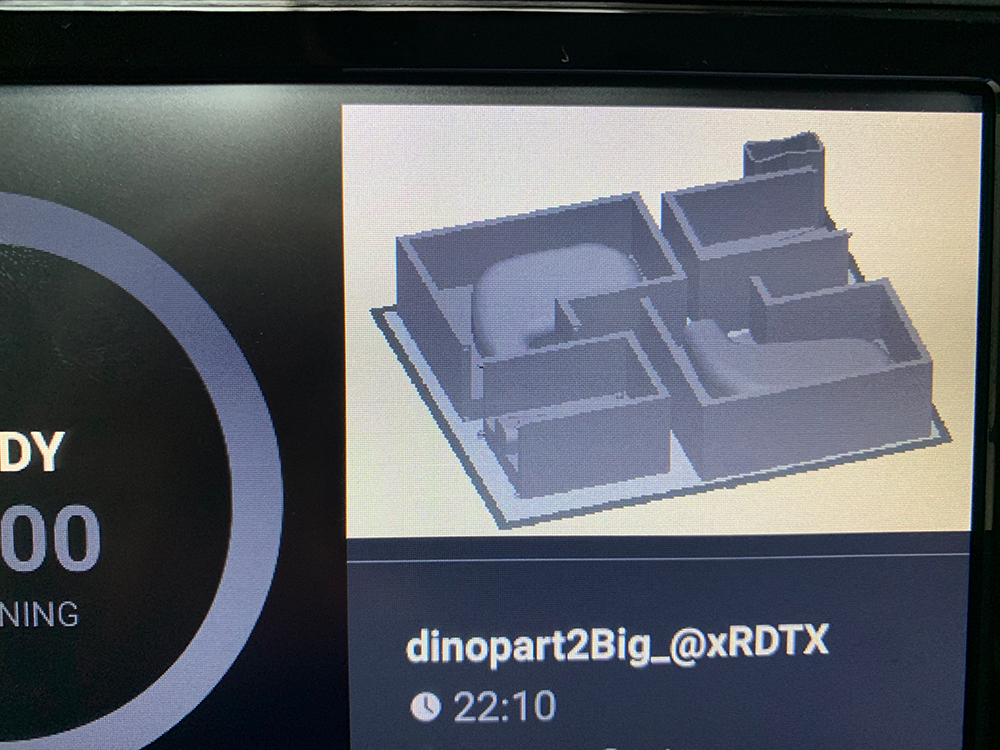
1. With my study model I was able to start creating the process to make the physical dinosaur body. In Rhino I took my 3D dino and began to create a mold. I considered all of the options for making this dinosaur, from wood carving to shopbotting to vacuum-forming to pure 3D printing to molding and casting. In terms of the size required to fit the componentry (input board, battery, output board, mini speaker) in the belly of the dinosaur and the deisre to route a wire from the head region to the belly I decided on casting. So in Rhino I began to make the mold to make the mold. This of course took multiple tries, it is just so hard visualize a mold that will make a mold. I considered both shopbotting wax or 3D printing thsi mold, but went with 3D printing due to the shear number of wax blocks required to make the large mold, but for 3D printing finding a bed large enough or enough printer with enough time was also an issue. I intially planned the files to print on the Form 2, which required tightening up the boundaries of the mold. Initial print times were 119 hours for 2 pieces, or 238 hours for four pieces, and this was at .9 scale. I then made the internal structure hollow, decreased fidelity, and changed material choice and was able to get each piece down to between 8-20 hours, so big improvement, but still quite long. I then put out a few quieres for 3D printers around Harvard and found a Stratys with a 12" bed. I was able to organize the pieces, without downsizing, to fit on the bed for one print of 22 hours. I went back to a solid mold for increased stability and worked to have registration components for both the 3D printed pieces (4) as well as the mold itself (2 sides). I also worked to incorporate an air hole where my wiring could also be routed, as well as a funnel to assit in pouring in my material of choice. Smoothing the mesh resulted in a number of issues when switching into proprietary print software and was entirely frustrating as the mesh had no errors, was water tight, etc.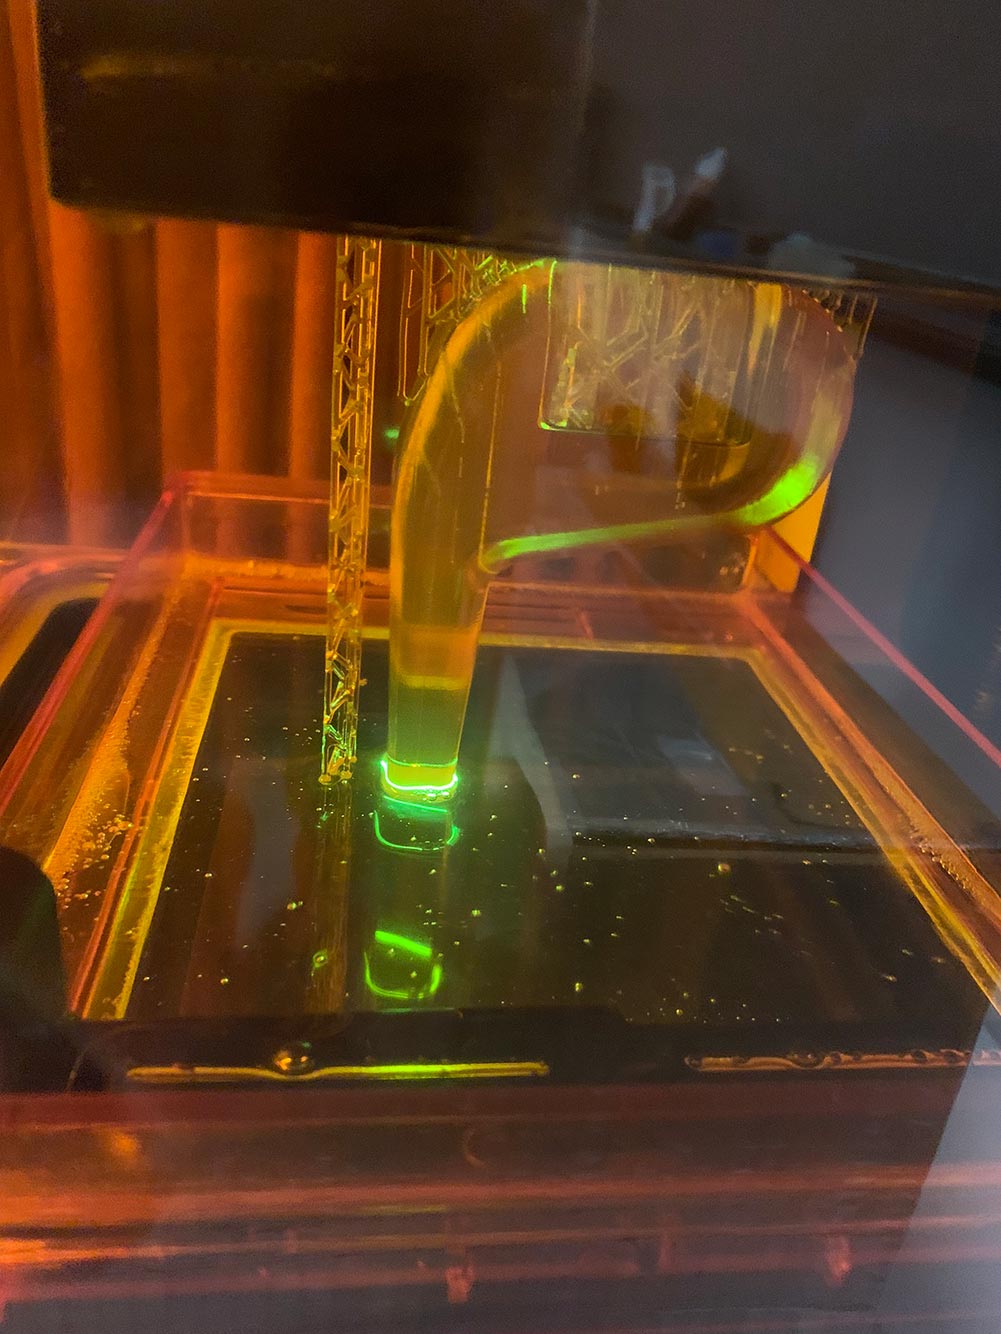

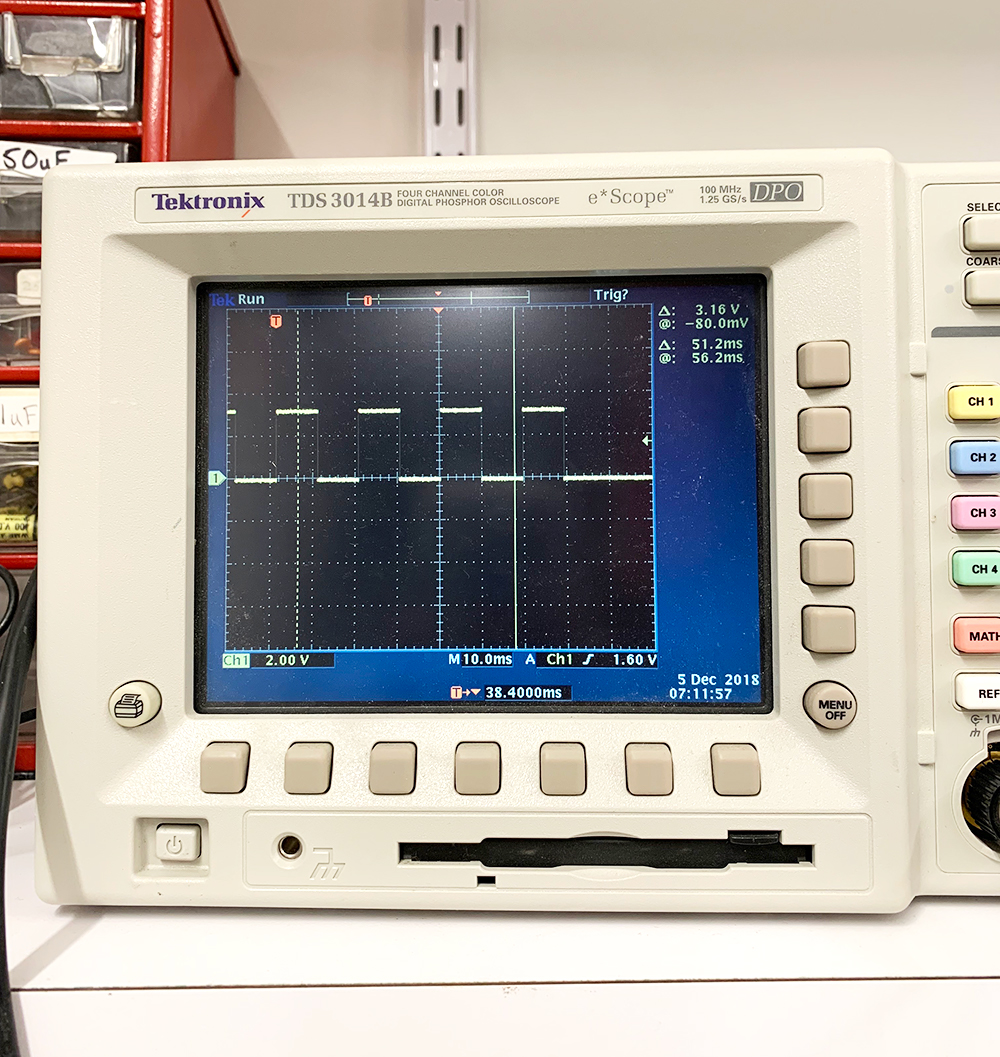
2. I began working on my flashing IR light tile and spent significant time on the structure of the c code so that I can easily change the light flashing pattern. I plotted out a ton of different light patterns, but ended up sticking with the simple to hopefully make the programming of the sensor and the sensing loop more easily. I went with laight flashed at 10, 20, 30, 40, and 50 ms apart. Next up was working on power supply. I wanted the tile to be slim, so decided to use a 3.7 V, 1000 milli-amp LiPo rechareable battery, which adjusted my board design. I also ensured there was a power light to help with troubleshooting. I then went about milling and making 5 of these, one for each light pattern!
3. Next up was considering how the electronics would be incorporated into the mold. I spent time on the idea of casting the electronics fully into the dinosaur and that to be a clear material in order to have a dino that actually looked electronic. This is of course a terrible idea in case of an electronics issues or failures, also, this maybe is amazing, like how robust is my work :) I decided on routing the IR phototransitor to the mouth of the dinosaur and connecting this element to a board in the dinosaur's belly. I also decided I would use Hydrostone as my casting material after a number of material sampling tests. My primary two reasons were a) achieve a clean, non-electronic looking dinosaur, and b) there are significant choices when it comes to other materials I can add to Hydrostone in order to change the look/feel, for instance, ash! After remeasuring the electronics for the 20th time. I modeled an internal holding carriage for the electronics which would incorporate four legs on the bottom, essentially making the dinosaur body a cap for this component.
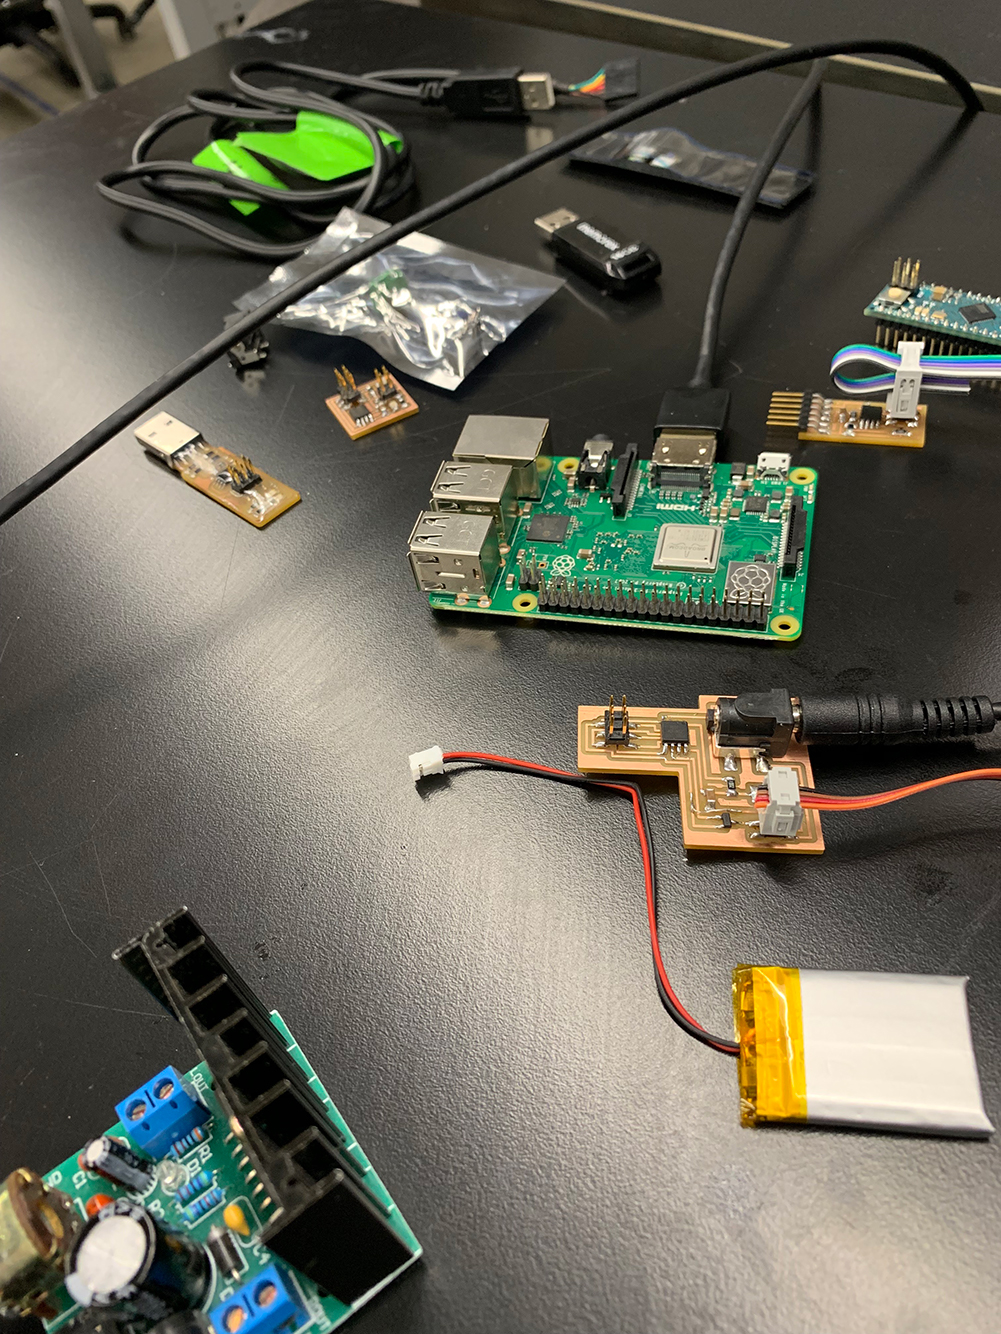
4. Programming the output. I decided to with the Raspberry Pi for the playing of dinosaur noises after receiving an input from my IR Sensing board. To begin, in networking week I began the code for the Detection Board to 'see' the light pattern, but now I created a loop to be able to not just see the pattern, but be able to do something different for differnt patterns. This ended up being a large if, else, else if loop in which I waited for three distinct highs and lows before having the code say 'do somethint.' I then programmed this output to set the serial port high. I connected this board (physically) to the Raspberry Pi. Determining which pin is which on the Pi is a bear. Also, setting up the Raspberry Pi for the first time is no simple task. From downloading and updating and updating and adding a language ?!!? and lastly, installing Rpi.GPIO to allowing the pins to work for this project. I then loaded the dino sound files (recorded from my classmates) onto the SD card. Attaching this directly to a speaker is most easily accomplished with a Bluetooth speaker or headphones!!
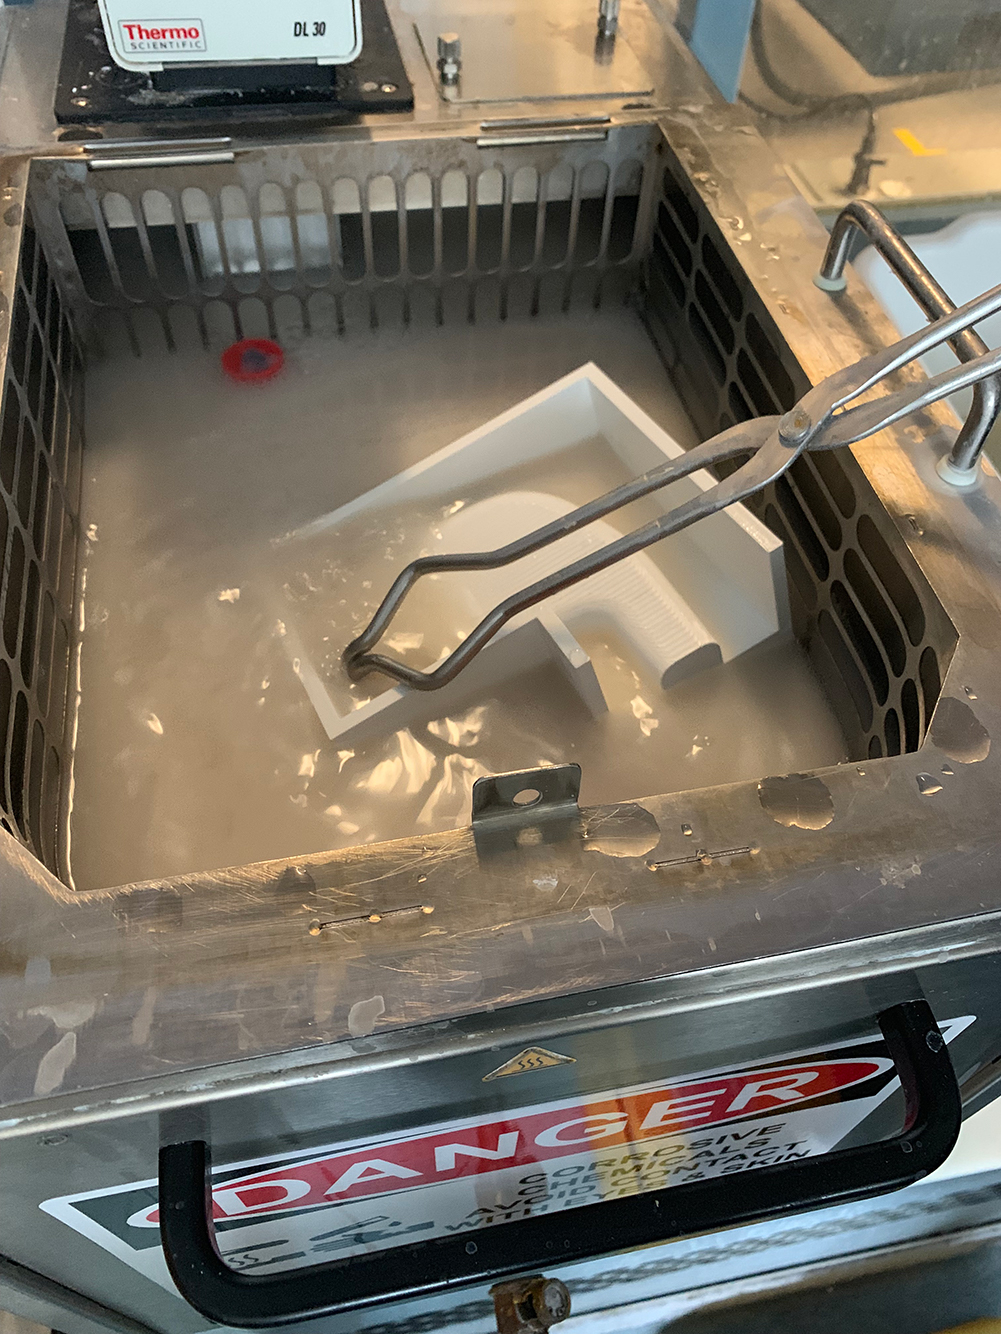
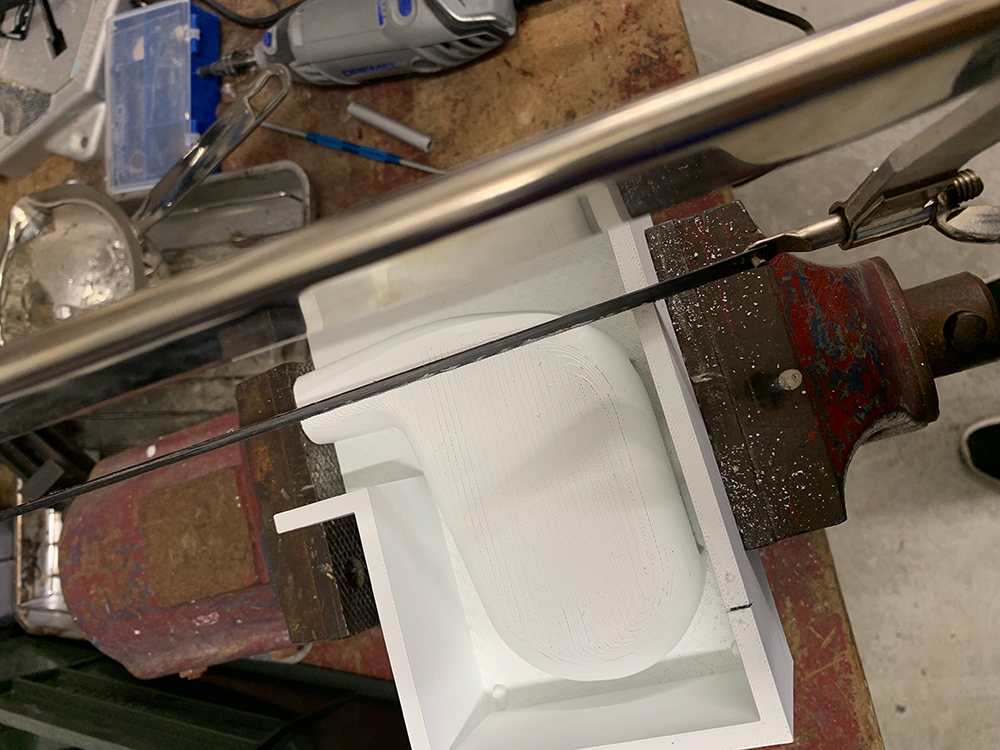
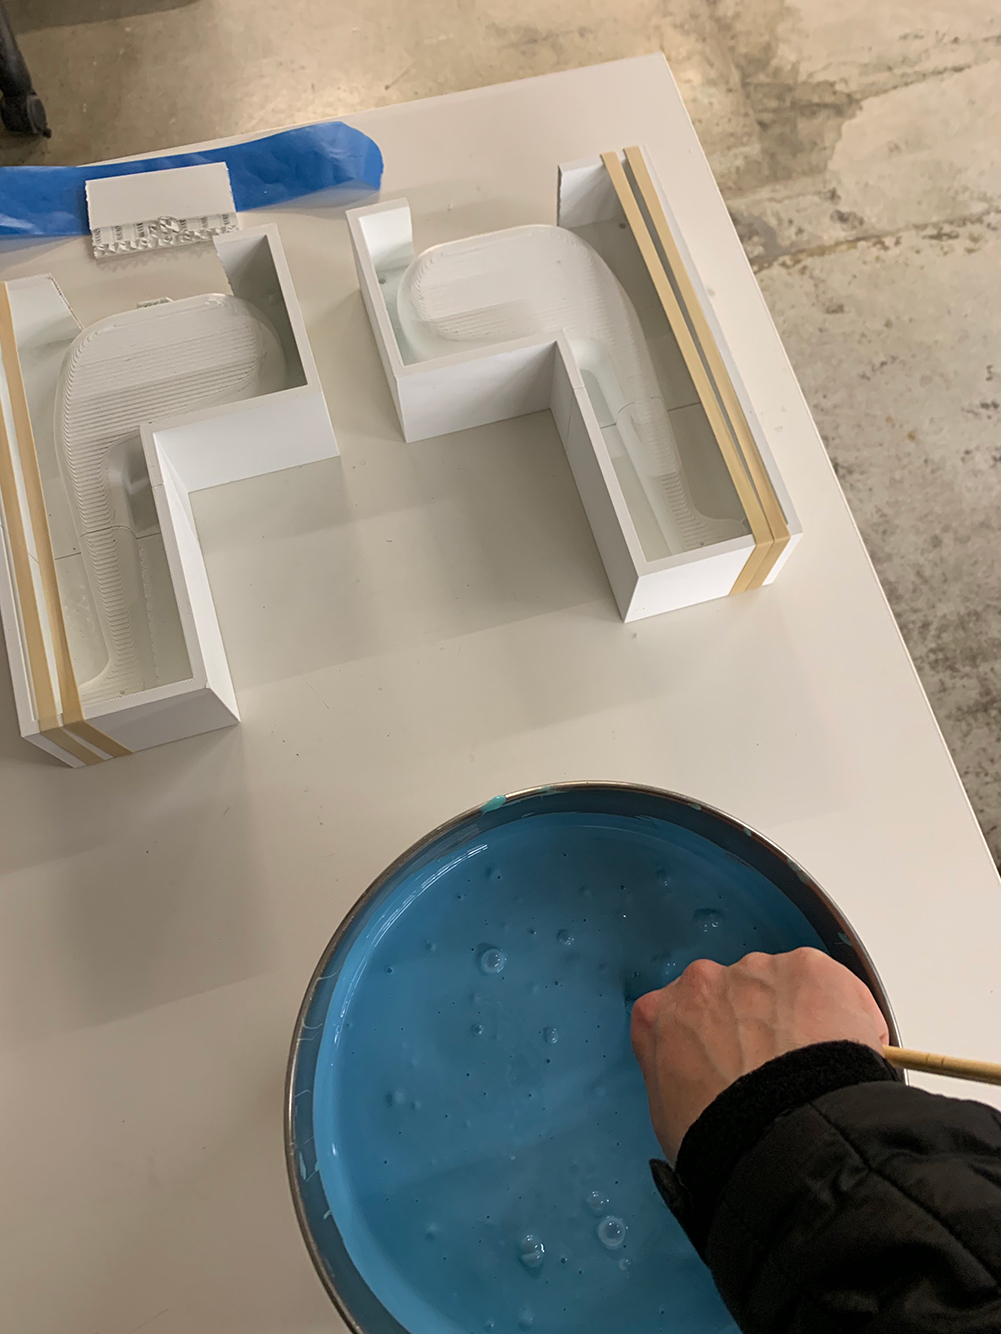
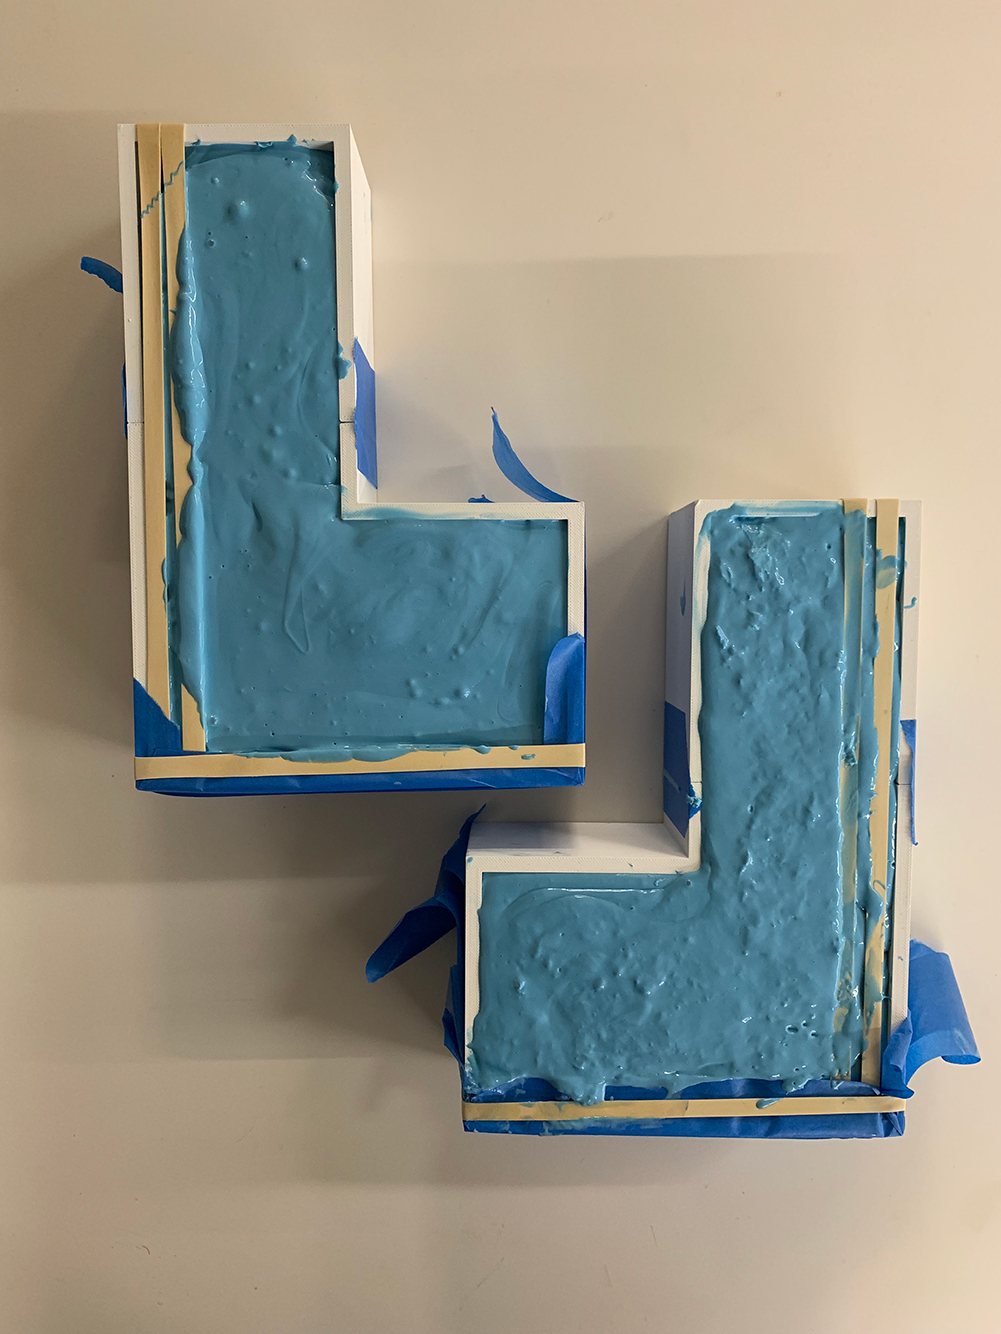
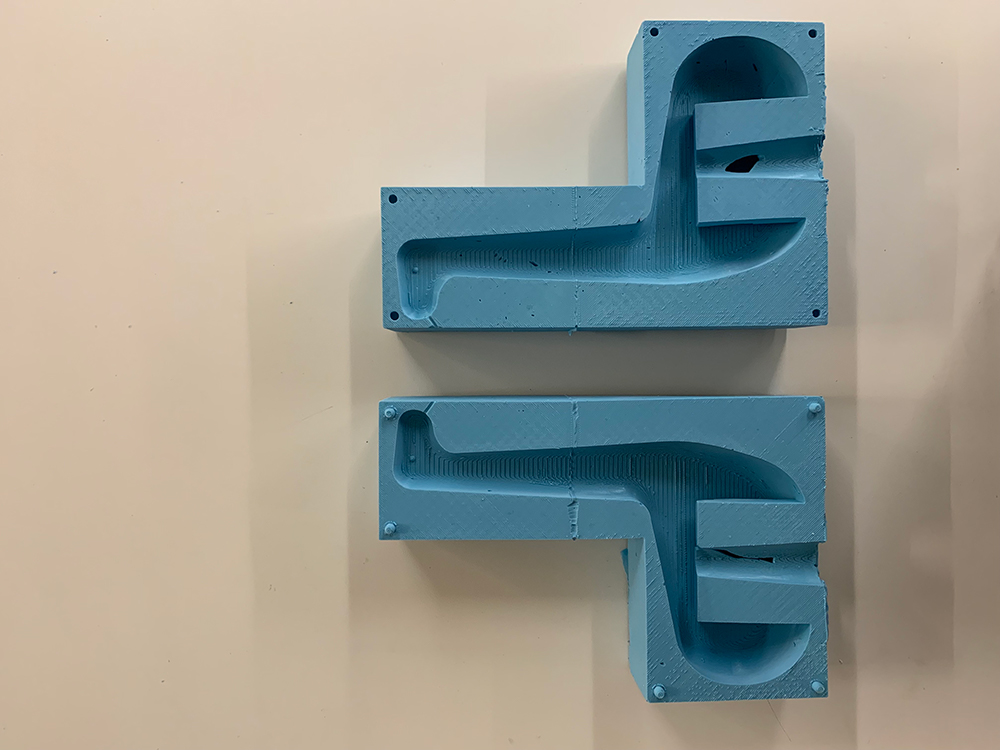
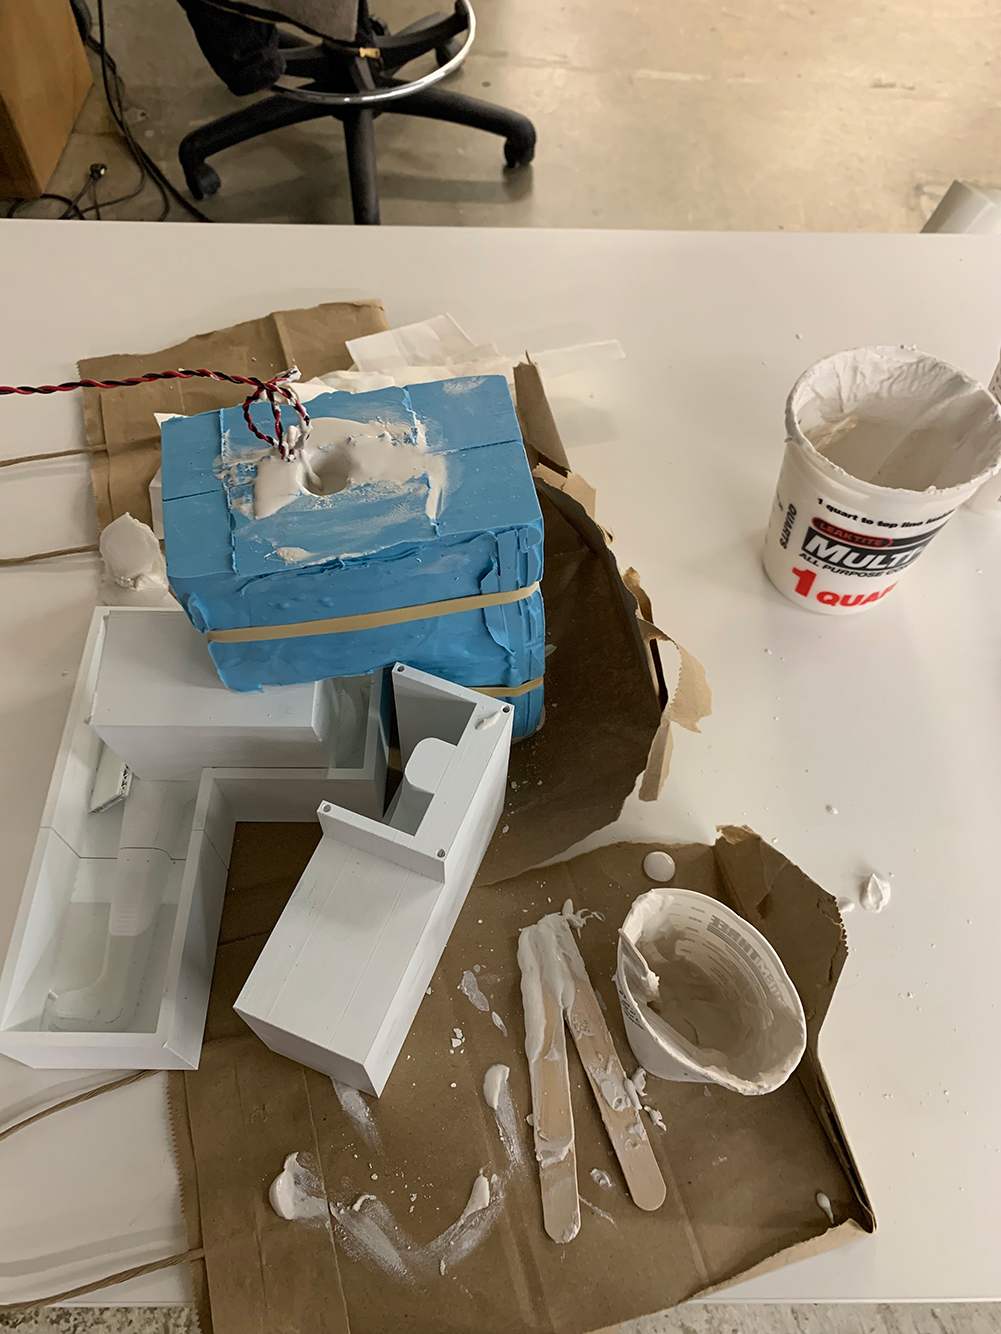
4. With the 3D mold printed on the Stratsys F270, I hacked away a piece of the shell to enable the removal of the OOMOO mold. I then mixed up 2.5 containers of OOMOO, poured as quickly as possible, made a huge mess, had friends help knock out the bubbles, and waited. I gave the mold a bit of extra time, but when I went to remove the OOMOO mold from the 3D mold, only at the base did I have any problems. Having four parts also made the removal easier as I could unlock and pull perpendicular to the mold itself. All in all looks good. So I braided my wire, laced it from the vent hold to the belly, mixed up 1000g of HydroStone with 320g of water and poured and knocked, poured and knocked. By the end it was starting to set. Working at what I thought was only a slightly bigger scale is far mor challenging in terms of timing and precision.


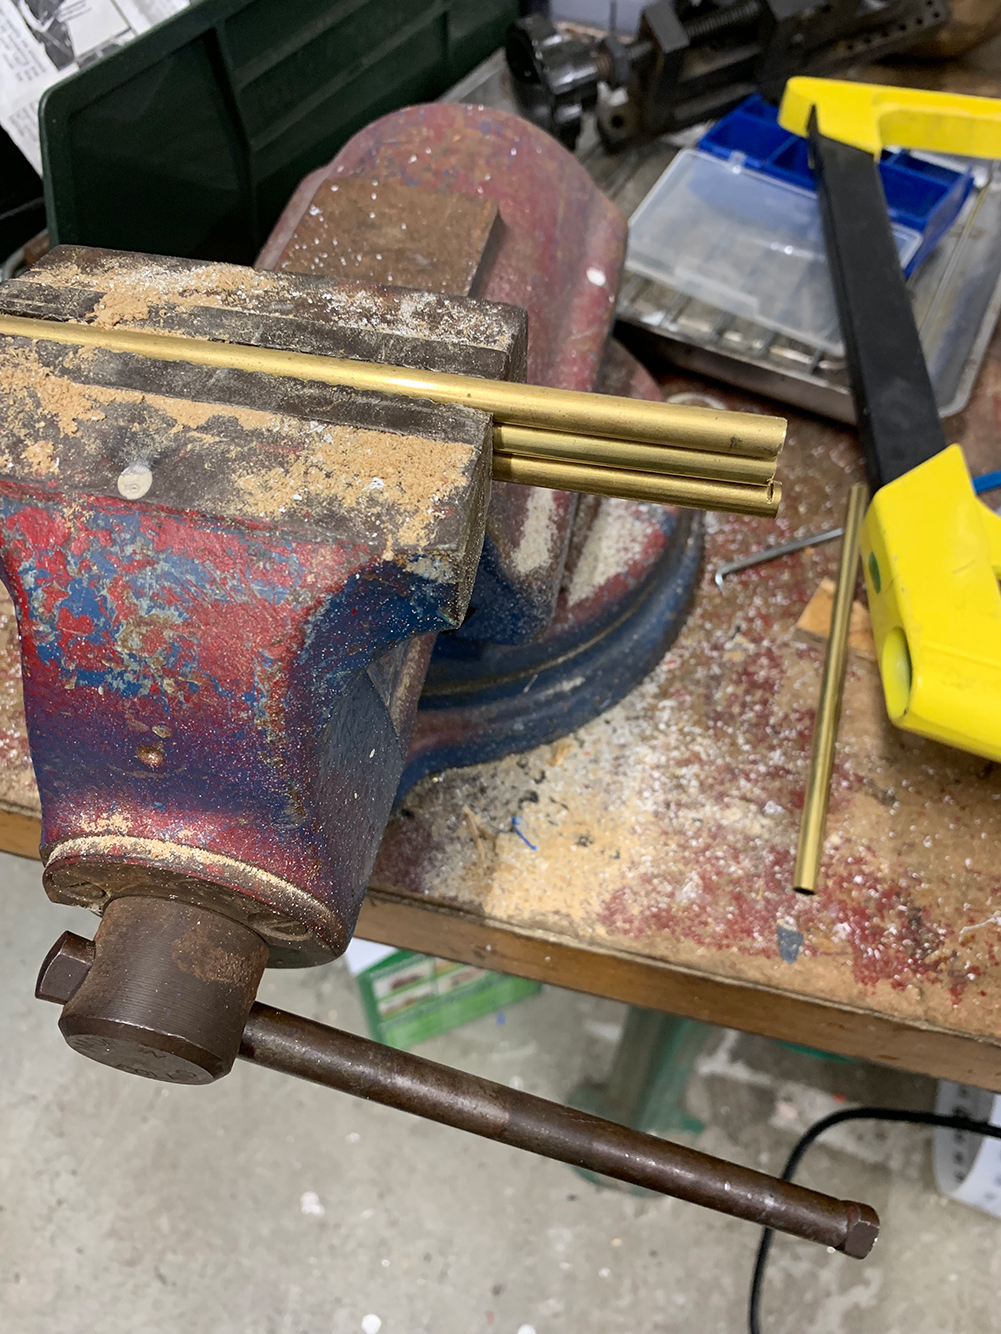
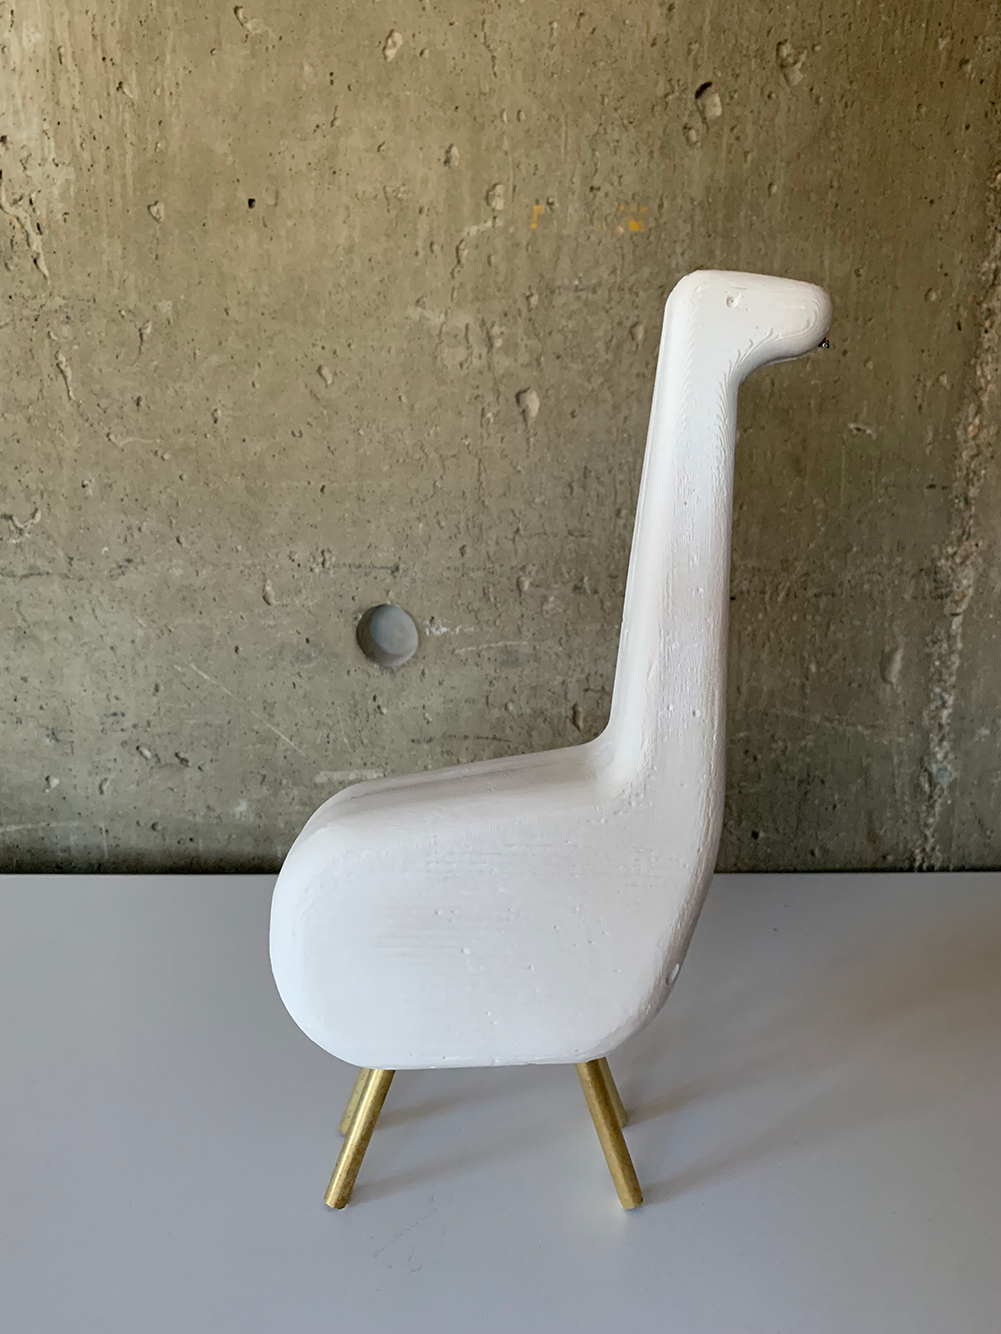
5. While waiting for the HydroStone, I cut 4 legs. I had originally designed a basket with legs, but the space was seeming to tight for this approach. I toyed between wood legs and brass and went with brass because it hints at the idea of electronics... I mixed quite quickly, and that rigor speeds up the setting time. I extracted the HydroStone model from the OOMOO mold and it was exciting after so many weeks of planning and failing and planning and worrying! The stone did stay wet and I had to leave it by the heater for about 24 hours. I then post-processed with a file, but think more would improve the appearance.
6. Make make make, integrate! Time to add my boards! This was nerve racking, but I had tested everything so many times and I had been collecting my dinosaur noises from classmates. I orginally went with a Raspberry Pi, but then just used my compter and coverted the serial output dirctly to playing a sound file, which, if the dinosaur isn't going to be autonomous, this is far easier! But I want to continue to iterate in order to make the dinosaur standalone and still be able to respond to the light pattern.
Struggles
So much planning, so much failure. The name of the game was iteration and daily attempts at different portions of the project! Of course there is always more to do... I want the IR light output boards in matching patches, I want the body of the dino to be smoother, I want the whole operation to be autonomous, I want the other three types of dinos from the semester in the same materials!!Tools
IllustratorRhino 5
Grasshopper
Stratasys F270
120W 18”x32” Laser Cutter
Eagle
Raspberry Pi
Meterman
MODS
SRM-20
Weller WES51 Soldering Iron
Bausch & Lomb Microscope
Programmer Board
CoolTerm
Splitters/Cables
Oscilloscope
File
Hack Saw
Friends
Source Files