Assignment
-review the safety data sheets for each of your molding and casting materials, then make and compare test casts with each of them
-design a 3D mold around the stock and tooling that you'll be using, mill it, and use it to cast parts
Goal
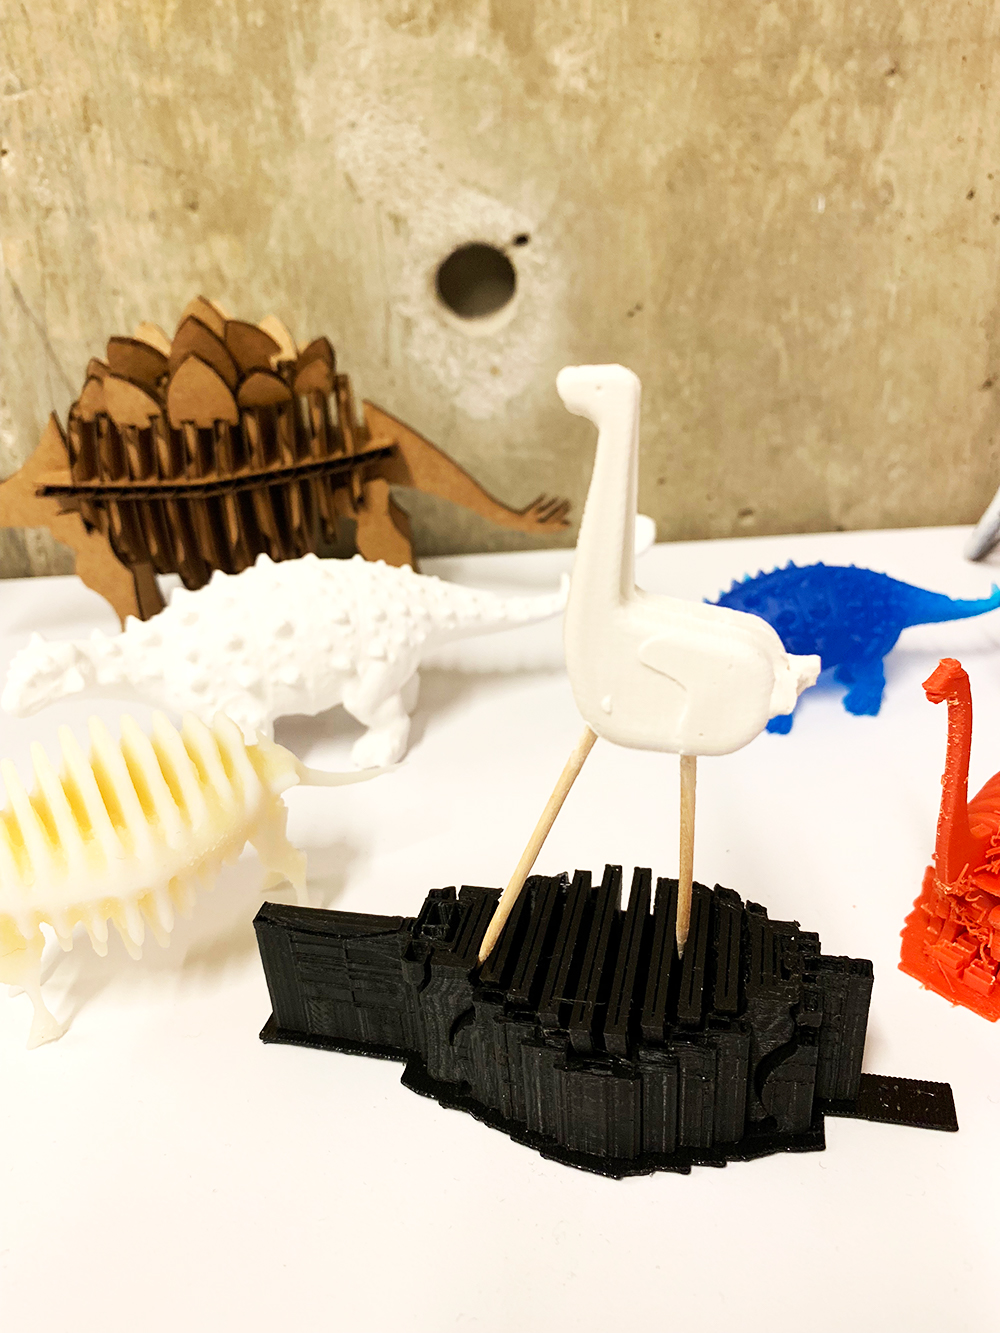
Create a dinosaur mold of a brachiosaurus with the potential to embed components in the mold.Steps
1. I love a good safety data sheet, so I took a look at those right away. As a group we tested a number of casting materials and there are many more to still evaluate!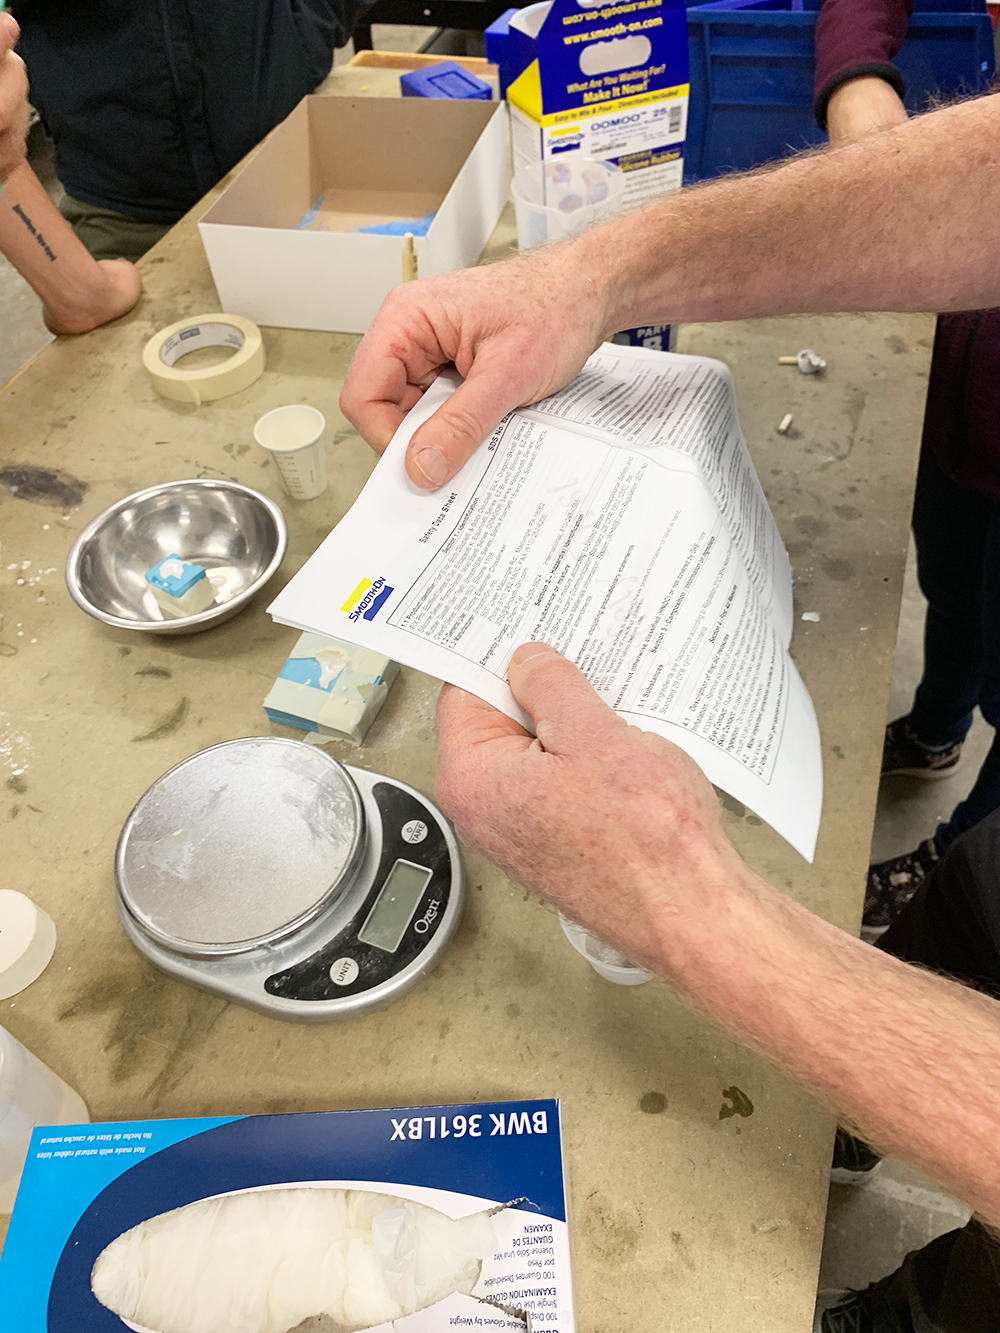
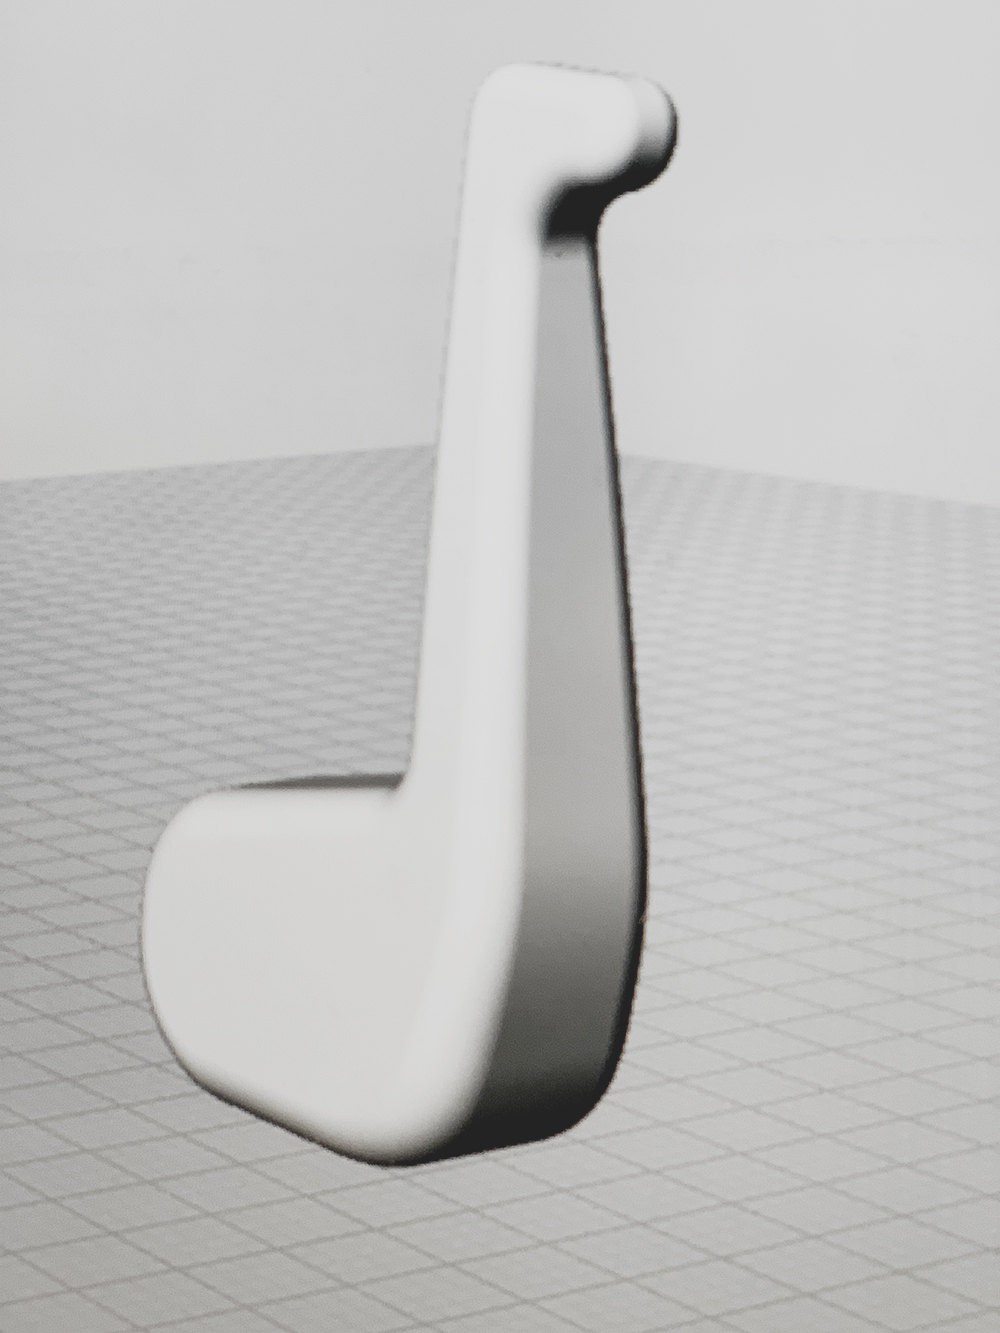
2. I drew a new brachiosaurus within Illustrator to begin making my three dimensional positive. After trying to keep the total curves to a minimum on the design, in order to a) achieve a desired simple, sleek, and playful design, and b) to decrease the noise in the mold, I imported the illustrator image into Rhino.
3. Within Rhino I spent a significant amount of time on rounding edges, adjusting tilts, and generally trying to achieve a specific design aesthetic. I then worked to scale down to accommodate the 2” x 2” x 1.5” block of wax, which suddenly seemed too small. Creating the pour spout and air escape into the design in a smooth way wasn’t immediately obvious, so I decided to do the hacky version post-milling. With the positive image complete, I took it to VCarve.
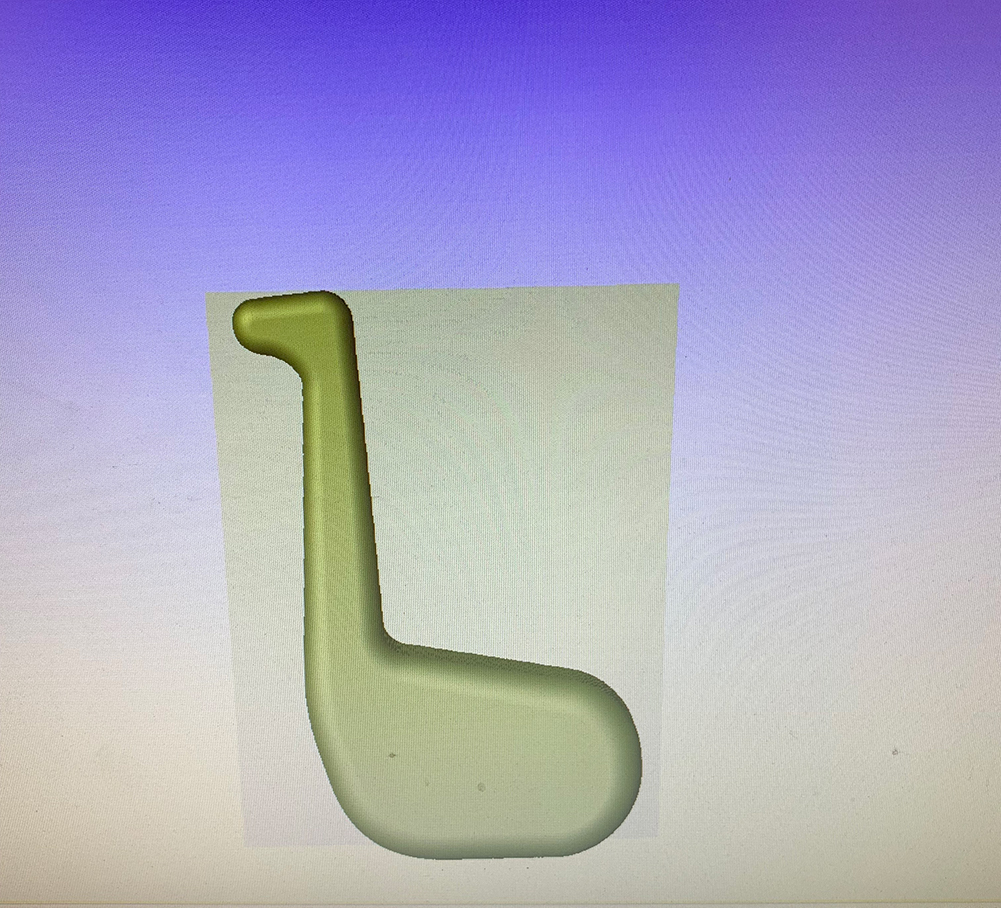
4. I used VCarve to create the mold, but immediately realized I should have done that in Rhino and I would have had more control. Specifically I could have played more with creating small components to lock the mold in place. Working through VCarve, I set four total files, one initial roughing cut/pass, then two finishing cuts/passes, each 90 deg out from the other in order to eliminate edging, and lastly a set of center holes to help with alignment during casting.
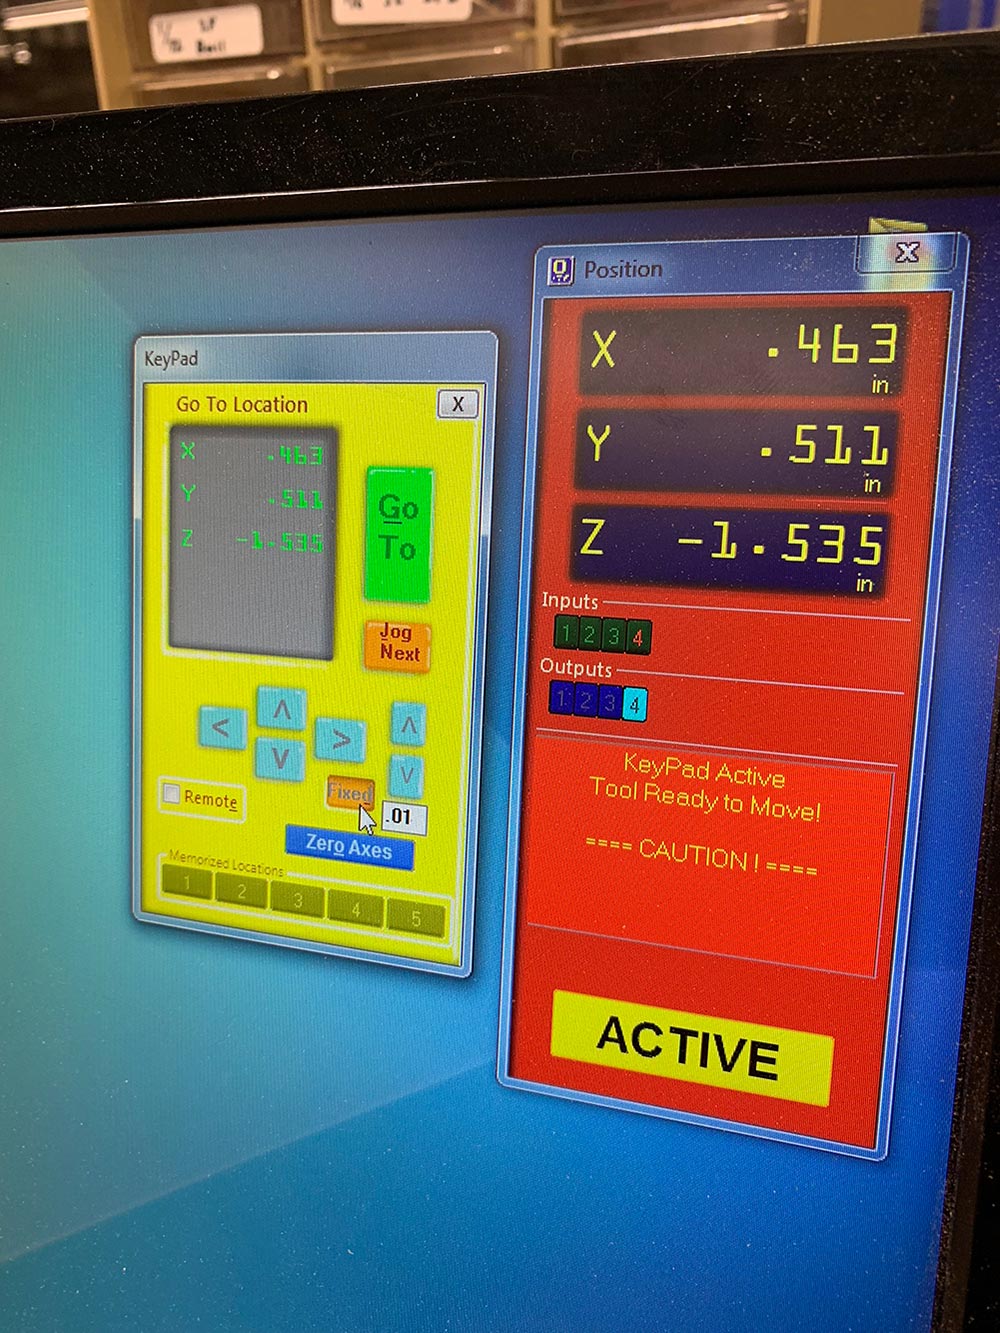
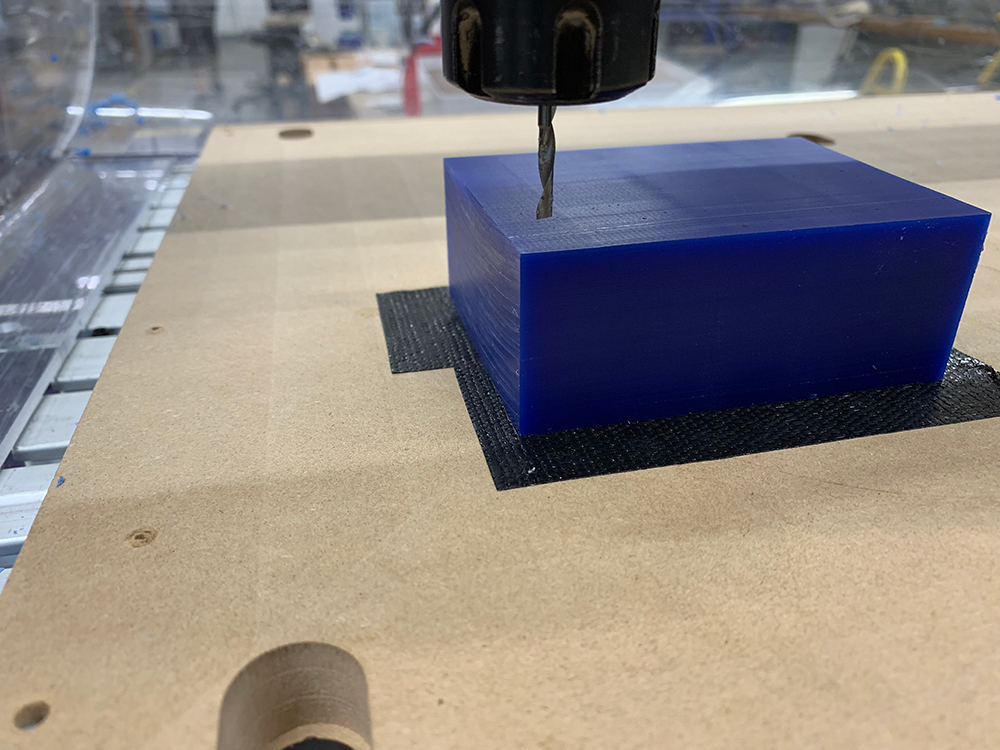
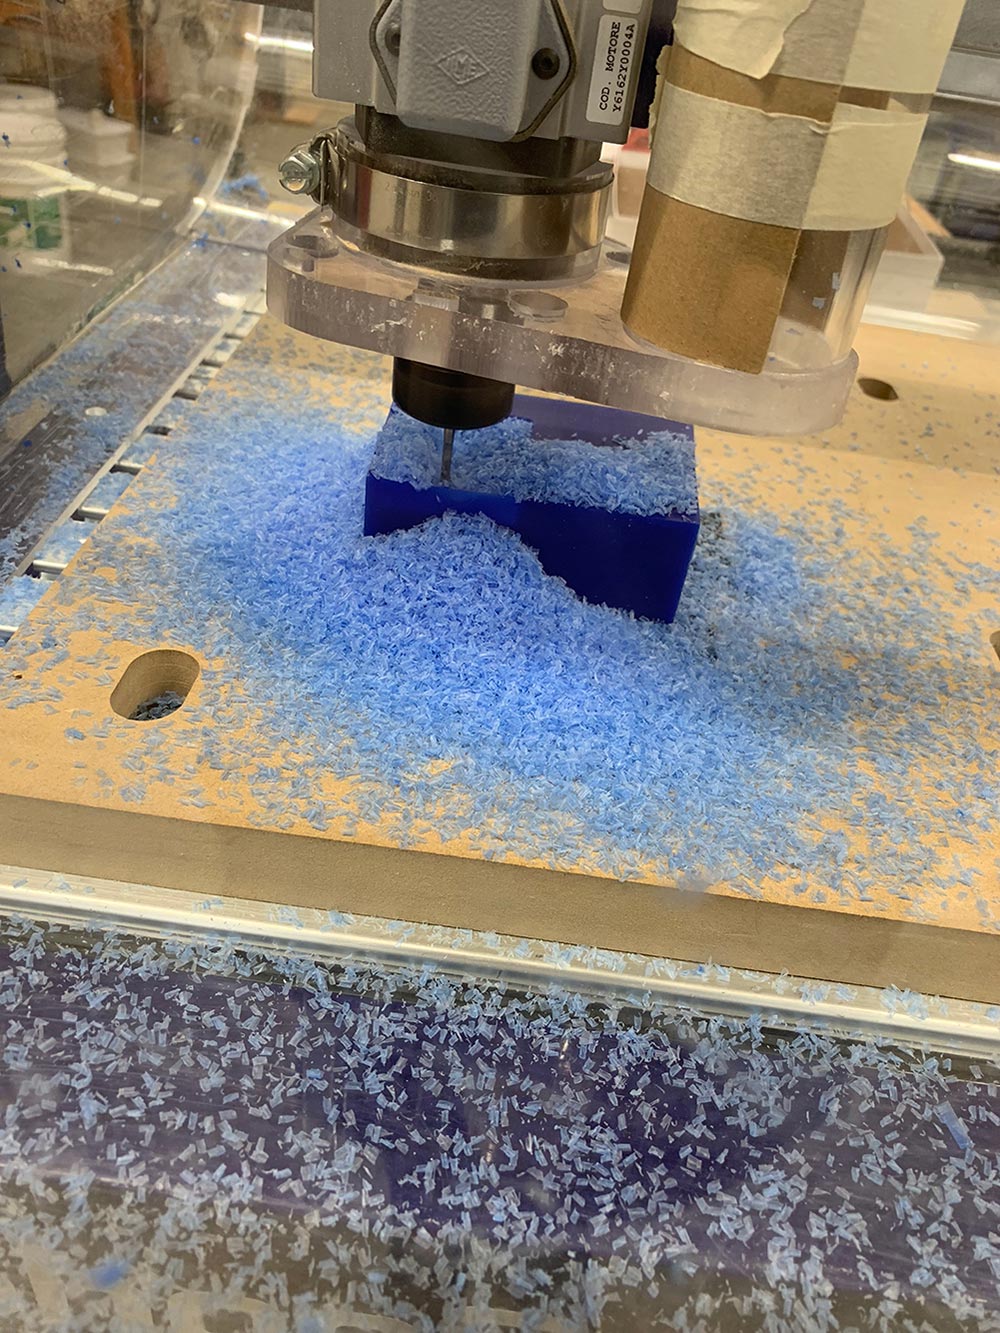
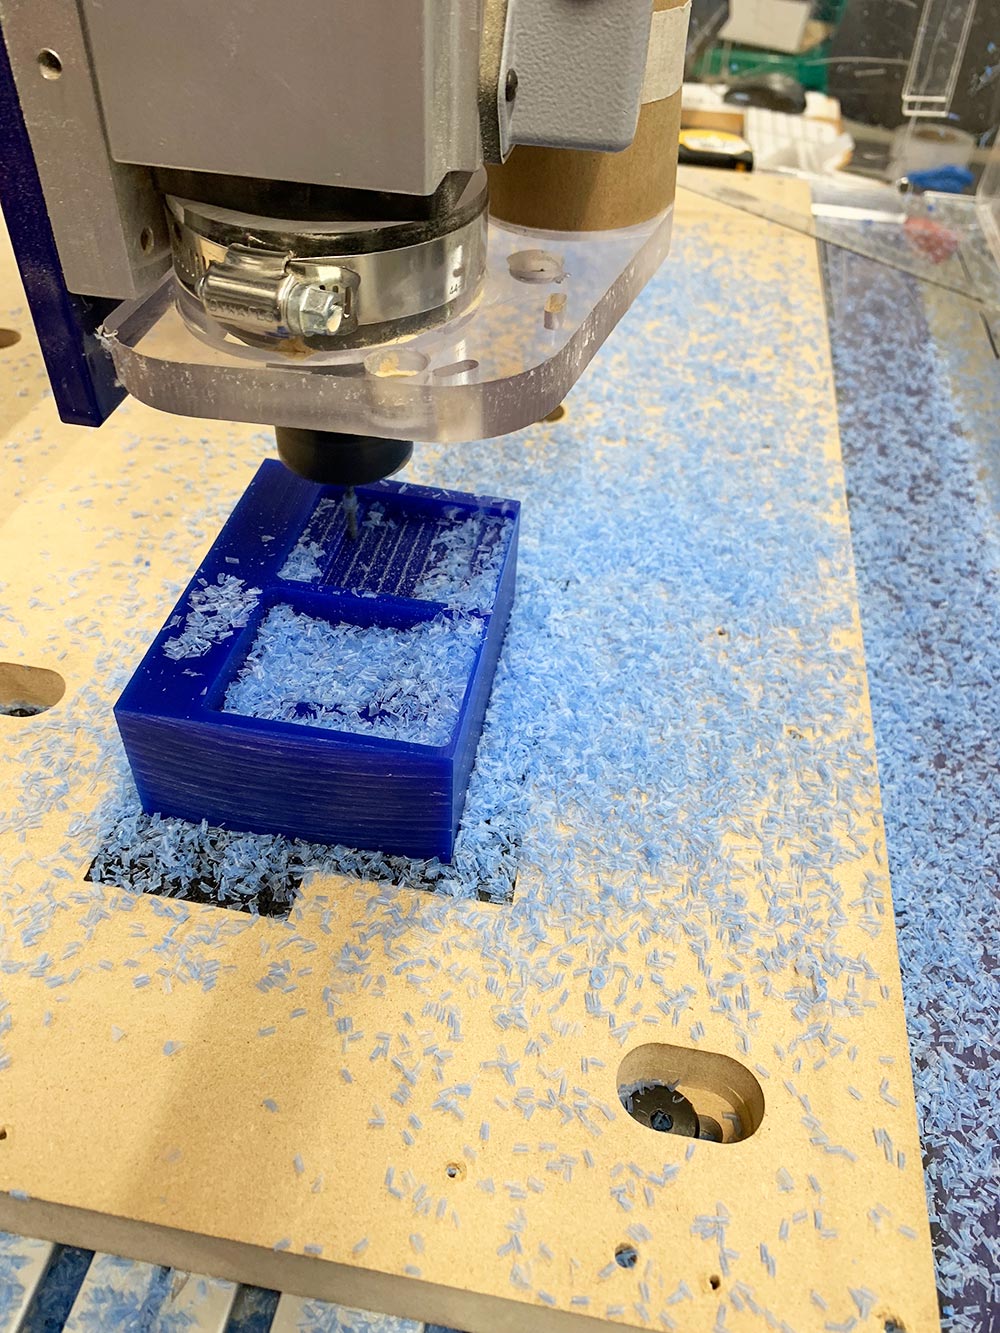
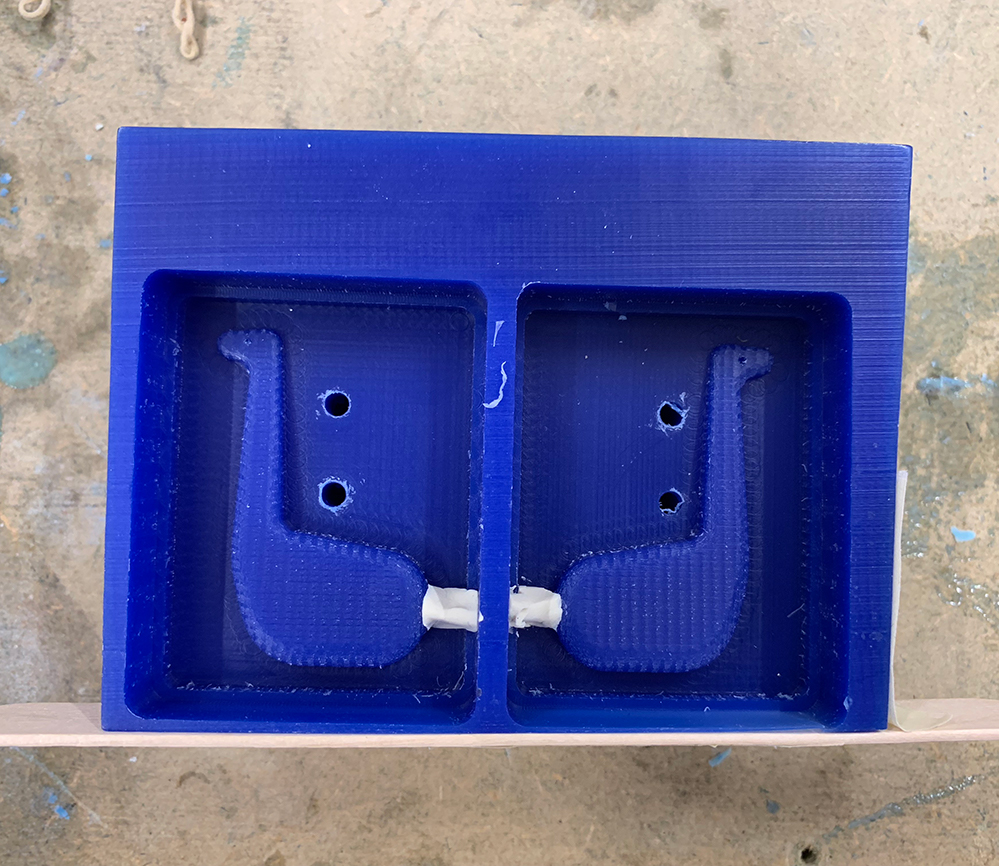
5. I used an 1/8” double flute tool head. I set the X, Y, and Z axis and with the ShipBot and Spindle Control On and the shield down, began the mill. The spindle was set for 300 RPM and worked perfectly. The milling initially was not deep enough into the wax, so I adjusted the depth settings and repeated the mill. The file milled as expected, but I still can’t believe how tiny my brachiosaurs negative is IRL.
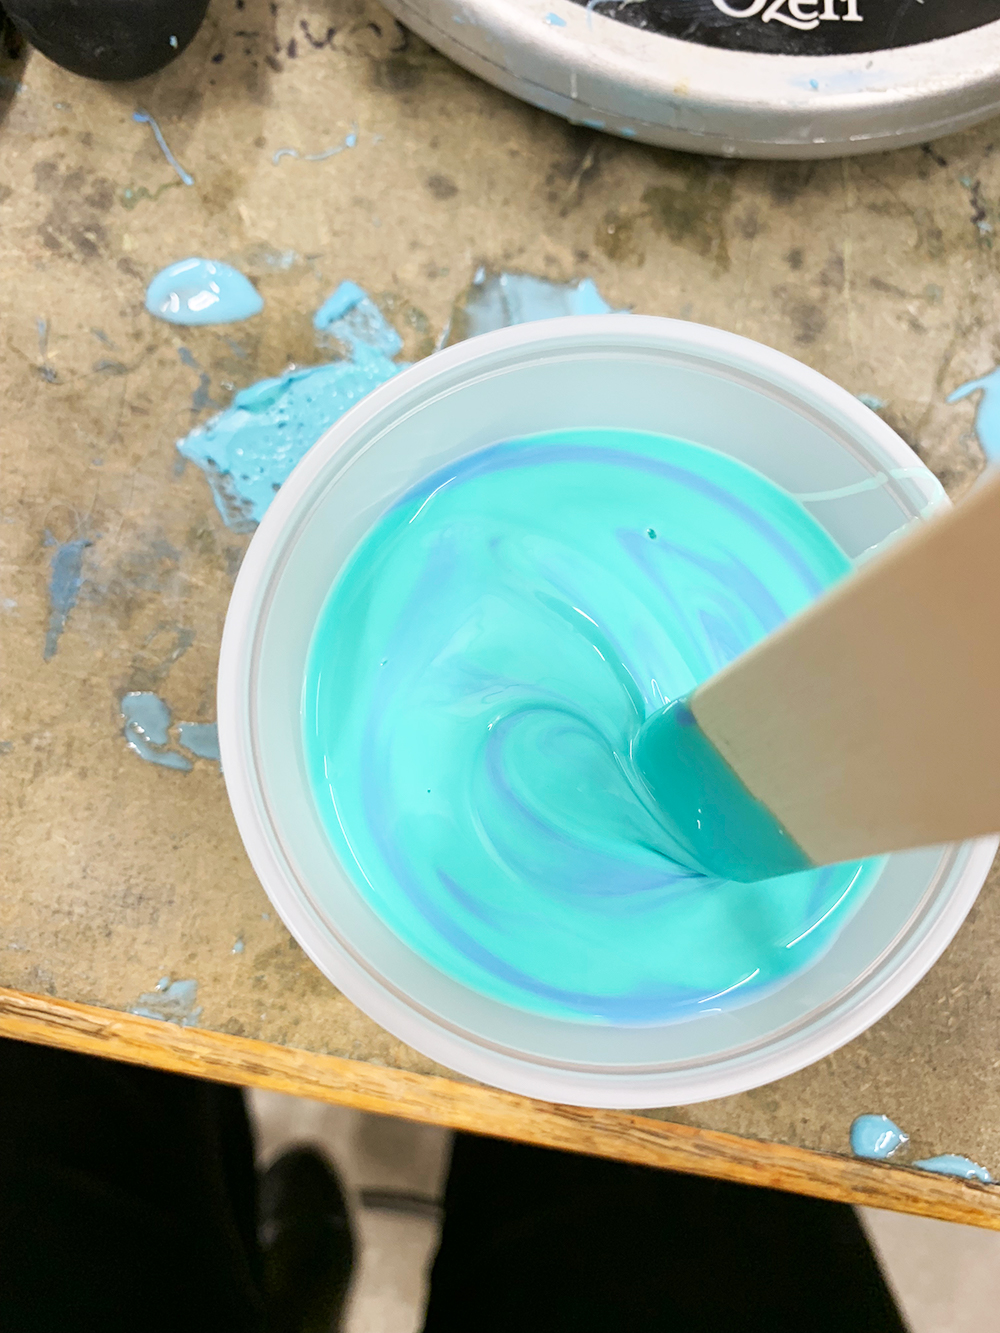
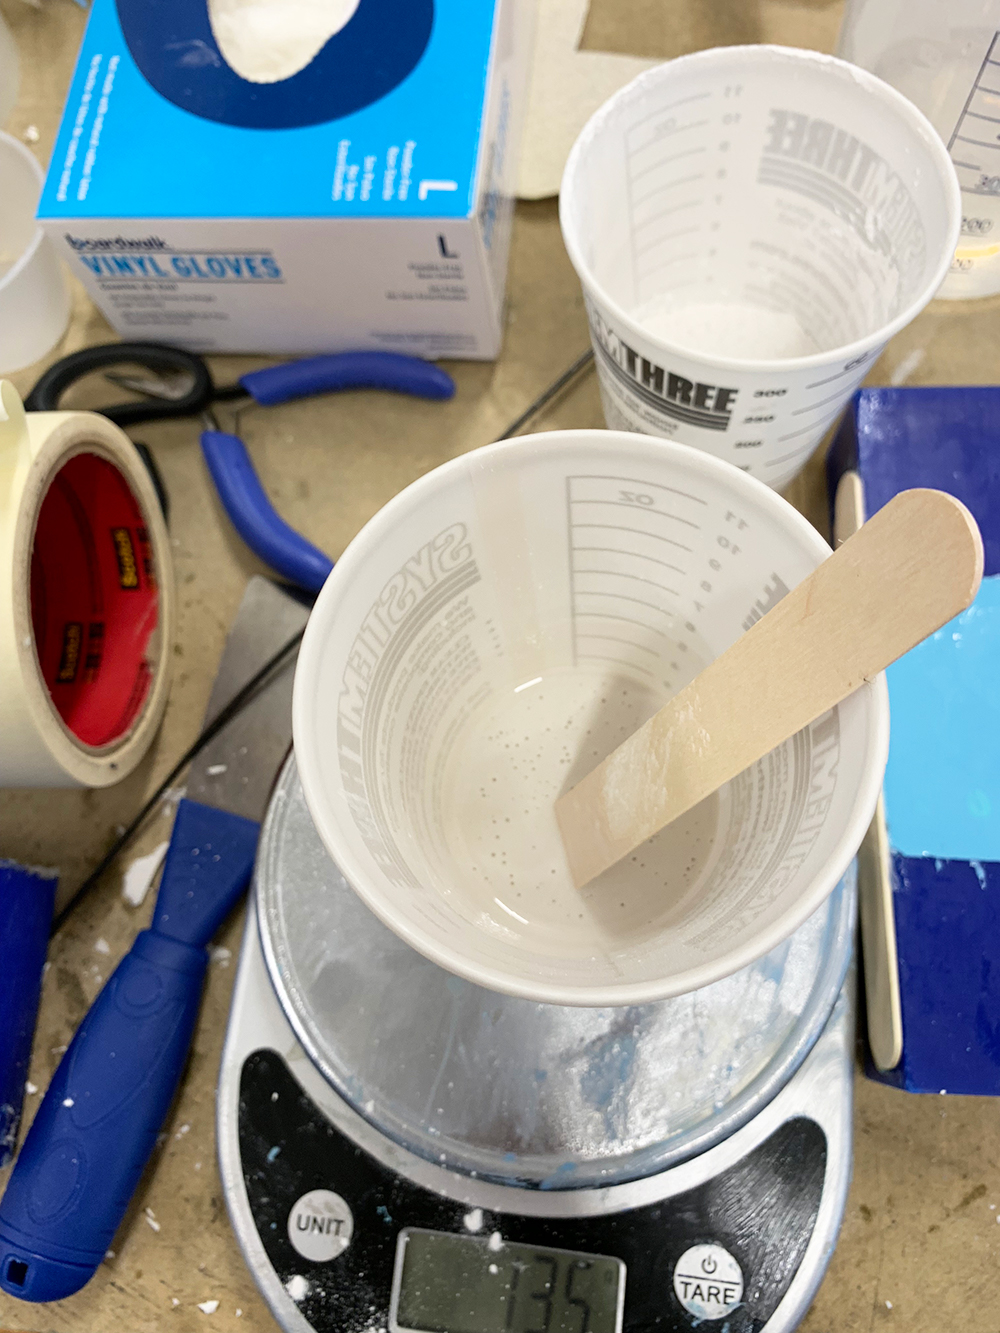
6. After milling was complete I mixed OOMOO Silicone Rubber to pour into my wax milled negative in order to create a mold. For this step, I was simply creating two halves of my mold, or the negative of the brachiosaurus. I did add a bit of clay to create a spout, but otherwise left the wax mill untouched. I also added a small aluminum stick in each mold's registration holes.

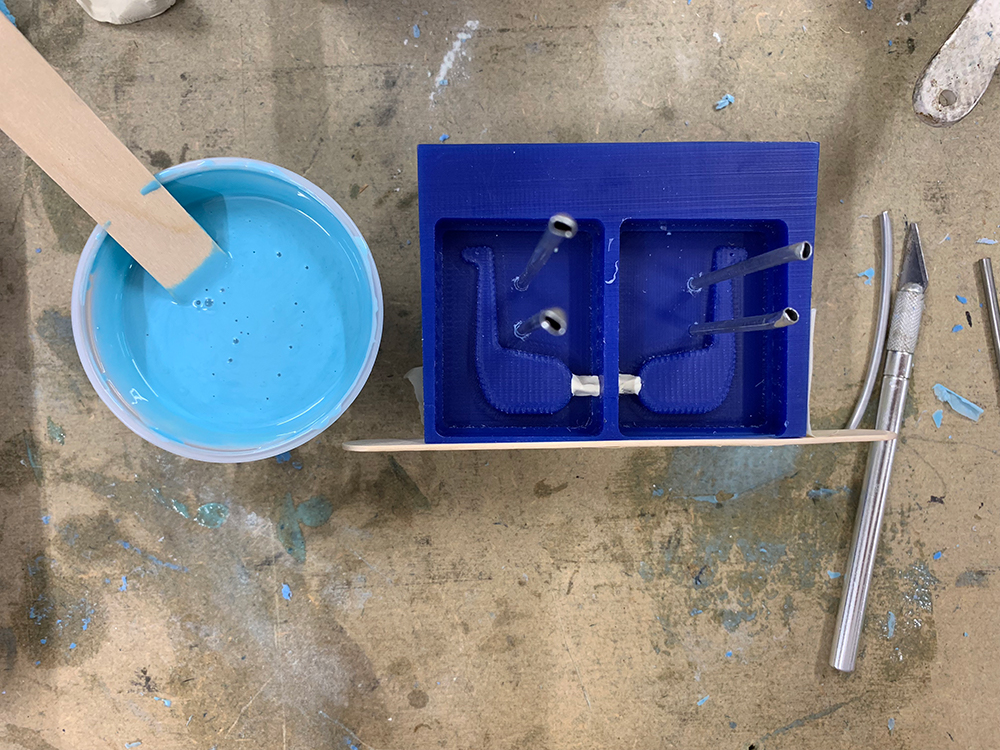
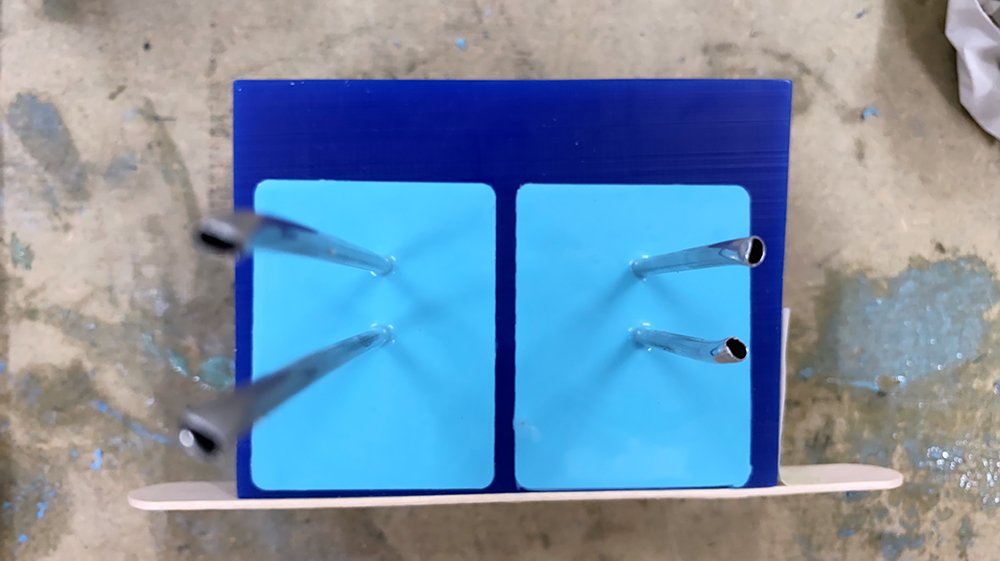
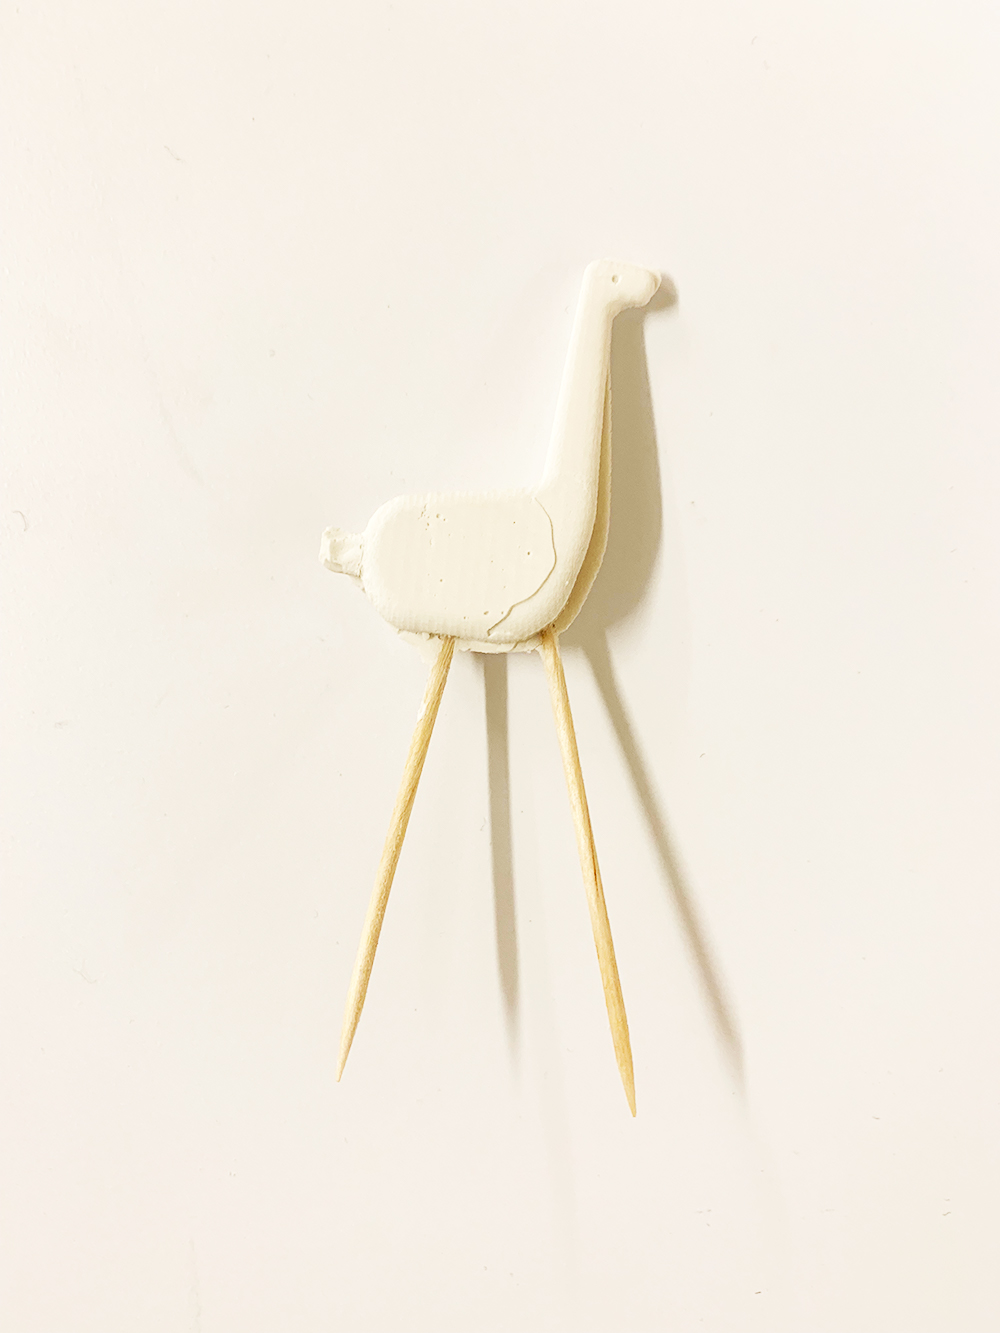
7. The OOMOO mold dried quickly and I went about placing the two halves together, ensuring the two registration points in the center were aligned, and that the pour spout was open to pour. I then secured with a rubber band. I mixed HyrdoStone 32/100 and poured this into the mold. I did a lot of tapping to get air bubbles out, but I know that the registration was not well done and the two sides of the mold moved a bit. I added two toothpicks for legs because at this point the dino is so small that anything larger would look crazy!

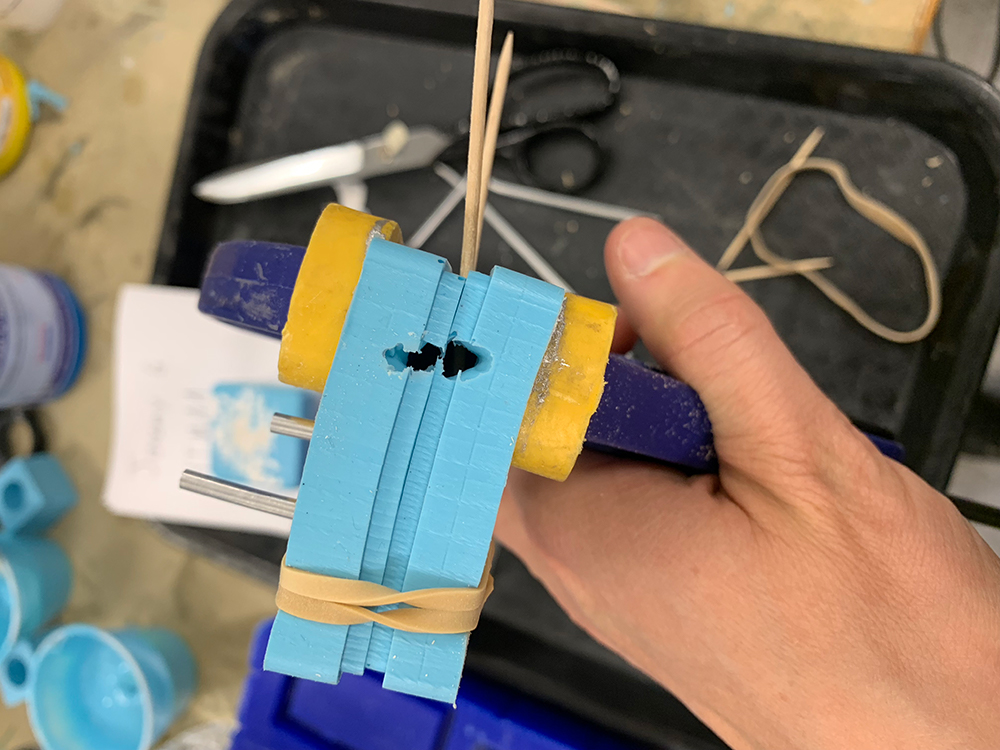
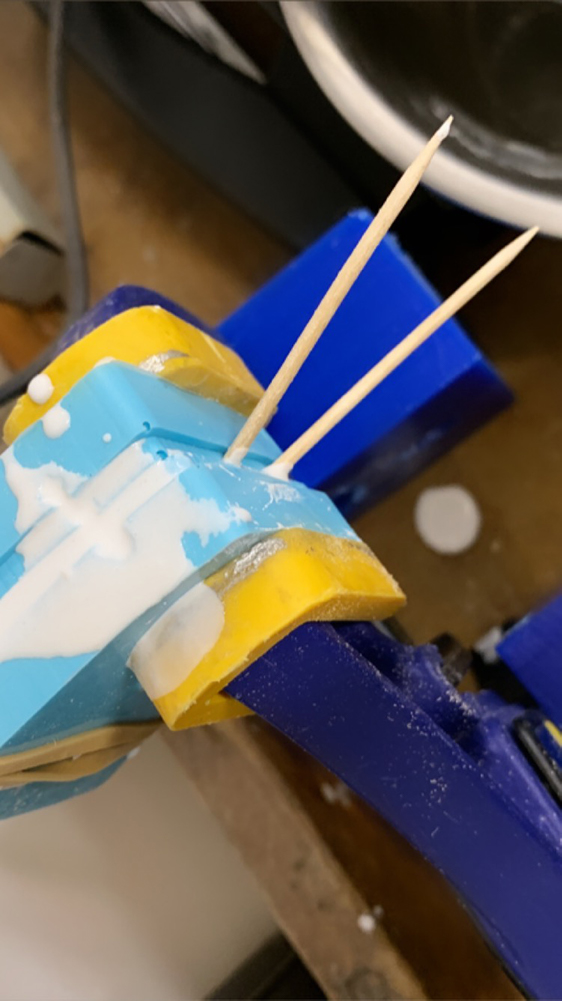
8. After setting I took the mold apart and had a tiny brachiosaurus with small wooden legs.
Struggles
Mold alignment, I’m still not convinced of a best method for aligning a mold for a clean edge. Additionally, incorporating a pour spout and air escape into the design is just plain difficult and I suspect solved with more trial and error.Tools
RhinoGrasshopper
MODS
Desktop Shopbot
Rubberbands, sticks, cups
Scale
Source Files
Link to Brachiosaurus in RhinoLink to bracho_carv.dxf
Link to bracho_carv.crv