E-textiles caught my interest about a year ago, so this wildcard week was a perfect opportunity to do some exploring of my own. As a complete newbie, I had to do some online research on what materials, techniques and technologies to use. These websites from Sparkfun and Adafruit helped me get started: sewing with conductive thread (2-ply conductive thread is the thinnest and easiest to sew since it has a nylon thread core with only a thin layer of silver coating), adding specialized or standard circuitboard components to the sewn circuitry.
A simple handsewn circuit
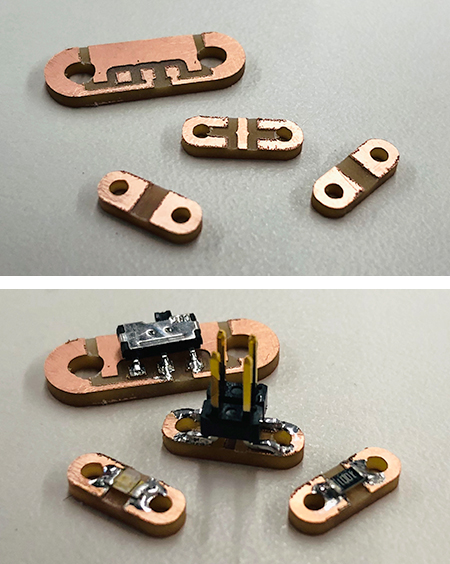
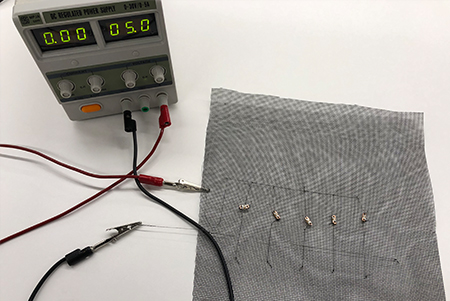
As an easy way to get started I decided on making a very simple circuit: a battery, switch, led and resistor. The led can be turned on by flipping the switch. As soldering conductive thread is hard to do, if not impossible with certain types of thread, I milled small copper plate pieces with holes on the Roland mill to solder components on and stich to the fabric. These provide a secure and reliable connection between the components and conductive thread.
For the traces I used thicker conductive thread that the lab had available. The sewing machine would not be able to handle that type of thread, so I sewed the conductive thread by hand.

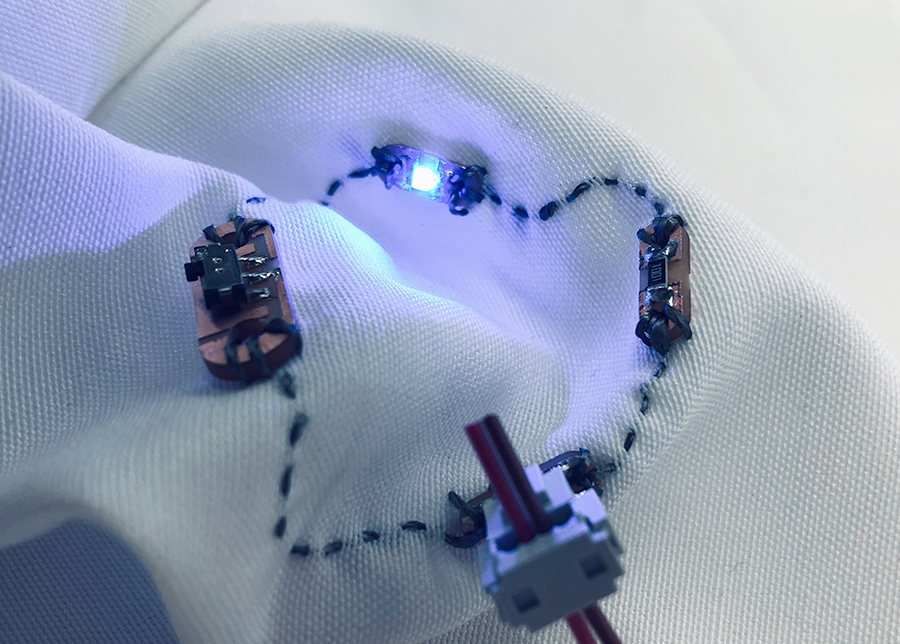
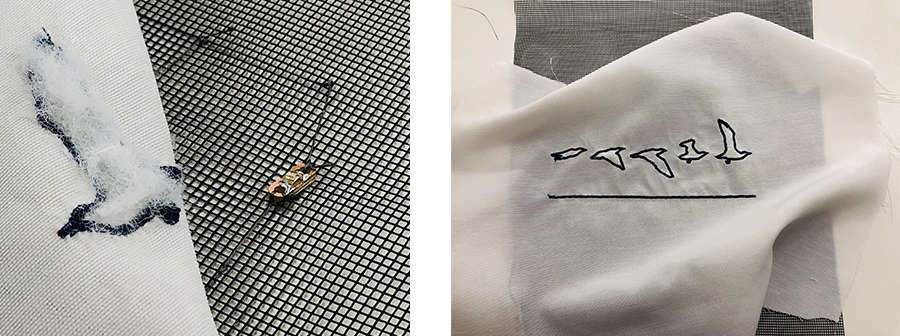
I got the idea for my next project from an example I found online. I decided to make my own from fabric and conductive thread. I used 2-ply conductive threadfrom Adafruit, that is also sold through on Amazon. To create the connections between the top and bottom layer of conductive threads I would have preferred to use piezoresistive fabric. But since I could not find a seller online, I used a plastic mesh that I found in the lab.
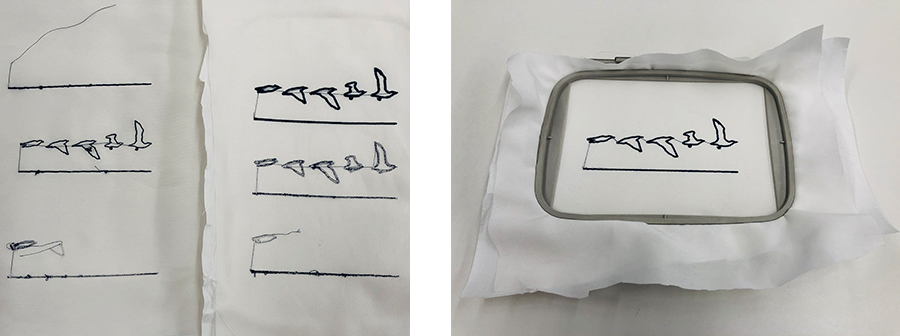
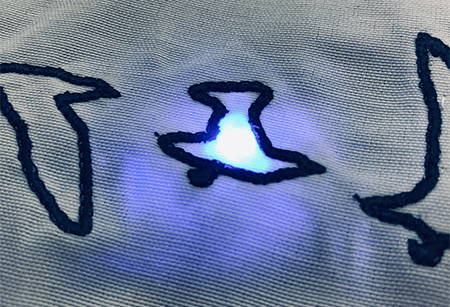
First, I used the embroidery machine to embroider the bird flight sequence. It took a couple of tries to get it to embroider the pattern neatly. During the process I increased the width of the borders and decided to use a bobbin with the same navy blue color as the top thread.