LaserCutting Week02
how to make (almost) anything
Computer Controlled Cutting
Week 02
This week’s assignment is three part:
- In groups, we must characterize our laser cutter to determine the ideal (digital) measurement for our slits, accounting for the kerf.
- Individually, we must cut out a vector design using the vinyl cutter.
- Individually, we must design a parametric press-fit construction kit using the new knowledge mined in the group assignment.
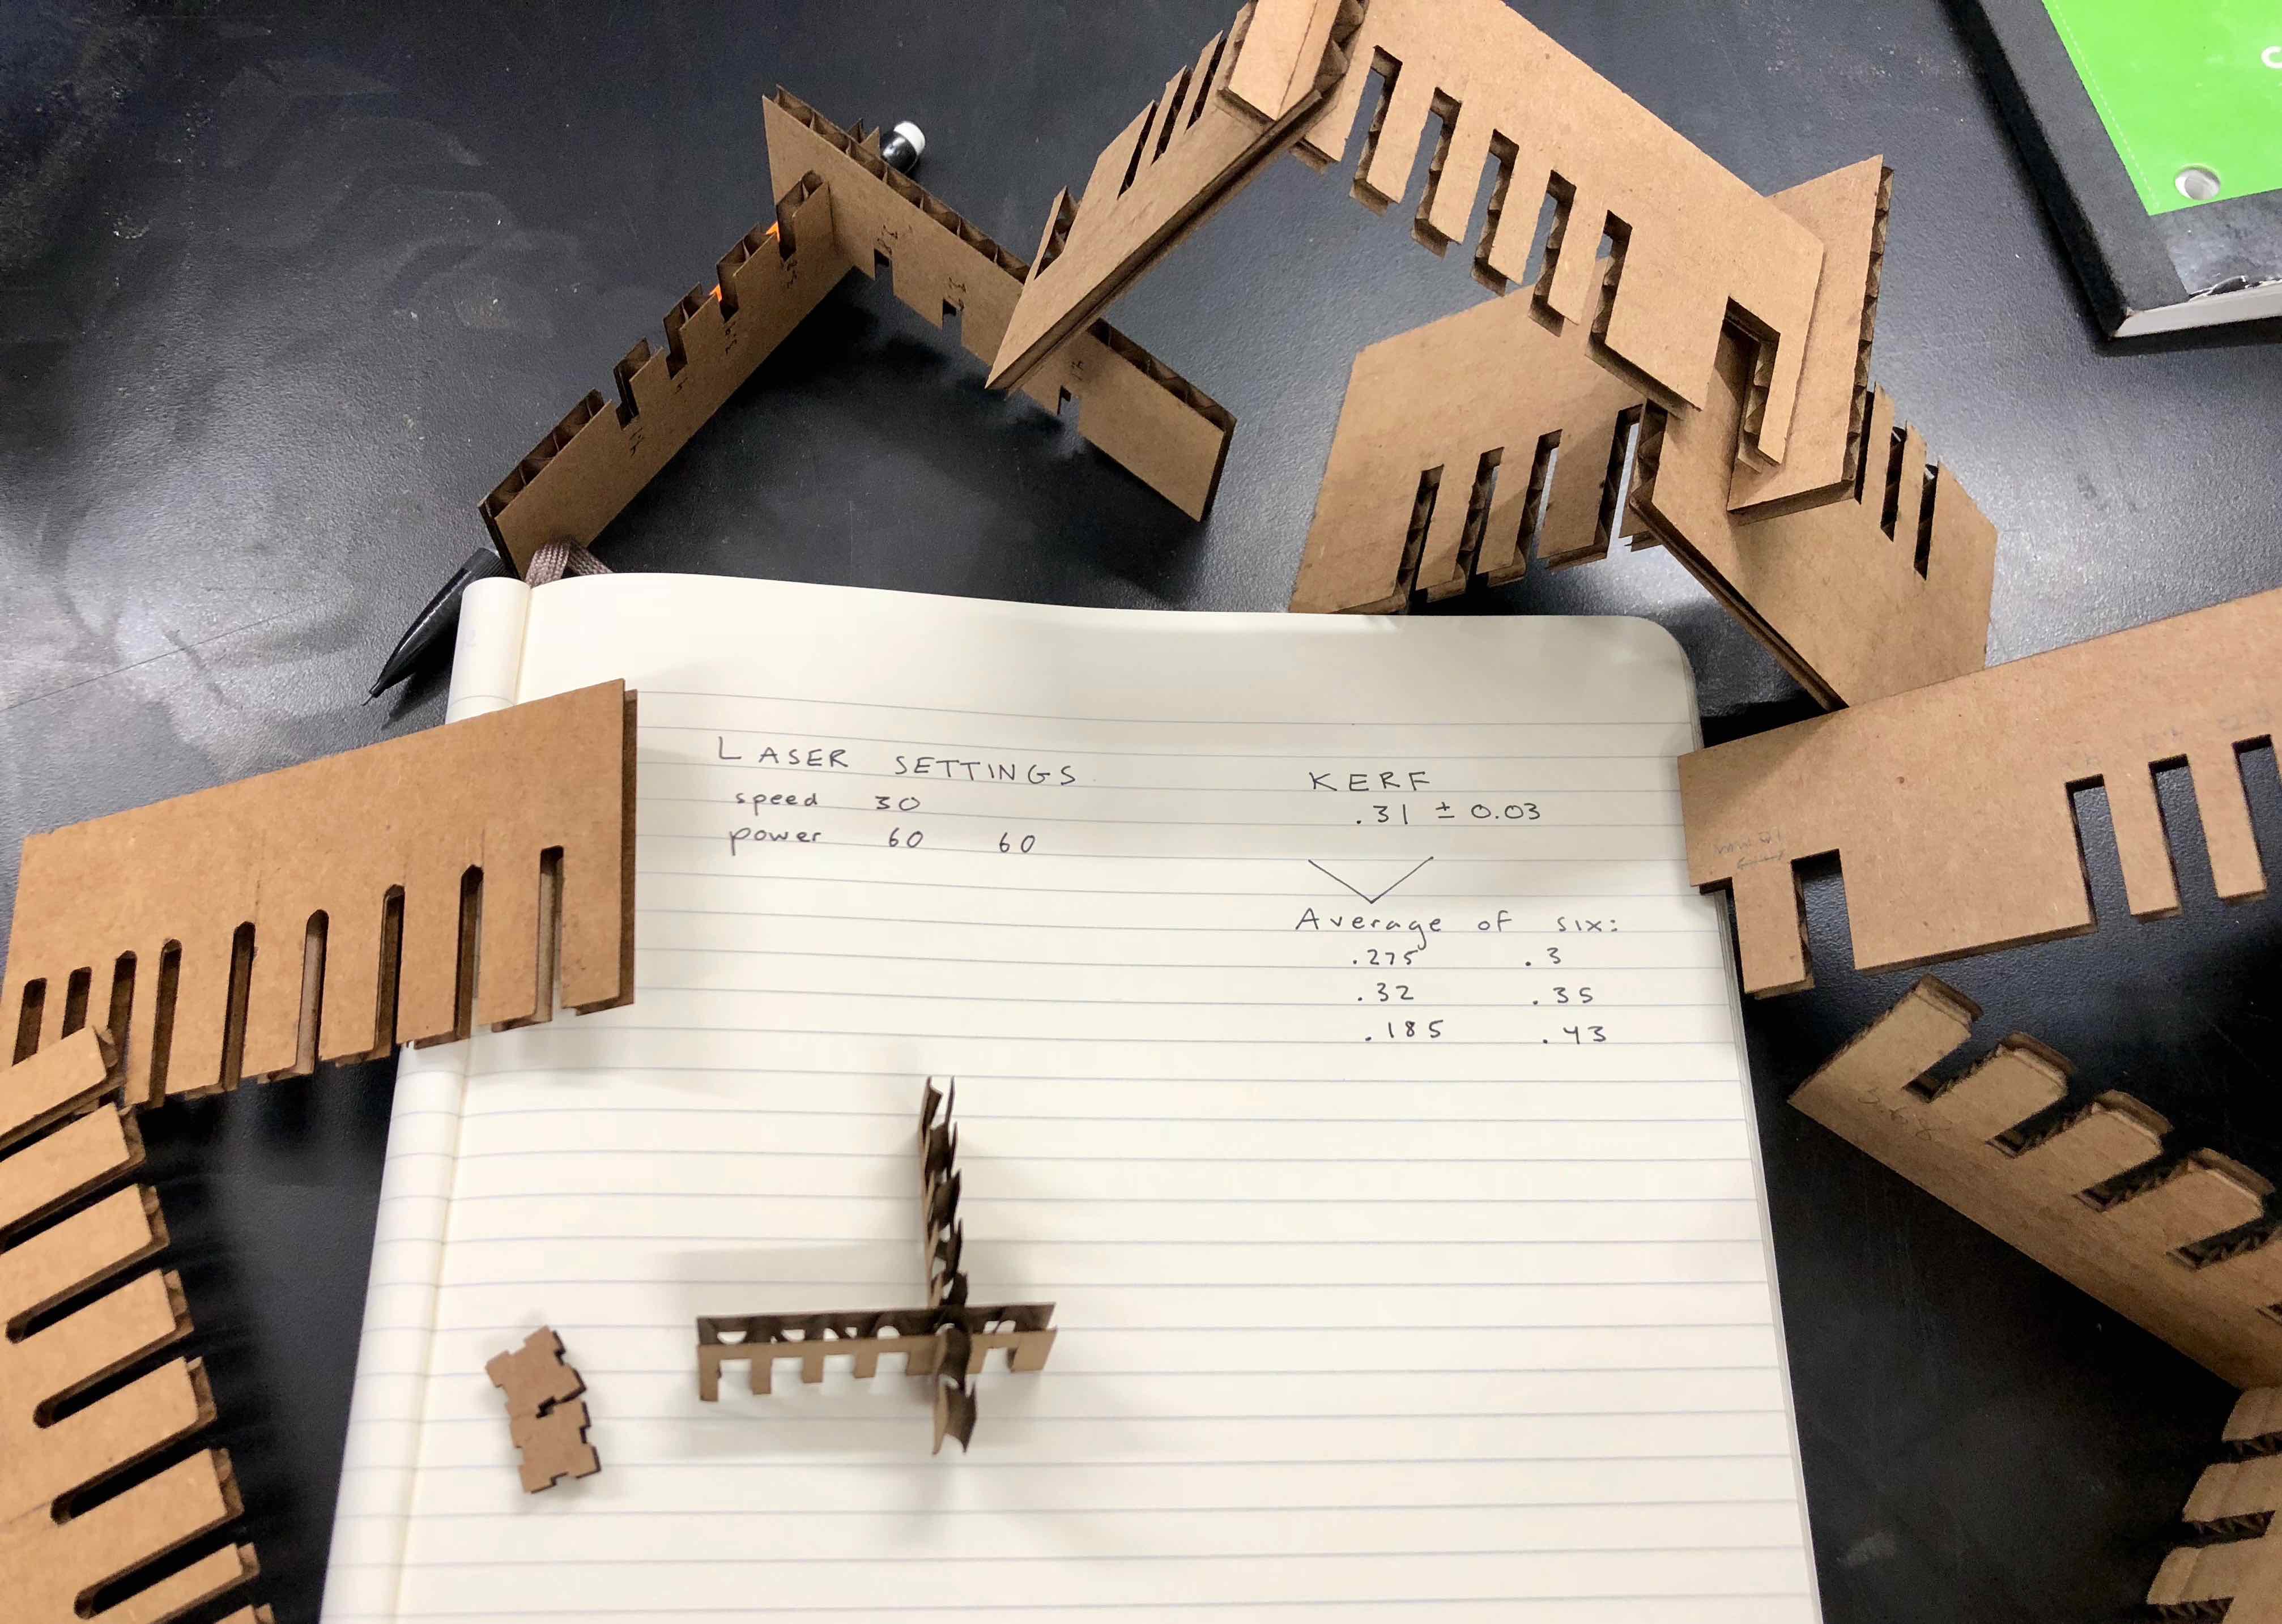
Forming a group, Victoria S., Nicole T., Jeremy G., Soumya G., and myself, set out to make several “combs” to determine what slit measurement allowed for the snuggest fit. We settled on 3.7 millimeters. To find the kerf, we took the average of six independent kerf measurements. The kerf is determined as follows:
((measurement of the laser cut slit) - (digital measurement of the slit))/2
In the end, the average of six kerf measurements came out to .31 +- 0.03 with the laser settings set to speed 30 and power 60-60.
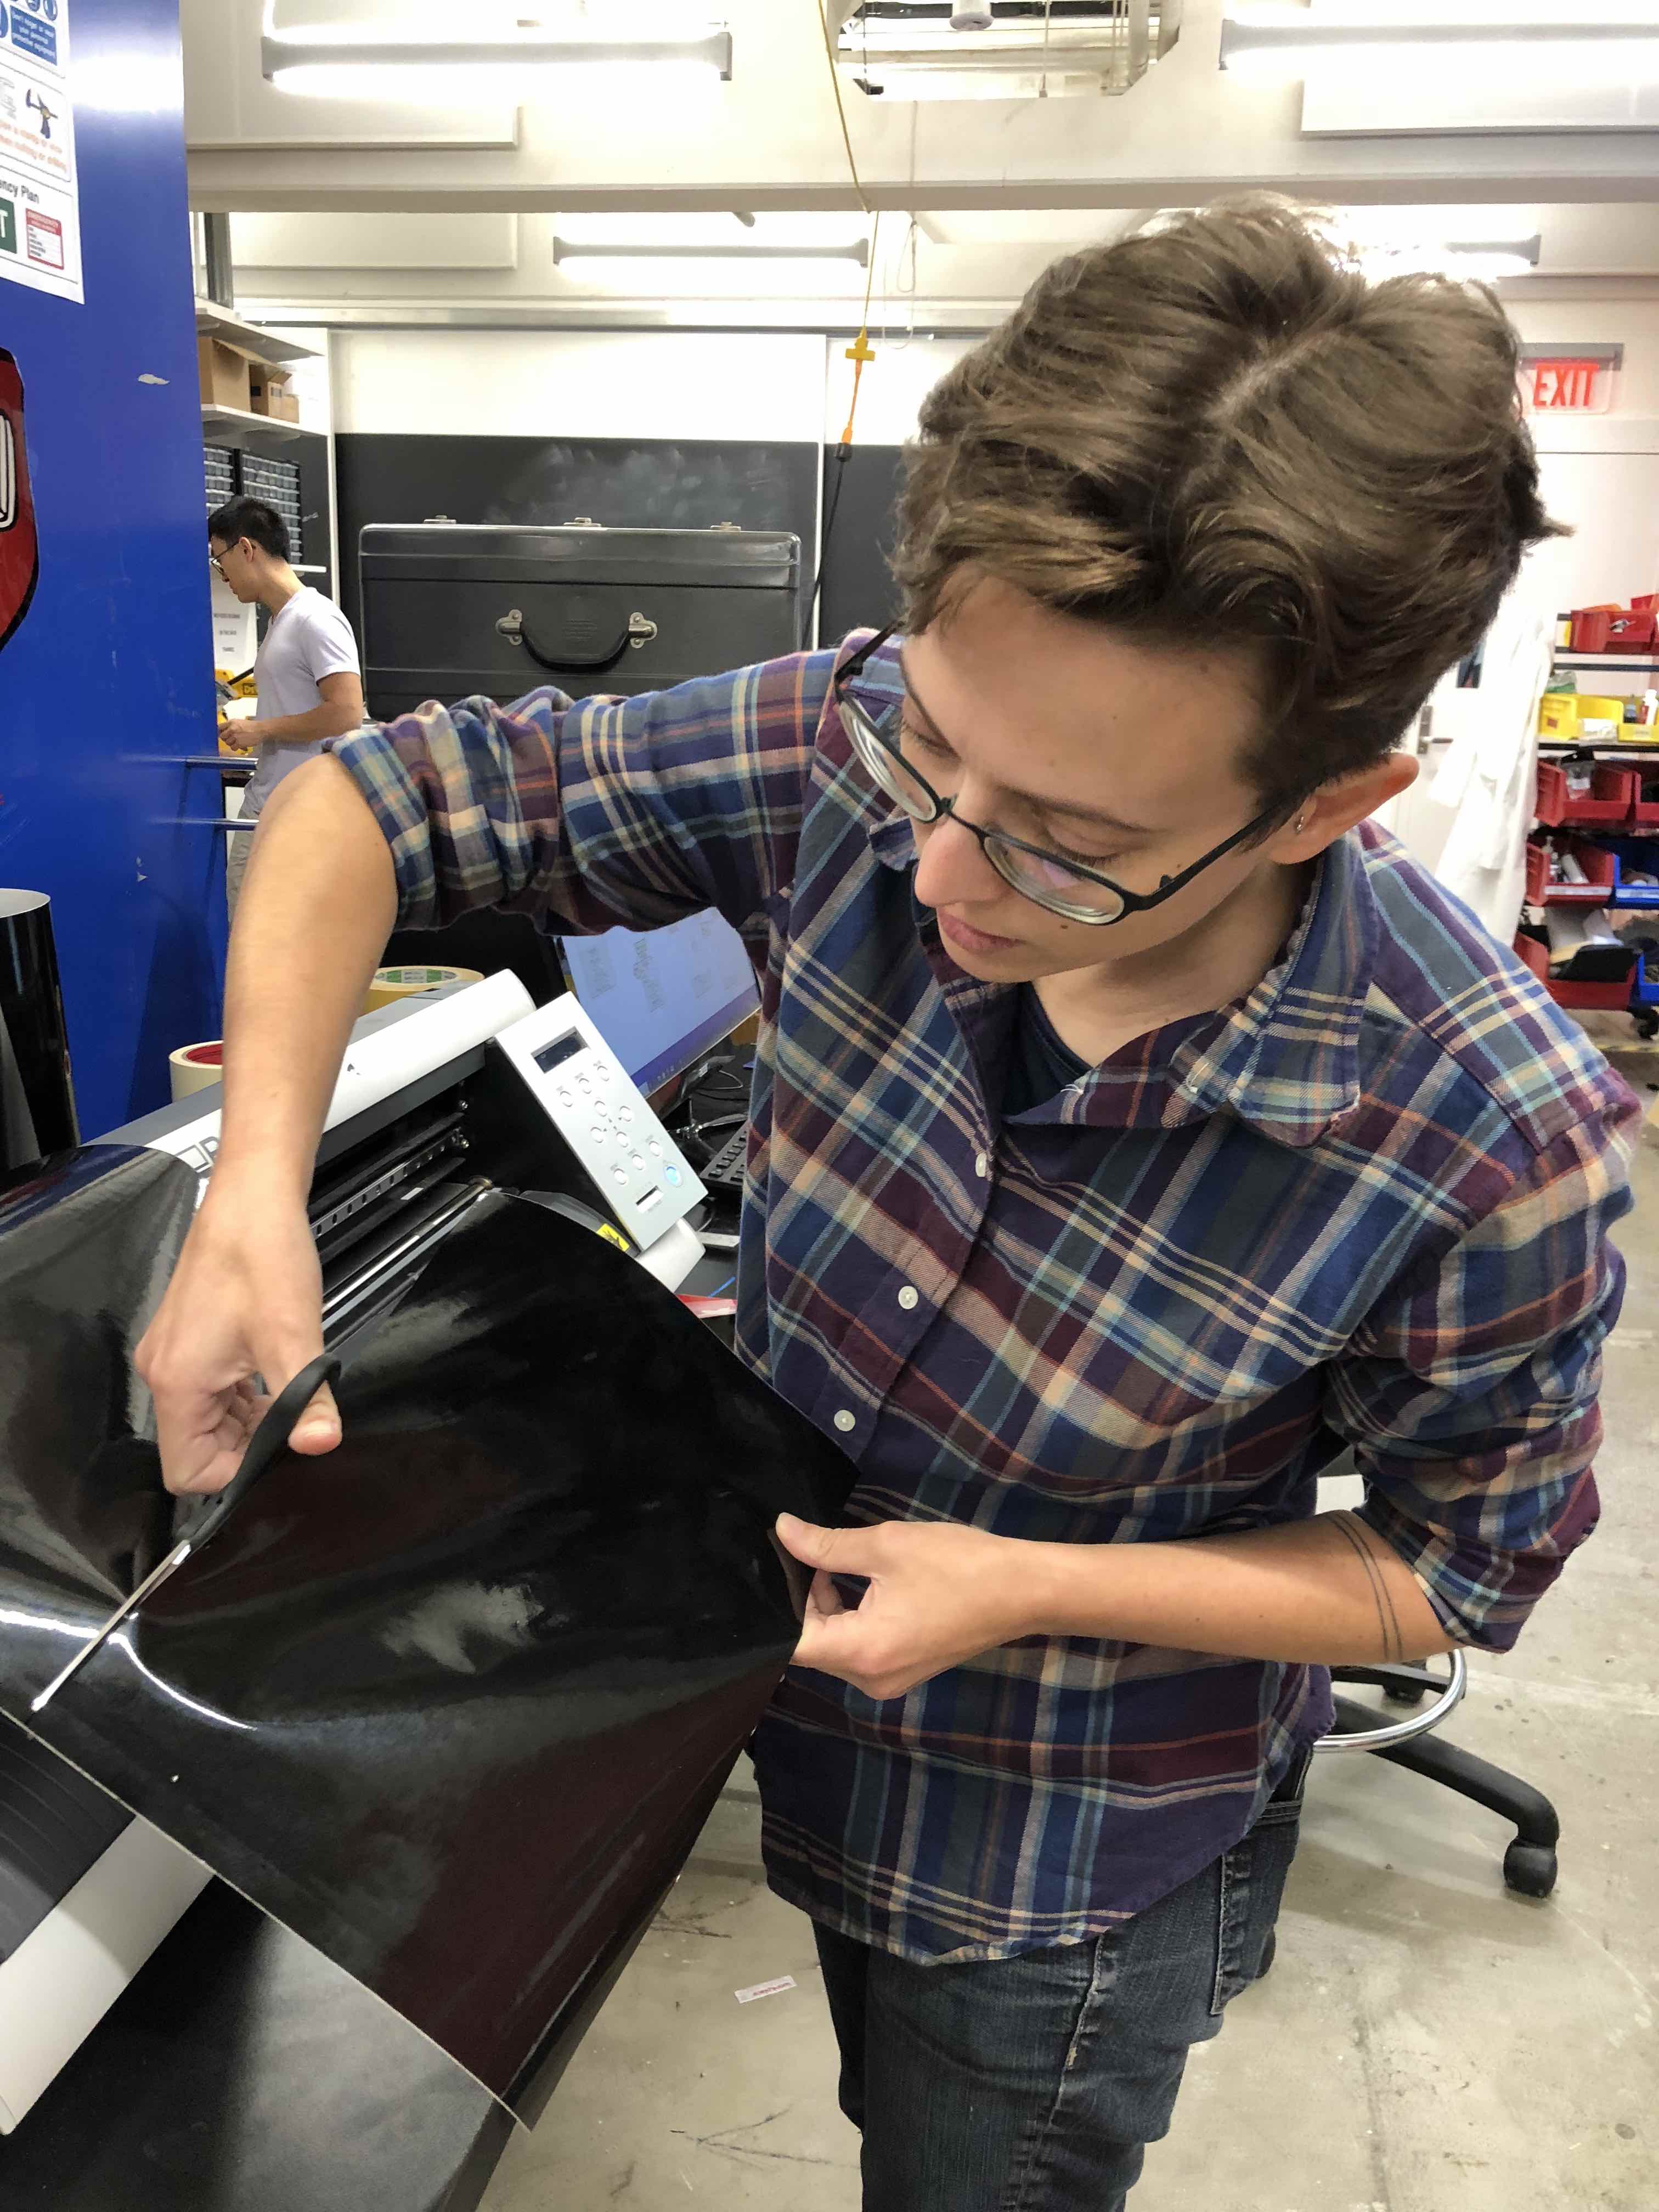
Perhaps the most valuable lesson I’ve learned this week is to show up to the Science Center fab lab to work alongside peers whenever possible. When mutually shared, our trial and errors move all of our projects forward. Here, I learn how to use the vinyl cutter by watching Nicole execute her project.
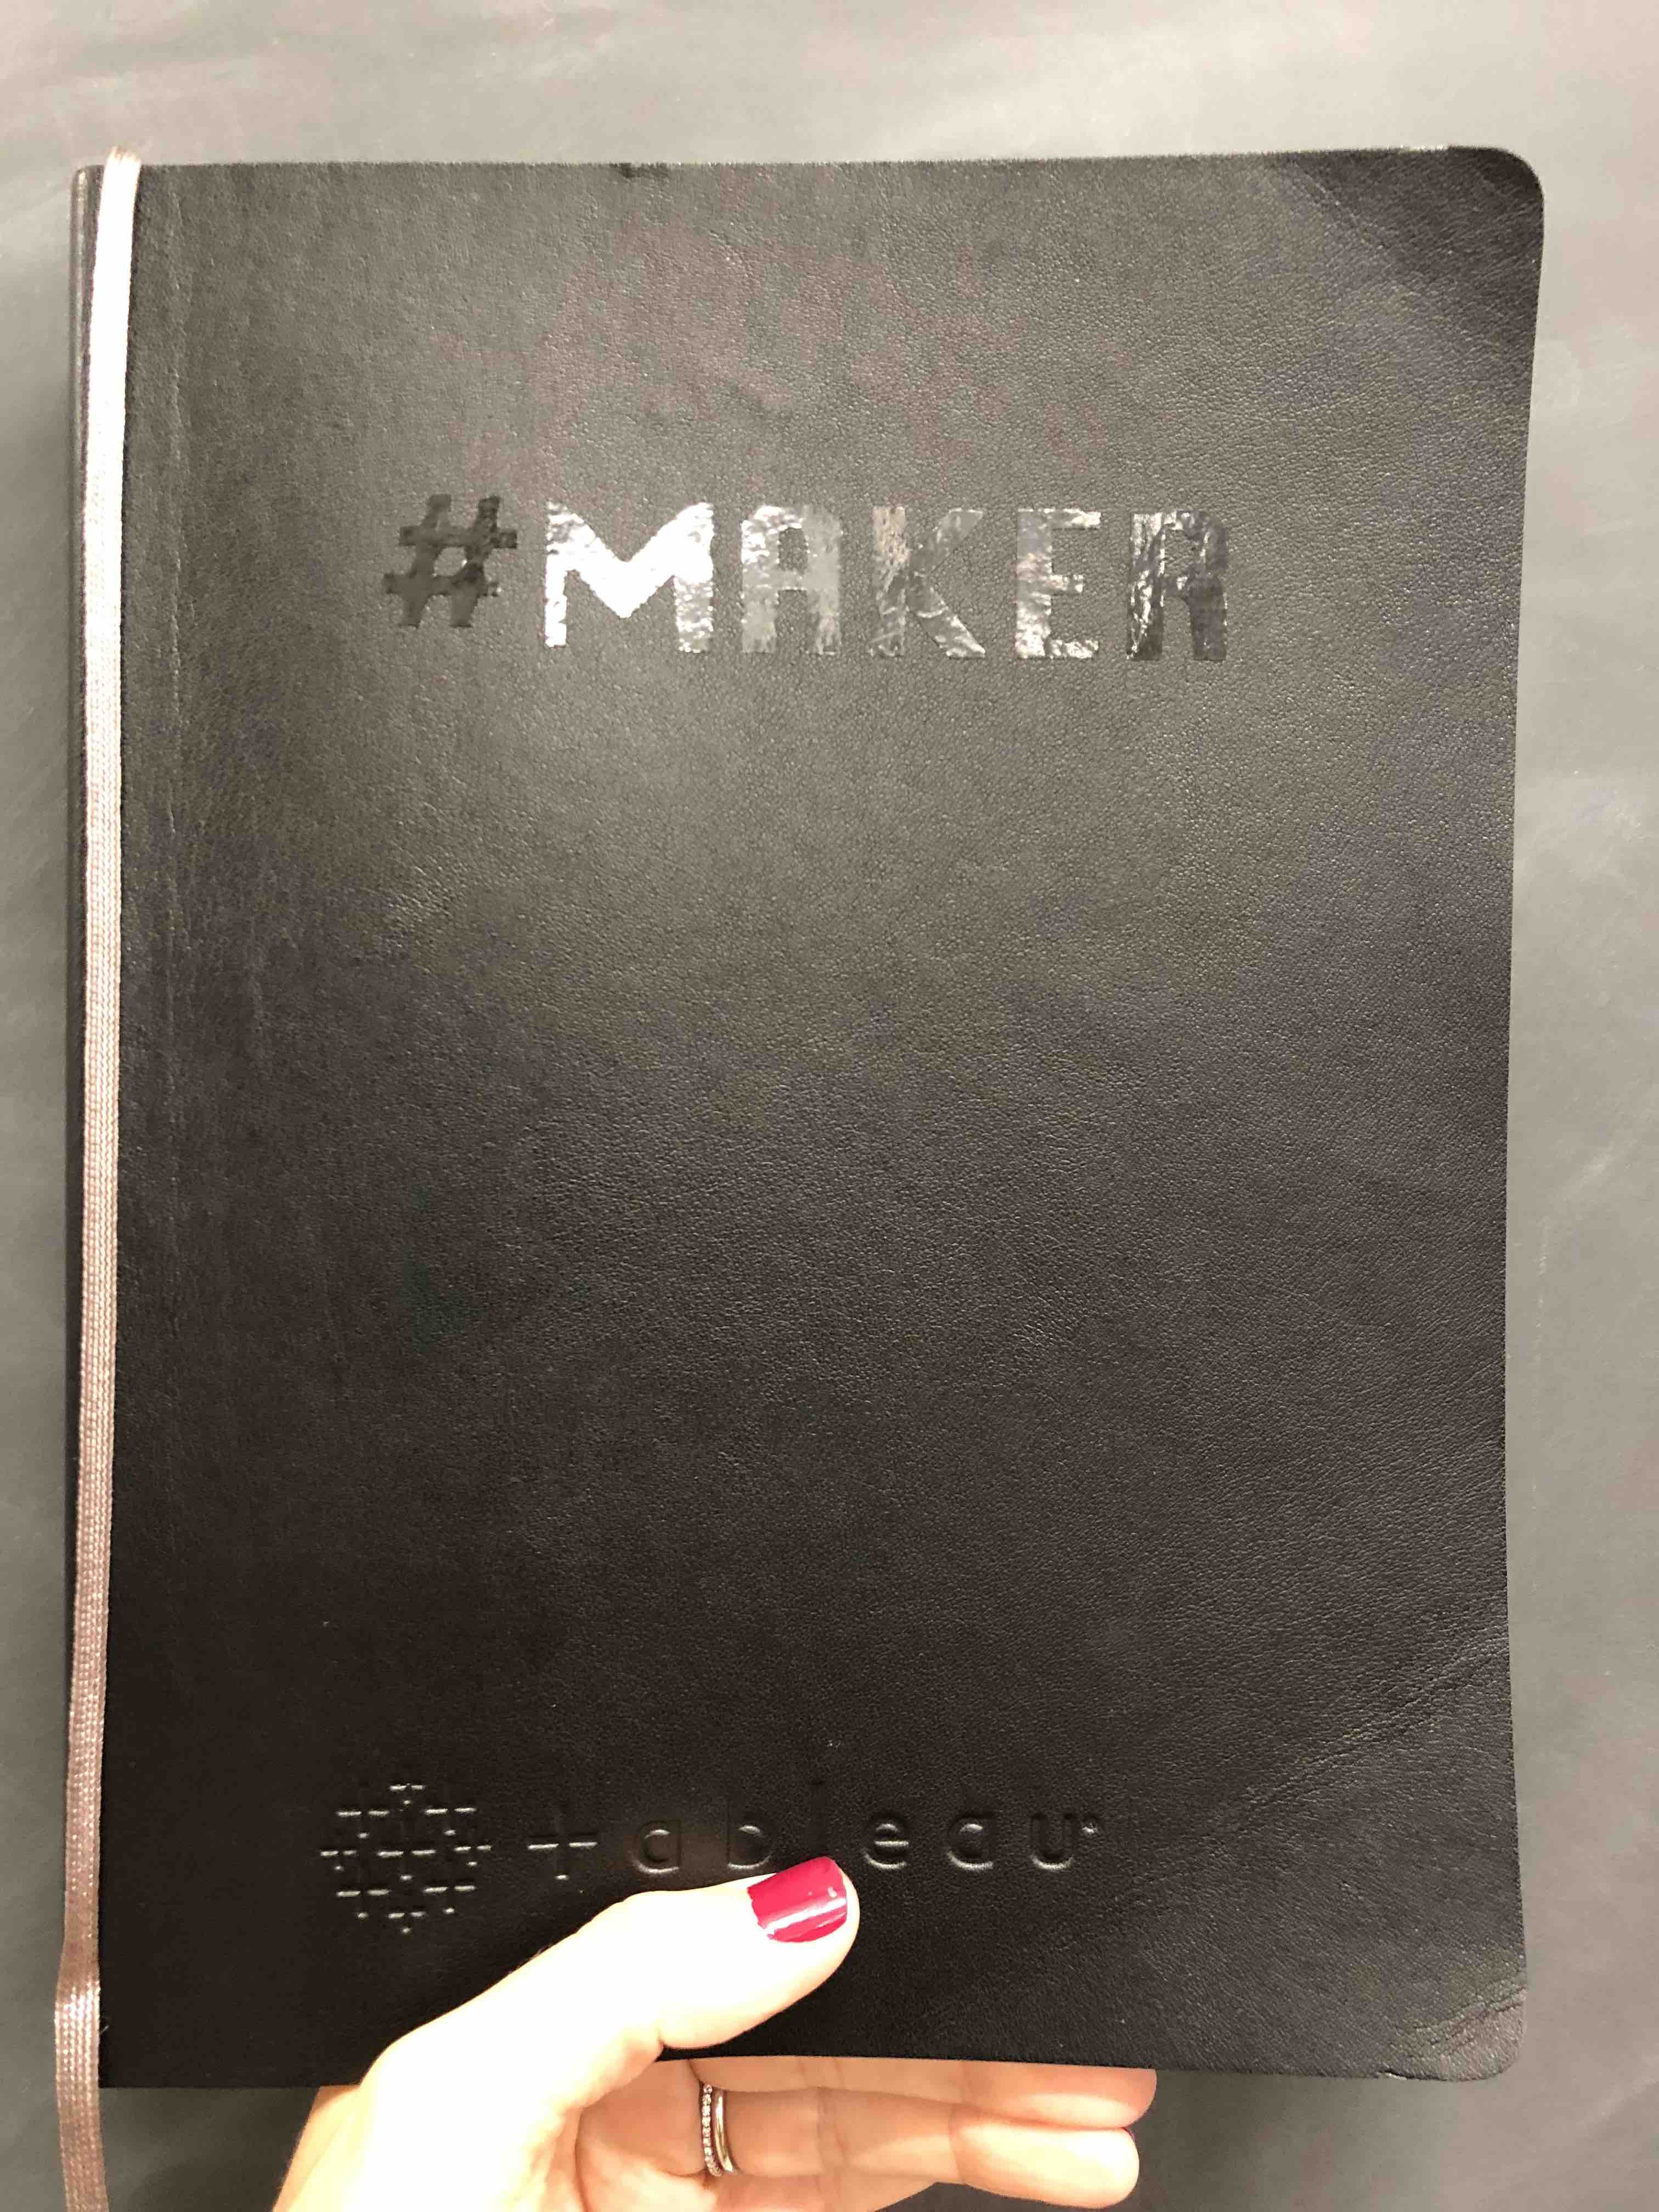
To create my #MAKER vinyl sticker, I exported my vector design from Adobe Illustrator to a .png file. Following the handy printout left next to the vinyl cutter and computer, I uploaded the .png on the mods.cba.mit.edu roadmap. After “printing”, I peeled away, with the help of an X-ACTO knife, the black layer comprising of the design’s negative space. Then, I added transfer paper on top of the now etched out design, removed the white peel from behind, and adhered the #MAKER sticker onto my notebook.
To get going on my press-fit construction kit, I consulted my friend Michelle on how to use Rhino. Michelle and I are both MDes candidates in the Art, Design, and the Public Domain program at the Harvard Graduate School of Design (GSD). My goal is to become Rhino proficient by the end of the semester.

Expectedly, I made a few errors along the way. Here’s one lesson I learned…
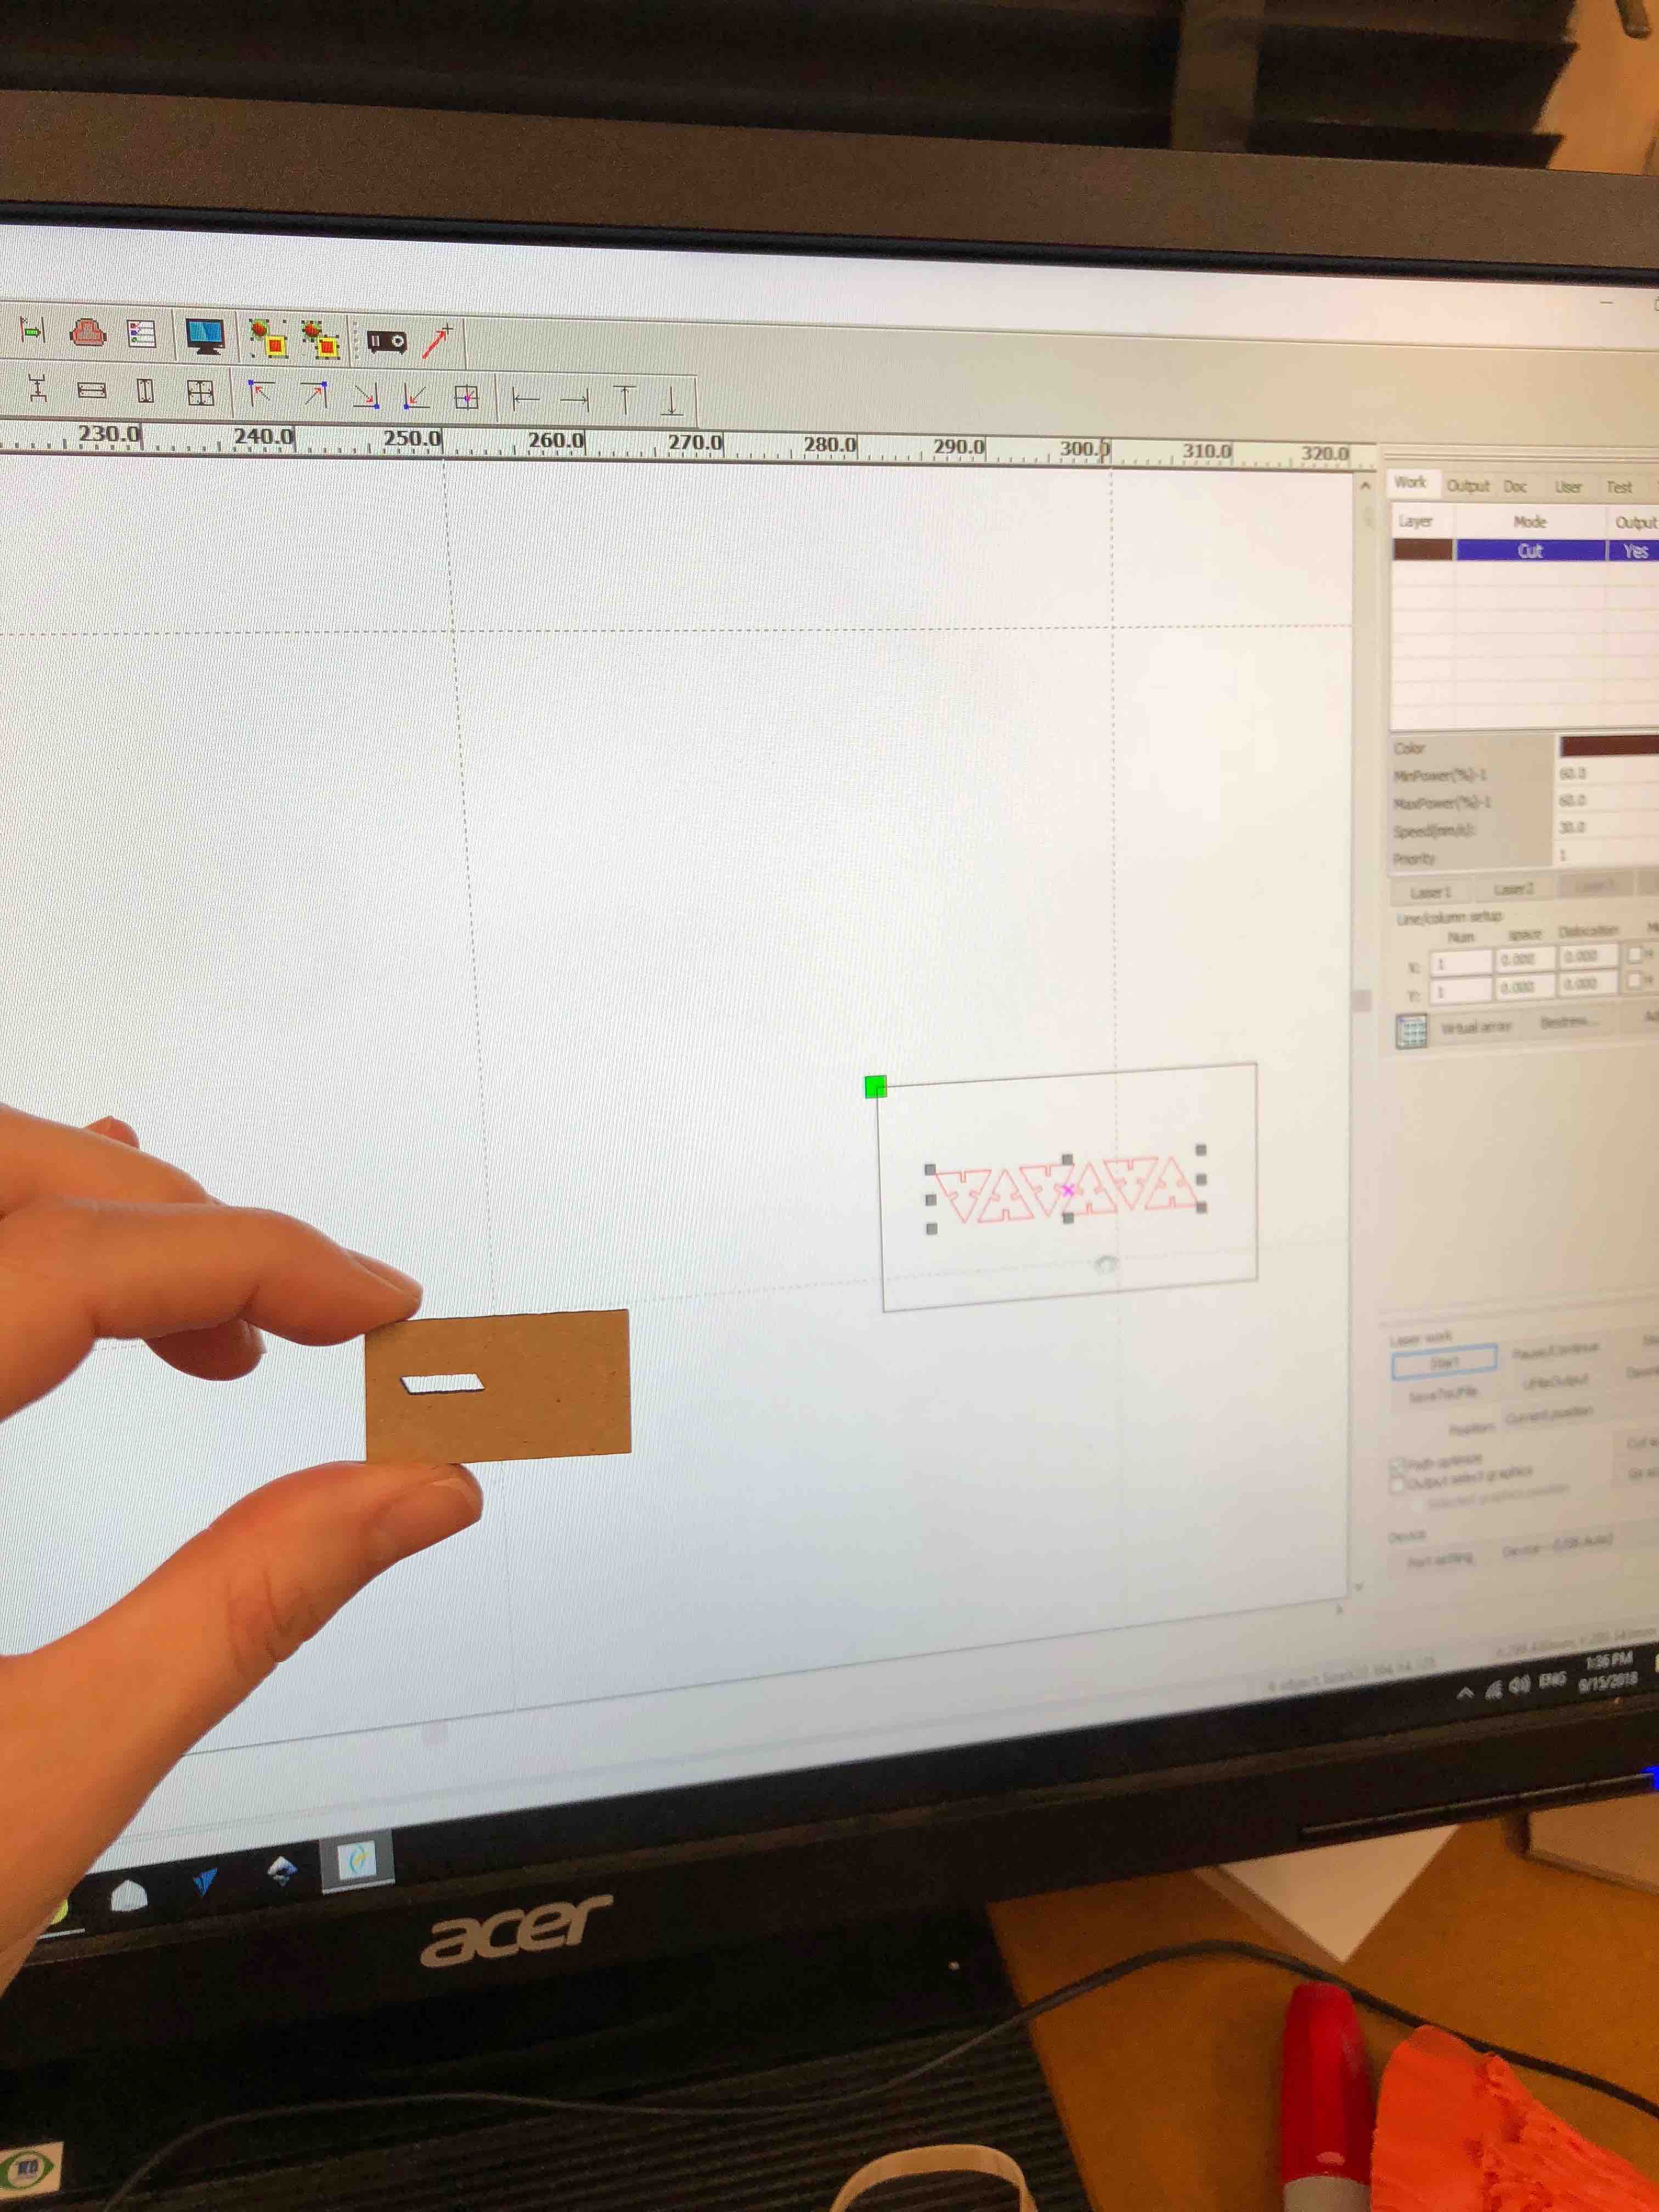
Check that the units used in Rhino match the units used in the RDWorksV8 program (this is the program that opens and sends the .dxf file to the Thunder Laser cutter). Here, my imported file from Rhino which was designed in inches was interpreted in millimeters by RDWorksV8, cutting this hilariously tiny model of my design.
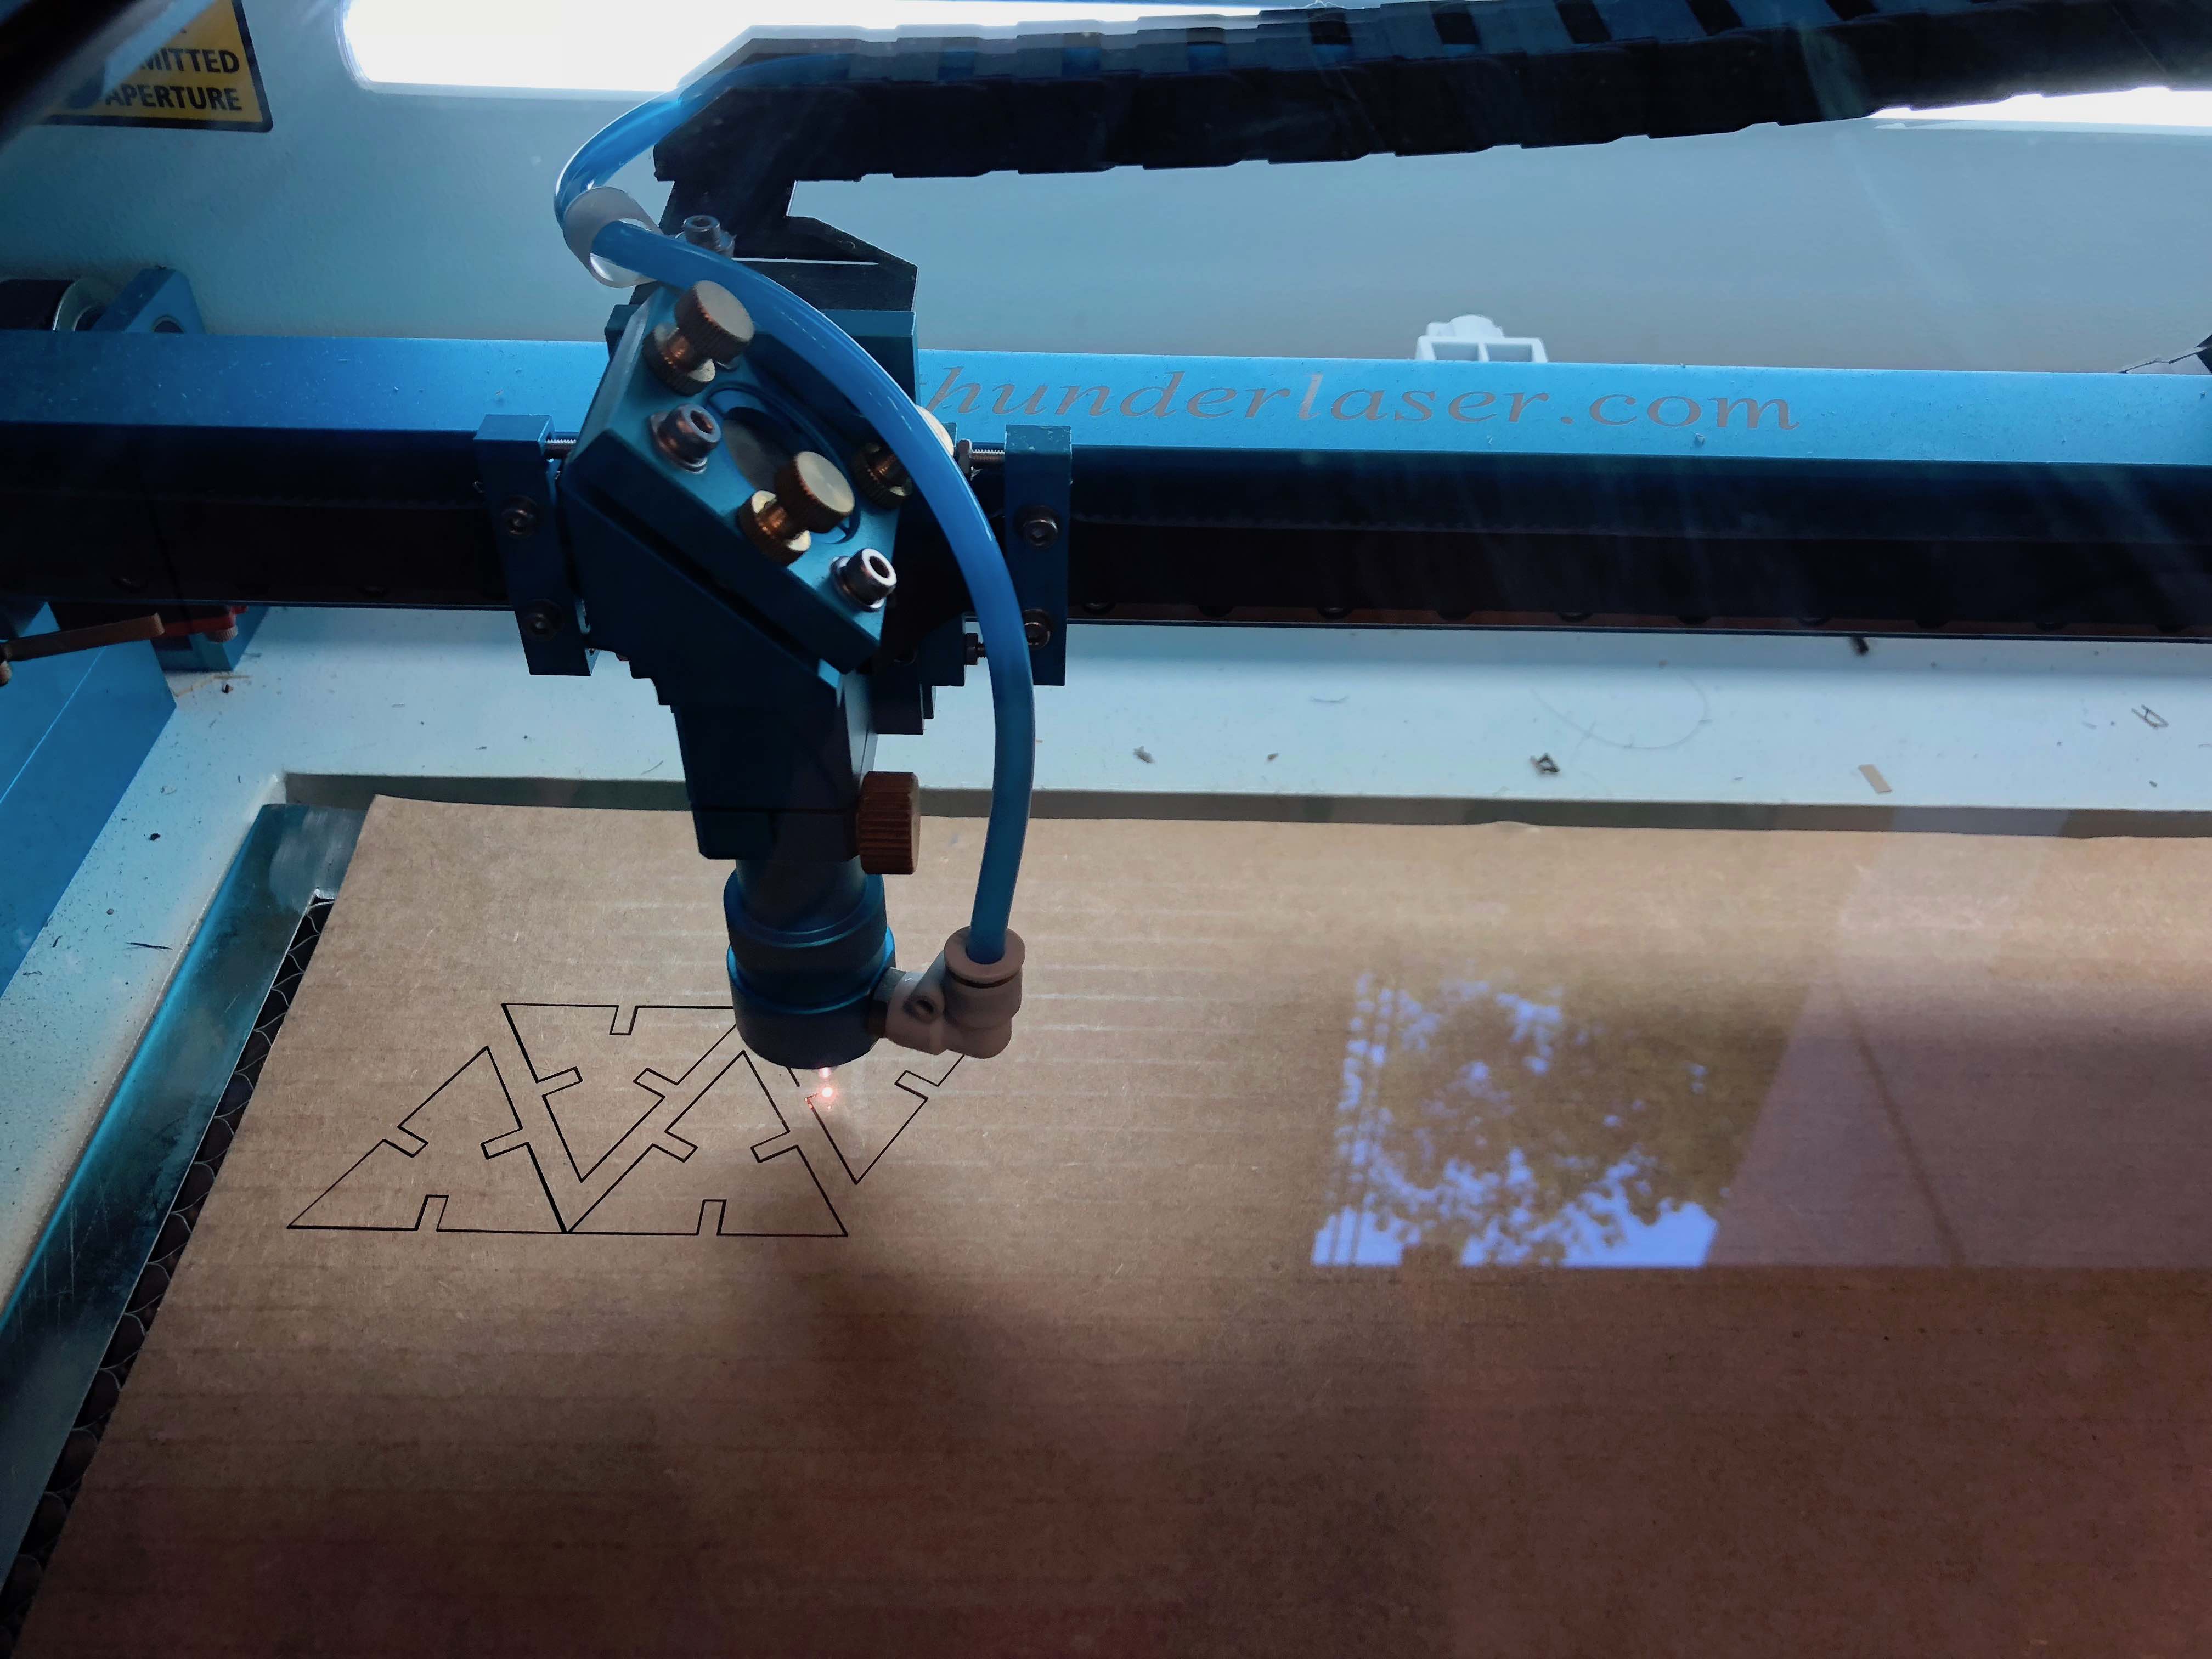
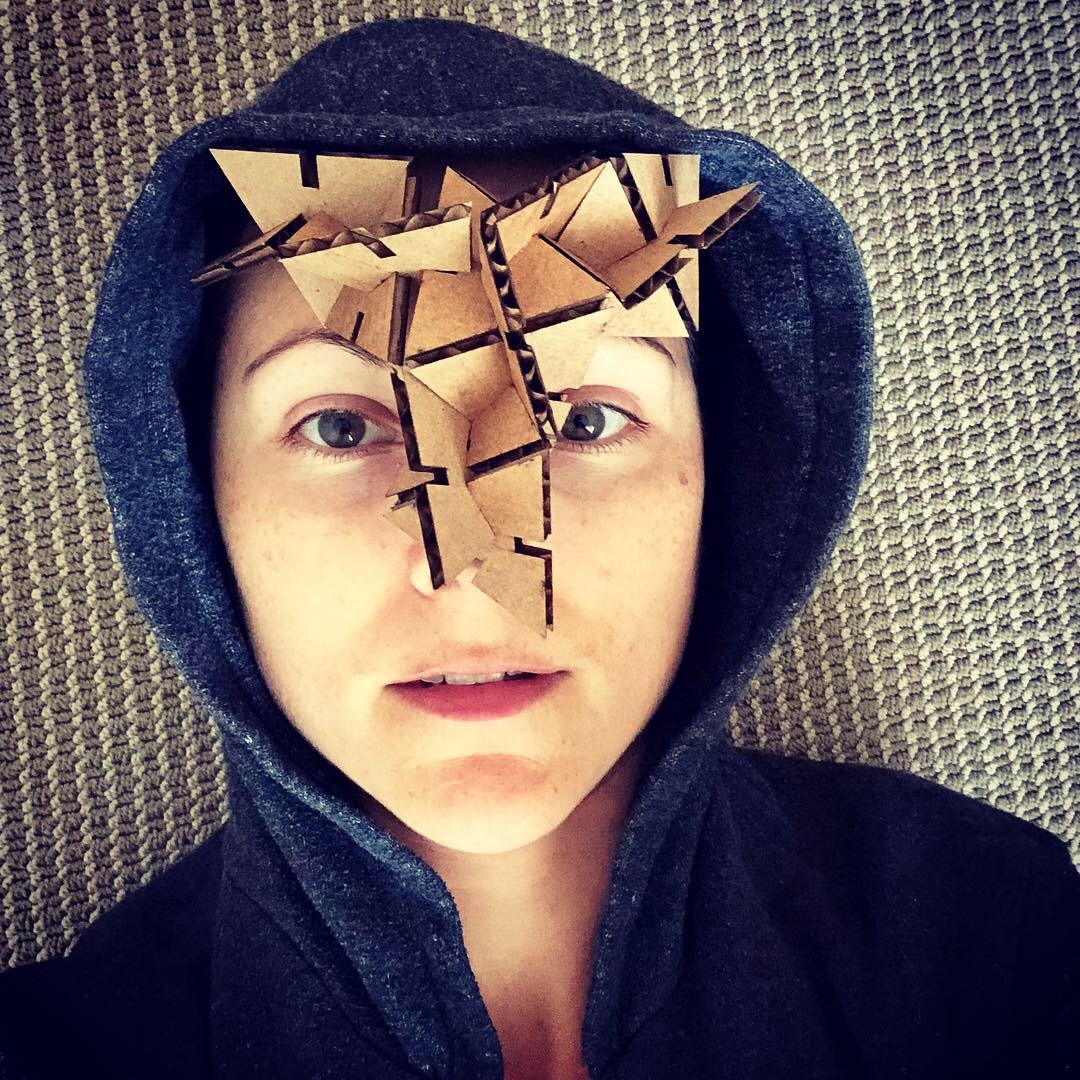
After tweaking my measurements using the knowledge mined from the group assignment as well as from my trial and errors, I eventually laser cut these equilateral triangles. What next? I am thinking a costume of linked cardboard appendages…
