3DPrinting Week04
how to make (almost) anything
3D Scanning and Printing
Week 04
This week’s assignment was to design and 3D print something that could otherwise not be made using subtractive fabrication. In addition, we had to 3D scan an object.
For the scanning assignment, I was fortunate to use the Department of History’s Artech scanner, compliments of Jeremy Guillette who is the Digital Scholarship Facilitator there and also a student in How to Make (almost) Anything. I chose to scan my “study buddy”, a squishy donkey the size of my palm made by Mulesoft as company swag. Prior to the donkey scan, I watched Lara scan an acorn and Jackson, a fly. The donkey, being larger with a sharper outline for the scanner to catch, was the easiest of the three. It only took two scans - one upright and one on its side - to provide the software with enough data to reassemble digitally the object.
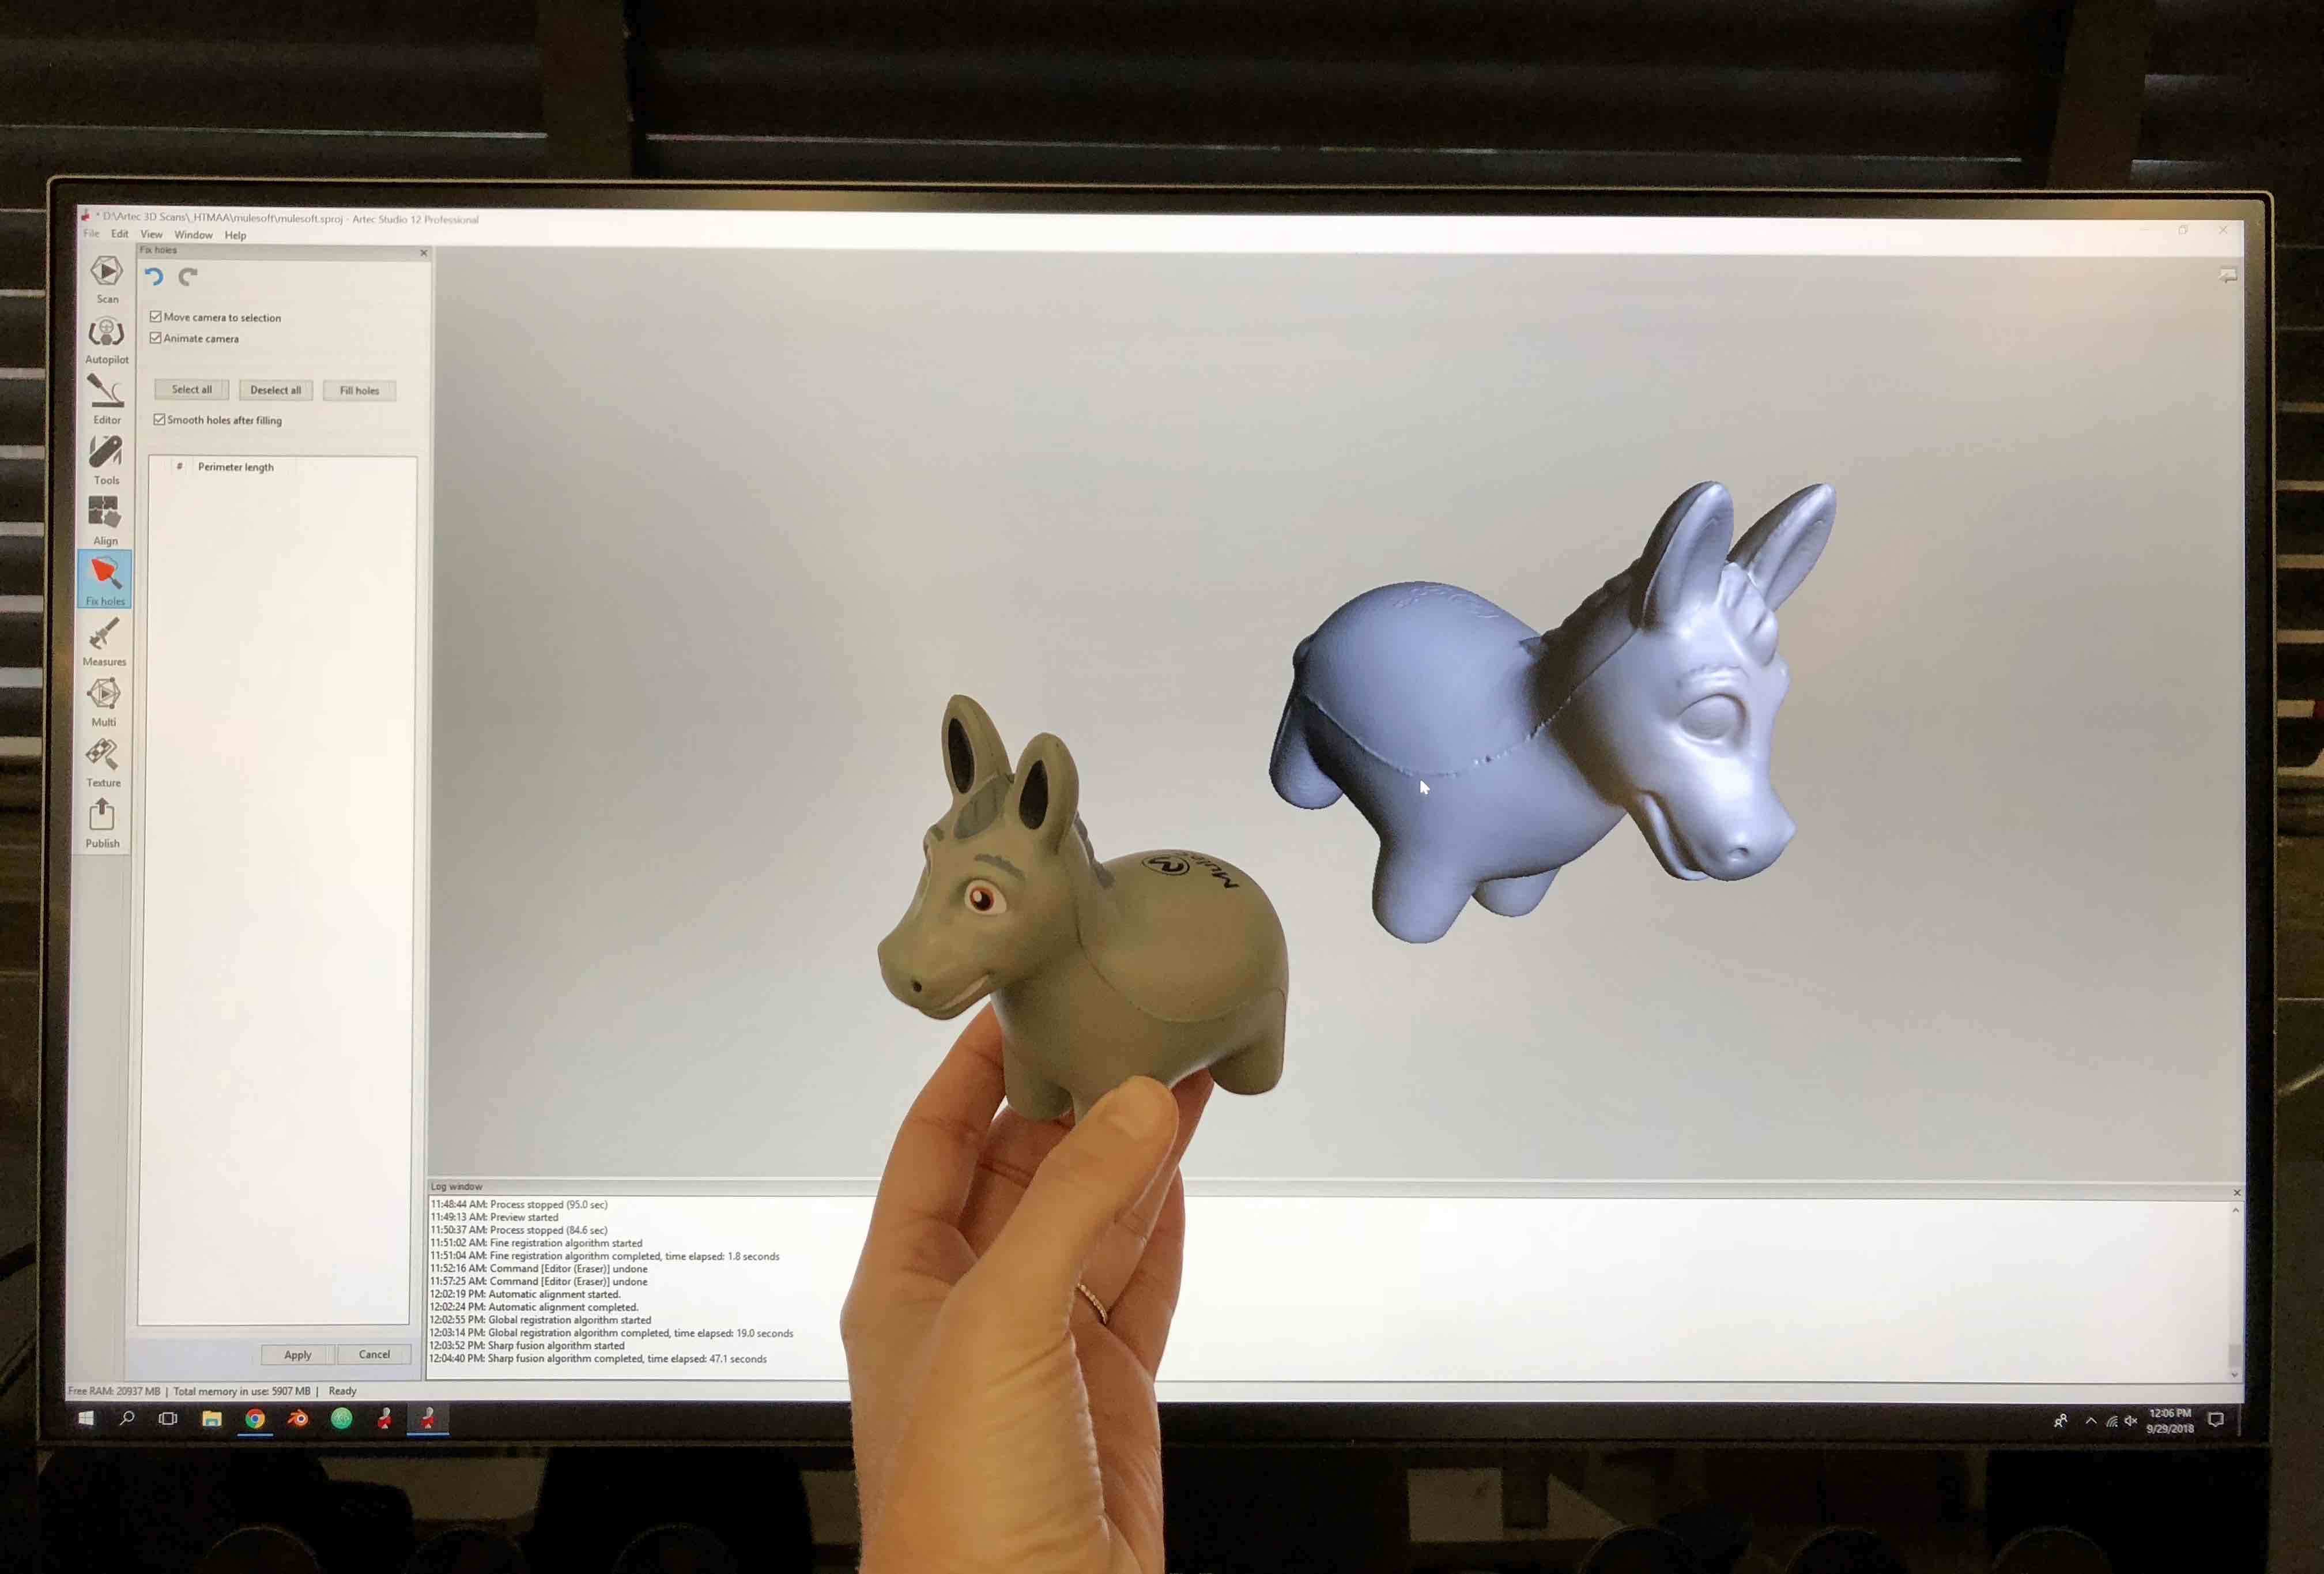
Some of the main steps to follow when 3D scanning are…
Scan at least twice, making two layers for editing; erase all “noise” surrounding the object, layer by layer; select all layers and try the automatic alignment feature but if that does not work, create reference points on the objects and manually align them; add “texture” (the photographic layer) for the final render; create a folder with three exported file types: .obj, .stl., and .jpeg (the .jpeg is the collage looking image up top).
While I used Rhino for the press-fit construction kit for Week 1, I still needed to learn a lot in order to work in three dimensions. I found the tutorial Rhino 4 Essential Training by David Schultze on Lynda indispensable. Though I am using version 6 and Schultze has a tutorial for this one, his one on 4 was more geared for first-time practitioners like me.
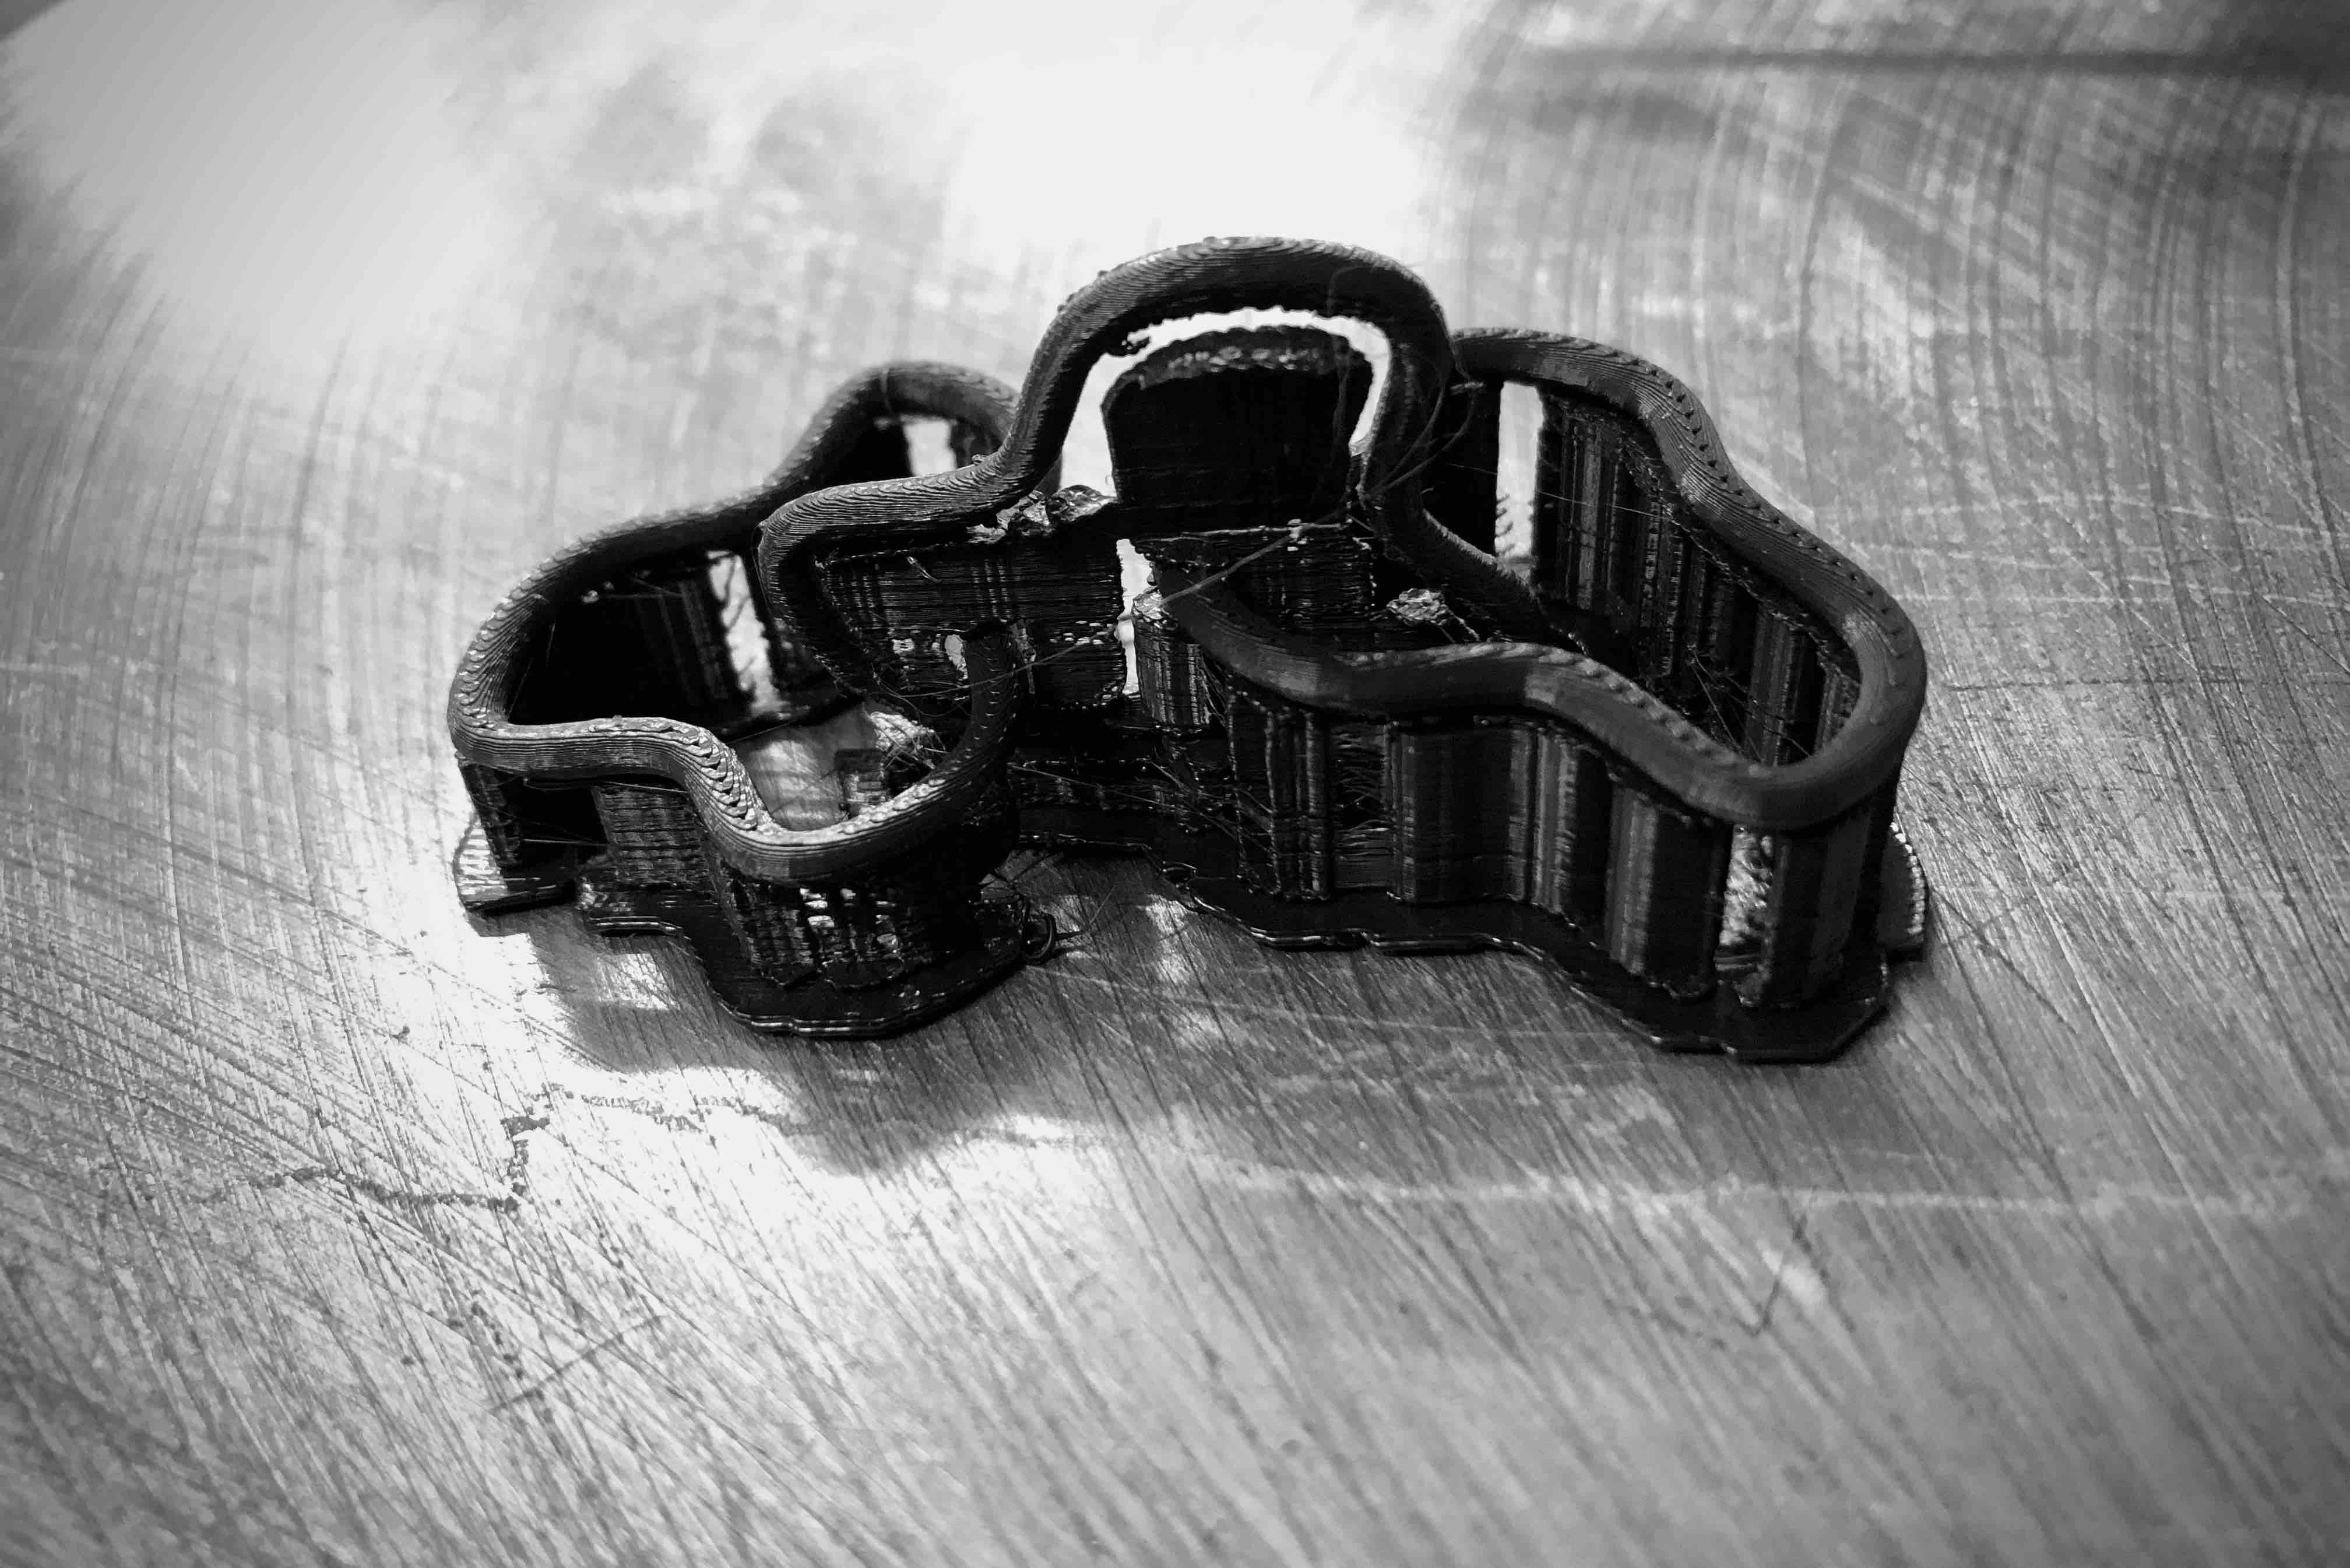
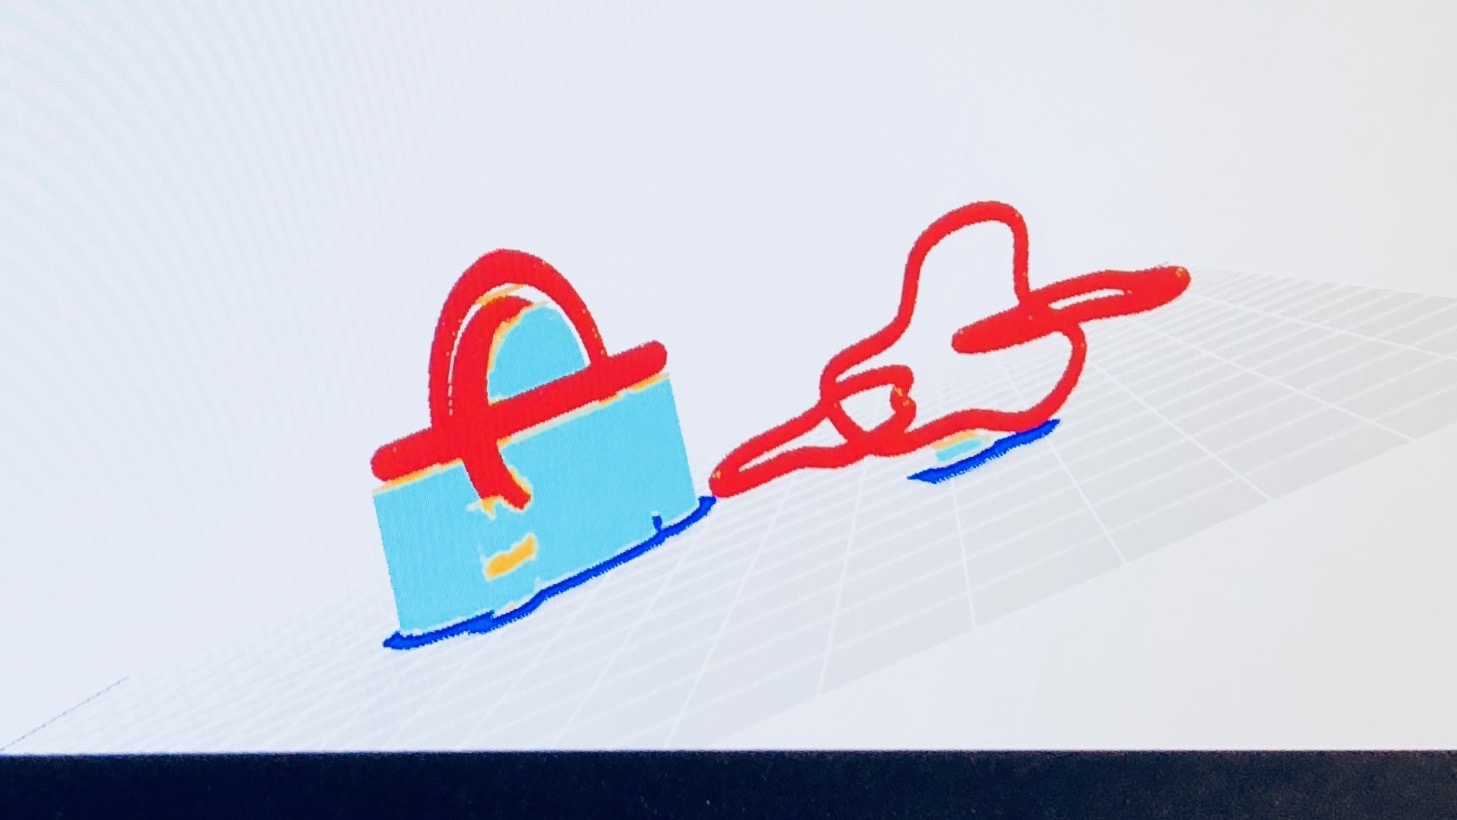
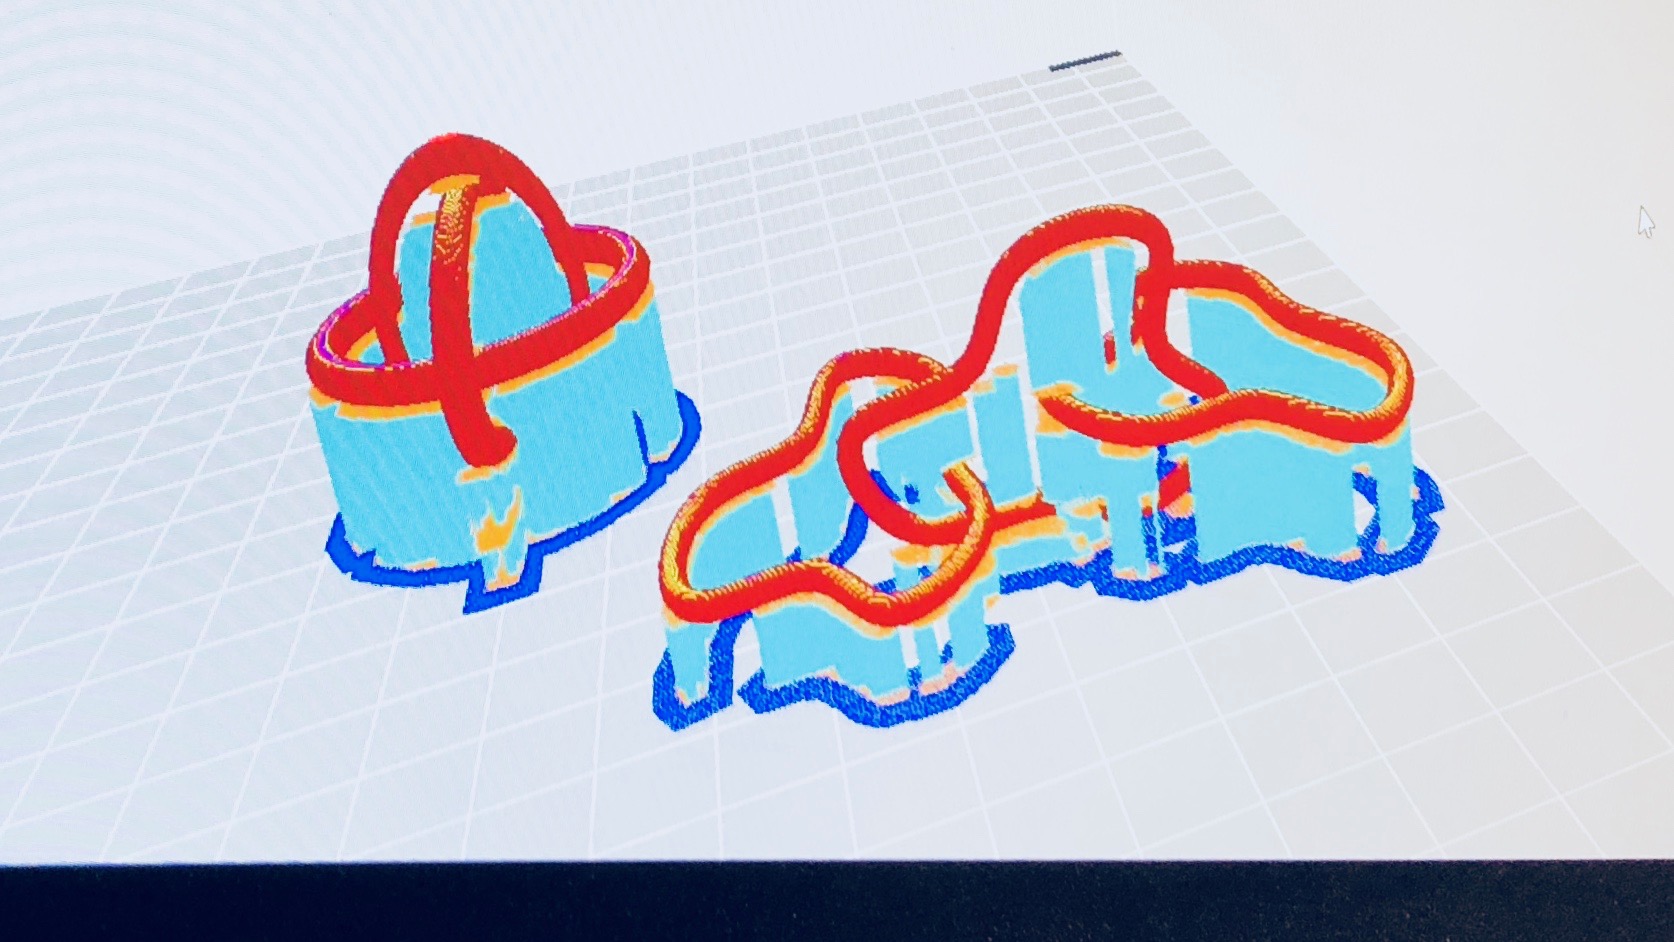
Since there was only one printer unoccupied, Jeremy and I decided to share the platform inside the Sindoh printer and print our CAD designs simultaneously. To make this happen, we dragged our separate .stl files into the Cara Ultimaker software where our designs were modified into GCODE. Oddly, the software did not automatically add “supports” to my design as it did to Jeremy’s. It wasn’t until we scaled larger my design that supports were generated. We are unsure why scale would affect this feature as the structure would crumble regardless of size without the temporary supports in place during printing:
Four and a half hours later (yes, 3D printing takes that long), the three rings were completed. Post-production included breaking off the supports by hand then using sand paper, an XACTO knife, and polishing product to smooth down the surface at the very end.